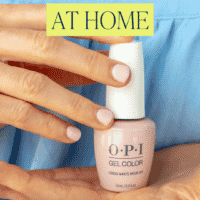
I’m walking you through all of my best tips and tricks on how to get a salon-quality gel manicure at home!
Table of Contents
Hello! Sherin here. I’m so excited to write my first guest post! I am a busy mom of three girls, and I live at the beach and pool almost year-round which means my manicures can take a beating.
I have been doing my own manicures for years – I started doing my nails myself after I realized there weren’t enough hours in the day! I feel so much more put together when my nails are done. I really can’t stand a chippy manicure. Doing my nails at home wound up being a relaxing end to a hectic day.
Is gel polish safe?
Because this is a deviation from our typical safer beauty content, we wanted to address this burning question head-on. The OPI gel polish that we’re recommending in this article is NOT a safer polish brand/option. I (Cassy) actually own all of the products recommended in this post, though, and use them any time I’m looking for a really solid, salon-quality, long-lasting manicure. I love Dazzle Dry and Olive and June (my two favorite safer polish brands) and use those also, but really love having a gel polish option in the mix too! If you’re looking for a full list of safer polish options (and the pros and cons of each), you can find that in our Safer Nail Polish Guide!
Is it worth doing gel nails at home?
About three years ago, I took the leap and decided to try doing gel (vs. regular polish) manicures at home in order to get a little more longevity. I loved how long they lasted and it was a huge bonus that it was immediately dry after. I finally was able to escape the dreaded sheet marks on my just-painted nails.
Because the process is super easy and the results are really, really great, I definitely think doing gel nails at home is worth it.
What do you need for gel nails at home?
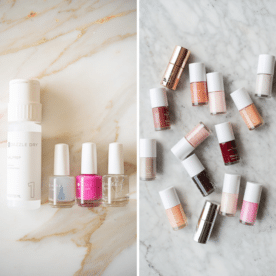
I buy all my polish from Beyond Polish and haven’t had an issue buying from their website, but you can also purchase at your local beauty supply store. Here’s everything you’ll need:
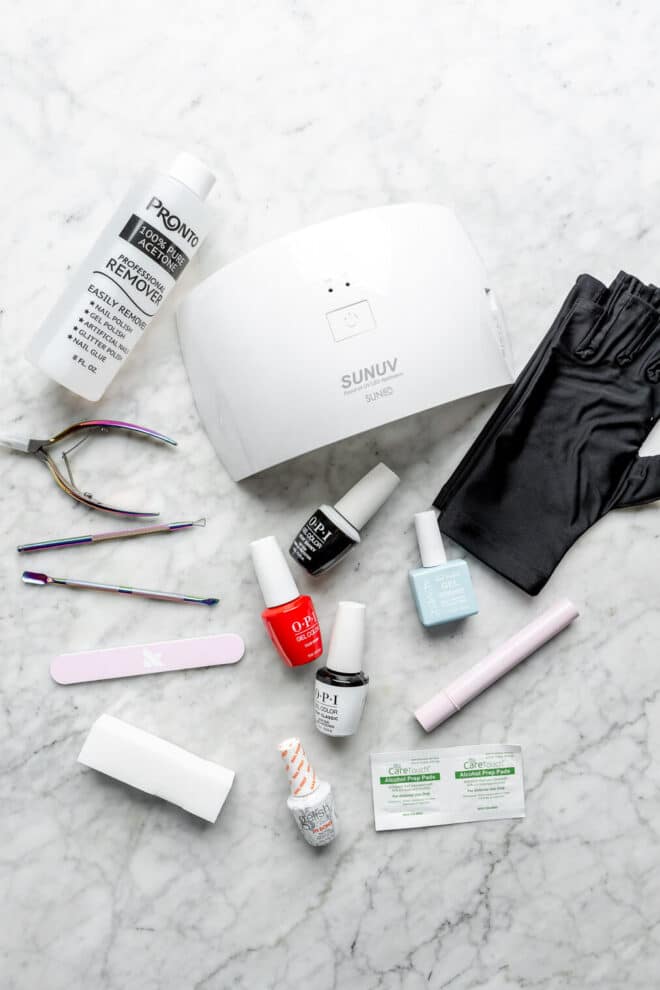
- Cuticle Remover (THIS one is great option too!)
- Nail Tool Set
- Nail Buffer
- Acetone Nail Polish Remover
- pH Bond
- UV Lamp
- Fingerless Gloves
- Topcoat and Basecoat Combo
- Nail Polish (my favorite colors: Funny Bunny, Lisbon Wants Moor, Cajun Shrimp, and OPI Red)
- Rubbing Alcohol Wipes
- Cuticle Serum
- Hand Lotion
- Gel Remover
How To Do Your Own Gel Nails at Home
Here are all my tips and tricks for the perfect at home gel manicure! Though it may feel like a lot of steps, rest assured that the process is super easy.
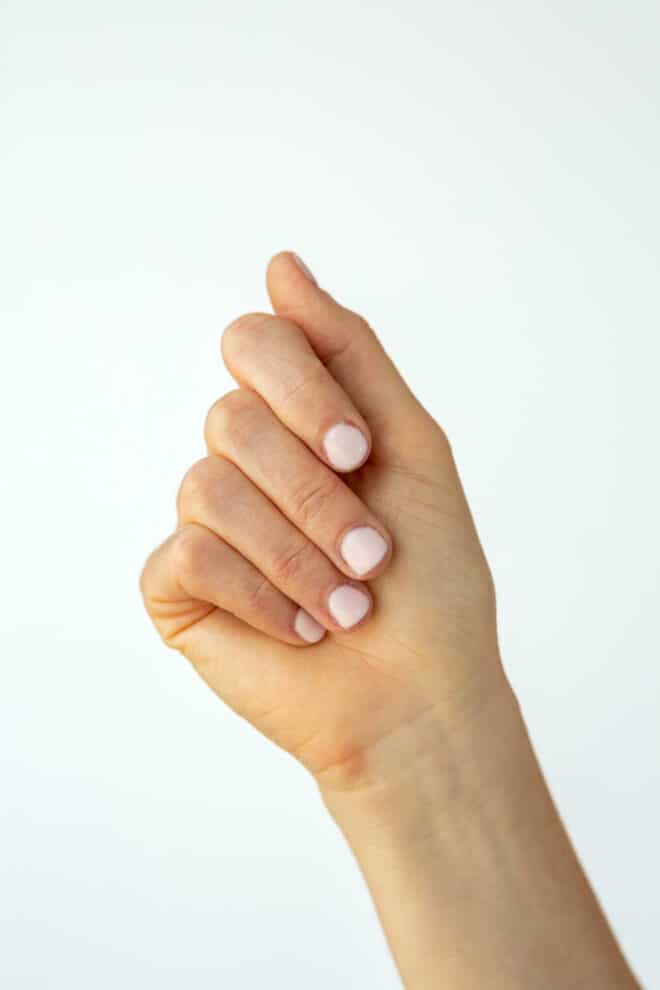
Nail Prep
The key to a great at home gel manicure is thorough nail prep. I have found that the cleaner and drier your nail beds are the longer the gel will last!


- Wash your hands – my first step is always a basic hand wash with warm soapy water.
- Clean up your cuticles – I use cuticle remover all over my nail bed. Once the cuticle remover has had a minute to sink in I gently push back my cuticles. I will trim them if needed with cuticle clippers.
- File and shape – next, I file and shape my nails and use a nail buffer to scuff the top of my nails including the free edge.
- Clean your nails – after my nails are scuffed up a bit, I use acetone nail polish remover to really clean the nail face. I tend to have an oily nail bed so I find that when I apply pH bond right before polish my manicure lasts forever!
Polish
Once your prep is complete its time for polish! I go through the process below with one entire hand and then do the other hand.


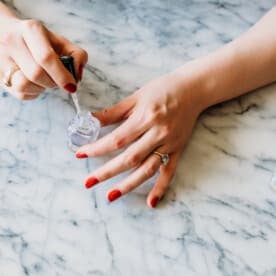
- Apply the base – I apply a thin coat of base (thin is key!) and then cure the base coat for 60 seconds in a UV nail lamp.
- Apply the color – once the base is cured, I apply a coat of my desired color and cure for 60 seconds. I repeat that process again. Depending on the color I will do two or three coats of color.
- Apply the topcoat – after the last coat of color is cured, I apply a topcoat with the same process. I make sure I get the tip of the nail, use only thin coats, and avoid any polish on the cuticles.
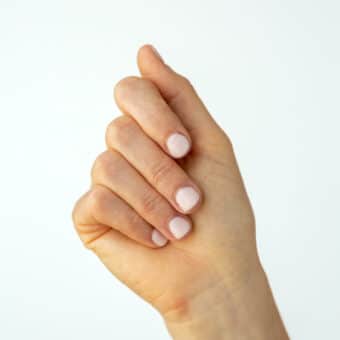
- Swipe with an alcohol wipe – after the topcoat is cured, I swipe each nail with rubbing alcohol. I repeat the same process on my other hand.
- Apply cuticle serum and lotion – once I have done both hands, I use cuticle serum and lotion on my hands.
How to Remove Gel Nail Polish at Home
I have found that gel polish can be hard on your nails if you don’t remove it correctly. I follow this process for removing my gel and it has saved my nails:
- Buff off the topcoat – first, I use my nail buffer to buff off the topcoat of my gel manicure. I don’t go crazy, but just enough to take the shine off.
- Apply polish remover – I then apply gel polish remover and wait for 10 minutes. Most of the gel polish will come off with a paper towel, but occasionally I use the scrapper tool in the kit to get the hard spots. If the gel isn’t coming off easily then I reapply the remover and wait a few more minutes.
- Wash hands – I wash my hands immediately after removing the gel polish!
If you are like me and cannot stand sitting in a manicure chair for too long or if there isn’t enough time in your day, I hope you’ll try doing a DIY gel manicure! Good luck!
More Favorite Nail Articles
Gel Nail Polish at Home
Ingredients
Instructions
- Wash your hands with warm soapy water.
- Apply the cuticle remover on your nail bed. Let it sit for a minute, then gently push back your cuticles.
- File and shape your nails.
- Use a nail buffer to scuff the surface of your nails.
- Use acetone polish remover to clean the surface of your nails.
- Apply a thin coat of base. Cure in the UV lamp for 60 seconds.
- Apply a coat of your desired color. Cure in the UV lamp for 60 seconds. Repeat this up to three times, depending on the color you're using.
- Apply the topcoat. Cure in the UV lamp for 60 seconds.
- Wipe each nail with an alcohol wipe.
- Apply cuticle serum and hand lotion.
Like this recipe?
Leave a commentJust for You
Beauty Articles
Want more articles like this?


I’m confused why you are using OPI products when in your Non Toxic nails article you have this listed as a brand to avoid. Can you explain?
Hi Jenni! First off, we apologize for not replying to your comment sooner. We dropped the ball on that. As for the OPI gel polish products, you’re right. They aren’t a safer brand, and for that reason, they aren’t recommended in our safer nail polish guide. While this is definitely a deviation from our typical beauty content, we feel that it is a really good option for someone looking for a salon-quality gel manicure. While Cassy (and the rest of the Fed & Fit team) does prioritize safer beauty, she also makes room for the occasional gel polish mani. If you aren’t comfortable with the OPI gel, we highly recommend Dazzle Dry – it’s a great long-lasting, safer option!