The first thing to tackle on your holiday how-to list? The turkey! We’re walking you through all things oven-roasted turkey so that you feel confident cooking up your own bird when the holidays roll around!
What is Thanksgiving dinner without a turkey?! I know, the turkey is typically cooked-to-perfection by the most competent cook at the gathering, and tackling your own whole turkey may feel a tad bit (okay, a lot bit) overwhelming — it doesn’t have to be, though! We’re here with you, and we’re going to get through this together, one oven-roasted turkey at a time!
How Much Turkey to Buy Per Person
An age-old question and one that deserves a definitive answer. You don’t want to buy too small of a turkey and not have enough for everyone sitting at the table, but you also don’t want to buy a HUGE bird and end up with more leftovers than you know what to do with. The general rule here is 1¼ pounds (or 20 ounces) per person. So, for two people, you’ll want a 2½-pound bird, for 4 people, you’ll want a 5-pound bird, and so on from there. Some say that 1 pound per person is enough, but we like to err on the side of having a little bit leftover rather than not having quite enough.
How to Defrost a Turkey
There are several ways to go about defrosting your frozen turkey, and because you’re working with raw meat, you’ll want to make sure that you use one of these methods so that your turkey defrosts safely and properly!
- In the Fridge – this method takes the longest, but it’s the one we recommend going with if you’ve got enough time. You’ll need to plan for about 24 hours in the fridge for every 5 pounds of turkey (24 hours total for a 5-pound turkey, 36 hours for a 7.5-pound turkey, 48 hours for a 10-pound turkey, etc.). Be sure to keep the turkey in its original vacuum-sealed wrapping, but set it in a baking pan in case there is a leak during the thawing process. Once thawed, you’ll need to cook your bird in about 3 days.
- In Cold Water – this is a much quicker way to thaw your turkey, so if you don’t have a ton of time, this is a great option. We recommend keeping your turkey in its original vacuum-sealed packaging but setting it inside a large leak-proof Ziplock in case of any leaks. You’ll need to plan for about 30 minutes in cold water for every pound of turkey, and in order to keep the water cold the entire time, you’ll want to change it out every 30 minutes also. Once thawed this way, you’ll need to cook your turkey immediately.


Do you need to brine turkey?
Before we get to the question at hand, let’s chat about why you’d want to brine a turkey in the first place. When you season the turkey just before cooking it, the seasoning stays on the surface of the bird. When you brine beforehand, though, the salt has a chance to penetrate the turkey so that every single bite is flavorful. Another huge benefit of brining is that it helps to lock in the moisture of the turkey, avoiding the age-old issue of a dried-out bird. All of this to say, if you’re short on time, skip the brine, but if you’ve got enough time for it, do it!
Dry Brine vs. Wet Brine for Turkey
What’s the difference between dry and wet brining? A wet brine can infuse the turkey with different flavors and lock in more moisture, but we choose dry brining because it is easier, provides plenty of flavor, and helps to create crispier skin (the salt pulls the moisture from the skin, making it easier to crisp at a lower temperature). This means you won’t have to bake your turkey at two temperatures to get the juicy meat + crispy skin combo…score!
How to Dry Brine a Turkey
Dry brining is essentially just rubbing a raw, thawed turkey with salt – pretty easy, right?! You’ll need about 1 tablespoon of coarse salt per pound of turkey, and while we do recommend coarse or kosher salt, you can still make it work with fine sea salt – you’ll just need to cut the amount of salt in half. You’ll start by rubbing salt in the cavity of the turkey, then move on to the outside of the turkey, separating the turkey skin from the breasts and rubbing the salt under the skin on each side. Once your turkey is fully rubbed with salt, let it sit in the fridge for 1-2 days before cooking!
Do I need to rinse the dry brine off my turkey?
Nope! There is no need to rinse the salt off your turkey, it should be perfectly-seasoned at this point.


What is the best seasoning for turkey?
We love going classic and seasoning our turkey with a garlic and herb butter! Here’s what we recommend using to season your turkey:
- Softened Butter
- Cracked Black Pepper
- Minced Garlic
- Fresh Herbs (we used a mixture of thyme, sage, and rosemary)
You’ll simply mix together the softened butter, pepper, garlic, and chopped herbs, then rub it under the skin of the turkey breast and all over the outside of the turkey. This will help create perfectly-crisp skin, as well as flavorful turkey.
What to Cook a Turkey In
When it comes to oven-cooking turkey, we prefer to use a good ole deep roasting pan. These pans come with a roasting rack so that the turkey stays elevated, separating the bird from the pan juices and allowing the skin to get nice and crispy. We love THIS roasting pan, and THIS one is great too!
How Long to Cook a Turkey
As with everything else in this guide, the answer to this question really depends on the size of the turkey you’re cooking. The cooking time rule of thumb here is to roast your turkey breast-side up for 15 minutes per pound of turkey. Before pulling your turkey from the oven, be sure to check to make sure that the thickest part of the turkey reads 165 degrees F (THIS meat thermometer is our favorite!).
Temperature for Roasted Turkey
As we mentioned earlier, when you dry brine a turkey, there’s no need for a temperature change to get extra crispy skin! For a juicy inside and a nice, crisp outside, we keep our oven at 325°F the whole time. Keep an eye on the turkey near the end of the cooking time – if it’s starting to get too brown, simply place a piece of aluminum foil over the top of it.
How to Tell When Turkey is Done
You’ll know that your turkey is ready to come out of the oven when the internal temperature of the thickest part of the turkey reads 165°F and the legs begin to pull away easily from the turkey.


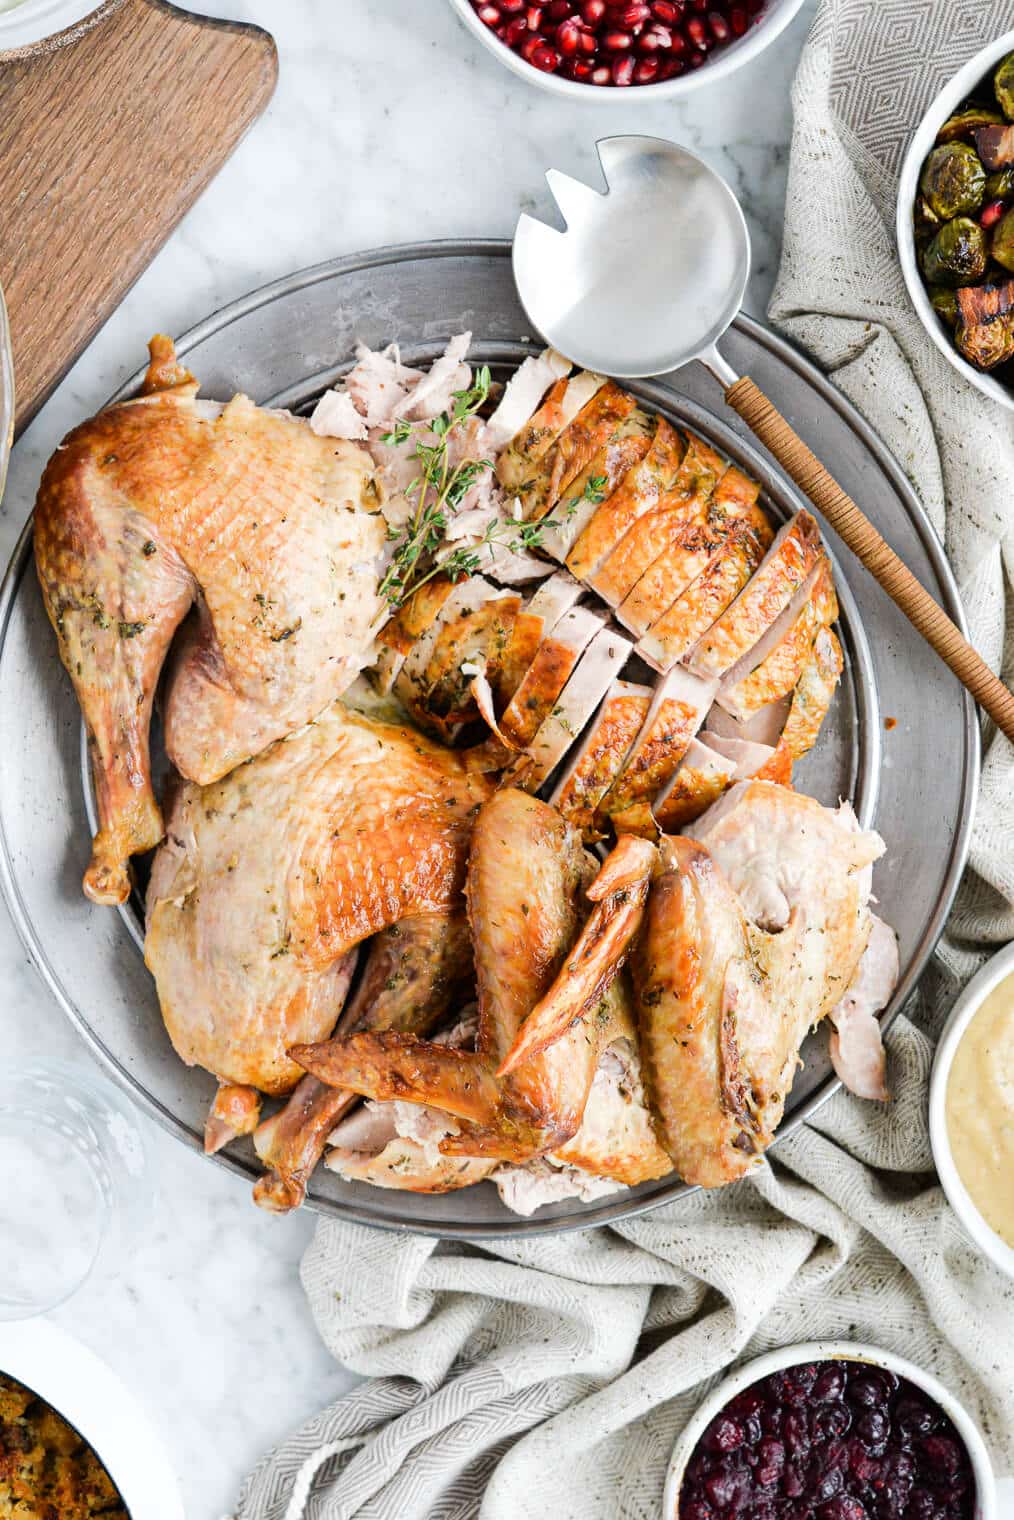
How to Carve a Turkey
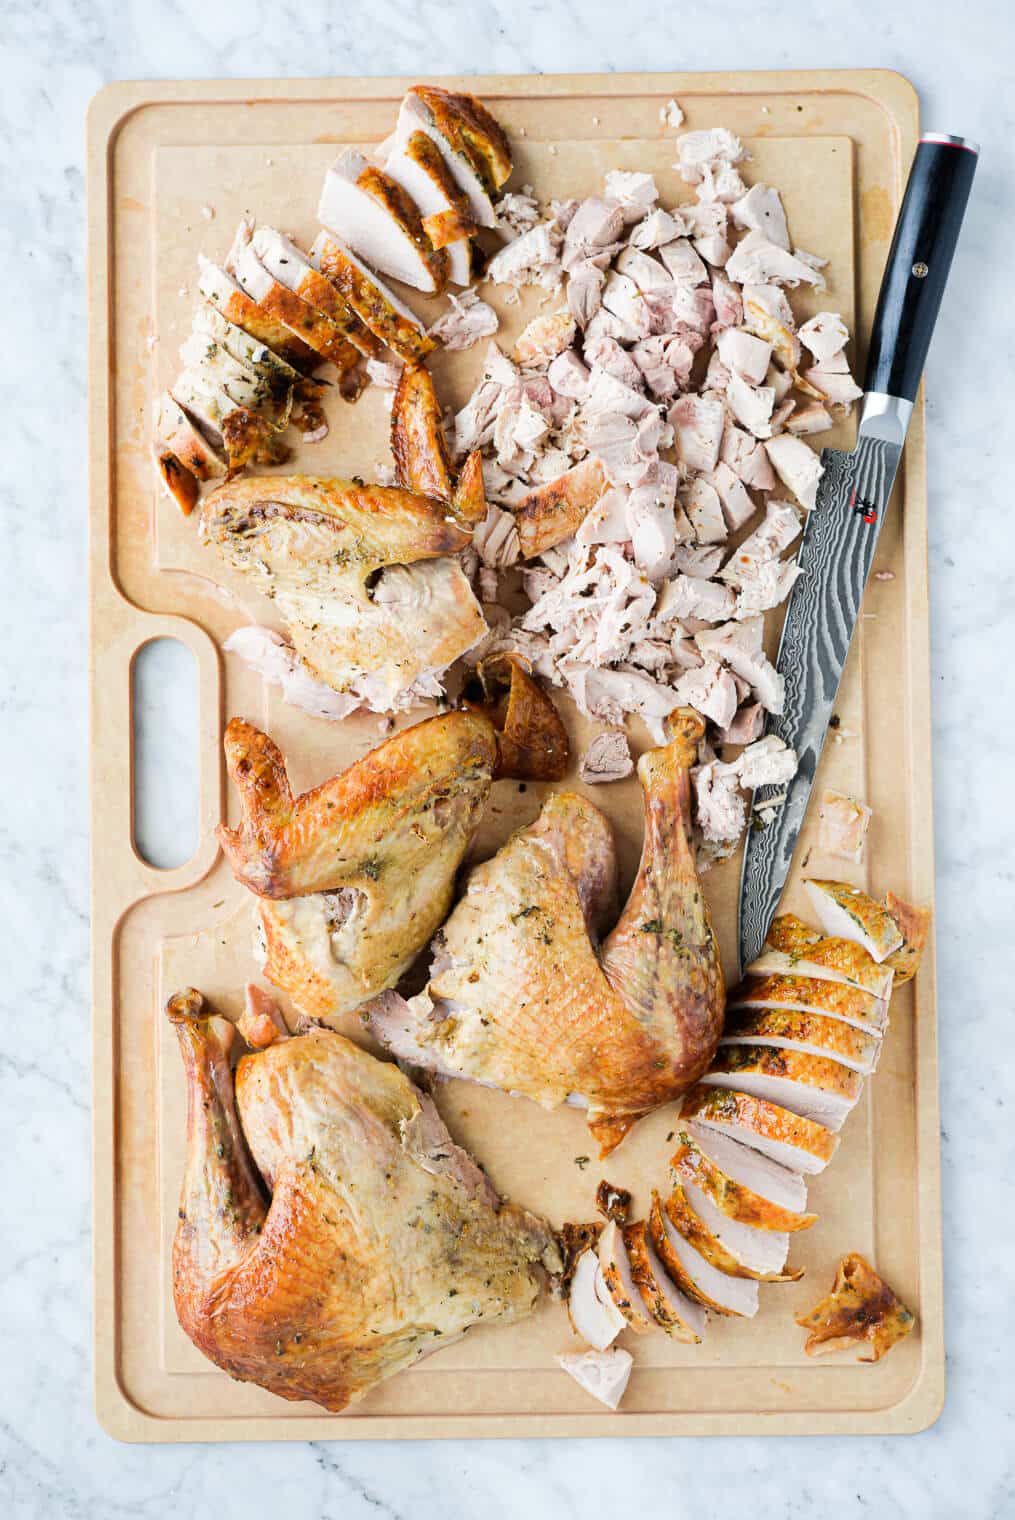
Carving a turkey isn’t nearly as intimidating as it sounds! You’ll want to let your turkey rest for at least 30 minutes, and while it’s resting, you’ll need to grab a few supplies: a large cutting board, a sharp knife (a chef’s or carving knife works great here), a serving platter, tongs, and plenty of paper towels. If your turkey is on the larger side, you may want to invest in an electric knife, but it isn’t a requirement! To carve a turkey, you’ll:
- Make a cut from the top of the breast to the bottom near the breast bone going all the way down, then another cut lengthwise along the side of the breast. Once you do this, you should be able to pull off the breast. Repeat on the other side of the turkey, then slice the meat and transfer to a serving platter.
- Using your hands, grab the leg and pull it away and down from the turkey until you hear the joint pop, then use the knife to fully cut through the joint. Then, pull apart the leg and thigh, until you hear another pop, and separate the two with a knife. Repeat on the other side.
- Next, pull back the wing to pop it out of the joint, then use the knife to fully separate the wing from the turkey. Repeat for the other wing.
- Pull off any remaining turkey meat and transfer to a serving platter.
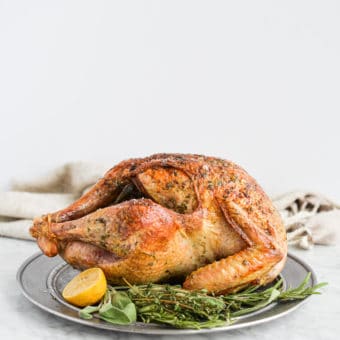
Can I stuff my turkey?
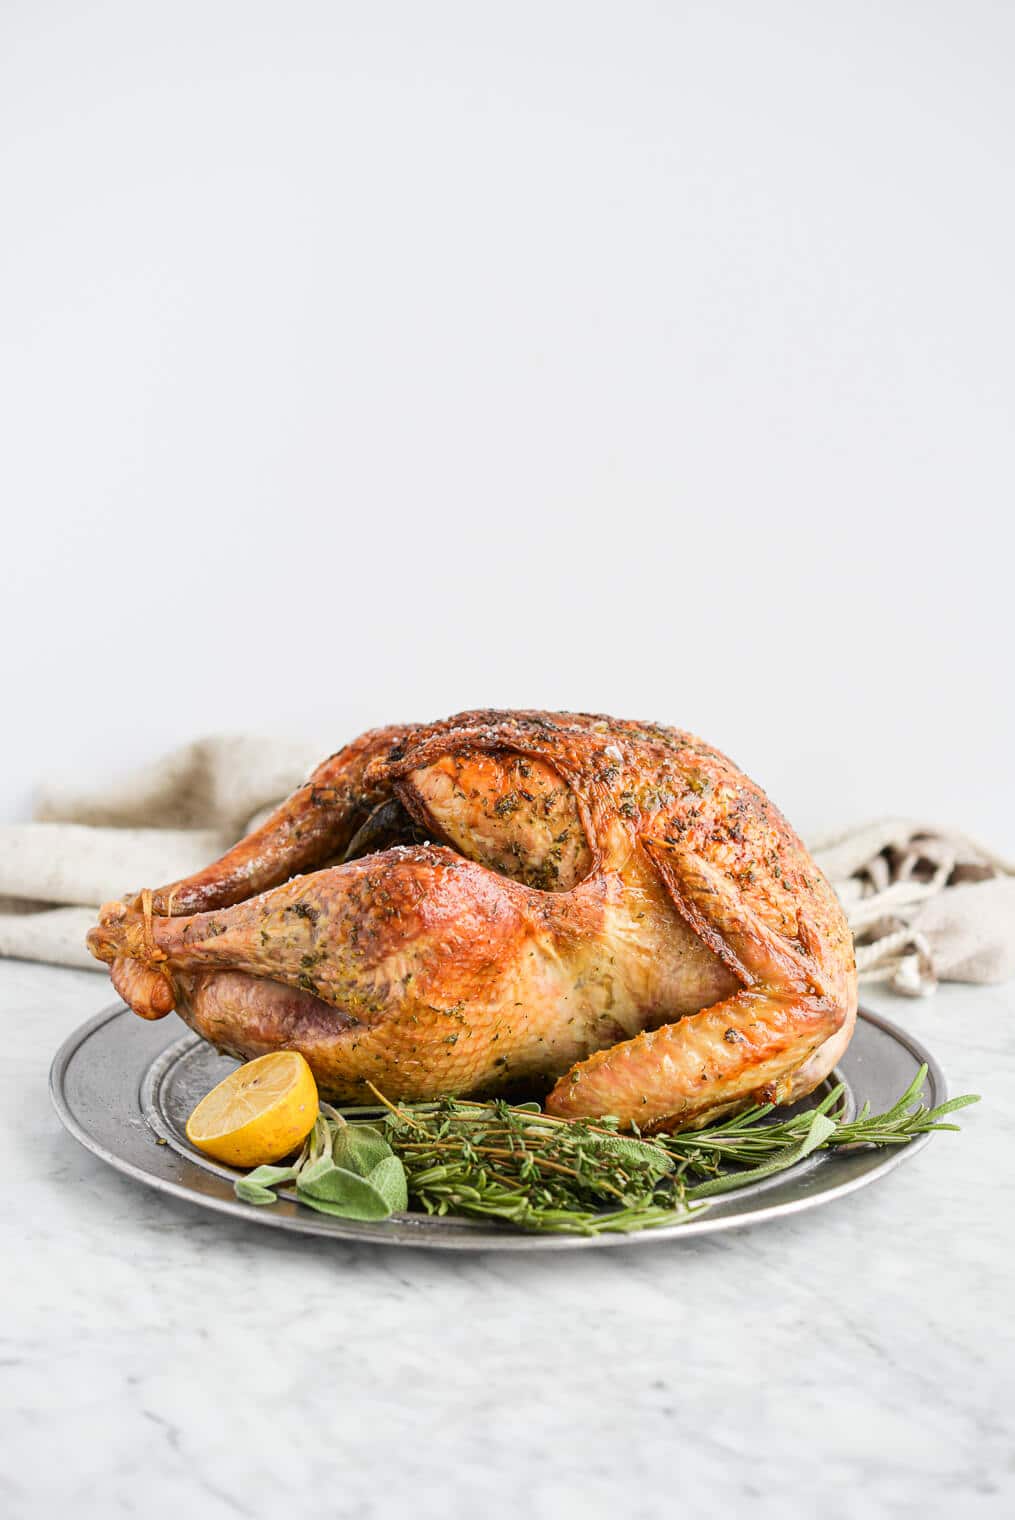
While a stuffed turkey may seem like the traditional way to go, we actually don’t recommend it. Generally, when a turkey is stuffed, you have to cook it for a longer amount of time, and your turkey inevitably dries out. To avoid this, we think serving your stuffing on the side is the best way to go! Instead of stuffing, we recommend stuffing your bird with aromatics like citrus, garlic, and herbs. We used a few sprigs of rosemary, thyme, and sage along with a halved orange and a lemon!
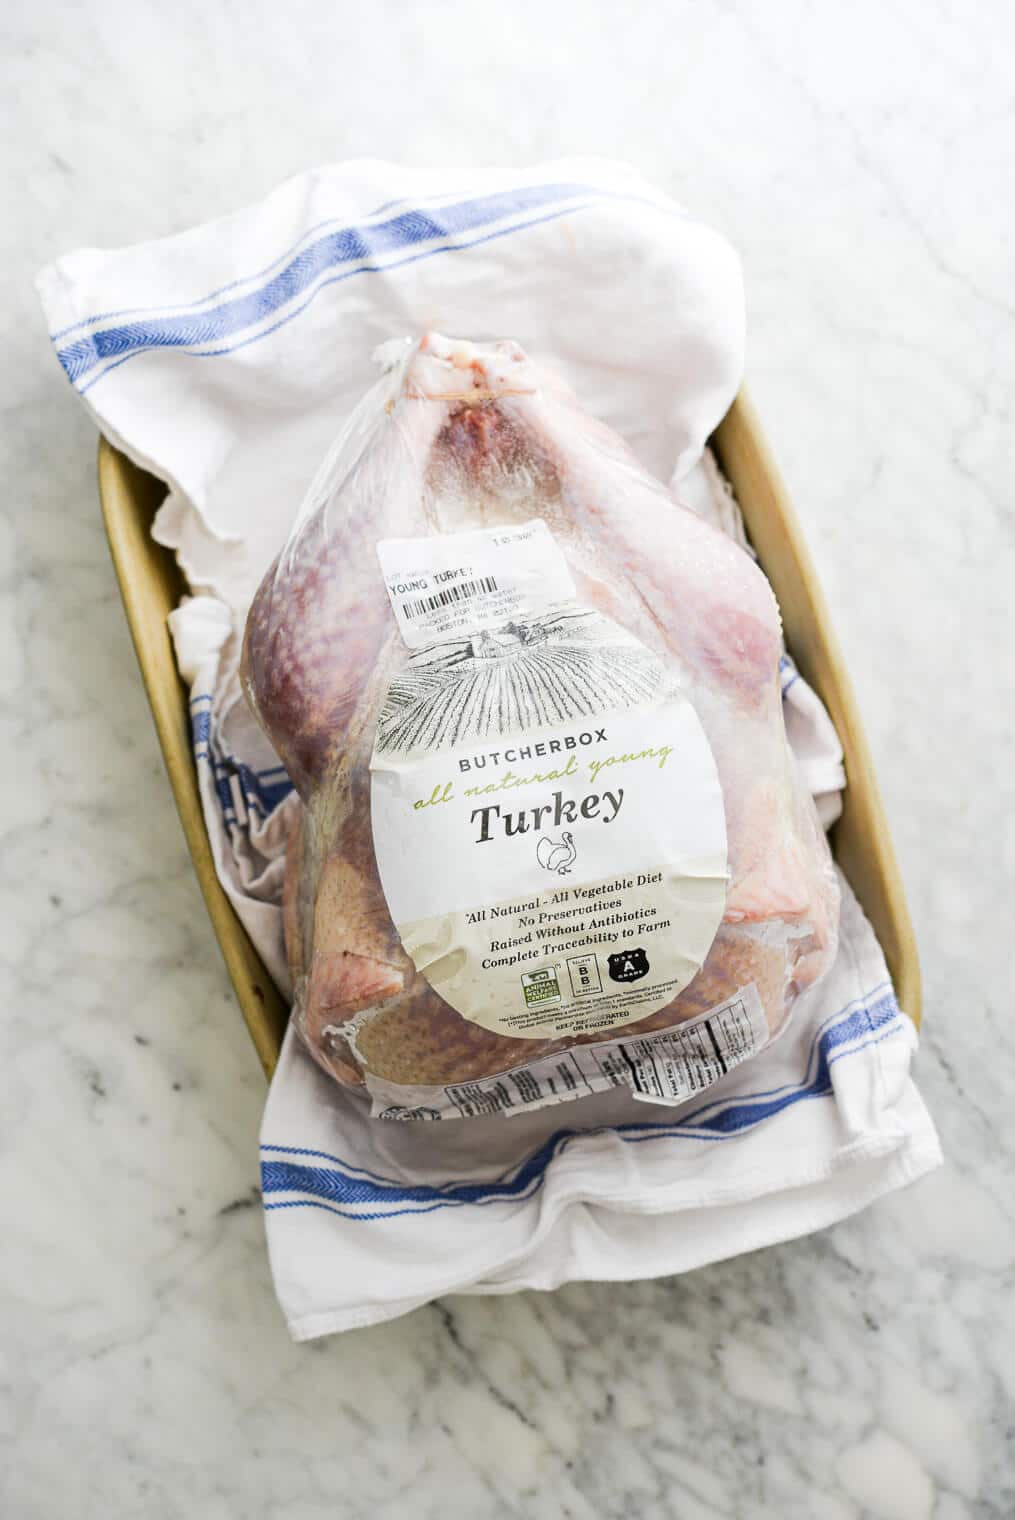
We believe the quality of your bird is *so* important, and we really believe in the quality of the meat that ButcherBox delivers. Right now (through November 15th), if you sign up as a new ButcherBox member (to get high-quality protein delivered to your doorstep each month!), you’ll receive a FREE humanely raised, free-range 10-14 pound turkey in your first box. AMAZING! Sign up to receive your FREE turkey HERE!
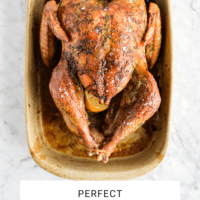
We hope you and your family love this easy roasted turkey!
Perfect Roasted Turkey
Ingredients
- 1, 12-16 pound turkey thawed
- 2-3 tablespoons coarse or kosher salt use about 1 tablespoon for every 5 pounds of meat
- 1 teaspoon dried sage
- 1 teaspoon dried thyme
- 1/2 teaspoon cracked black pepper
- 1 stick 8 tablespoons butter, softened
- 4 cloves garlic minced
- 2 tablespoons chopped fresh herbs we used a mixture of thyme, sage, and rosemary
- 1 lemon halved
- 1 orange quartered
- Fresh herb sprigs we used a mixture of thyme, sage, and rosemary
- Twine for tying the turkey
Instructions
- 2-3 days before you'll be cooking your turkey, remove it from its packaging, take out the giblet package, pat it dry, and place it in a roasting pan.
- Sprinkle 2 teaspoons of the salt mixture in the turkey cavity, then separate the turkey skin from the breasts and put one teaspoon of the salt mixture under the skin on each side. Sprinkle the rest of the brine liberally over the turkey, then cover and refrigerate for 1-2 days.
- The night before you are going to roast the turkey, remove the covering from the turkey and let it sit in the refrigerator uncovered overnight.
- When you're ready to roast the turkey, pull it out of the fridge and let it sit for about 30 minutes, then preheat the oven to 325 F and move your oven rack to the lower position.
- In a small bowl, mix together the softened butter, garlic, and herbs.
- Pat the turkey dry, then place it in a roasting pan and rub about 1 tablespoon of butter under the skin of each breast. Rub the remaining herb butter over the entire turkey. If you're having trouble spreading the butter over the turkey, microwave it in 5-second intervals to soften it further until it reaches a spreadable consistency.
- Stuff the cavity of the turkey with the lemon, orange, and about 5 sprigs of fresh herbs, then tie the legs with the kitchen twine.
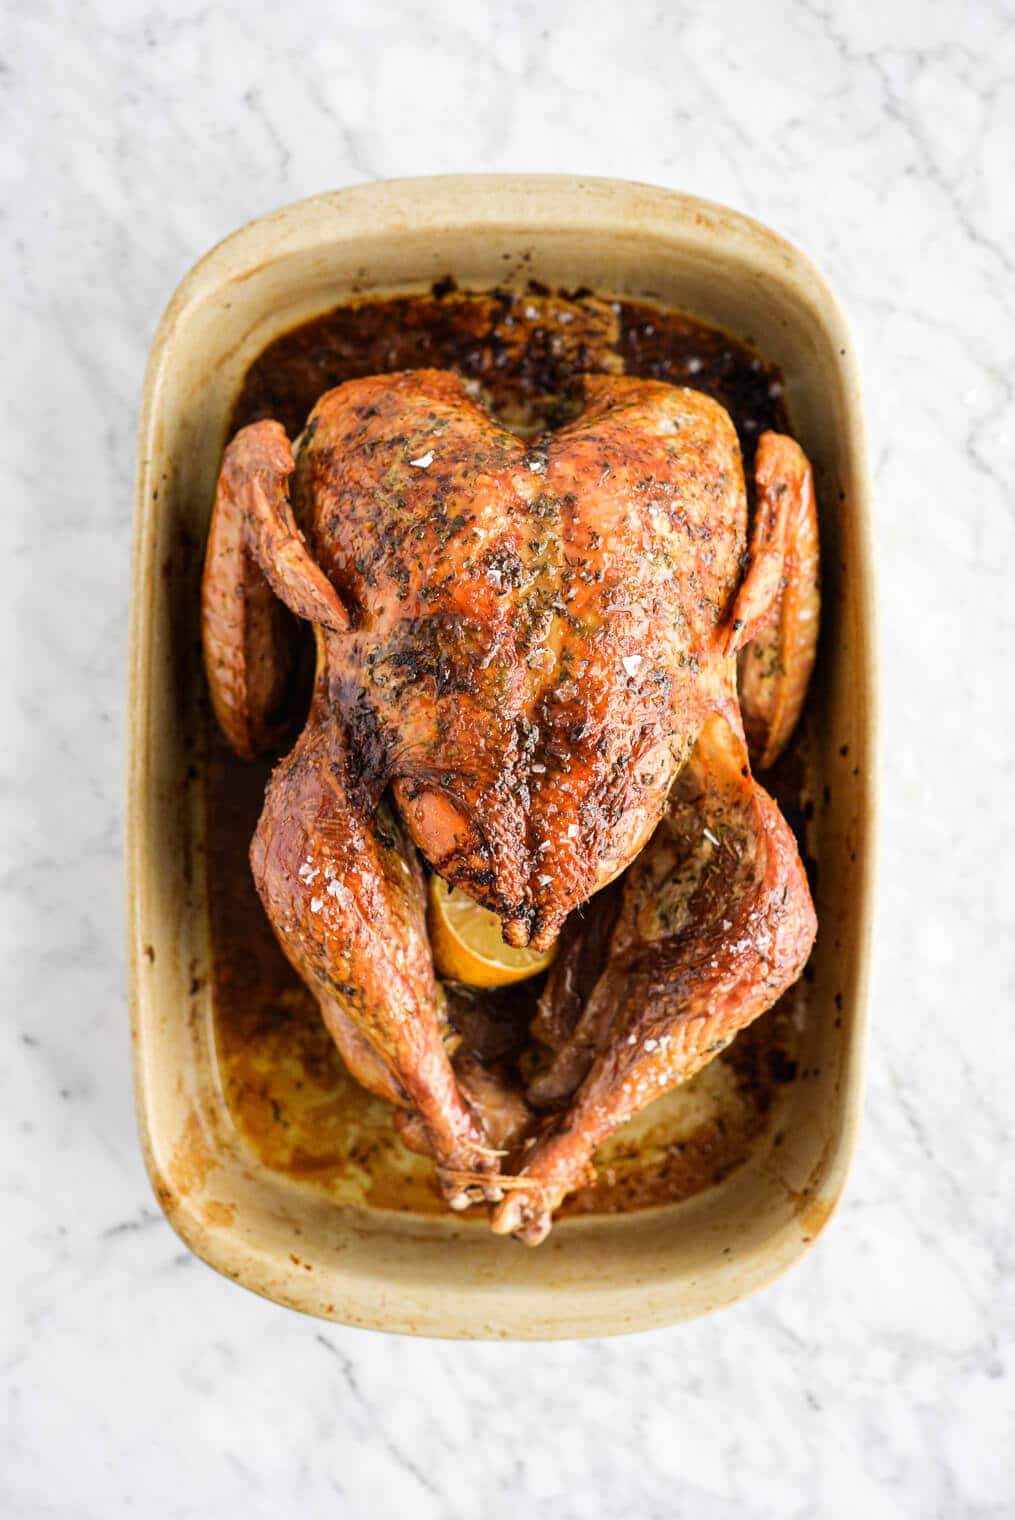
- Place the turkey in a roasting pan breast-side-up, then cook for about 3-4 hours (or 15 minutes per pound), or until a thermometer inserted into the thickest part of the turkey thigh registers 165 F and the legs begin to pull away easily from the turkey.
- Transfer to a cutting board and let rest for 30 minutes before carving and serving.
Recipe Notes
- For dairy-free: use olive oil in place of butter.


Perfect! The dry brine could not be easier and so tasty. This was the first year I actually had the turkey totally defrosted ahead of time and it worked so much better (haha). Thank you!
Yay, Anna! We are so glad to hear that the dry brine was a success! Thank you for taking the time to share with us. -Team FF
I always wanted to dry brining our turkey however the wet method was too intimidating and difficult for our 20lb turkeys we get every year from our farmer. Stubbled upon this recipe and am so excited to see the end result! Turkey is sitting in the fridge with it’s dry brine waiting for tomorrow. We spatchcock to save the trouble of having to cook for 5 housers as opposed to 2 but I’m sure the end result will be just as good! Hoping to impress the in-laws – fingers crossed!
I hope it went well, Jamie!!
This guide was everything I needed and more as I was preparing Thanksgiving for the very first time this year. I felt fully confident throughout each step and the end result was an absolute stunner!! I can’t thank the Fed and Fit team enough for all the work that went into this!
Amazing! We’re so so glad, Lindsey!!
Does the turkey need to be fully thawed before brining? Or can I do that step while it is frozen/ thawing in the refrigerator?
Fully defrosted is best, Jenny, but if it’s a little bit frosty, that should be okay!