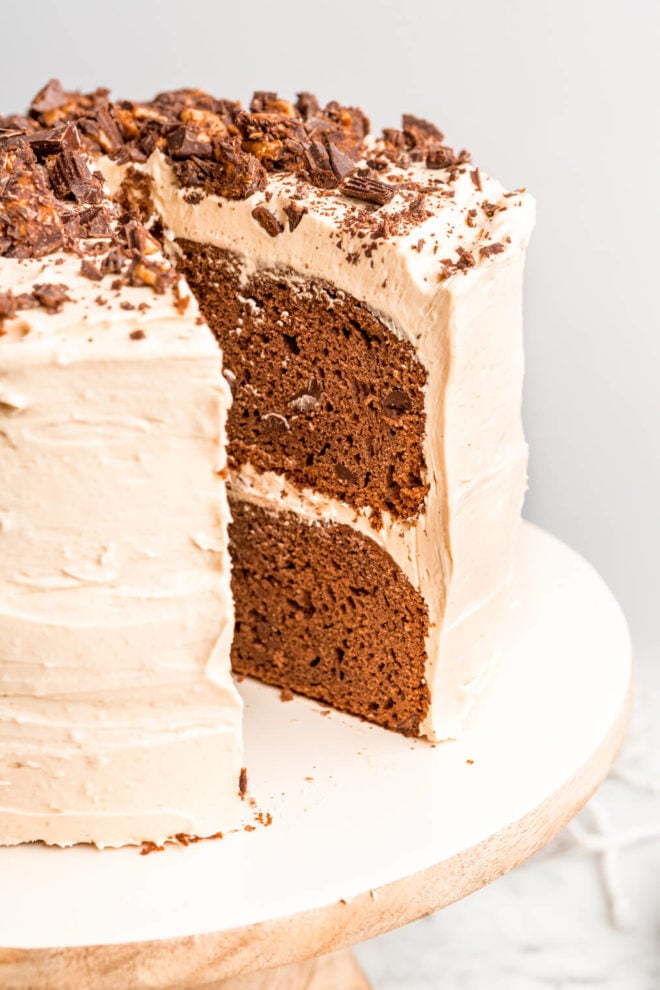
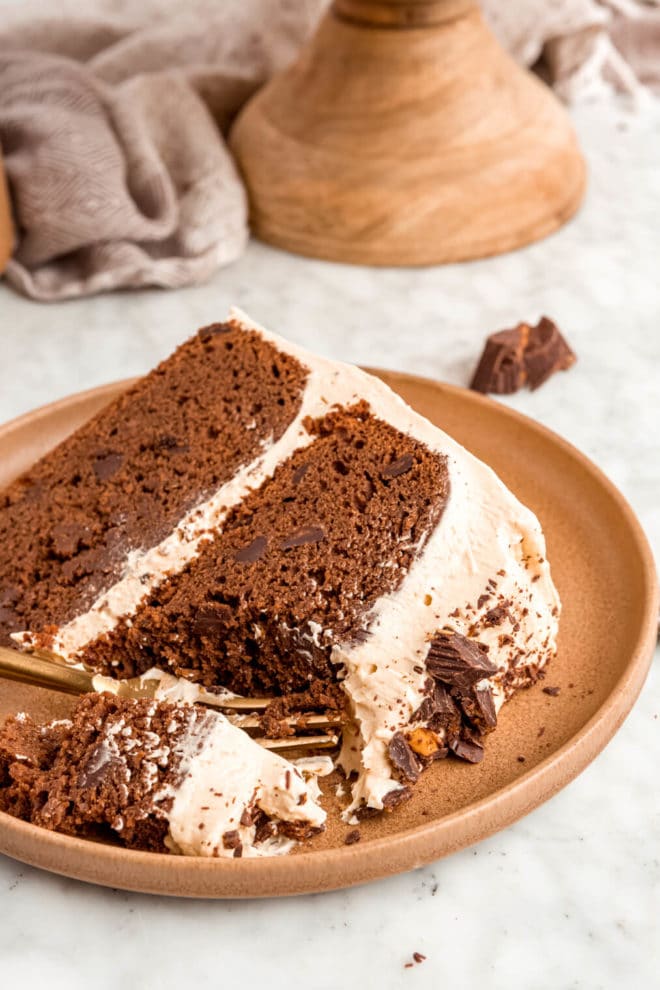
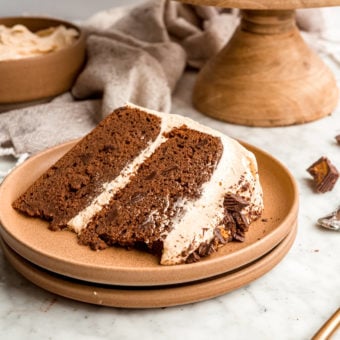
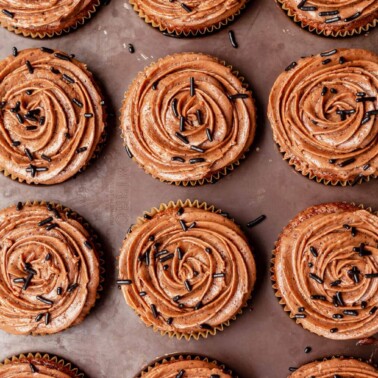
This isn’t your typical chocolate cake. It’s dense, not-too-sweet, and incredibly satisfying!

Why You’ll Love this Chocolate Peanut Butter Cake Recipe
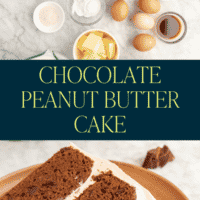
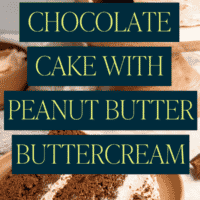
I created this chocolate cake with peanut butter buttercream for my dear friend, Juli Roth! I got to attend her baby shower in Denver, CO and had the honor of bringing the cake (+ a few fun mocktails). In a “do unto others as you’d have them do unto you” moment, I went first to Juli to ask her what flavors she’s craving. She said that she loves chocolate peanut butter, so that’s what I set out to create!
I tried several recipes out there, attempting my own gluten-free substitutions, and none of them really impressed me. So, I got to work creating my own. If you’re familiar with my work, you know that I have a strong bias for no-fluff, no extra steps, easy recipes. That said, this recipe does require a little extra love…and it’s worth it.
The cake is make-ahead friendly (follow our tips below for the best results) and the peanut butter buttercream is light, fluffy, and spreads beautifully. I have a feeling we’ll be making this exact dense, nearly brownie-like, peanut butter cup-reminiscent cake for years and years to come. I hope it’s as special for you as it is for me.
Ingredients
Here’s everything you’ll need to make the most delicious gluten-free chocolate cake:
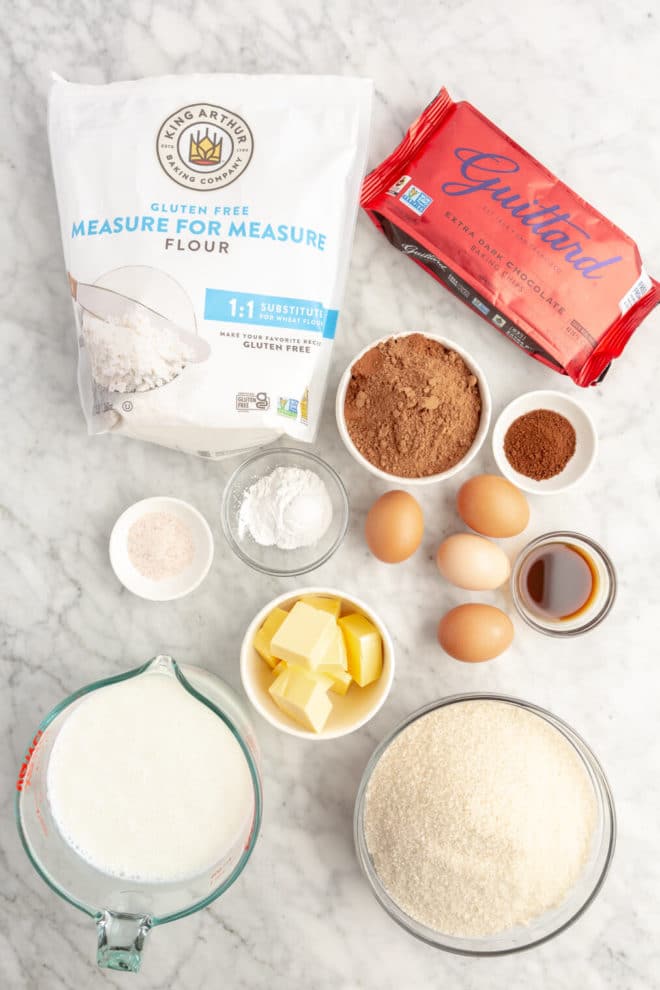
For the Cake
- 4 cups of flour (we use this one for gluten-free)
- 4 cups of white sugar
- 1 cup of cocoa powder
- 2 cups of chocolate chips
- 4 eggs at room temperature
- 3 cups of buttermilk
- 6 teaspoons of baking powder
- 2 teaspoons of salt
- 2 teaspoons of espresso powder
- ⅔ cup of butter
- 2 tablespoons of vanilla
- Peanut butter cups, for decorating (optional)
For the Peanut Butter Buttercream
- 1 pound of softened butter
- ⅔ cup peanut butter
- 3 cups of powdered sugar
- ¼ cup of heavy cream
How to make Chocolate Peanut Butter Cake
The process is pretty simple – here’s how you’ll pull this show-stopping chocolate cake off (complete with the yummiest peanut butter buttercream):


- Prep – preheat the oven to 350°F. Prepare your cake pans by rubbing butter all over the sides and bottom. Then, cut two circular pieces of parchment paper to place in the very bottom of the cake pans.
- Whisk dry ingredients – in a large bowl, whisk together the flour, sugar, cocoa powder, baking powder, and salt.
- Set up a double broiler – prepare a double boiler by adding 2-inches of water in a medium saucepan over high heat. Bring to a simmer, then reduce the heat to keep the water at a slow simmer. Add a large glass or metal bowl over top, making sure the fit is snug and the bottom of the bowl does not touch the water.
- Combine the wet ingredients – to the large glass or metal bowl, whisk the butter and buttermilk together over the heat until the butter is totally melted. Add the espresso powder (or instant coffee), eggs, and vanilla, then whisk to combine.
- Add the wet ingredients to the dry – pour the wet, combined ingredients into the bowl with the dry ingredients and whisk until smooth.
- Bake – divide the batter between the two prepared cake pans and bake for 1 hour until a knife comes out (from the center) clean.
- Make the frosting – while the cakes are in the oven, make the frosting. To do this, you’ll need to add all of the ingredients to a stand mixer with a whisk attachment. Starting on low speed, mix the ingredients until combined, then increase the speed to medium-high speed and mix until smooth.
- Let cool and then remove from pan – let the cakes cool for 30 minutes in the pan, then transfer them to a wire rack (run knife along sides and then flip over to remove from pan).
- Let cool and then frost – let the cakes cool completely on the wire rack, then ice or frost as desired.
Tips for the Best Peanut Butter Frosting
- Use high-quality peanut butter – the peanut butter aisle is loaded with options! Choose one that just includes peanut butter and salt – that’ll give a nice salty hint to the sweet buttercream frosting.
- Don’t overbeat the frosting – overbeating the frosting will create air bubbles – this isn’t a huge deal, but it definitely won’t look as pretty.
- Make sure the butter is softened – be sure to let your butter come to room temperature before adding it to the mixer. Letting it sit on the counter for at least 30 minutes should do the trick.
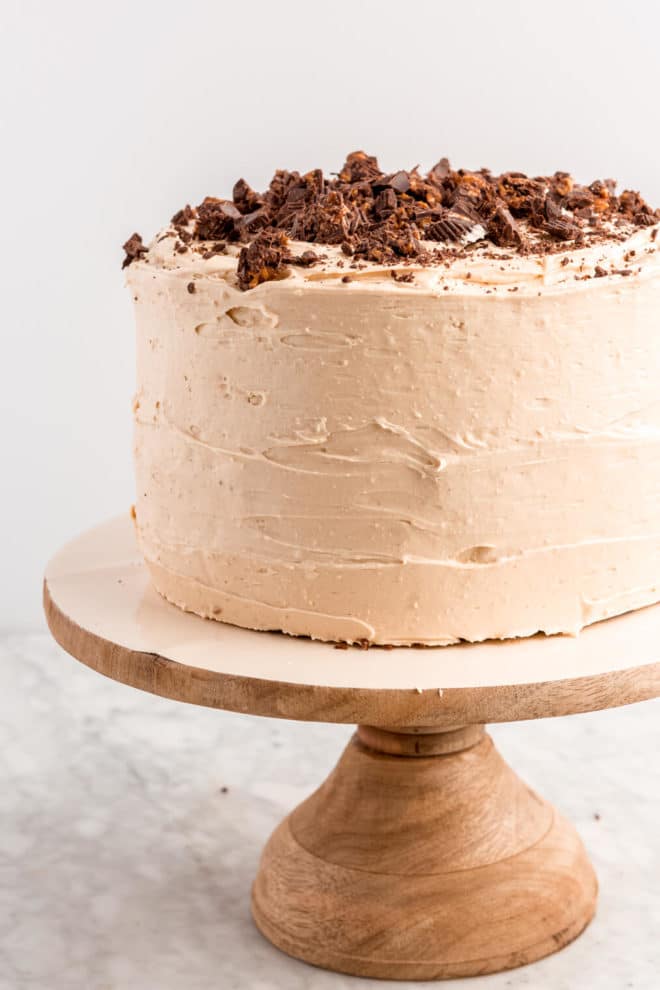
How to Assemble a Layer Cake
To assemble your chocolate cake, simply stack the two layers with a dollop of frosting in between (so that they stay together), then spread a very thin layer of frosting on the entire cake, and stick it in the freezer for 30 minutes – this “crumb coat” will make it so that your finished and fully frosted cake is free of crumbs! After 30 minutes, pull the cake out and apply a thick layer of frosting to serve.
Can I make this cake ahead? How do I store it?
Absolutely! I actually made this cake ahead of time (and flew with it!) for Juli’s baby shower. Here are my best tips:
- If you’re making your cake ahead of time, I recommend fully baking the cakes, letting them cool, and then wrapping them in plastic wrap (or parchment and then plastic wrap) to store until you’re ready to frost. This will keep your cake from drying out. If you’re going this route, feel free to store the wrapped cake layers on the counter.
- If you’d like to fully frost your cake ahead of time, be sure to store it in the fridge. Let it sit out at room temperature for a couple of hours before you’re ready to serve it.
- If you want to make your cake months in advance, simply wrap each layer (unfrosted) in parchment paper, then plastic wrap, and store in the freezer for up to 3 months. Let it thaw in fridge for a couple of days before serving.
Just for You
Dessert Recipes
Want more recipe ideas like this?
Best Chocolate Layer Cake with Peanut Butter Frosting
Ingredients
For the Cake
- 4 cups all-purpose or gluten-free flour
- 4 cups white sugar
- 1 cup cocoa powder
- 6 teaspoons baking powder
- 2 teaspoons salt
- ⅔ cup butter
- 3 cups buttermilk
- 2 teaspoons espresso powder
- 4 eggs room temperature
- 2 tablespoons vanilla extract
- 2 cups chocolate chips
- Peanut butter cups for garnish
For the Peanut Butter Buttercream
- 1 pound butter softened
- ⅔ cup peanut butter
- 3 cups powdered sugar
- ¼ cup heavy cream
Instructions
- Preheat the oven to 350°F. Prepare your cake pans by rubbing butter all over the sides and bottom. Then, cut two circular pieces of parchment paper to place in the very bottom of the cake pans.
- In a large bowl, whisk together the flour, sugar, cocoa powder, baking powder, and salt.
- Prepare a double boiler by adding 2-inches of water in a medium saucepan over high heat. Bring to a simmer, then reduce the heat to keep the water at a slow simmer. Add a large glass or metal bowl over top, making sure the fit is snug and the bottom of the bowl does not touch the water.
- To the large glass bowl, whisk the butter and buttermilk together over the heat until the butter is totally melted. Add the espresso powder (or instant coffee), eggs, and vanilla, then whisk to combine.
- Pour the wet, combined ingredients into the bowl with the dry ingredients and whisk until smooth. Stir in the chocolate chips.
- Divide the batter between the two prepared cake pans and bake for 1 hour or until a knife comes out (from the center) clean.
- While the cakes are in the oven, make the frosting. To do this, you’ll need to add all of the ingredients to a stand mixer with a whisk attachment. Starting on low speed, mix the ingredients until combined, then increase the speed to medium-high speed and mix until smooth.
- Let the cakes cool for 30 minutes in the pan, then transfer them to a wire rack (run knife along sides and then flip over to remove from pan).
- Let the cakes cool completely on the wire rack, then ice or frost as desired.


What do you think it would be like if I made this recipe using cacao powder instead of cocoa, and if I swapped the white sugar for panela sugar (unrefined cane sugar)? Just wondering as I’m trying to use the cleanest ingredients as I can, but would love to make this!
Those swaps should be totally fine, Carrie! The texture may be slightly different, but it should still be delicious!
What size cake pans does this recipe call for? I couldn’t find in anywhere above! Thanks!
Hi Kathryn! We used 9-inch round cake pans!
This makes wayy too much for 2 pans. I had a huge mess in my oven from it overflowing. Are the measurements correct?
Oh no, Sarah! We are so sorry you had this experience. We know how incredibly frustrating it is when a recipe doesn’t turn out and when there’s a mess that happens because of it. The measurements are correct (they are really big cake layers), but we have not had any issues with our pans overflowing when we’ve made this recipe. It’s so hard to know exactly what happened since we aren’t there in the kitchen with you. -Team FF