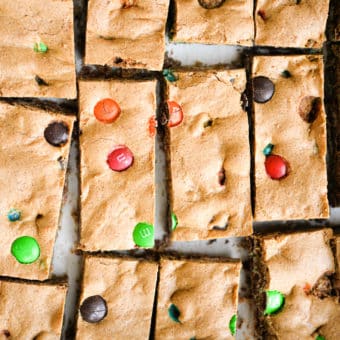
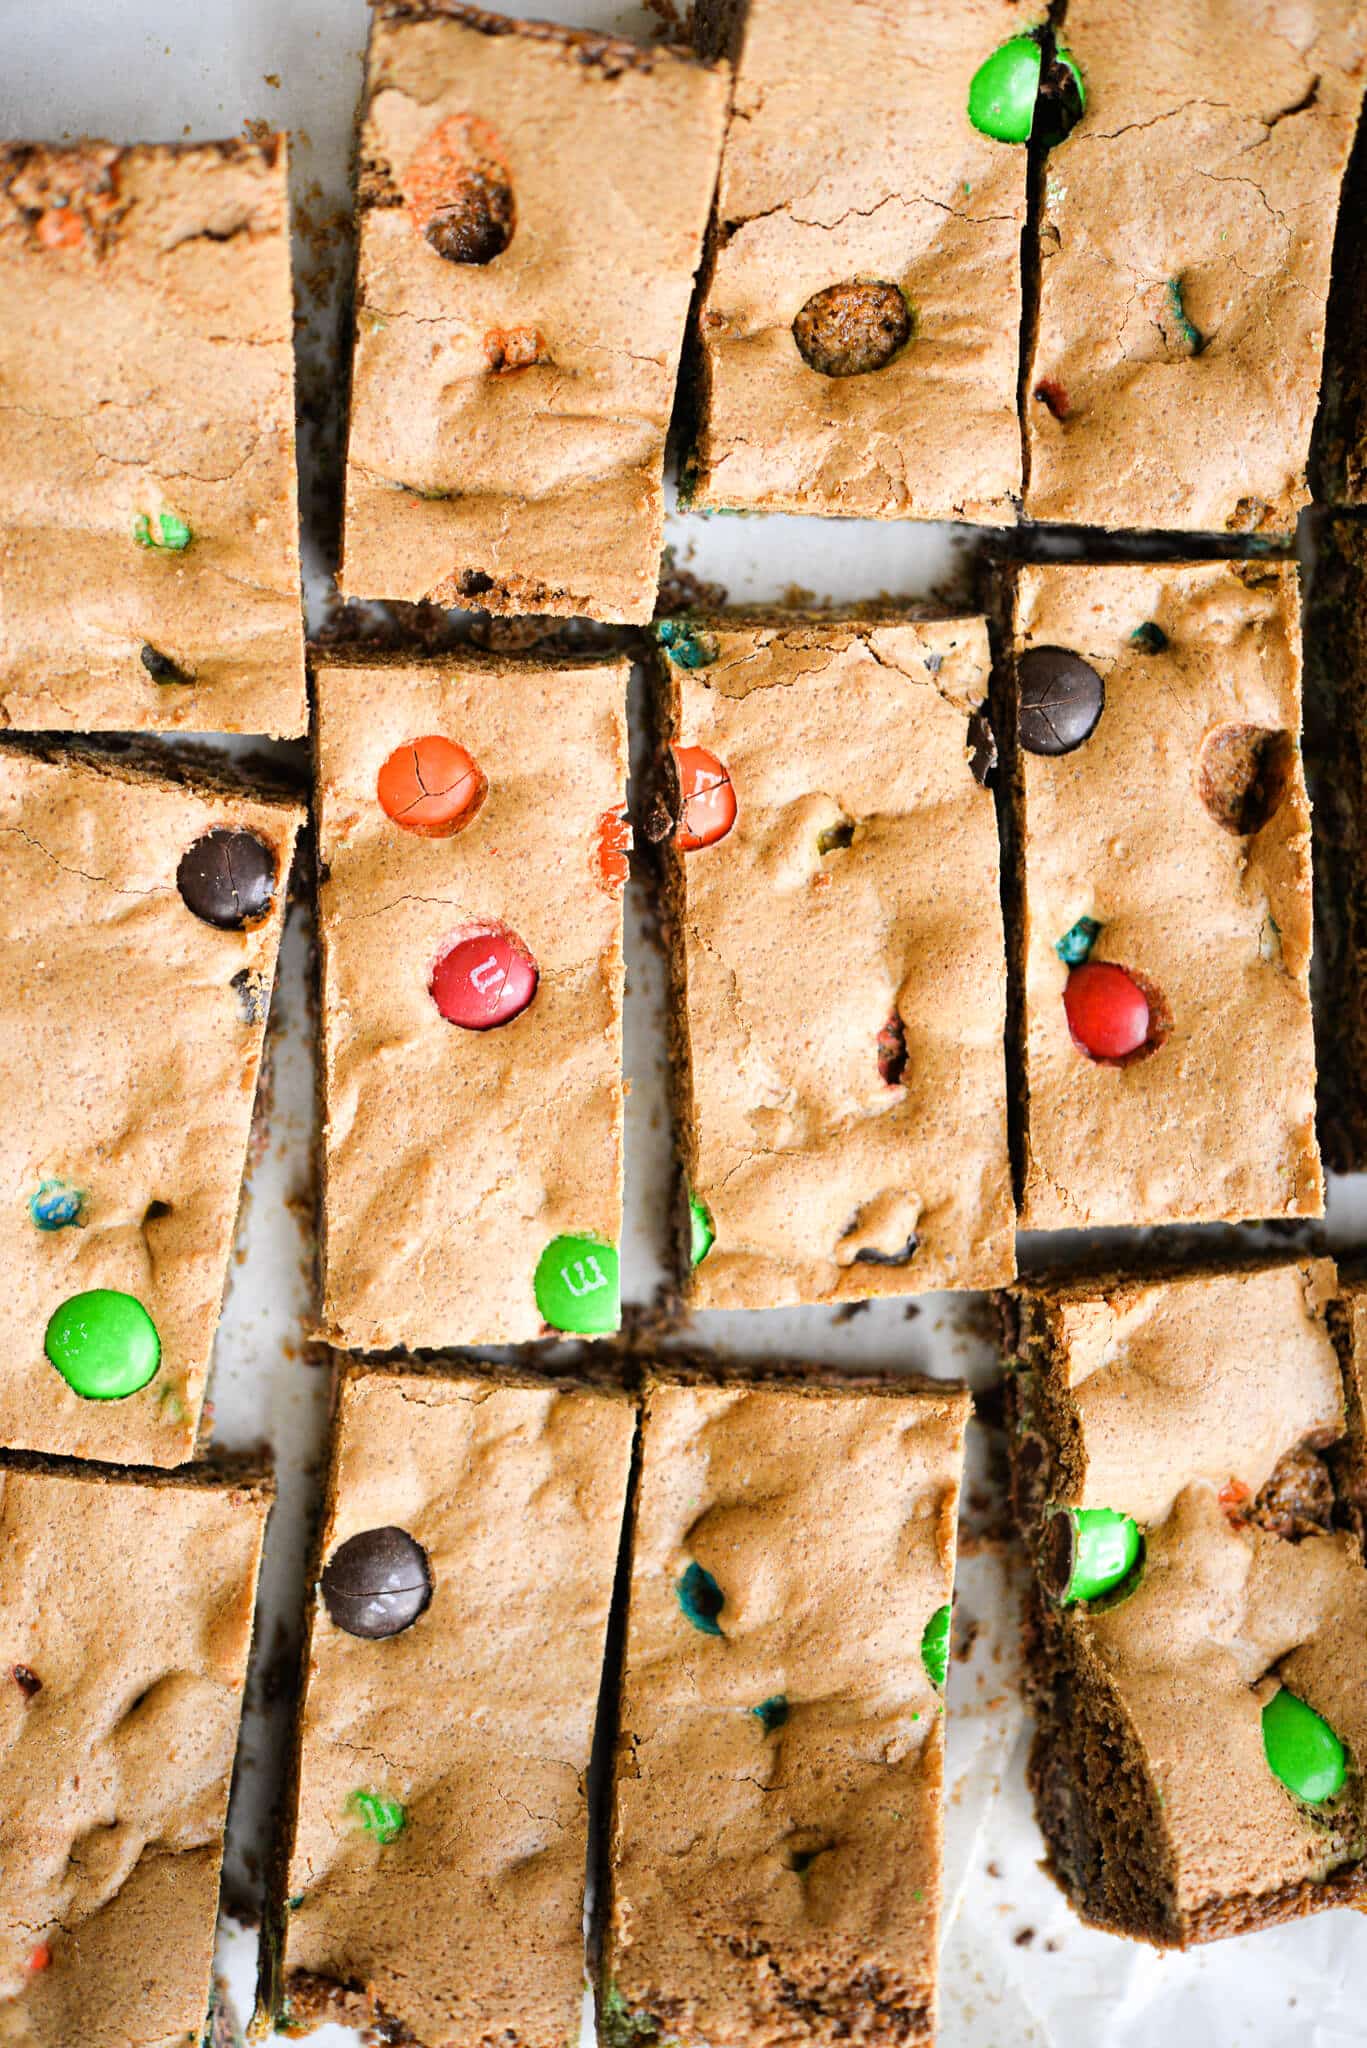
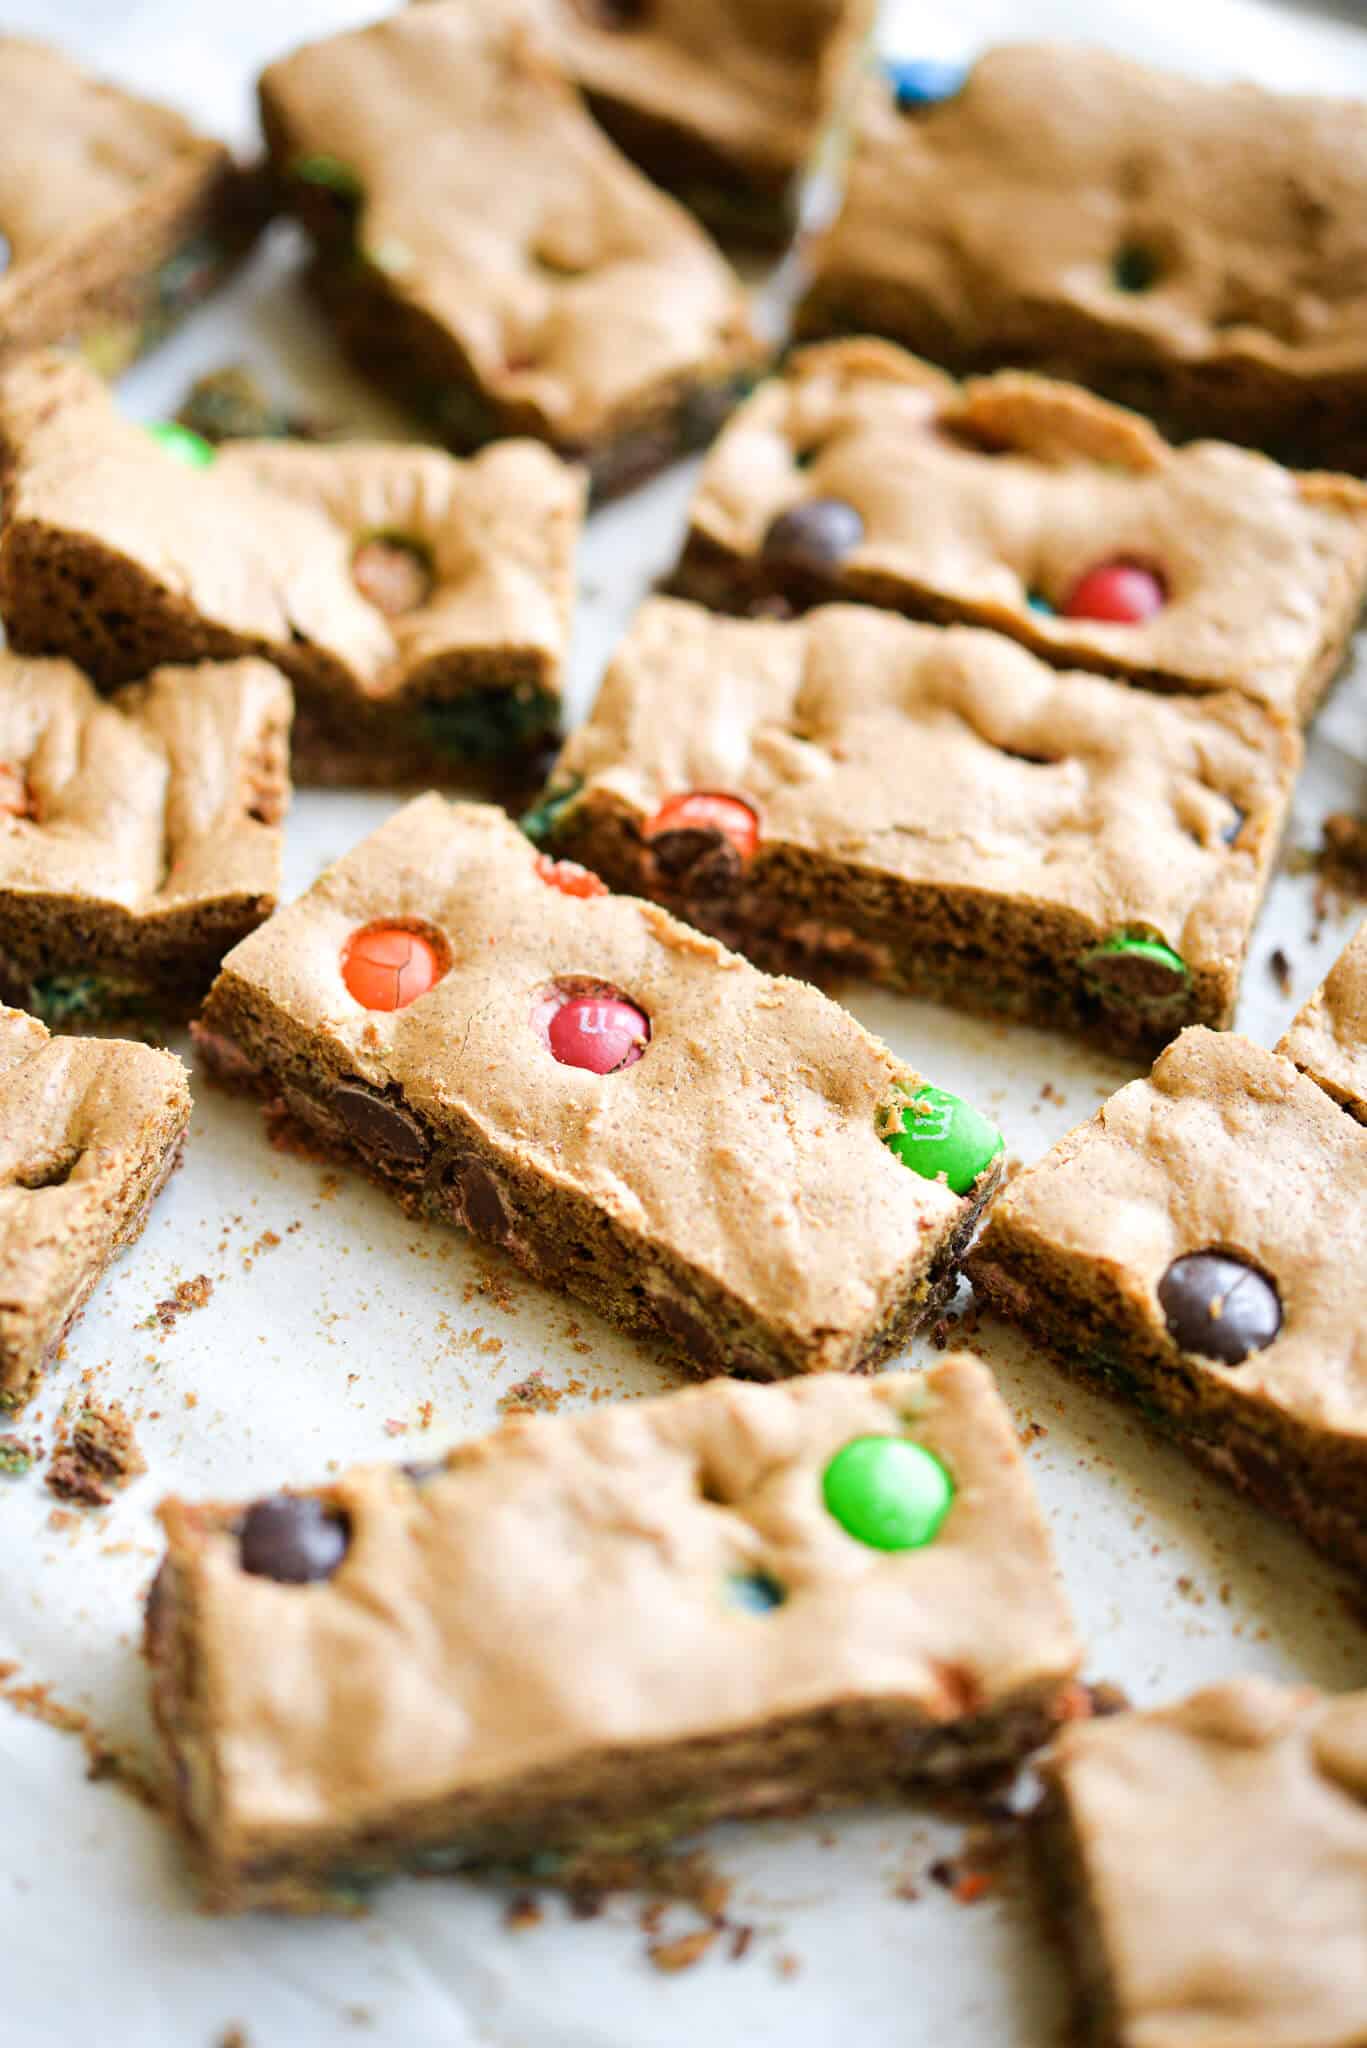
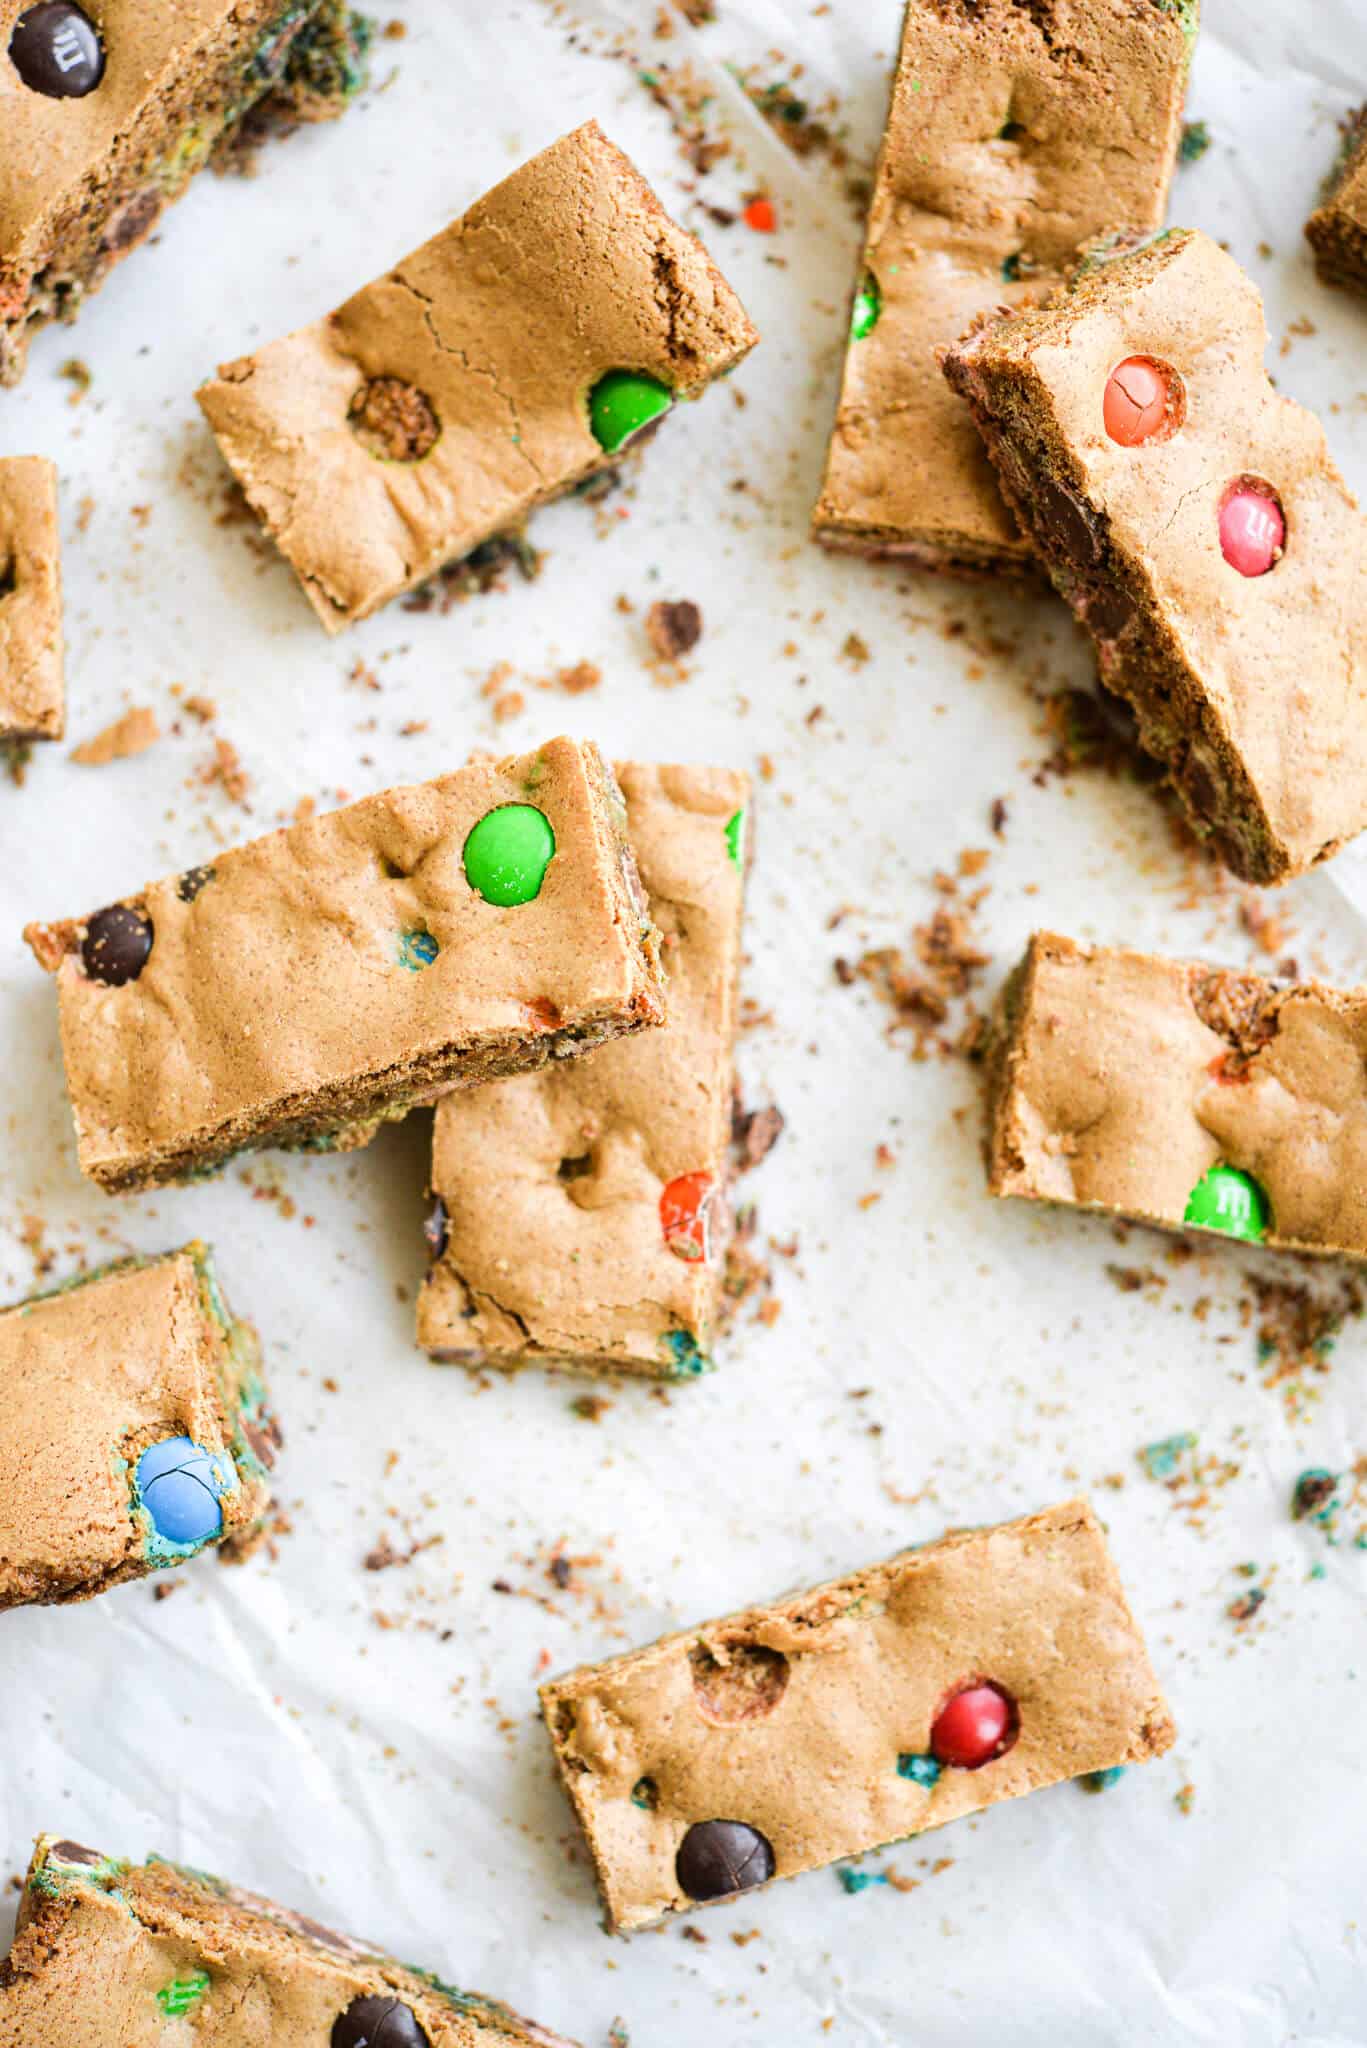
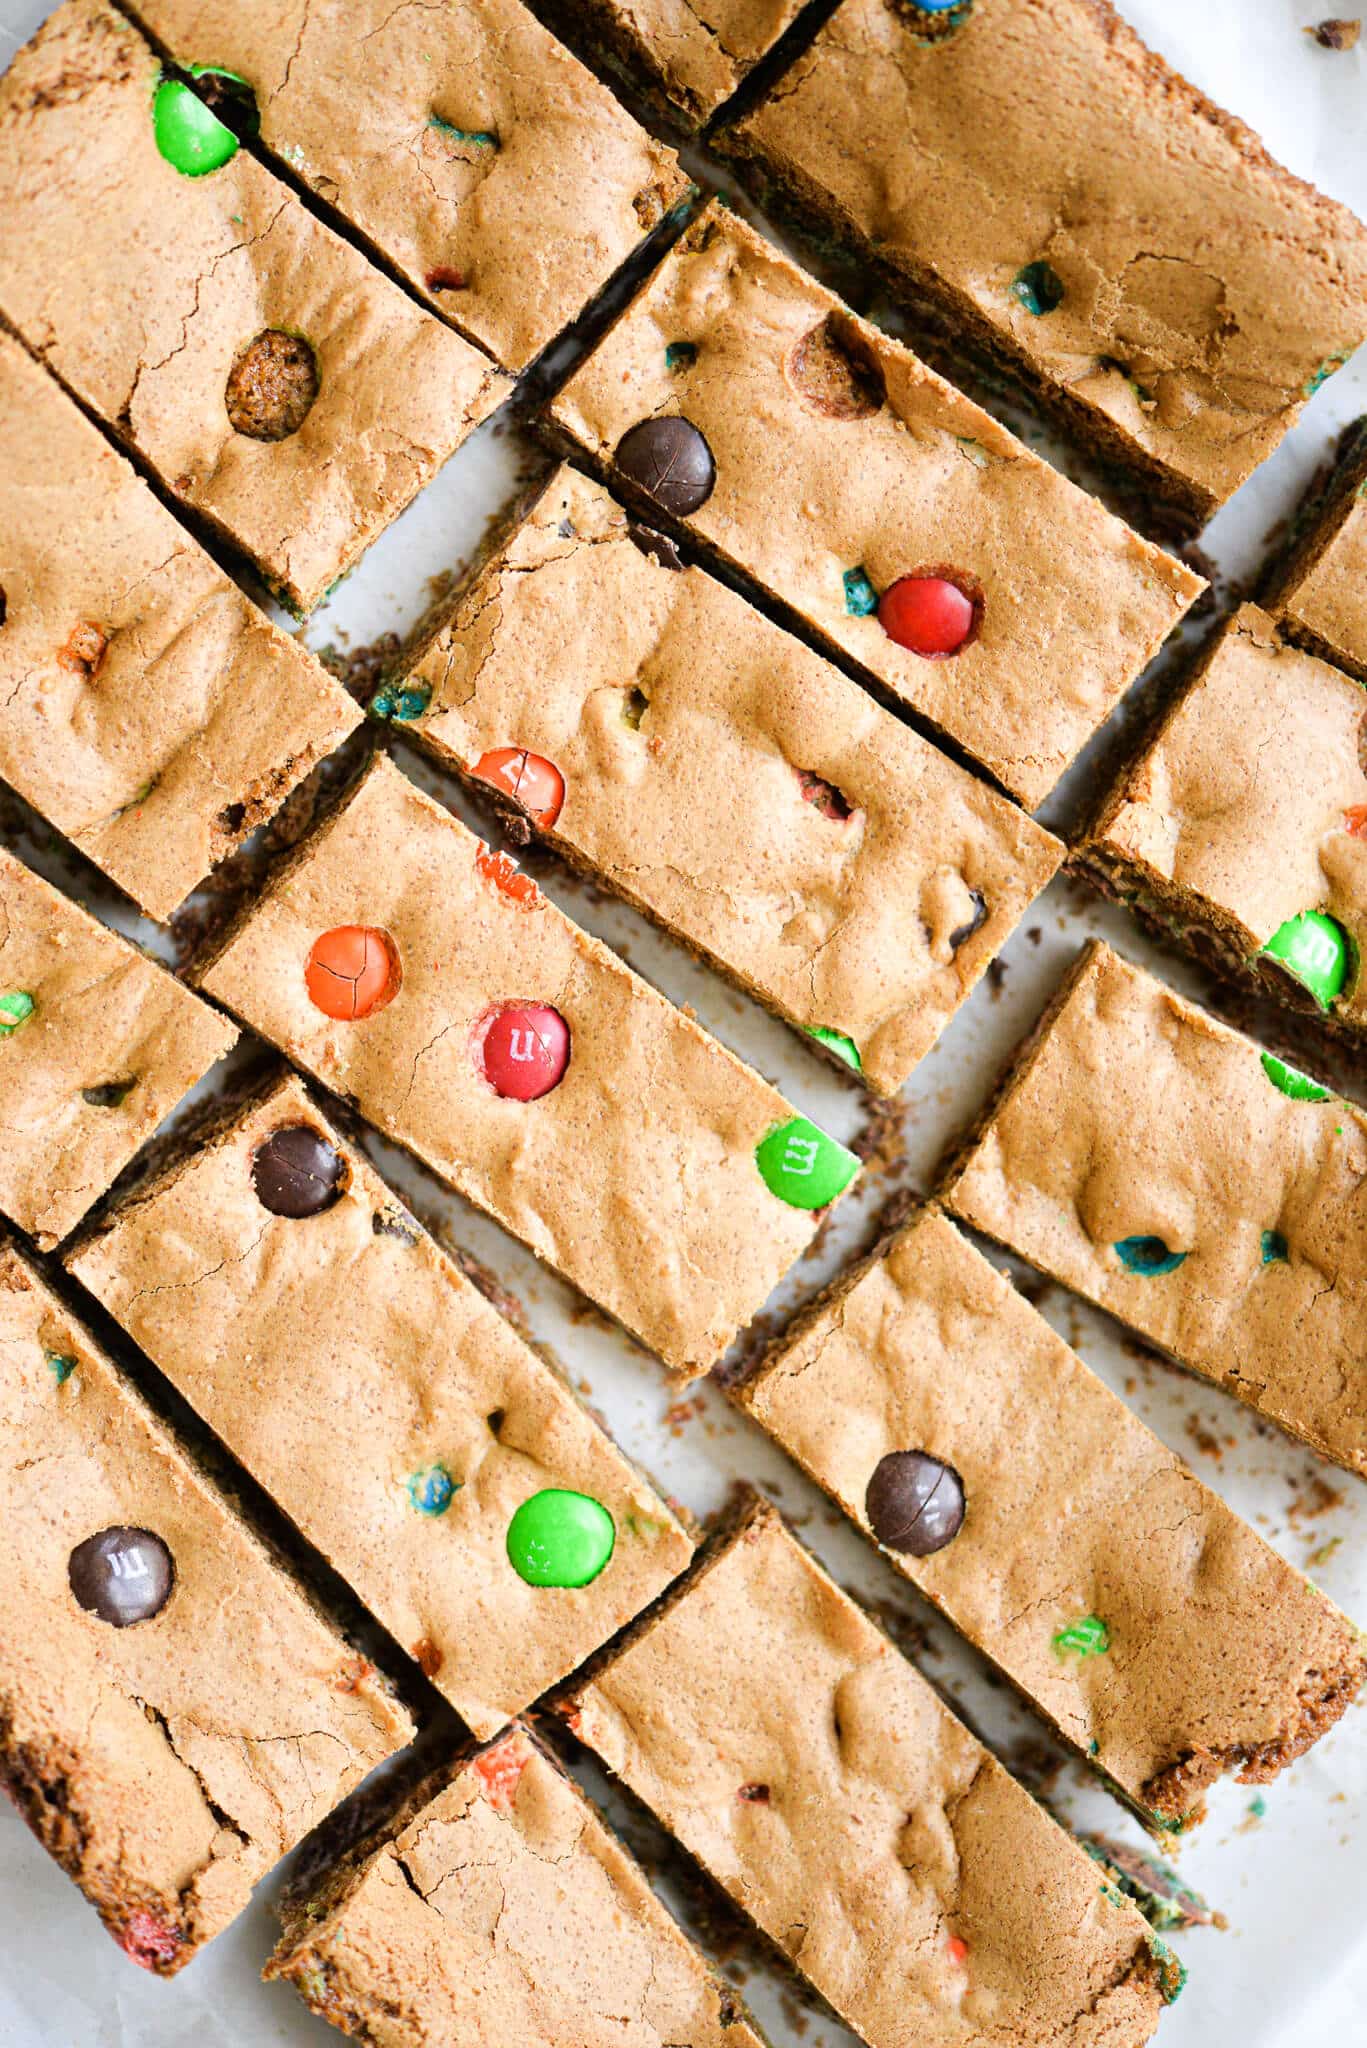
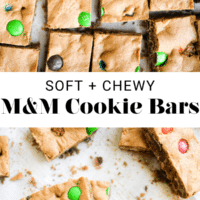
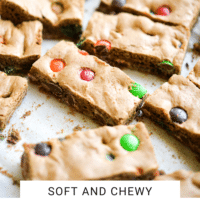
These soft, chewy M&M cookie bars are the ultimate sweet treat…perfect for a movie night in, to serve to a crowd, or to have stocked in the freezer for when the sweet tooth hits!
These cookie bars are a fun twist on your typical cookie! They’re thicker than the average cookie, and remind me of a perfectly chewy cookie cake (always my birthday cake of choice growing up!) M&M cookie bars are the *perfect* treat to make for a family movie or game night, serve to a crowd at your next cookout, kiddo’s slumber party, or girl’s night, or just have stocked for any ole weeknight, because dessert is LIFE and we all deserve it whenever we want! Basically, these chewy, chocolatey cookie bars are good ANY time and for ANY occasion!
Can you make cookie bars by just baking cookie dough?
When I set out to create these cookie bars, I figured I could just press our tried-and-true chocolate chip cookie dough into a pan and bake it. Easy, right? Well, not so fast. The result was a cookie bar that looked perfect on the outside but was full of raw dough when you cut into it. I love cookie dough as much as the next person, but this wasn’t exactly what I was going for. After many trials, I settled on a recipe that was a cross between a cookie and blondie. These bars are soft, chewy, have a perfect shiny top, and are loaded with buttery brown sugar flavor!
M&M Cookie Bar Ingredients
With just a few ingredients on the list, these cookie bars are a cinch to make! Here’s what you’ll need:
- Gluten Free OR All-Purpose Flour – this recipe works great with King Arthur Measure for Measure flour, Bob’s Red Mill 1-to-1 flour, or regular ole all-purpose flour if you tolerate gluten! Essentially, EVERYONE gets to enjoy these bad boys!
- Baking Soda – a ½ teaspoon of baking soda helps the cookie bars rise beautifully!
- Sea Salt – a pinch of sea salt is all you need!
- Butter – ½ cup (or one stick) of melted butter gets added to the mix!
- Brown Sugar – we’ll use 1 cup of brown sugar for these delicious, chewy bars. It lends a deep, caramel-like flavor that makes these so good! You can totally use coconut sugar in place of brown if you’d like.
- Vanilla Extract – 1 teaspoon of vanilla adds the perfect touch to these decadent bars.
- Eggs – 2 eggs get whisked in with the wet ingredients.
- M&Ms – while we used 1 cup of traditional M&Ms, there are dye-free options (these are great) if you’d rather that. If you’re making these for a holiday party, using festive M&Ms is also super fun (think: these red, white, and blue M&Ms for the 4th of July, red and green M&Ms for Christmas, pastels for Easter, or any other seasonal options they have!)
How to Make M&M Cookie Bars
A quick whisk, stir, and bake is all it takes for these cookie bars to be ready for your enjoyment! It really is so simple. Here’s how to make the yummiest M&M cookie bars:
- Prep. Preheat the oven to 325°F and grease a 9×9 pan (8×8 will totally work too!) with butter, or line it with parchment paper.
- Whisk together the wet ingredients + sugar. Whisk the butter, eggs, sugar, and vanilla extract together in a large bowl.
- Add the flour, baking soda, salt, and M&Ms. Add the flour, baking soda, and salt to the bowl and stir to combine. Once the flour is fully incorporated, mix in the M&Ms.
- Press into the pan + bake. Press the mixture into the bottom of your 9×9 pan, and bake for 30-35 minutes, until the top is browned and a toothpick inserted into the center of the pan comes out clean.
- Slice into bars + enjoy!
Tips for Making the Best Cookie Bars
These 3 tips will ensure perfect M&M cookie bars every single time! In fact, these tips are great for most baking ventures!
- Don’t over-pack your flour! So important! When you’re measuring flour for a baked good, use a dry measuring cup to scoop the flour, then even it off (letting any extra flour fall back into the bag) using a butter knife. Don’t press your flour into the measuring cup – this will pack it in, and you’ll end up with too much flour!
- Don’t overmix! Be sure to mix the ingredients *just* until they’re incorporated. Overmixing often results in gummy or overly chewy baked goods!
- Use a metal pan! Metal pans are best for these cookie bars because the metal heats up quickly, and allows the outside of the cookie bars to get golden brown.
Modifications
Everyone gets to partake in these yummy bars! These are the modifications that we *know* work really well, and still produce a totally delicious end product!
Can these be made gluten-free?
They sure can! Our favorite gluten free flours are King Arthur Measure for Measure and Bob’s Red Mill 1-to-1, and this recipe works beautifully with both!
Can you use chocolate chips instead of M&Ms?
Of course! Chocolate chips melt a little bit more than M&Ms, so your final product will have more chocolate throughout (rather than just the M&M bites), but they’ll still be divine!
Can these be made refined sugar-free?
Sure thing! To make these cookie bars refined sugar-free, just use coconut sugar in place of the brown sugar and dark chocolate chips instead of M&Ms.
Can this be made egg-free?
It can! In fact, we tested a TON of different egg substitutes in several different baked goods, took all kinds of notes, and then laid it all out for you in this super helpful guide to egg-free baking. For bars, we recommend using an egg replacer combo: one chia egg (1 tablespoon of milled chia seed + 3 tablespoons of water) and plain Greek yogurt (¼ cup). This combination produced bars that were soft on the inside, crispy on the outside, with a really delicious flavor. If you’re looking for a vegan substitute, leave out the Greek yogurt and add another chia egg for a crispy-yet-dense bar!
How long will cookie bars keep for?
These cookie bars will keep for 5 days (if they last that long!) stored in an airtight container (this glass set is our go-to) on the counter. If you’d like to save them for longer than that, freezing them is your best bet. Simply wrap the cookie bars in parchment or wax paper, then store in a Ziplock bag in the freezer. To warm a frozen cookie bar, just pop it in the microwave for 30 seconds, or until soft + warm!
We hope you enjoy these soft, chewy M&M cookie bars at your next gathering or night-in!
Soft & Chewy M&M Cookie Bars
Ingredients
- 1/2 cup 4 ounces butter, melted
- 1 cup brown sugar 192 grams
- 1 teaspoon vanilla extract
- 2 eggs room temperature
- 1 1/2 cups all-purpose flour (we used King Arthur for gluten-free!) 186 grams
- 1/2 teaspoon baking soda
- 1/2 teaspoon coarse sea salt or 1/4 teaspoon fine salt
- 1 cup M&Ms
Instructions
- Preheat the oven to 325°F and grease an 9x9 pan with butter, or line with parchment paper.
- Whisk the butter, eggs, sugar, and vanilla extract together in a large bowl.
- Add the flour, baking soda, and salt to the bowl and stir to combine. Once the flour is fully incorporated, mix in the M&Ms.
- Press the mixture into the bottom of a 9x9 pan, and bake for 30-35 minutes, until the top is browned and a toothpick inserted into the center of the pan comes out clean.


FYI: If you are using a different flour brand than stated DO NOT use the gram calculations. I used Bob’s Redmill Gluten Free All Purpose and it ended up being 18 grams short and my bars never cooked and then fell in the middle.
“2 cup 192 grams brown sugar” Does this mean to use 2 cups AND 192 grams of brown sugar?
Thanks!
No, 2 cups of brown sugar (can also measure in grams, which would be 192 grams). So sorry that wasn’t clear!
Do you think these could be made in a cast iron pan?
We haven’t tried, but I don’t see why not!
These look delicious! I am planning to make them in advance. Do I need to store them in the refrigerator or is the countertop okay? Thank you!
The countertop is fine!!
Use unsalted butter, correct ?
We used salted, but use whatever you have on hand, Allison! Enjoy!
These were so good! I used chocolate chips instead of m&ms. They fell apart on me but still tasted great.
So glad you loved these, Teresa! Thank you for sharing this with us!
I just made these and they are delicious. Definitely good with a scoop of your favorite ice cream. I used all-purpose flower as I have no issues with gluten, but I am sure these are good with gluten free flour too. The recipe is super easy and I didn’t even need to take our my electric mixer.
Aren’t they the best?! Love these and so glad you do too!
These bars or soft and delicious! Such a great treat to bring to a gathering.
Agreed! One of my very favorites! We’re glad you love them!
I have made these at least three times since this recipe was posted. SO good! We love to freeze a bunch after slicing them up so they last longer!
Wahoo! I agree – freezing these is the way to go. Easy treat for when the sweet tooth hits!
I made these today with my son and they’re delicious!! We didn’t have any M&M’s so we used chocolate chips instead. This recipe is a keeper!
I did the same thing when I made these! SO good!!! Thank you for sharing this with us, Katie!
I subbed 1 cup of semi-sweet choco chips because I didn’t have M&M’s in my pantry. This recipe is super easy & super delicious!! The chips did turn out a bit more melted than a M&M would (as the recipe mentioned), but that is alright in my book! I have a feeling this bar recipe will be on my regular treat rotation. Thanks Fed & Fit team!
SO yummy…it’s on my rotation too! We’re so glad you enjoyed this recipe, Kate!
Just made a batch and they are delicious! If I were to double the recipe, do you think I could use a 9×13 pan?
Definitely! They’ll be a little bit thicker, so they may take more time, but you’ll know they’re done when an inserted toothpick comes out clean!
Can recipe be doubled and baked in a 9×13 pan?
Totally! They’ll just be a bit thicker, so they may need a few extra minutes in the oven. You’ll know they’re finished when a toothpick inserted into the middle of the pan comes out clean!
You have both an 8×8 and 9×9 pan listed in both the recipe and the story… which is right? Thanks.
Thanks for catching that! I went ahead and changed the recipe to read 9×9, but either one works great. We’ve made them in both sizes and they’ve turned out perfectly either way! Enjoy!