Crunchy and delicious, these homemade toffee bars are incredibly satisfying and come together really quickly! This recipe was submitted by Fed & Fit reader, Shelly, and she says, “they are made on a sheet pan, so they are quick and easy to whip up if you need a delicious cookie quick.” Make them during the holiday season or any other time of the year – enjoy!
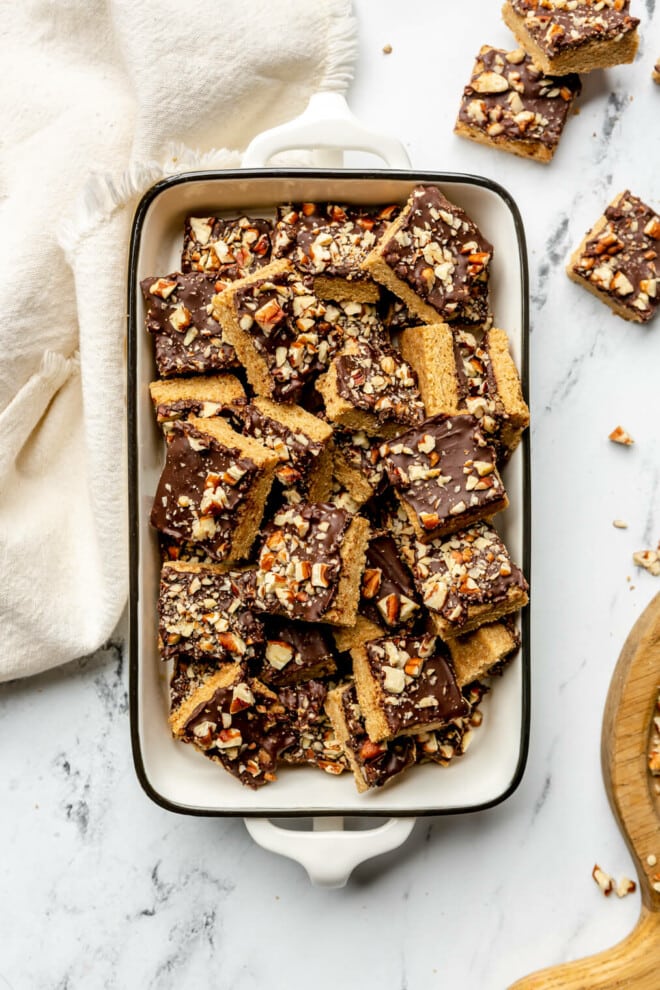
Easy Toffee Bars
This recipe was submitted by Shelly S. Here’s her cookie story:
The following recipe is one that has been in my family for more then 40 years! My Gram would make them at Christmas time, but I think they are good any time of year! They are a cross between a cookie and candy. Way back when I got married, my Gram gave me a recipe box full of hand written recipe cards. She included all of my favorites she would make for me and my sister when we came to visit. She lived in Oregon and we lived in the Bay Area in California, so we didn’t get to see her often. This cookie recipe was one that she included in the recipe box. I cherish these recipe cards because they are all written by hand, in her own handwriting. She is no longer with us, but every time I make these cookies, I think of her! I’ve been making these cookies at Christmas for the last 29 years! They aren’t your typical Christmas Cookie, so they are perfect any time of year. They are made on a sheet pan, so they are quick and easy to whip up if you need a delicious cookie quick. The recipe uses regular flour, but I’ve made them with Bob’s Red Mill 1 to 1 Gluten Free baking flour and they turn out perfect. You do have to increase the cooking time if using GF flour. I keep a close eye on them making sure the edges don’t burn while the middle cooks through. Enjoy!!
Ingredients for Toffee Bars
This recipe has A LOT going for it, and one of those things is the very simple list of ingredients (many of which you likely have on hand already!). Here’s everything you’ll need:
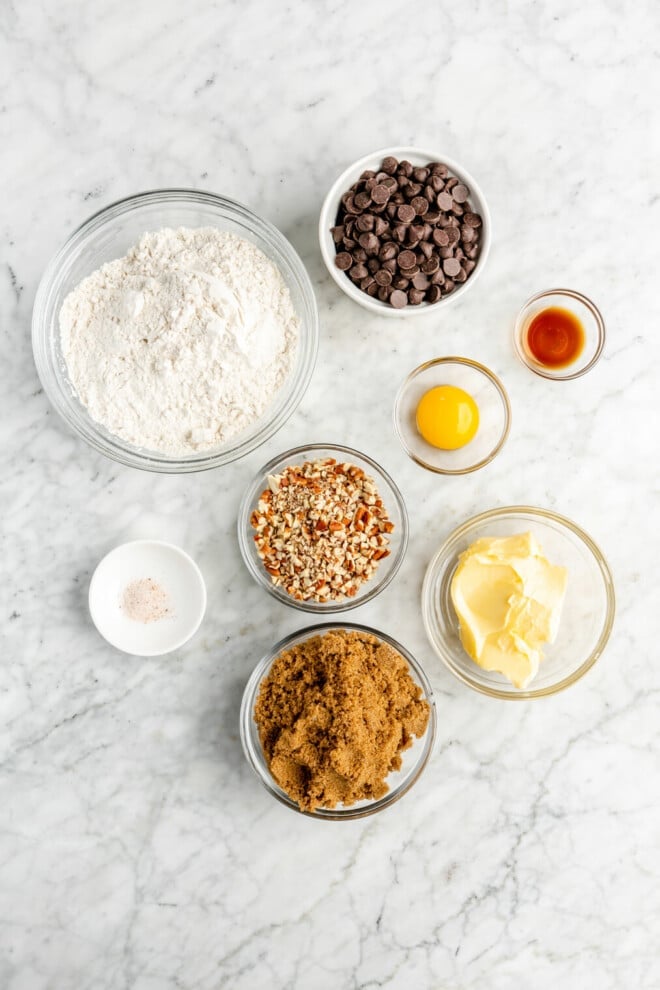
- ½ pound of butter, softened
- 1 cup of brown sugar
- 1 egg yolk
- 1 teaspoon of vanilla
- ¼ teaspoon of salt
- 2 cups of flour (regular or gluten-free)
- 1 large (jumbo size – 7.56oz) Hershey Bar or chocolate of your choice
- ½ cup chopped pecans
Ingredient Variations and Modifications
This recipe is really yummy as written, but if you’re looking for ingredient variations and modifications, we’ve got ideas for you!
- Make them gluten-free: swap the regular flour for a gluten-free flour blend (Bob’s Red Mill and King Arthur both make great ones!) to make these toffee bars gluten-free. No need to change anything else in the recipe!
- Make them dairy-free: swap the butter out for either a dairy-free butter substitute or coconut oil and use dairy-free chocolate in place of the Hershey bar.
- Use a different nut: top your toffee bars with any nut that you love. This recipe calls for chopped pecans, but chopped almonds or walnuts would be delicious too!
- Add more toppings: have fun with the toppings here! Crushed candies (think: M&Ms, Reese’s Pieces, or any other candy you love) or crushed candy canes/peppermint would be really yummy here. Just sprinkle the toppings on after the bars come out of the oven, before the chocolate hardens!
How to Make Toffee Bars – Step by Step Instructions
This recipe could not be easier! Here’s the step by step how-to:


- Preheat the oven – to 350°F.
- Make the shortbread crust – using a stand mixer or hand mixer, cream the butter, sugar, egg yolk and vanilla, then stir in the flour and salt until well mixed.
- Press the crust into a baking sheet – pack the crust into a 9×13 greased or parchment lined baking sheet.(Notes from Shelly: I make it into a rectangle, leaving 1 inch because it will come to the edge as it bakes – I use my fingers. You want it to be about ¼-½ inch thick. If it is to thick, it won’t cook evenly.)
- Bake – bake 20 to 25 minutes until nicely browned.
- Add the chocolate – take the toffee cookie bars out of the oven (the crust will be soft!), immediately place the broken chocolate on top, and let it stand until softened. Spread the chocolate evenly over the crust.
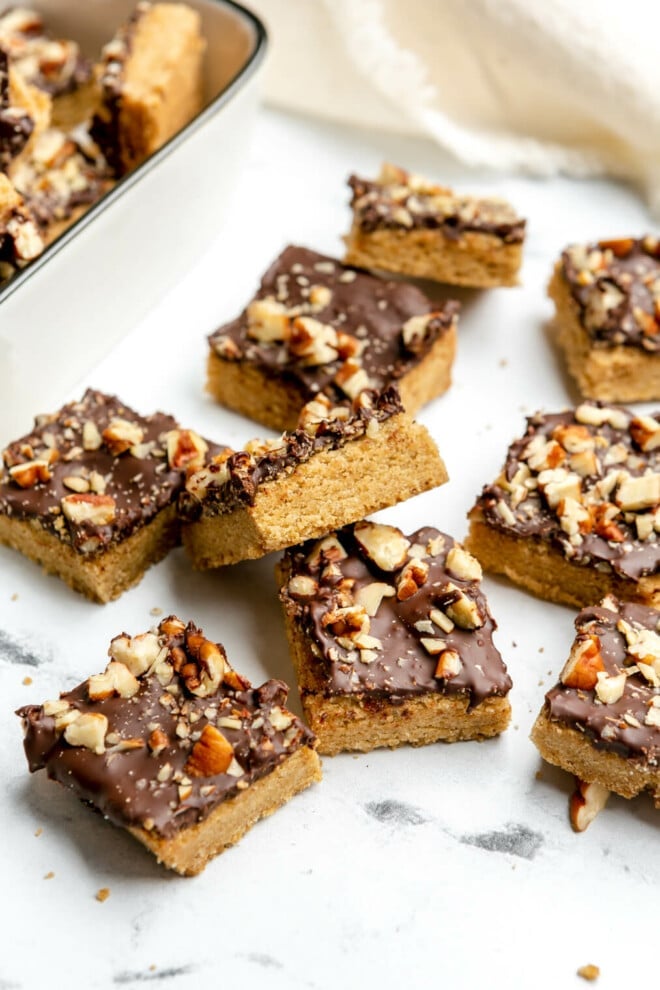
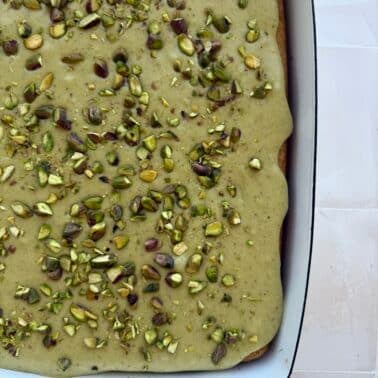
- Add toppings and cut – sprinkle the chocolate with chopped pecans (or any other topping you want to add). Then, cut into small squares while warm – a pizza cutter is perfect for this.
- Serve and enjoy – let the toffee squares finish cooling to harden, then serve and enjoy!
Recipe Tips and Tricks
This recipe is really straightforward, but who doesn’t love a few tips and tricks?!
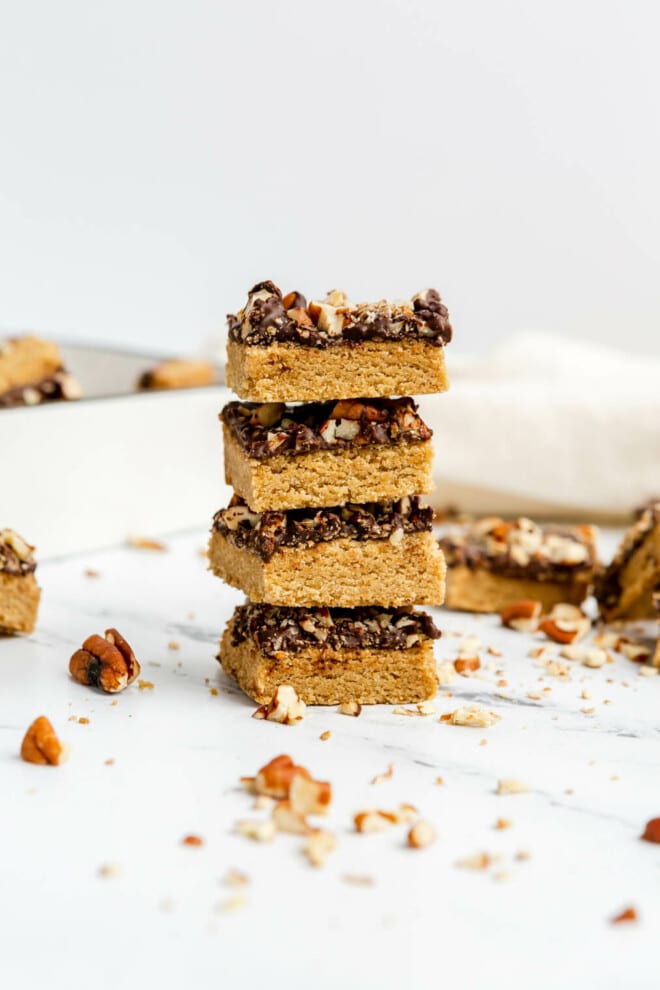
- Pack the crust – this crust (before baked) is dry and crumbly, so when you press the crust into the baking sheet, be sure to really pack it in. You’ll want the crust to be ¼-½ inch thick and as packed (read: not crumbly) as possible.
- Trust the recipe – as mentioned above, the crust is quite crumbly (almost sand-like) before heading into the oven. Trust the recipe, though, the crust will hold and the end product will be really, really delicious!
- Pop them back in the oven – if you’re waiting a while for your chocolate to melt, feel free to pop the tray of toffee bars back into the oven for a couple of minutes to speed up the process!
- Cut while warm – cutting the toffee bars while they’re warm is the easiest way to get a clean cut.
How to Store Toffee Bars
Store your toffee bars in an airtight container on the counter. Stored this way, they’ll last for up to a week.
Just for You
Dessert Recipes
Want more recipe ideas like this?
Delicious Homemade Toffee Bars

Ingredients
- ½ pound (2 sticks or 8 ounces) butter softened
- 1 cup brown sugar
- 1 egg yolk
- 1 teaspoon vanilla extract
- ¼ teaspoon salt
- 2 cups flour regular or gluten-free
- 1 jumbo size (7.56 ounces) Hershey Bar or same amount of chocolate of your choice
- ½ cup chopped pecans
Instructions
- Preheat the oven to 350°F.
- Using a stand mixer or hand mixer, cream the butter, sugar, egg yolk and vanilla, then stir in the flour and salt until well mixed.
- Pack the crust into a 9×13 greased or parchment lined baking sheet. (Notes from Shelly: I make it into a rectangle, leaving 1 inch because it will come to the edge as it bakes – I use my fingers. You want it to be about ¼-½ inch thick. If it is to thick, it won't cook evenly.)
- Bake 20 to 25 minutes until nicely browned.
- Take the toffee cookie bars out of the oven (the crust will be soft!), immediately place the broken chocolate on top, and let it stand until softened. Spread the chocolate evenly over the crust.
- Sprinkle the chocolate with chopped pecans (or any other topping you want to add). Then, cut into small squares while warm – a pizza cutter is perfect for this.
- Let the toffee squares finish cooling to harden, then serve and enjoy!
Recipe Notes
- Pack the crust – this crust (before baked) is dry and crumbly, so when you press the crust into the baking sheet, be sure to really pack it in. You’ll want the crust to be ¼-½ inch thick and as packed (read: not crumbly) as possible.
- Trust the recipe – as mentioned above, the crust is quite crumbly (almost sand-like) before heading into the oven. Trust the recipe, though, the crust will hold and the end product will be really, really delicious!
- Pop them back in the oven – if you’re waiting a while for your chocolate to melt, feel free to pop the tray of toffee bars back into the oven for a couple of minutes to speed up the process!
- Cut while warm – cutting the toffee bars while they’re warm is the easiest way to get a clean cut.


We have been making these cookies for 30 years! They are the BEST because of the amazing toffee flavor in a bar cookie and how easy they are. Everyone LOVES them! I haven’t been successful in making them dairy free, they just don’t turn out as well, but I have used the gluten-free flour. I tried coconut sugar, but they really need the brown sugar.
Woohoo! Great tip on the brown sugar!Thank you for sharing, Vicki!
Quick, easy, and delicious!! Made this for Christmas for a gf cookie box I made for my grandma. Decorated with sprinkle assortment and used Bob’s Red Mill all purpose and it turned out wonderfully! My grandma and I approve!
It got Grandma’s stamp of approval!?! Greatest honor! We are so happy y’all enjoyed them!
Can these be made with coconut sugar?
Great question, Joyce! We haven’t actually tried it, but it should work!
How much coconut oil would replace the butter?
These look so yummy! Any suggestions for replacements to make them egg-free for my little one with an allergy? Hopefully we can give them a try ASAP!
What is the cooking temperature??
I was unable to find it.
Oops! Sorry about that, Elsa! The bars are baked at 350F. Thank you for bringing it to our attention! We’ve updated the article and recipe card. -Team FF
Do you bake it at 350F?
Hi Rachel! Yes, bake at 350F. So sorry that wasn’t in the directions. We’ve updated the article! -Team FF