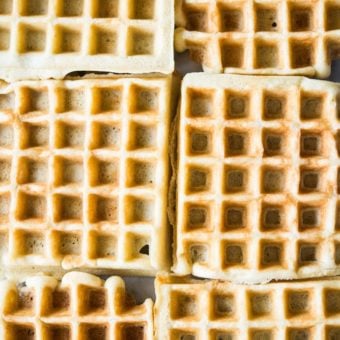
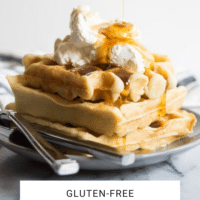
These gluten free overnight waffles are what brunch dreams are made of! A simple yeasted waffle batter rises overnight to give you crisp but fluffy waffles that are done in just a few minutes, making them perfect for Christmas morning and family breakfasts.
Y’all. These waffles are the REAL DEAL. We’ve really worked hard to bring you some classic holiday favorites in the past, like these sugar cookies and this cornbread stuffing, but this is truly one of our favorite gluten free re-makes ever. A good gluten free Belgian-style waffle isn’t easy come by. Typically, you wind up getting thin, somewhat soggy waffles that fall apart under syrup and butter, more reminiscent of a bad frozen waffle than anything else.
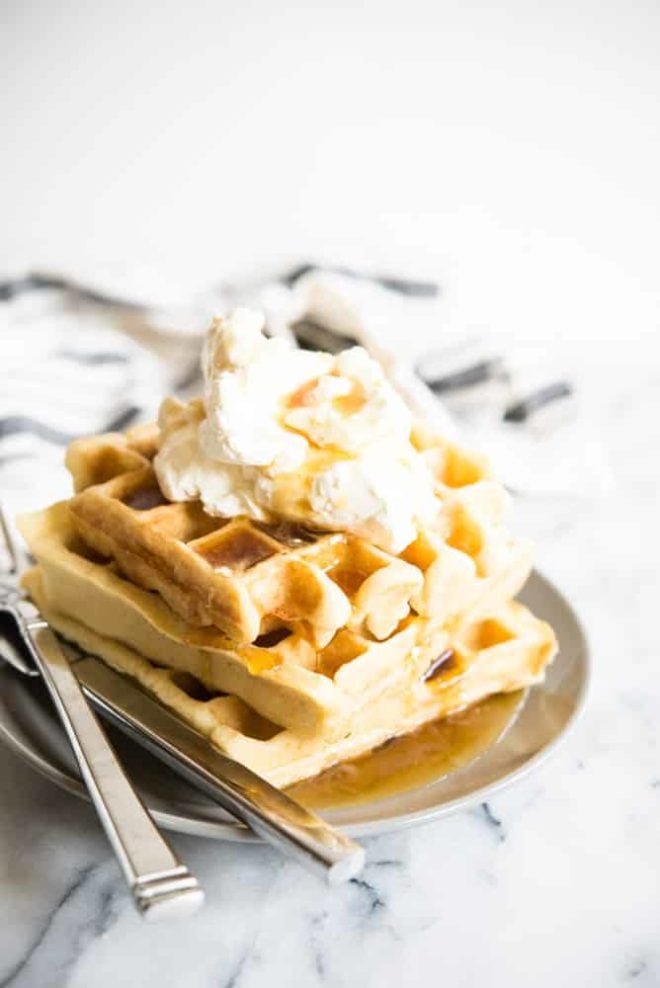
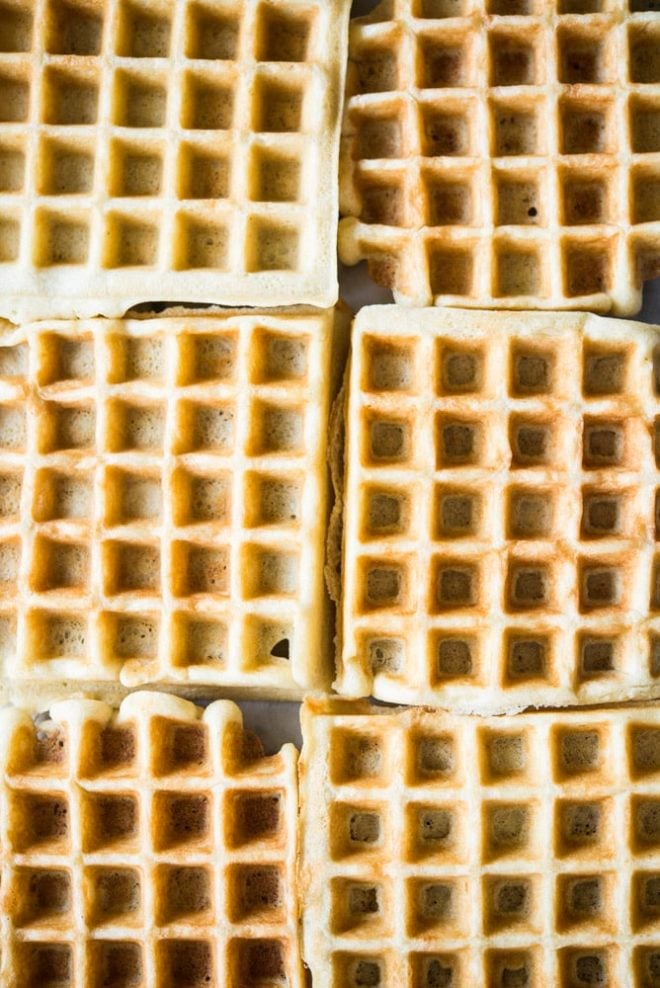
But these gluten free overnight waffles? They’re light and airy, they’re crisp on the outside, and they hold up to whatever you want to top them with. Personally, I think they’re even better than the gluten-filled waffles I used to eat. At this point, you’re probably ready to hop on the waffle train but you may be wondering what exactly an “overnight” waffle entails, so let’s walk through it!
These gluten free overnight waffles start out with a pretty basic pancake/waffle batter, but get a boost from yeast. You’ll mix together all of the ingredients (minus the eggs) and then cover the batter and allow it to rise. This is what is going to give the waffles their fluffy texture, and a yeasty flavor similar to a donut or freshly baked bread.
Here’s a few tips that are key to these gluten free overnight waffles:
- Make sure you check the expiration date on your yeast! Older yeast won’t activate properly.
- Make sure your eggs are room temperature and your water and milk are around 100-110 degrees (it should feel warm, but tolerable when you touch it). Liquids that are too cold won’t activate the yeast while liquids that are too hot will kill it.
- In the first step, you’ll mix together water, maple syrup, and yeast, then let it sit while you mix the rest of your ingredients. By the time you’re ready to add this mixture to the rest of your batter, the yeast should be foamy. If it isn’t we recommend tossing it out and starting again, and testing to make sure your water temperature is right.
- Use a BIG bowl – the batter will double to triple in size as it rises.
- We recommend leaving this out in a cool space overnight (think 65-75 degrees tops). If that worries you, you can refrigerate them, but they won’t rise the same way and it will change the texture.
- These waffles are made even easier with a good, non-stick waffle iron! While they can be made into pancakes as well, a waffle iron makes it a cinch to cook up a few at a time without the worry of when to flip. We love this one (budget) and this one (splurge).
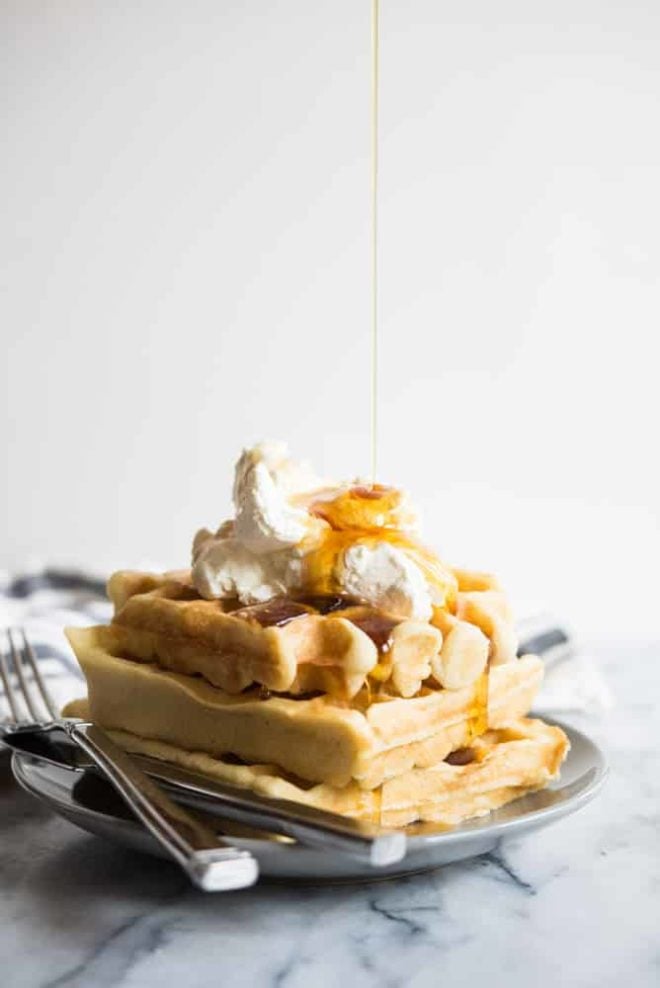
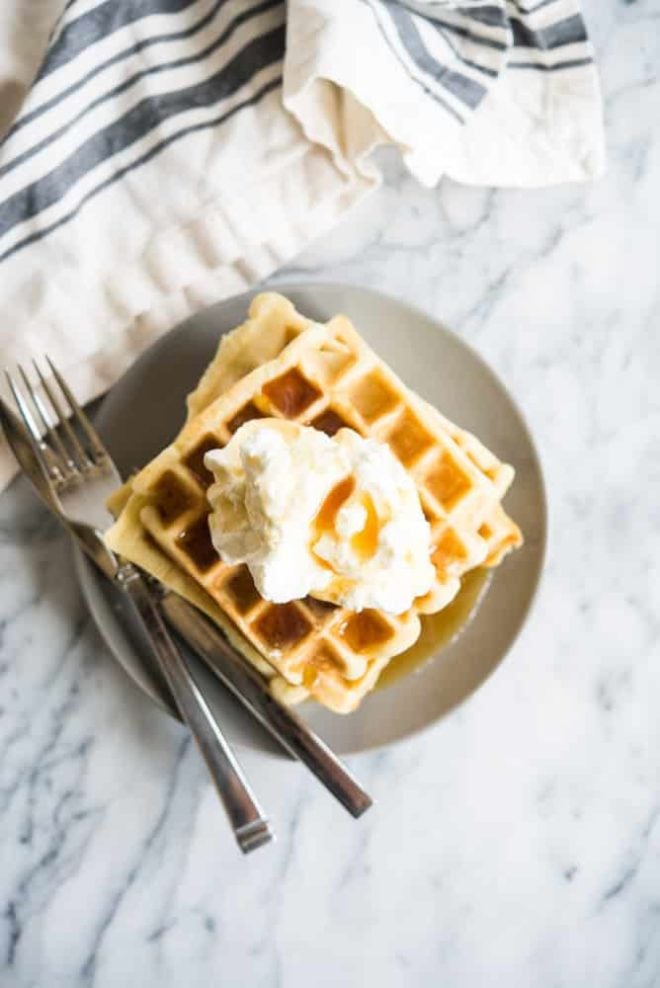
For topping, we love the classic combination of pure maple syrup and grass-fed butter, but whipped cream and berries are equally welcome additions. We hope you enjoy these waffles as much as we did!
Gluten Free Overnight Yeast Waffles
Ingredients
For Making the Batter the Night Before:
- 1 packet active dry yeast .25 oz
- 1/2 cup warm water about 100-110 F
- 2 tablespoons pure maple syrup
- 2 cups gluten free flour blend we used this one
- 1/4 teaspoon baking soda
- 1/2 teaspoon baking powder
- 1/2 teaspoon sea salt
- 1 1/2 cups whole milk warmed (about 100 to 110 F)*
- 1 teaspoon vanilla extract
- 6 tablespoons melted butter
To Make the Waffles Day-Of:
- 2 eggs*
- Butter or other oil of choice for greasing the waffle iron and for topping
- Maple syrup for topping
Instructions
- Dissolve the maple syrup and water in a small bowl, then sprinkle the yeast over top. Let sit until foamy.
- In a large bowl, whisk together the flour, baking soda, baking powder, and sea salt. Then, whisk in the warmed milk, vanilla, and melted butter. Once fully combined, stir in the yeast mixture. Cover with plastic wrap and set on the countertop in a cool place overnight.
- Preheat your waffle iron.
- Overnight your batter should have doubled to tripled in side. Stir the eggs into the batter, then pour in enough batter to cover each waffle grate (about 1/2 to 3/4 cup for each waffle, depending on size) and cook for 3-5 minutes, until waffles are browned and crisp.
- Top with butter and maple syrup and serve!
Recipe Notes
- Modifications:
- For Dairy-Free: If making these waffles dairy-free, we recommend using almond or coconut milk beverage in place of the milk, along with two tablespoons sugar to make up for the sugar that is present in whole milk. You can also substitute coconut or avocado oil in place of the butter. Note that this substitution will change the texture and the waffles will be slightly less crisp.
- For egg-free: These waffles will still work if you omit the eggs, but will be slightly less crisp and won't hold together as well.
- We recommend leaving the batter out overnight. If you'd prefer, you can refrigerate the batter, just know it won't rise as much which will result in a change in texture.
- You can easily double or triple this recipe, and freeze waffles for later! Just make sure you are using a large enough bowl for the batter to rise in.


These are SO GOOD! Easy to make. They rise high, get a crispy crust and a pillowy soft center.
I started the batter this morning, left it on the counter and made them tonight as breakfast for dinner alongside sausage patties and orange slices.
We have some leftover for an easy meal from the freezer.
Breakfast for dinner is the absolute BEST! We are so happy you loved them, Deb!
I made these following the recipe except we used 2%/semi skimmed milk because that’s what we had in, and they came out amazing! I didn’t grease my waffle iron because mine specifically said it didn’t need to be in its manual. They were a big hit with our kiddo who wolfed down a lot of them!
They’re really filling and satisfying, unlike lots of other waffles I’ve made in the past. I will definitely be making these again and am already looking forward to having the leftovers we have frozen!
We are so happy to hear that, Jessica! Thank you for taking the time to share with us! -Team F&F
Love, love love! These were super easy to put together the evening before! You couldn’t tell they were gluten free and the yeasted batter made for a yummy, unique flavor. Served them with some berries and maple syrup. Great Sunday breakfast!
Awesome! So glad you enjoyed these, Jenn!
I don’t know what I did wrong but this was really not good for us. Tasted very strongly of yeast. I used rapid rise yeast could that have been the reason?
So once they completely cooled and had toppings on they tasted better. Not my go to, but it was fun to try it out. Thanks!
Yes, with the yeast they do have more of a sourdough flavor – which isn’t everyone’s cup of tea!
These are amazing! I used egg replacer and coconut milk. They were perfect.
Just made these for this morning and they were delicious! My family loved them. Thank you.
Did you test these with any type of egg replacer or flax egg? I’m trying to decide if I should leave the “egg” out completely or put in flax eggs.
We did not – but I think a flax egg would work perfectly here!
Can you use almond flour?
No, these won’t work with almond flour!