This Paleo Gingerbread House features Paleo-friendly versions of all your gingerbread house fixings, including gumdrops and icing!
Friends! Did you see my guest post on the Paleo Parents last week?
If you missed it, no worries. I’m re-sharing it here today!
This recipe is complete with colorful, nutrient-dense gumdrops; cookies that {I guarantee} will become your go-to for delicious “I can’t believe these are Paleo” gingerbread men; and an all-natural Royal icing which makes the perfect edible house glue. Note that my frosting does contain powdered sugar – while this doesn’t usually fall within the parameters of a Paleo lifestyle, it is unmatched in its ability to create a hard frosting. Instead of the mystery ingredient meringue powder, I’m providing steps for Royal icing with natural, household ingredients. Enjoy sparingly!
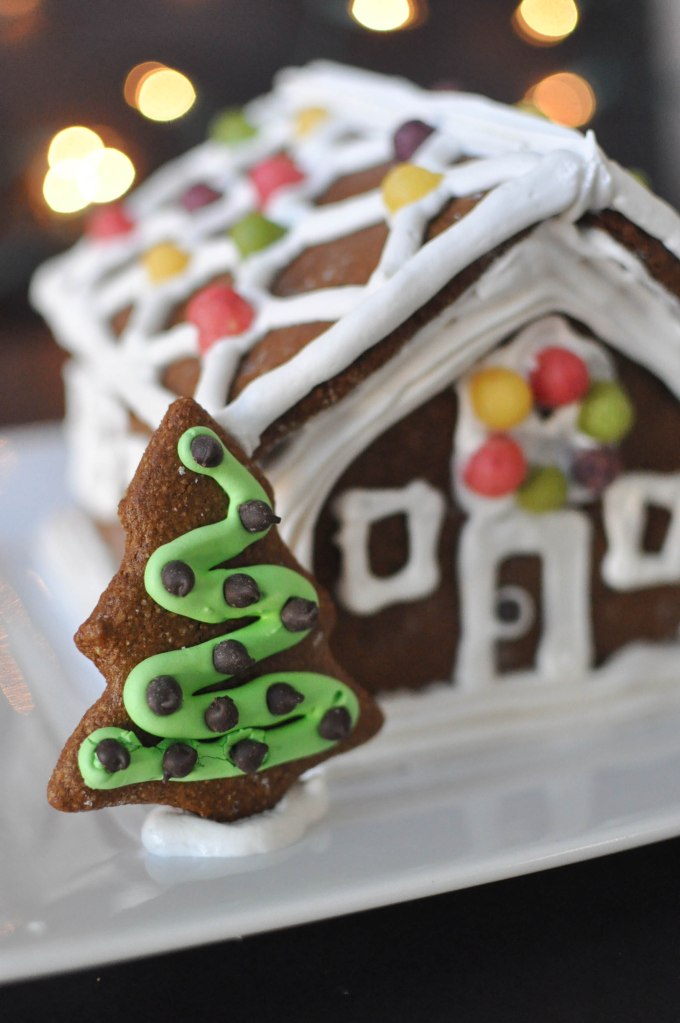
As always, I hope you love this recipe and find my step-by-step photo instructions helpful.
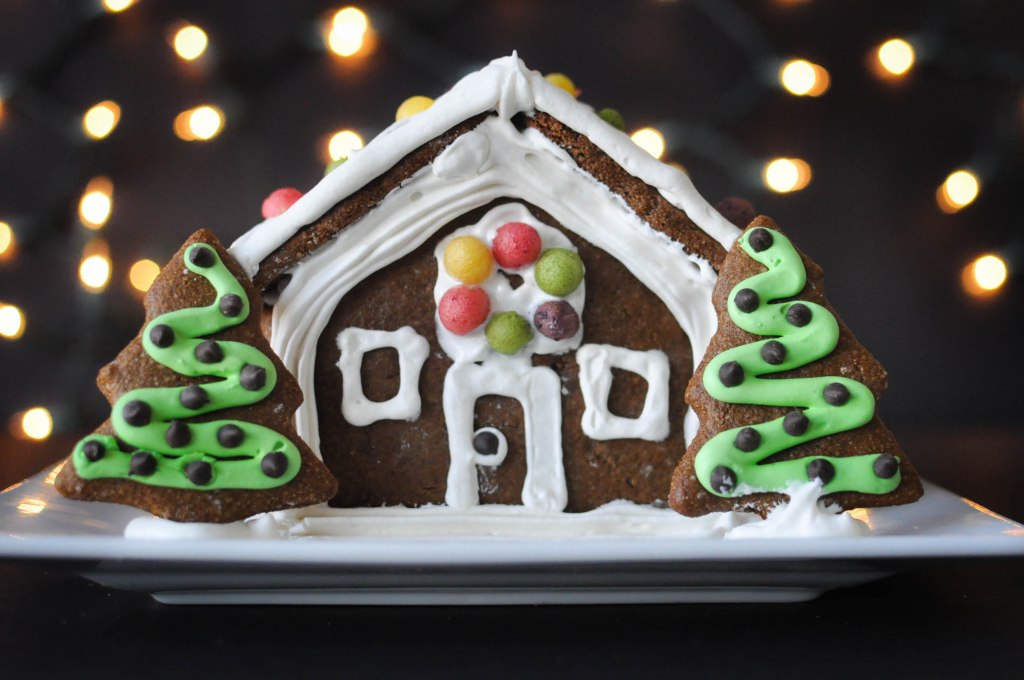
You can take this recipe as far as you want! Go for the full-blown 2-3 day homemade candy and gingerbread house experience or just use the dough to make cookies! Either way, I support you 100%.
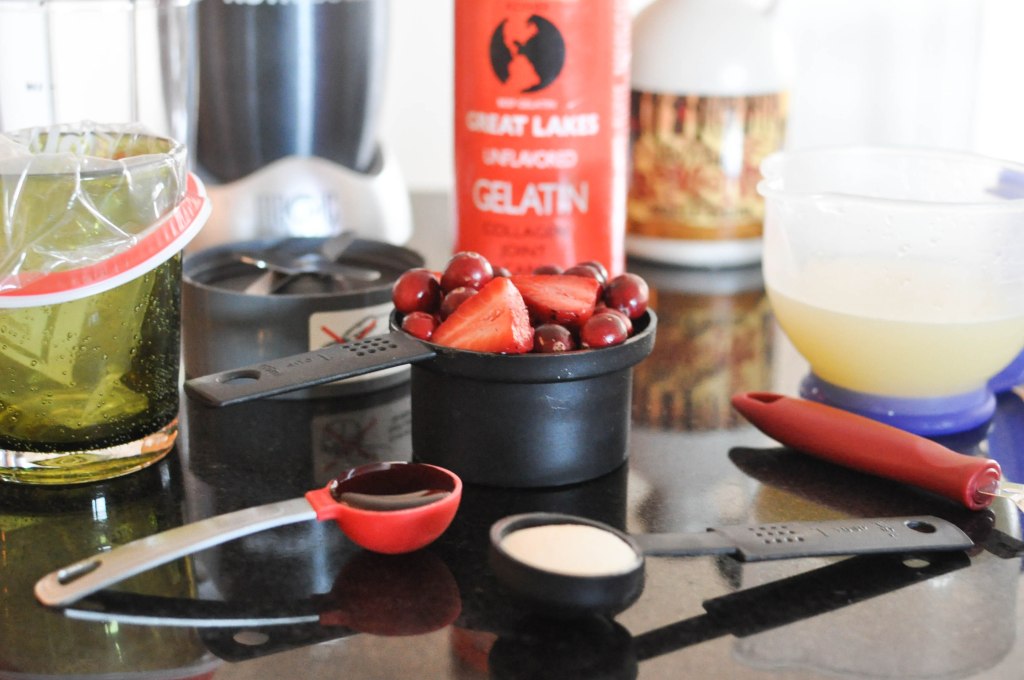
Now let’s get to work! These are all the players in our Paleo-friendly gumdrops. We’ll walk through each step and ingredient one at a time and then at the bottom of this post, you can find the summarized recipe.
For this example, we’re going to make pink gumdrops! I also made purple, yellow and green {ingredients for these will all be listed below}. Regardless of the flavor, we’ll need one cup of fruit or vegetables.
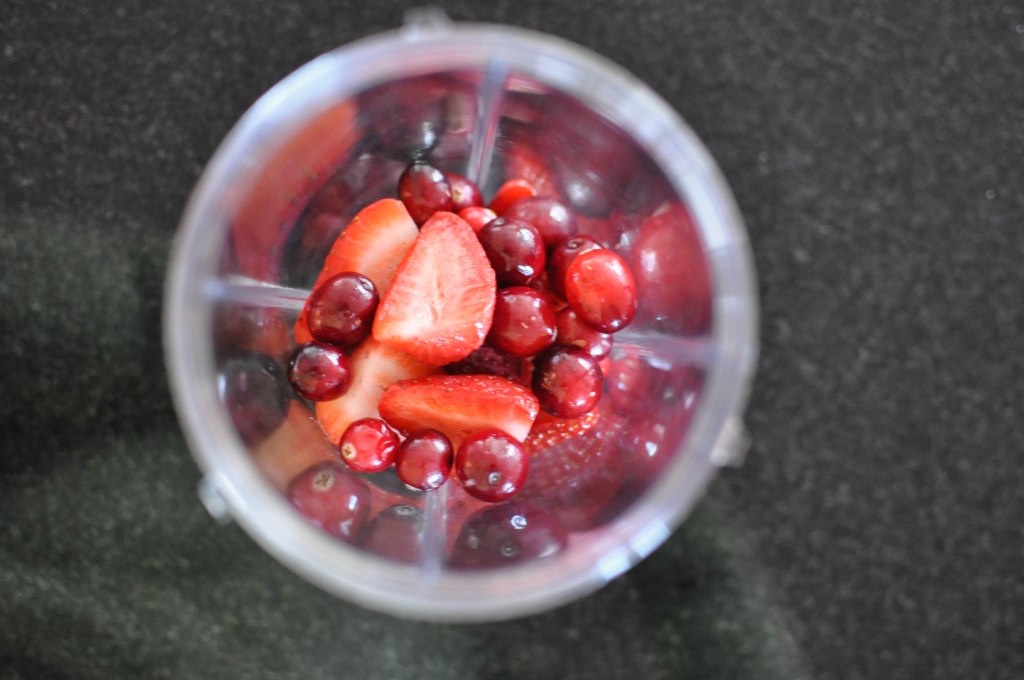
I chose a mixture of strawberries and cranberries. Put the fruit into a blender.

Add 1-2 Tbs of maple syrup – adjust with more or less depending on your taste.
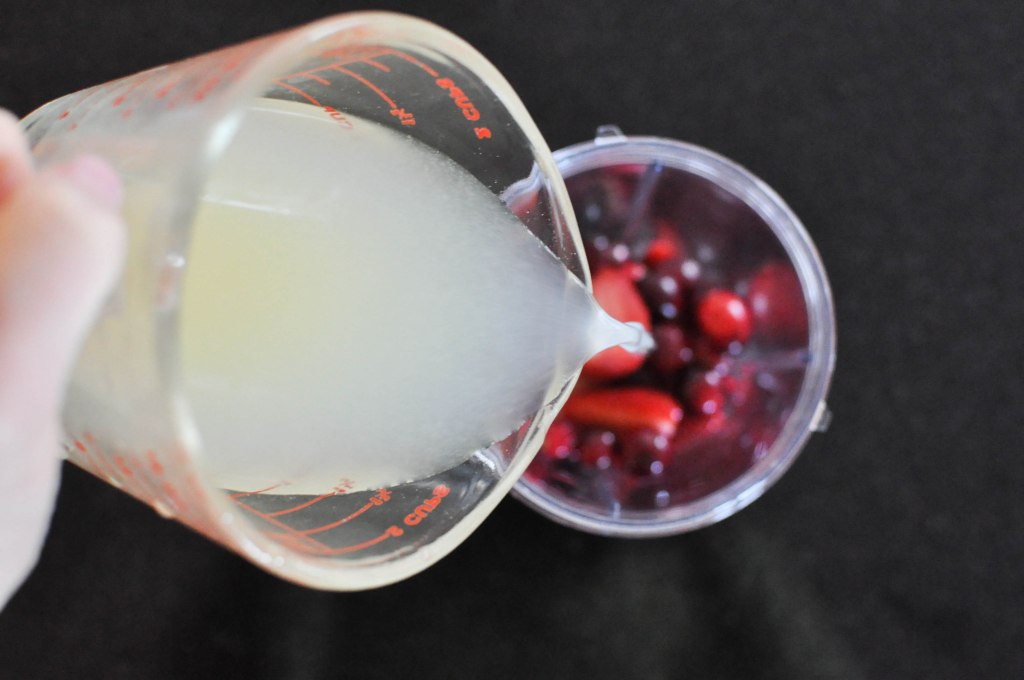
We’ll also need 1 cup of liquid. I used a mixture of approximately ¼ cup lemon juice and ¾ cup water. Use all water if you don’t like sour candies.

Gelatin! The magical and incredibly healing ingredient. You will need THIS kind for these gummies to work. I promise this won’t be a one-purpose purchase. You will find yourself using this gelatin for a lot of really fun projects.
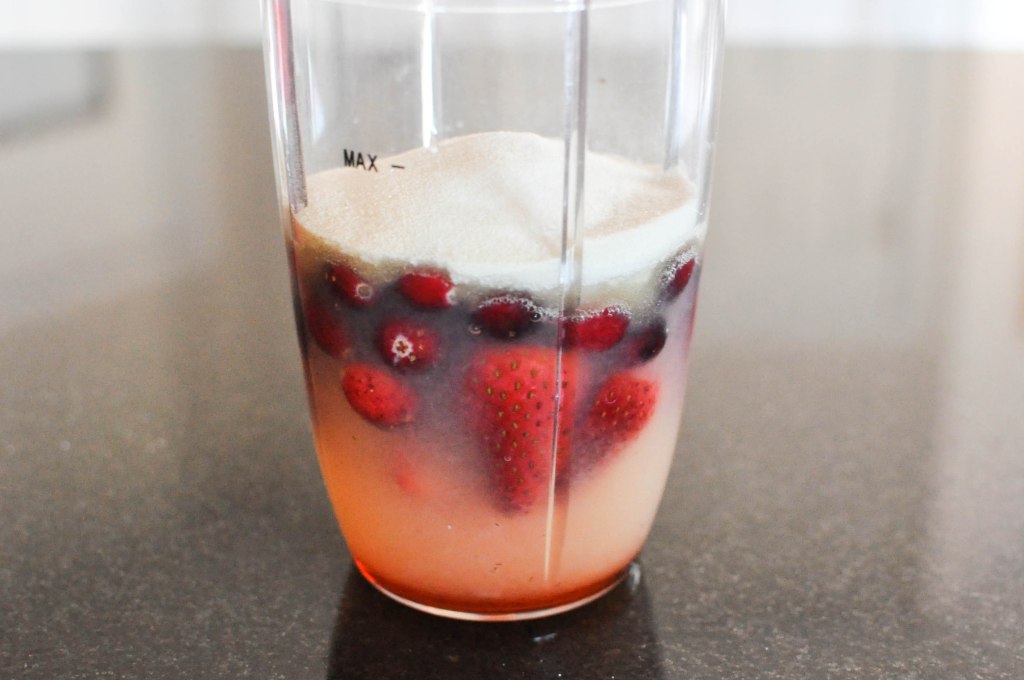
Add 5 Tbs of the gelatin to the blender or blender cup.

Blend! Ah it smells so good. Must resist the urge to gobble it up right now.

For easy gumdrop pouring, I like to use a pastry bag. You can use either a real pastry bag or just pour the fruit mixture into a plastic bag-lined cup.

Pull the bag out.

And clip the corner! Poof! Inexpensive pastry bag is born.
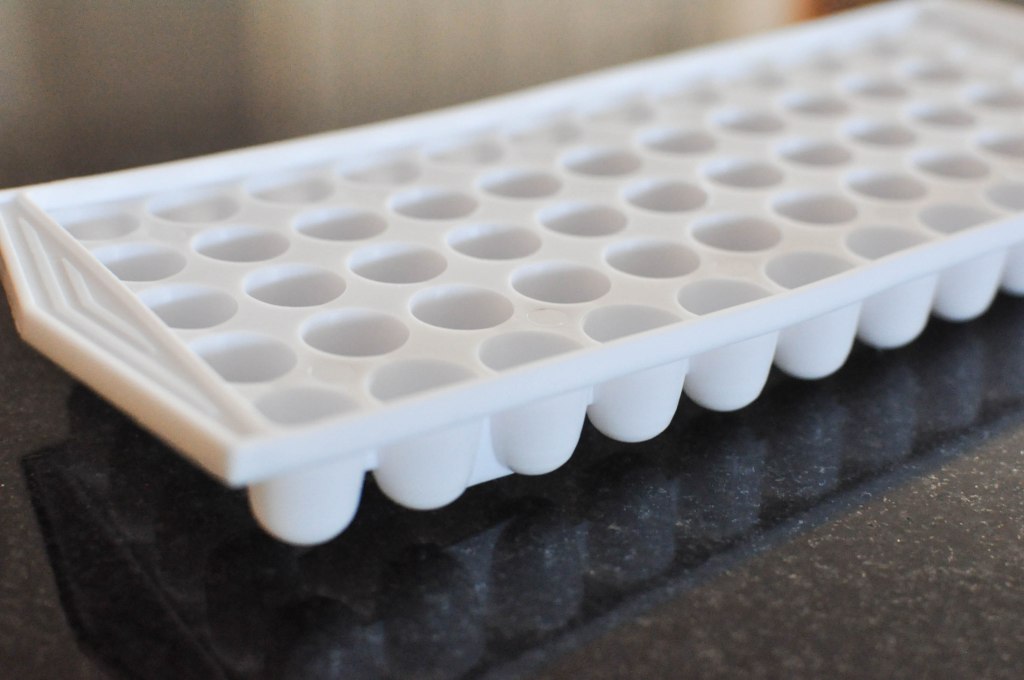
Have you seen these cute little ice cube trays? We’re going to use them to mold our gumdrops! I found this one HERE.
If you don’t have one of these trays, you could also just pour the liquid fruit mixture into a plastic wrap-lined baking dish. Let it set in the fridge overnight then use a small circular cookie cutter {or maybe even a ring?} to cut little discs.

If you’re using the ice cube tray, pipe the fruit mixture into each little opening.

Scrape off the tops.

And then put this puppy into the freezer!
Note that this recipe will make about 120 gumdrops {WOW that’s a lot} so either half the recipe or snack to your hearts desire. They’re healthy after all!
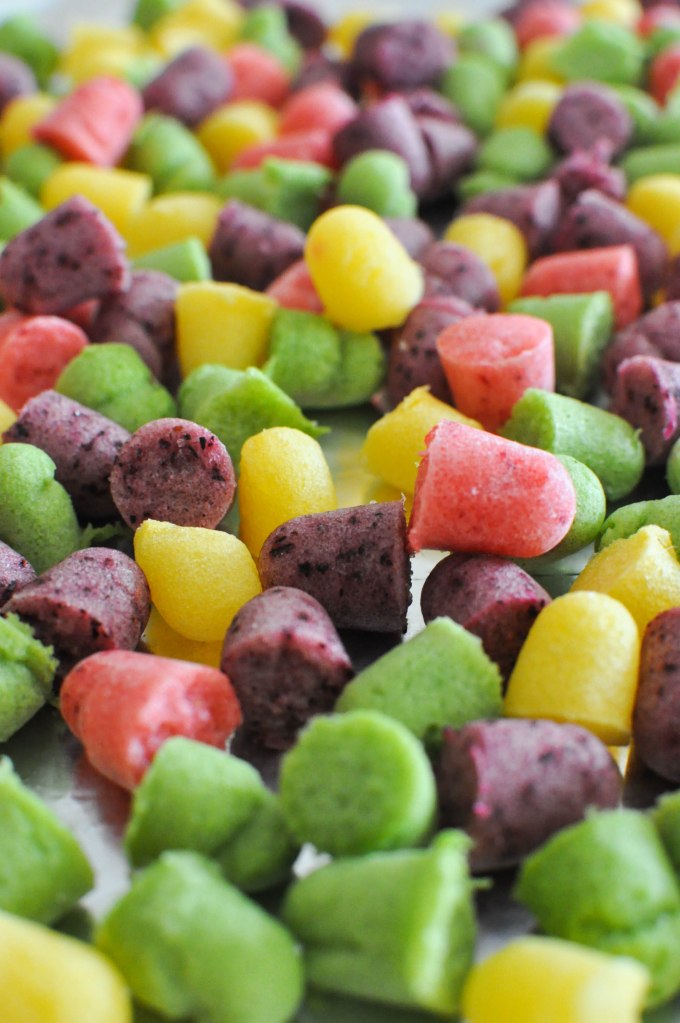
After the gumdrops have set in the freezer overnight, pop them out then store in an open-air container in the refrigerator. On the day you make your gingerbread house, pull the gumdrops out of the refrigerator so that they can crisp and dehydrate a bit on the counter – dryness will help them stick to the frosting.
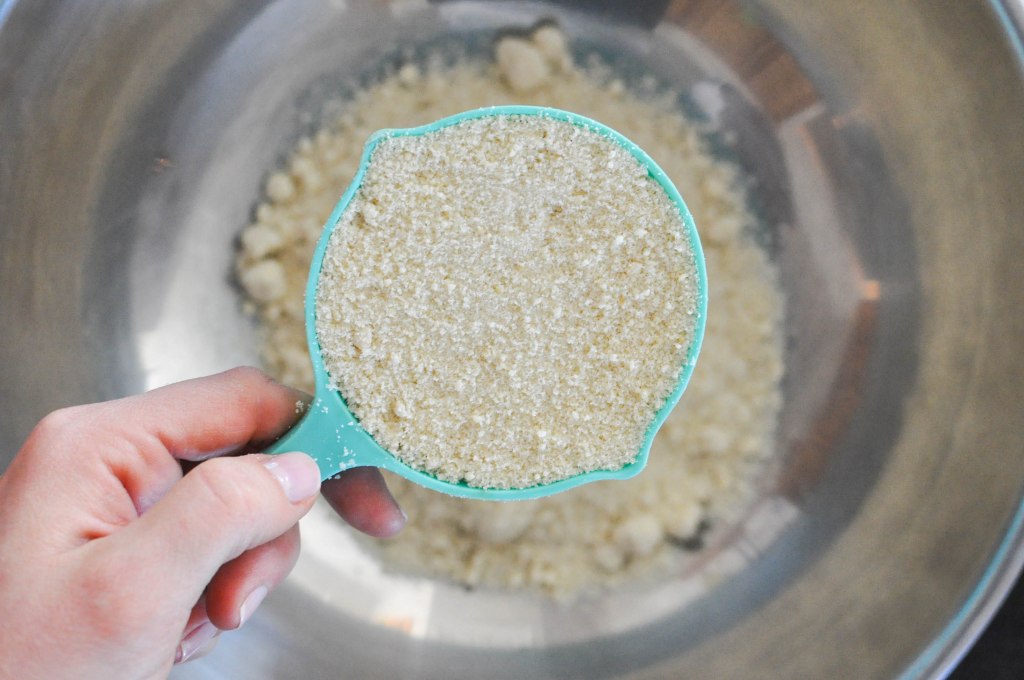
Now let’s make the actual gingerbread! Pour 3 cups of almond flour into a large bowl.
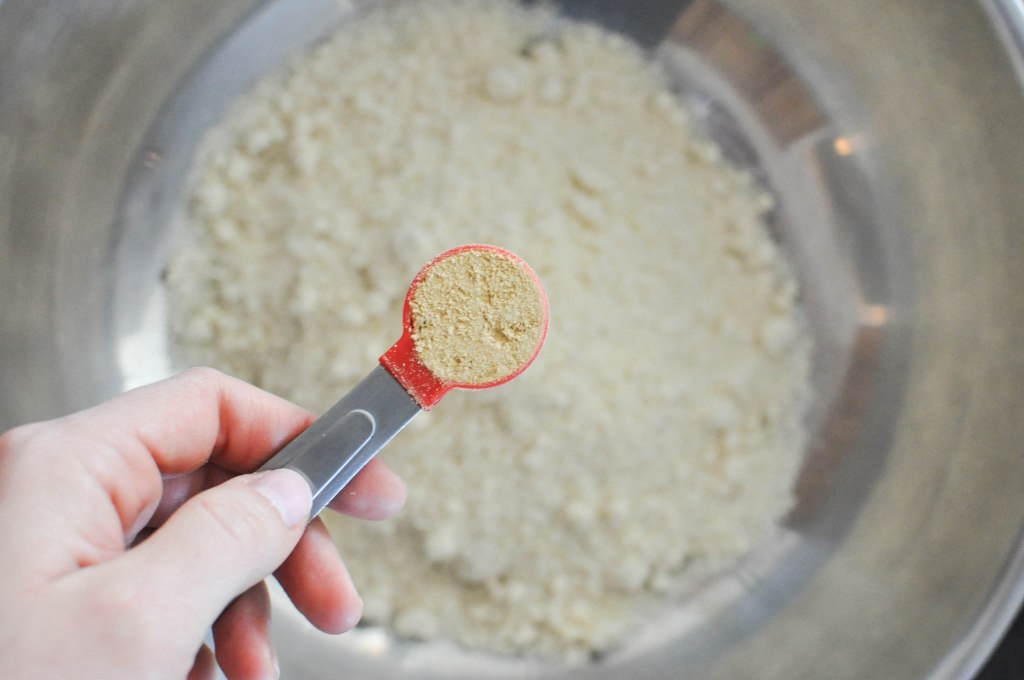
Add 1 tsp ground ginger.

Then 1 tsp cinnamon.
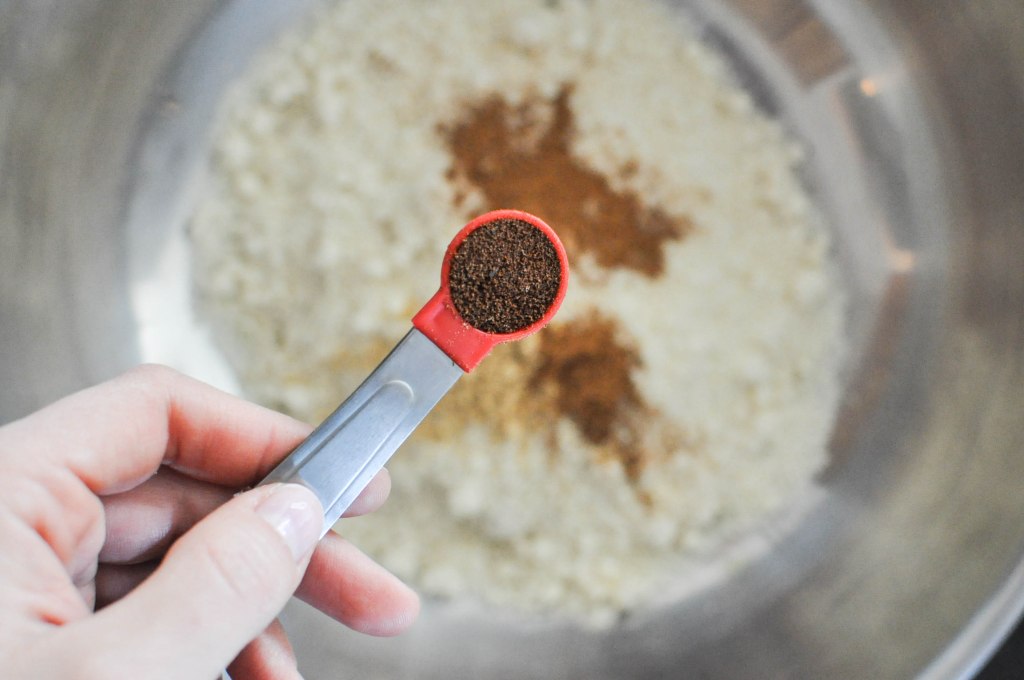
Then throw in ½ tsp ground cloves.
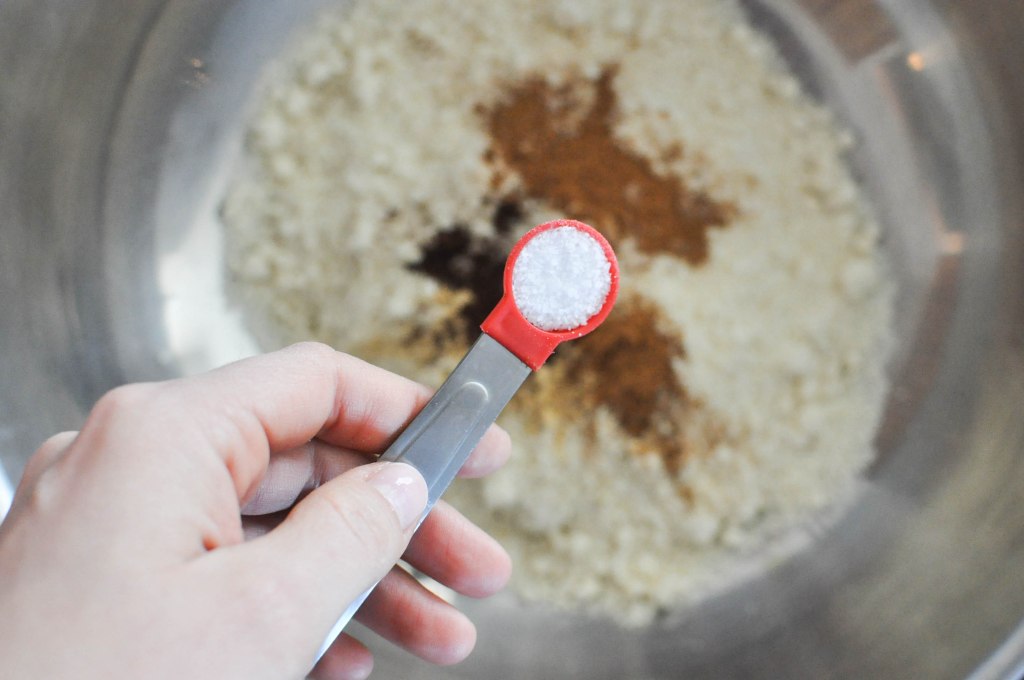
½ tsp kosher salt.

And then finally ½ tsp baking soda.
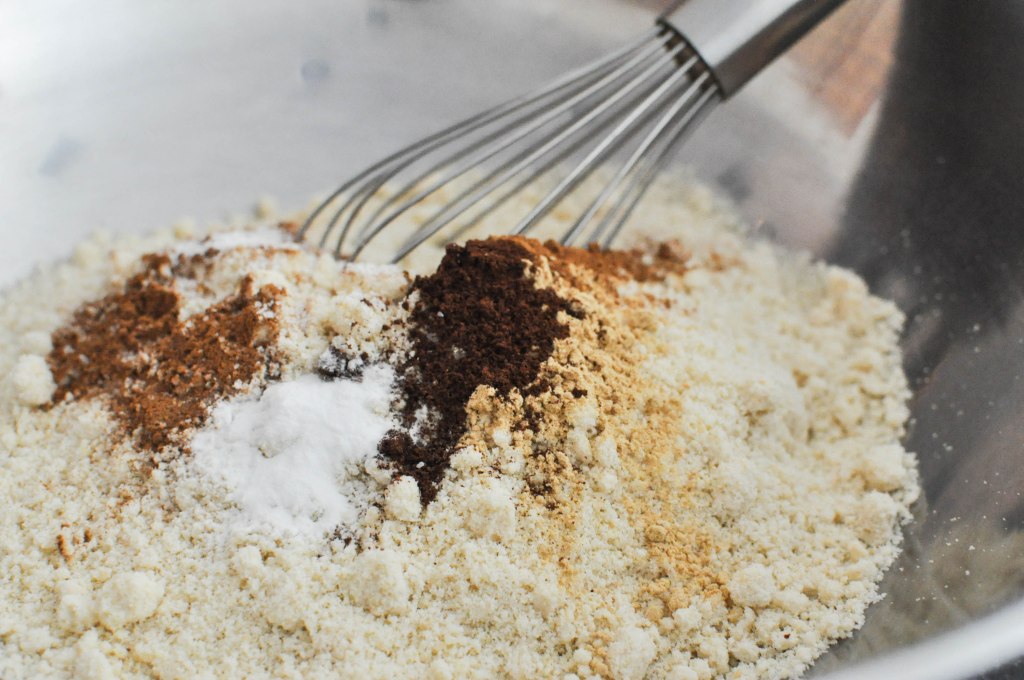
That’s it for the dry ingredients!

Give it a good whisk to combine and break up any almond flour chunks.

Onto the wet ingredients! We’re using blackstrap molasses as the main sweetener in these cookies. It will give the gingerbread that flavor you know and love.
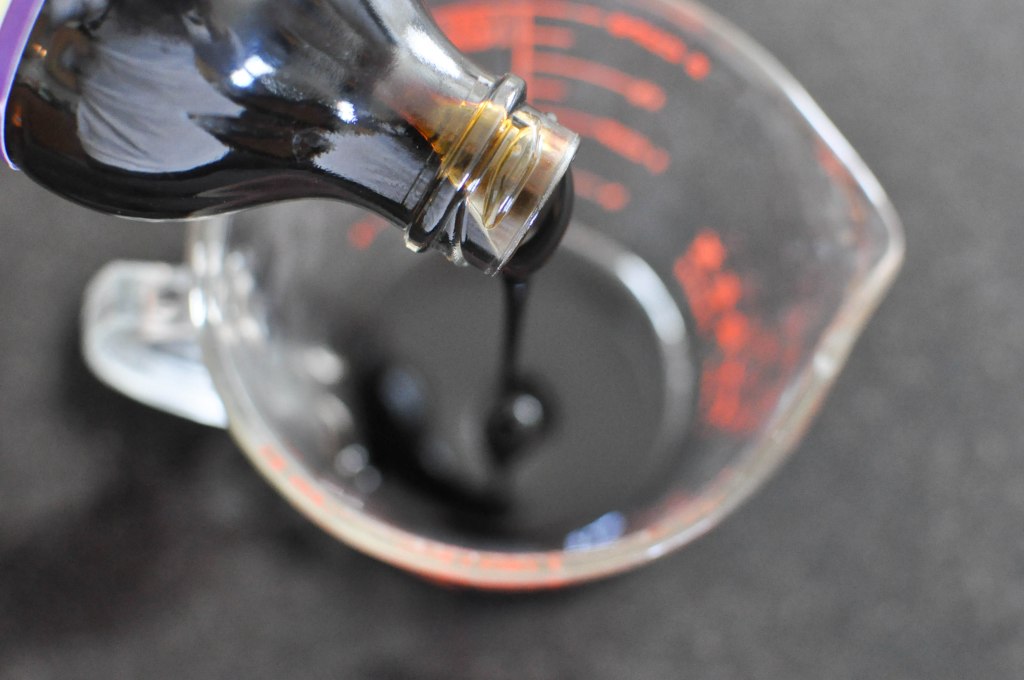
Pour ½ cup of the molasses into a jar.

Add 2 Tbs of maple syrup.
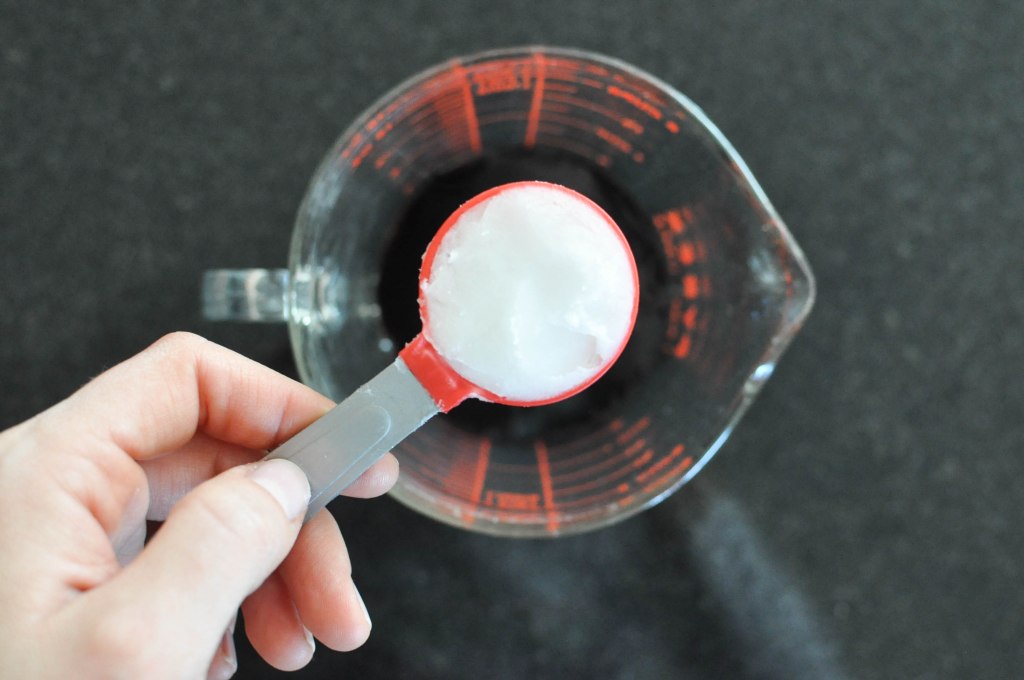
Then to that, add 2 Tbs of extra virgin coconut oil.
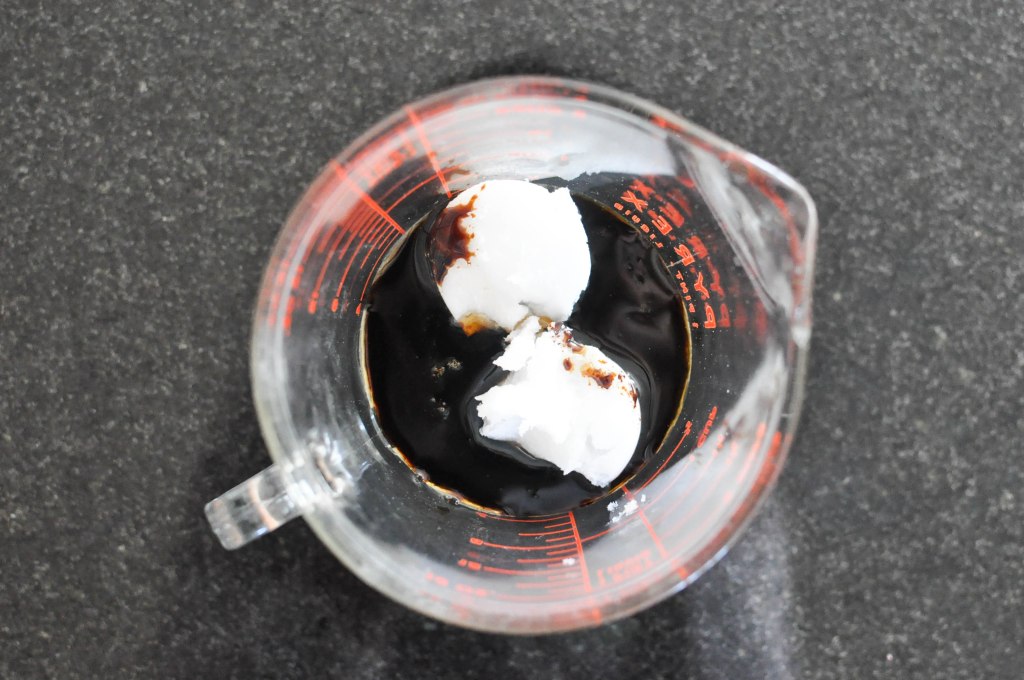
Take this jar and either stick it in the microwave {if you’re okay with using microwaves} or heat it on the stove until the oil melts and the molasses is running thinly.
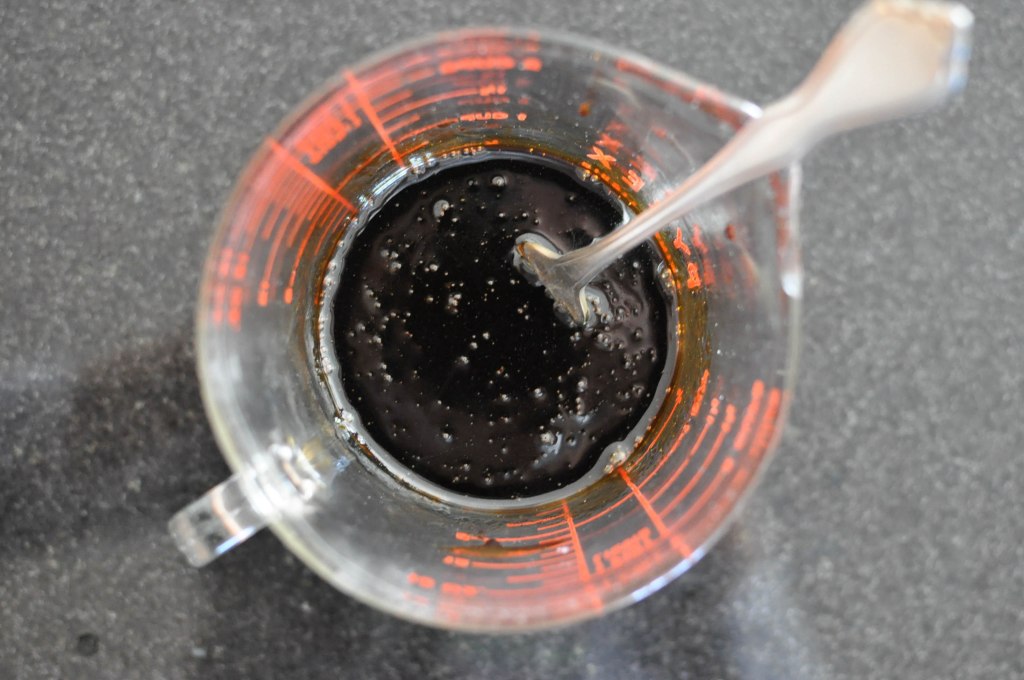
All melted? Good! If it feels hot to the touch, let it cool for a bit. We don’t want it to cook our next ingredient.
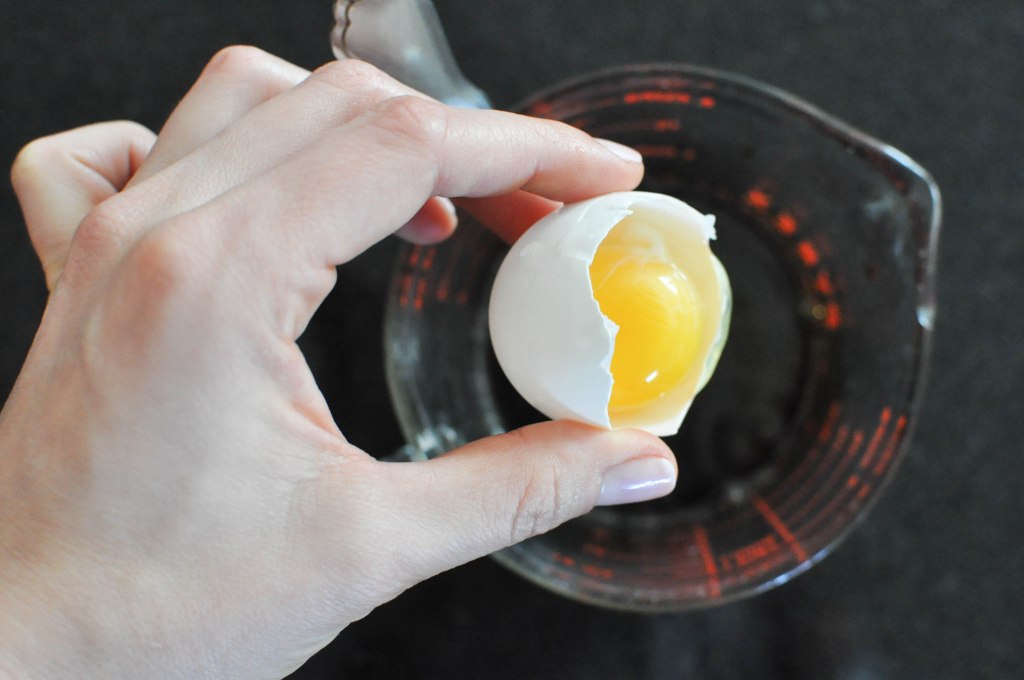
Add 1 egg.
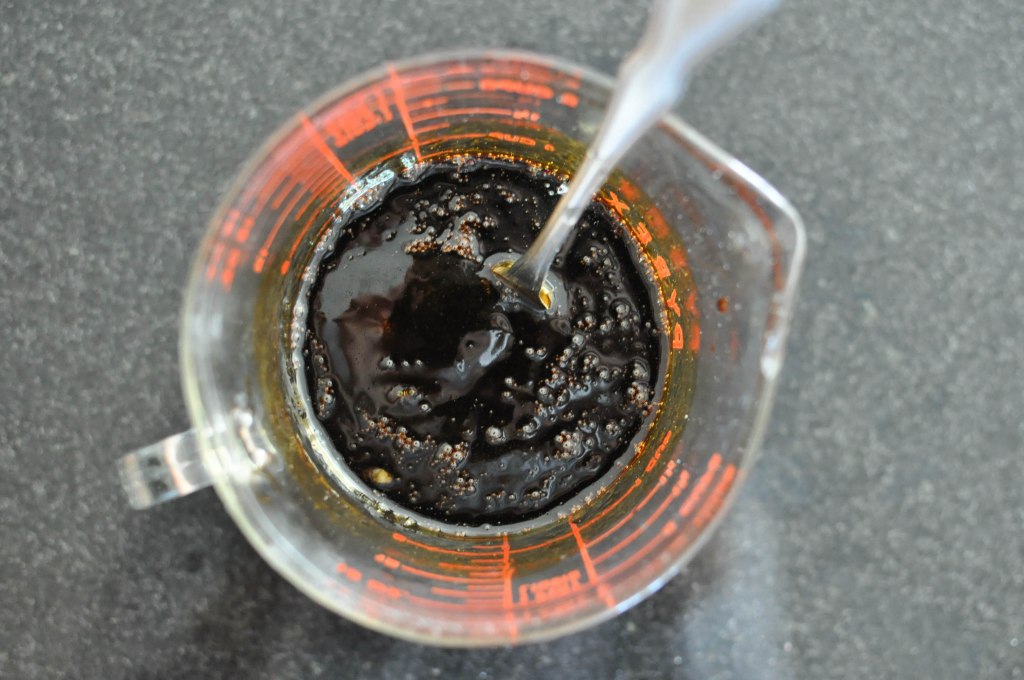
Whisk together!

Pour the wet into the dry ingredients.
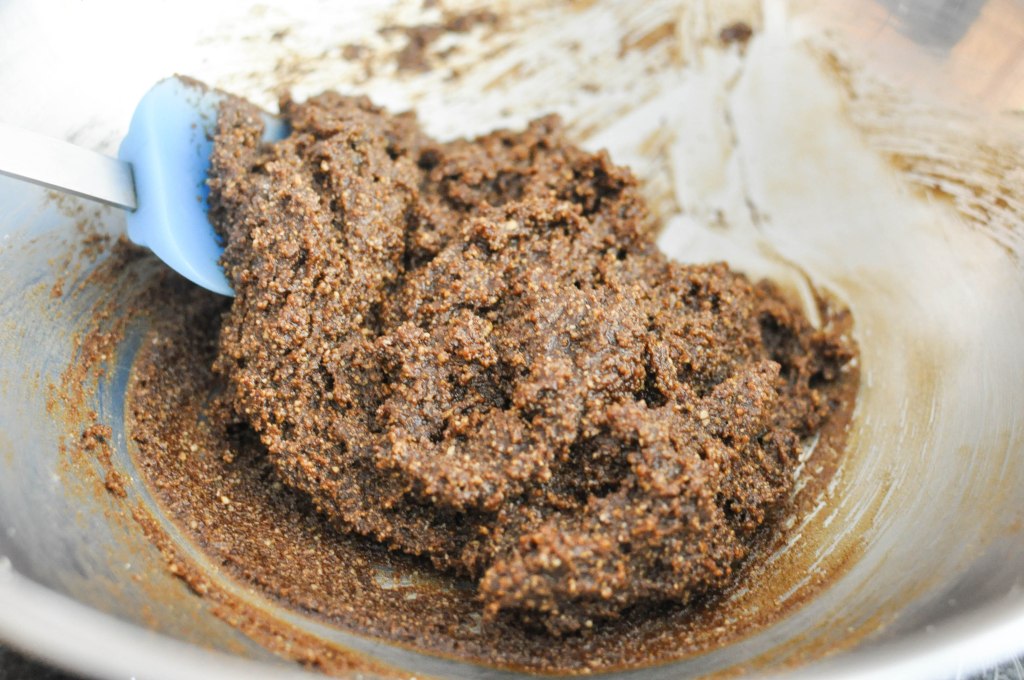
Stir until it’s evenly combined.
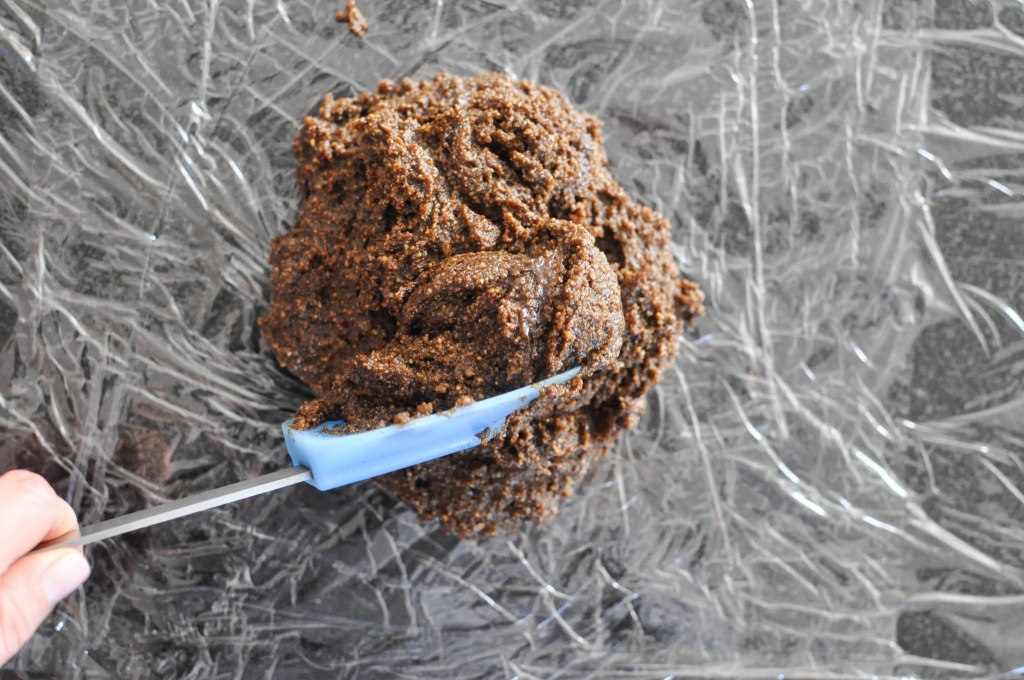
Take your dough and plop it onto a few sheets of plastic wrap {parchment paper would work too}.
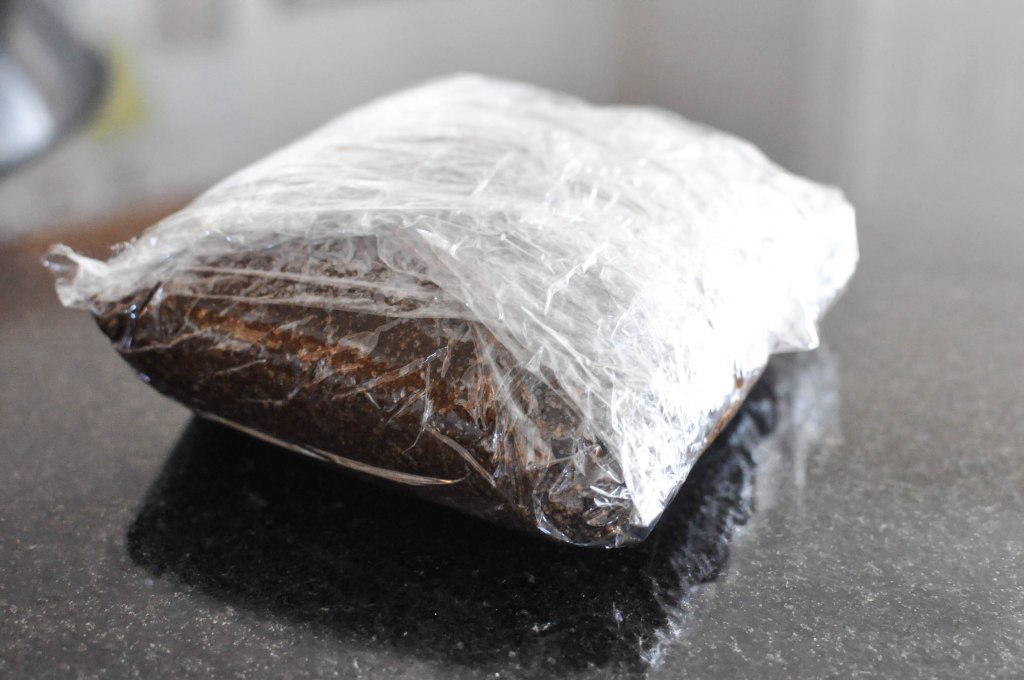
Wrap it up and place it in the refrigerator for 2 hours or overnight. We want it nice and firm before we start cutting our cookies.
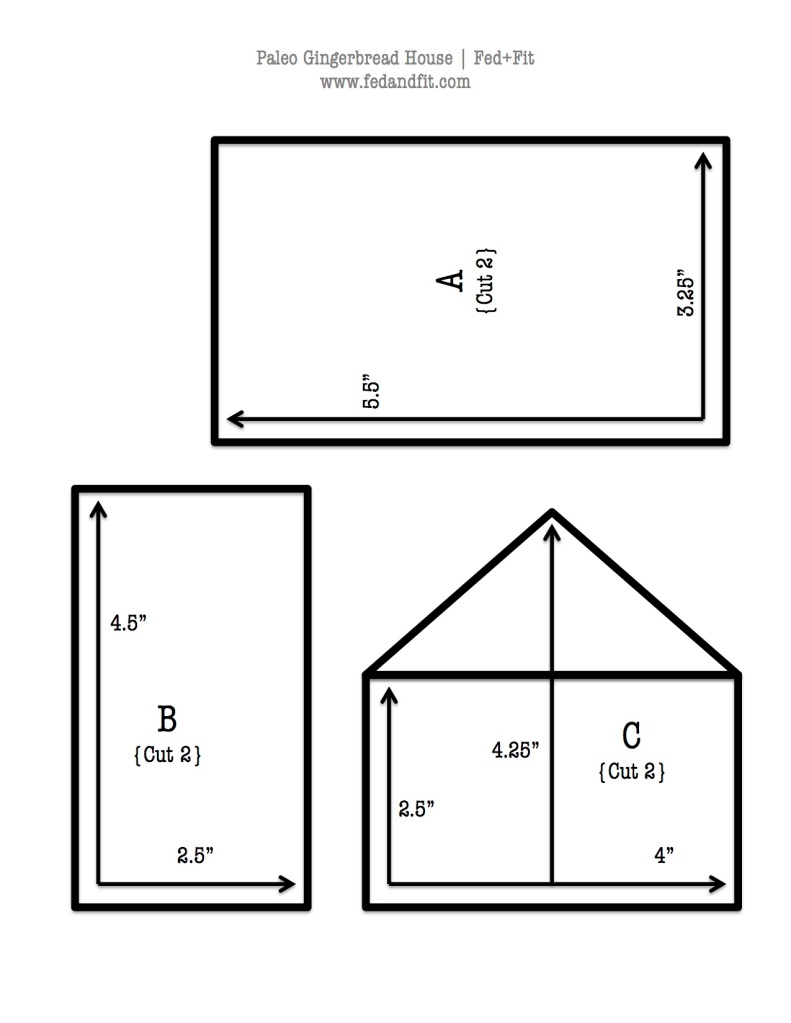
While the dough is firming in the refrigerator, make your cookie stencils! You can use the dimensions here on paper or use them to trace onto a poster board.

The gingerbread cookie rolling Mise en Place! We’ve got our chilled dough, the cookie stencils, a rolling pin, and a bowl of arrowroot flour {our saving grace}.

Throw some arrowroot flour onto a large piece of parchment paper.
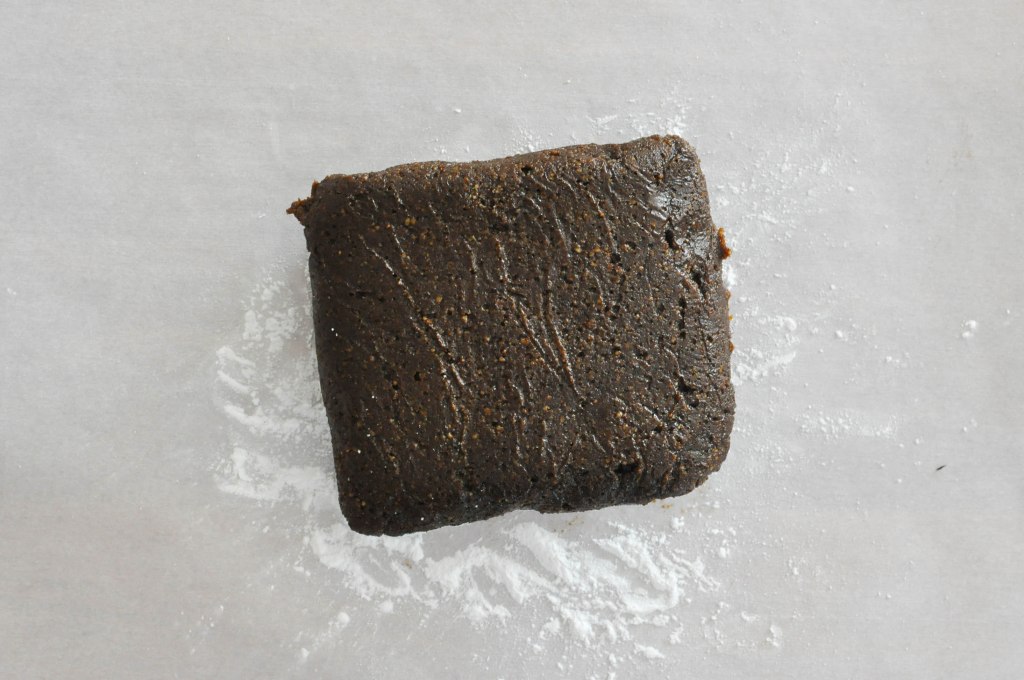
Put the cold dough on top.
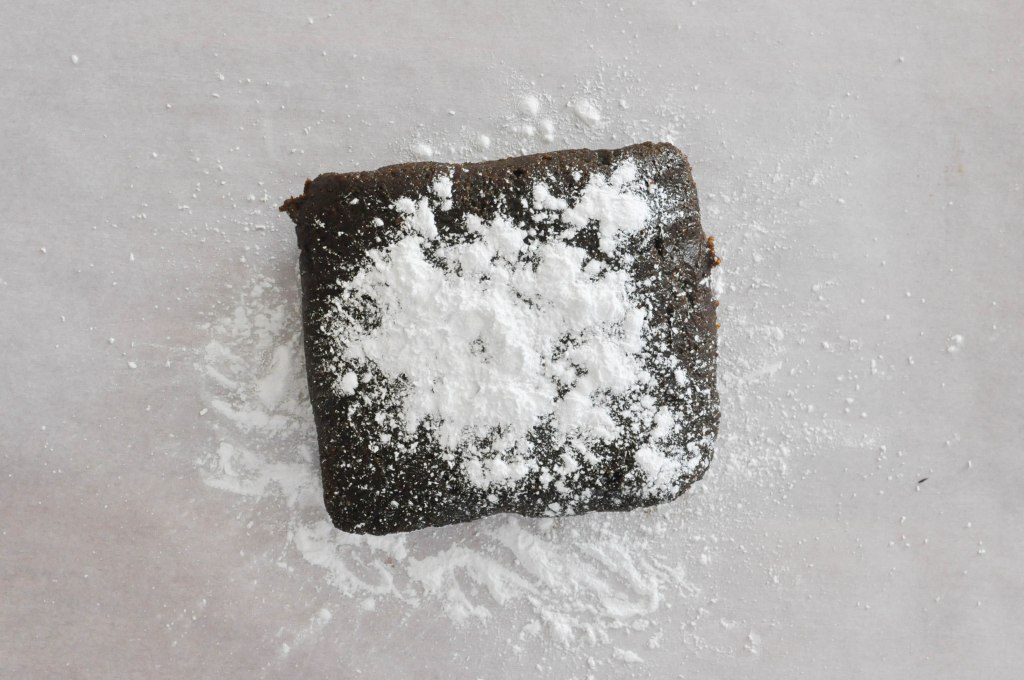
Then sprinkle with more arrowroot.
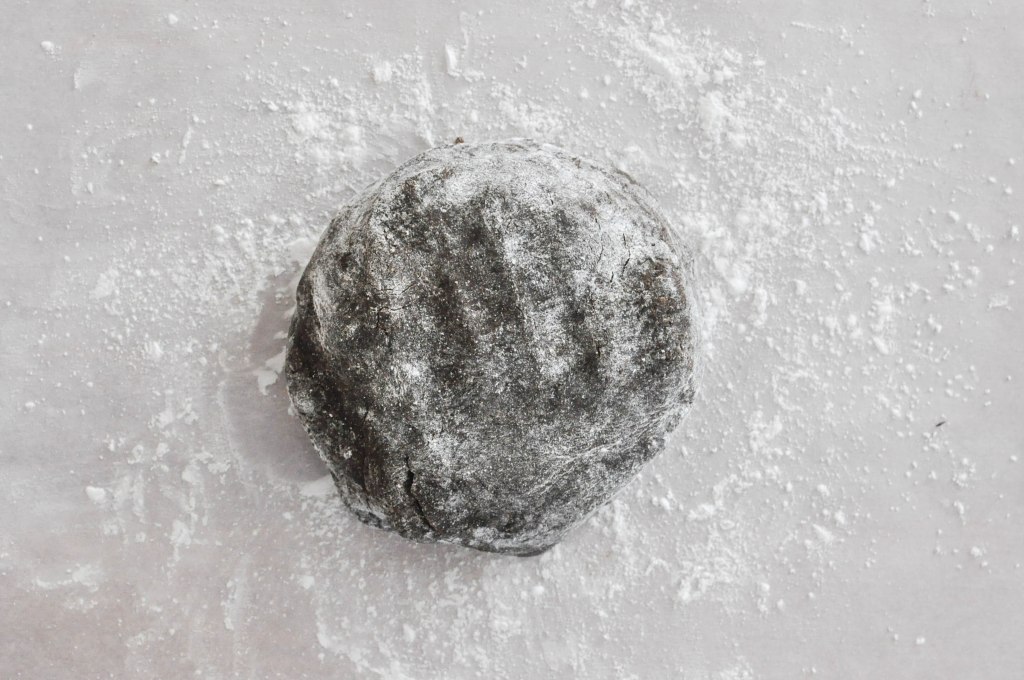
Roll into a ball {using as much arrowroot as you need}.
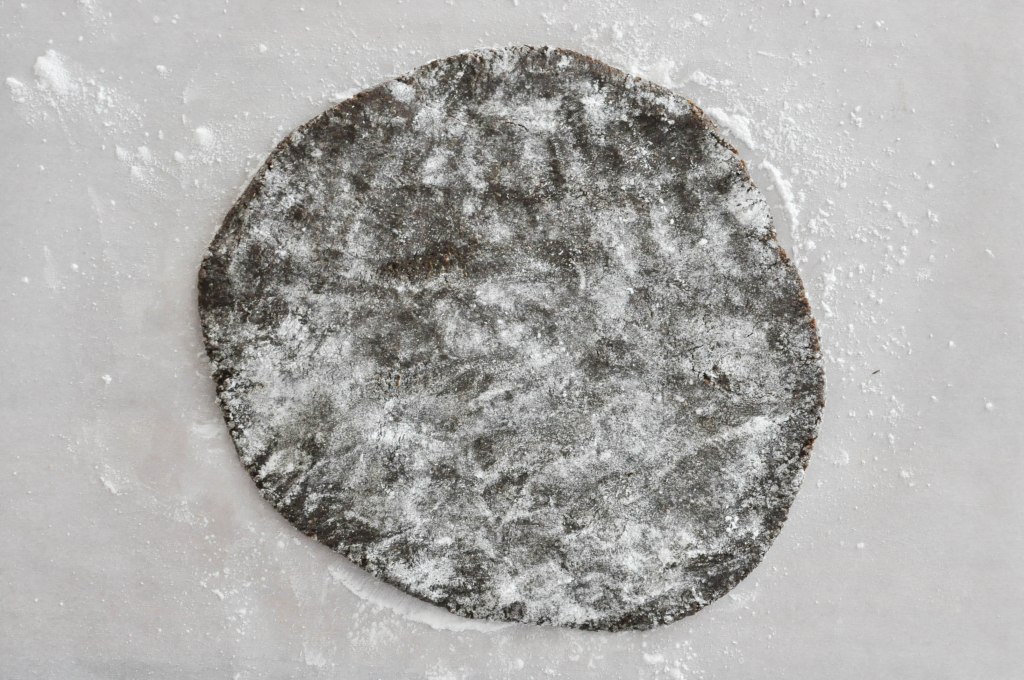
Then flatten with your hands.

Rolling pen time!
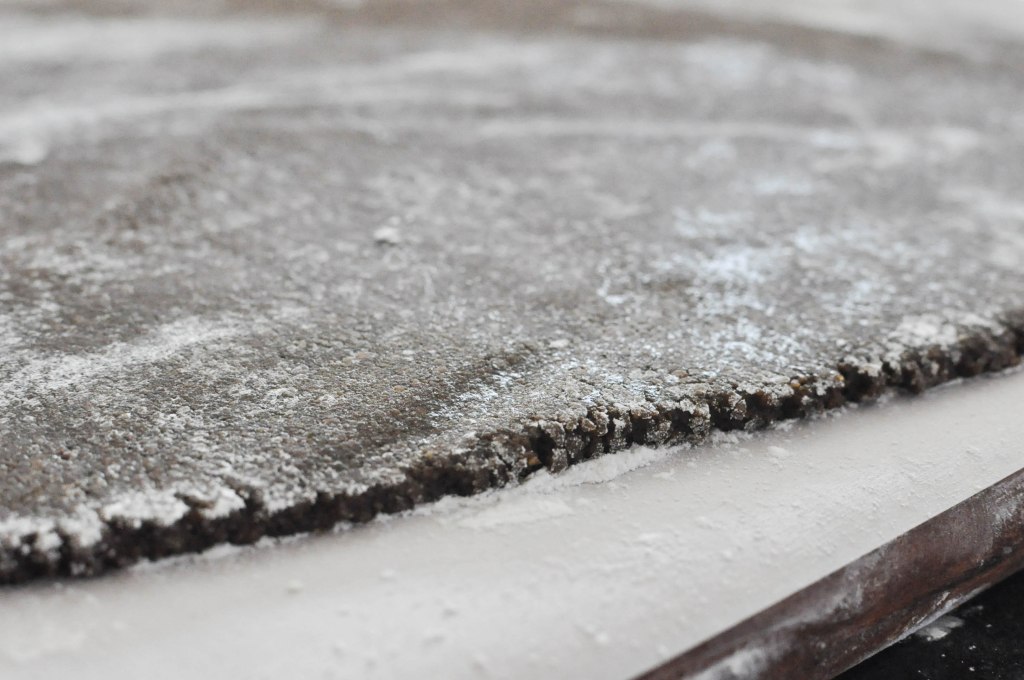
Roll until it’s about ¼“ thick.

Make sure it’s well dusted with arrowroot! Sticky cookies aren’t much fun.
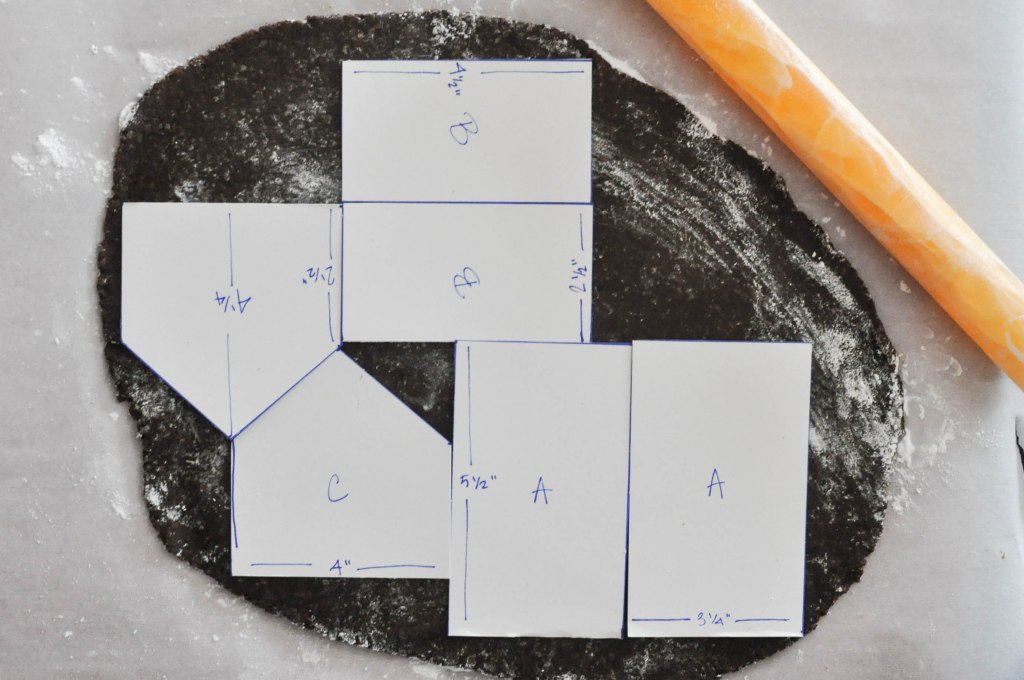
Place your cutouts on the dough in any arrangement that works. If you can’t fit them all in on the first go, no worries! You’ll get ‘em on the next.
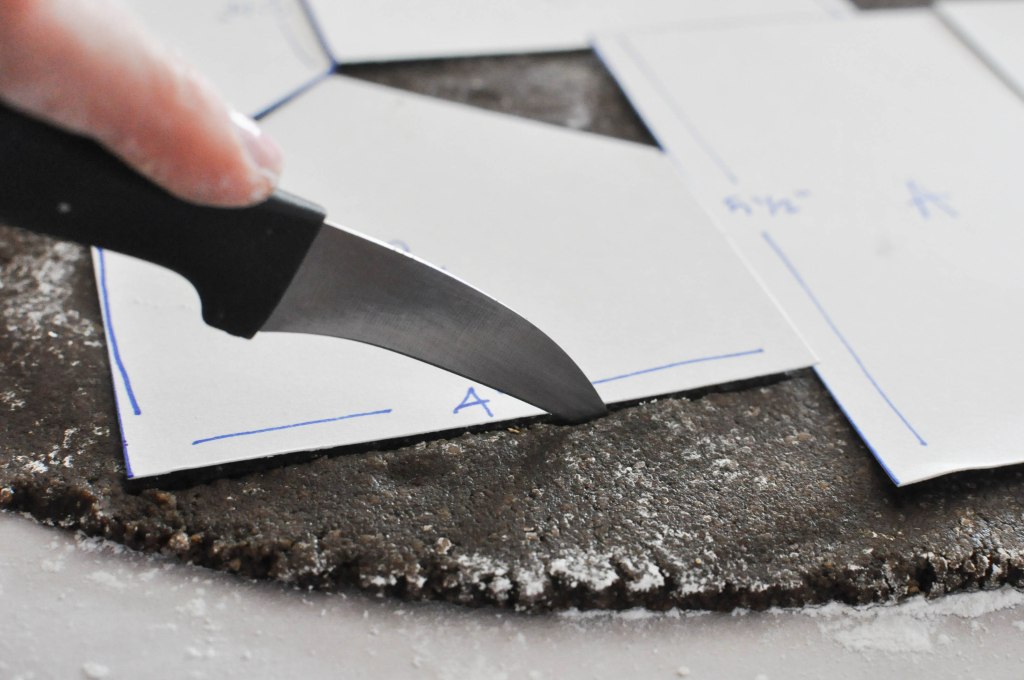
Using a knife, trace each stencil.

This is so exciting!

Pull the non-cookie dough away from the cut pieces.
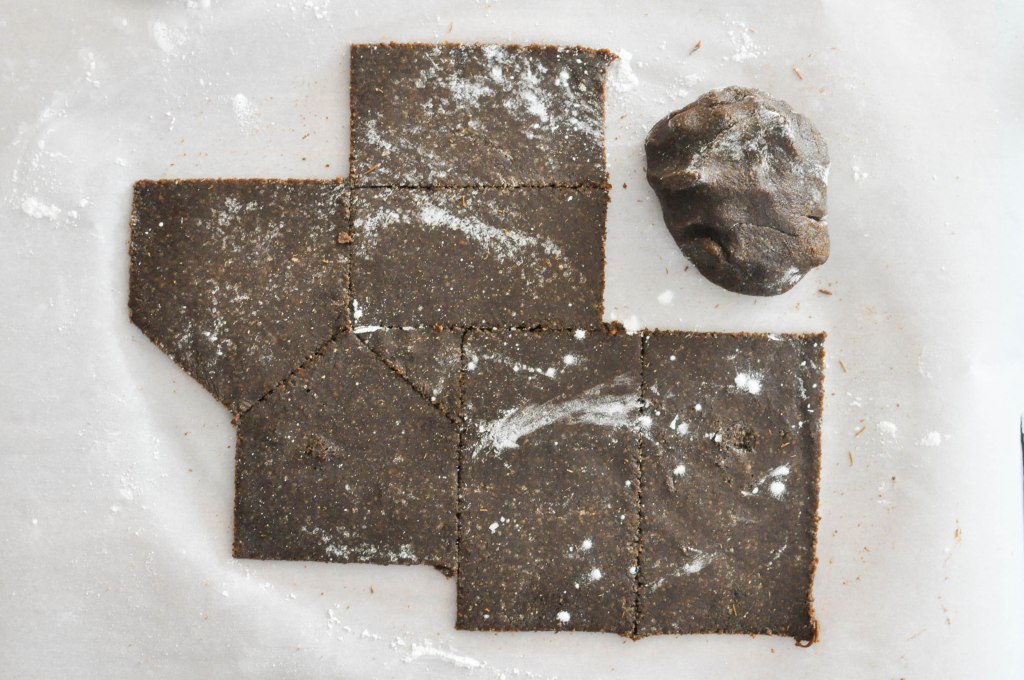
From here, carefully move each piece onto a new piece of parchment paper on a baking sheet.
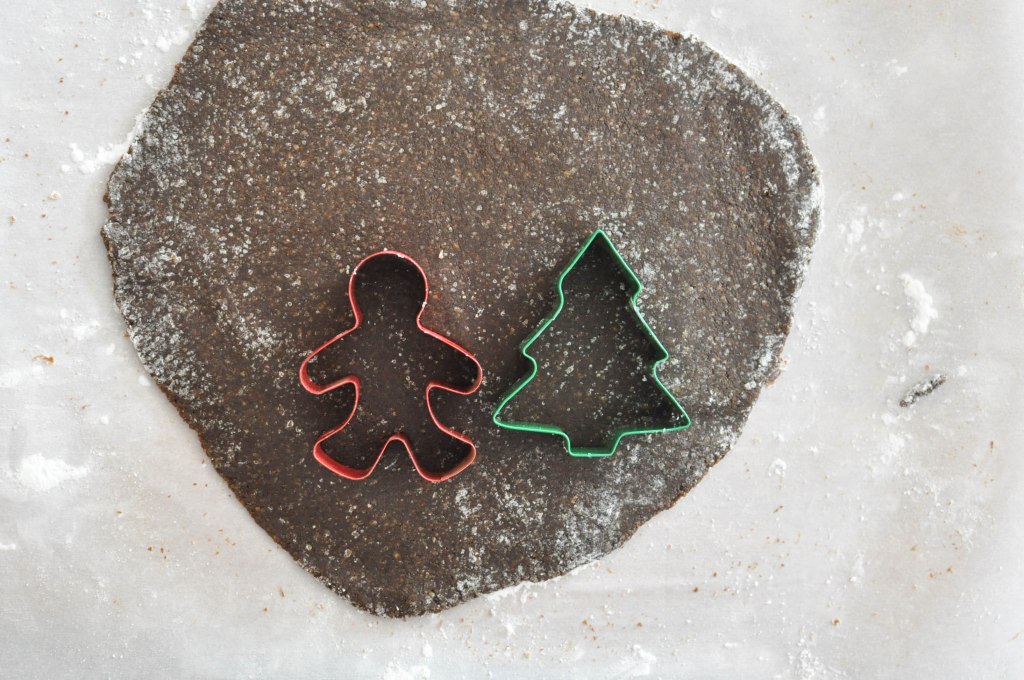
Roll the leftover dough out and cut your remaining pieces.

When you’ve got all the pieces on their baking sheet, I recommend you take your original stencils and reform any that are misshapen.

Time for the oven! Bake at 350 F for 15 minutes.
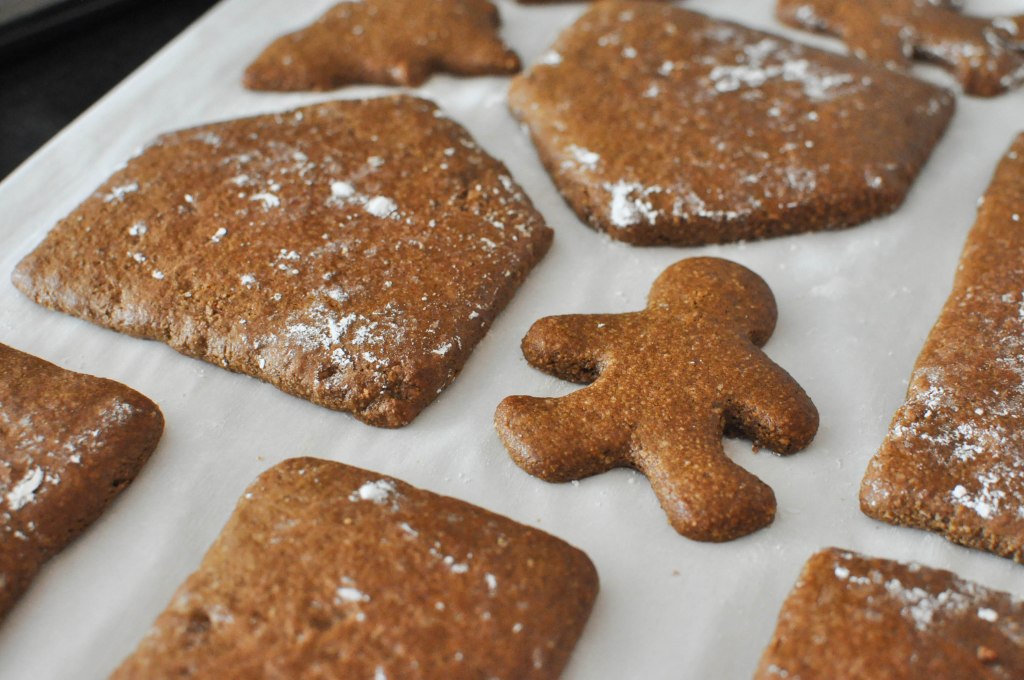
Done! Let them cool completely before you move any pieces. Once they’re cooled, carefully transfer them to a wire cooling rack so that they can cool and harden over night.
It’s finally here. Paleo Gingerbread house day! We made our gumdrops, we made our house pieces, and now it’s time to make the frosting!
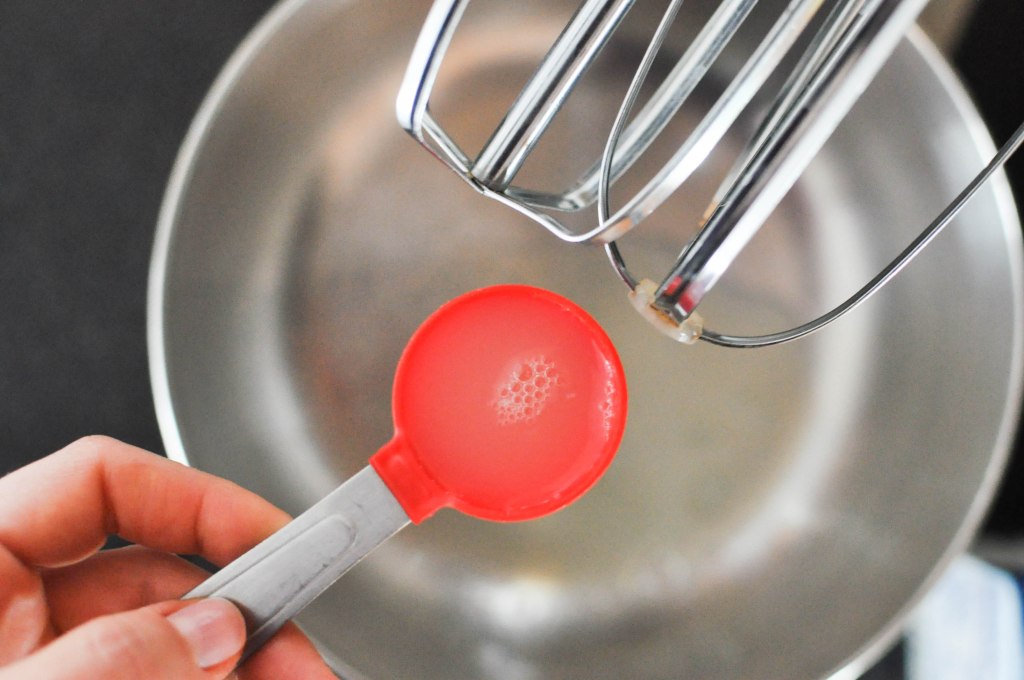
Add 6 Tbs liquid egg whites to either your stand mixer or a bowl ready for your hand-held mixer.
Note: royal icing is usually made with a powdered meringue powder that’s packed full of non-intelligible ingredients. Egg whites make a great substitute.
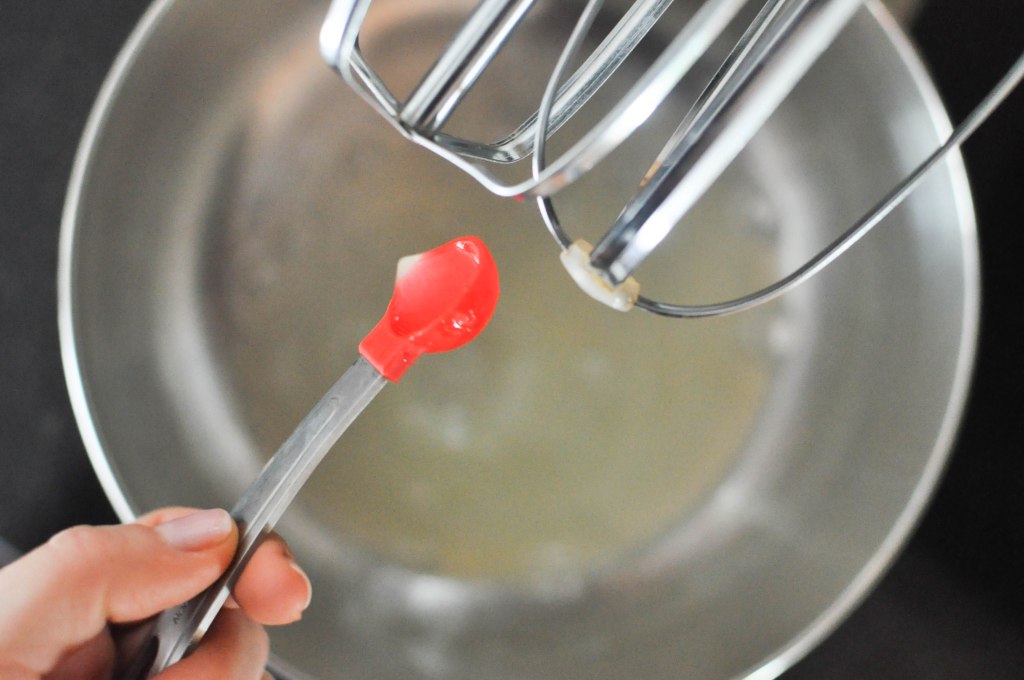
Add 2 tsp fresh lemon juice.

Mix these two together until it’s frothy like this.
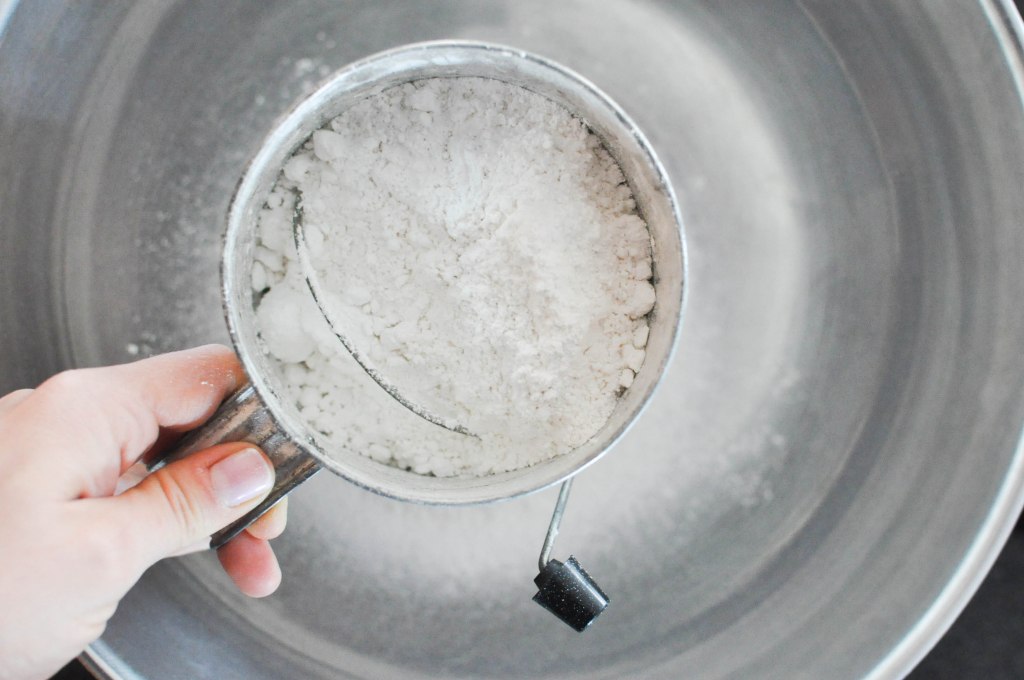
We’re going to use organic powdered sugar for this frosting. While the refined sugar isn’t a health product, its ability to make a royal frosting is completely unmatched.
Sift the powdered sugar until you have 3 cups.

Look at those clumps! Nobody likes clumpy frosting.

Ah, beautiful sifted powdered sugar. My Nana would be so proud.

With the mixer on low, slowly add the 3 cups of sugar to the egg whites and lemon mixture.
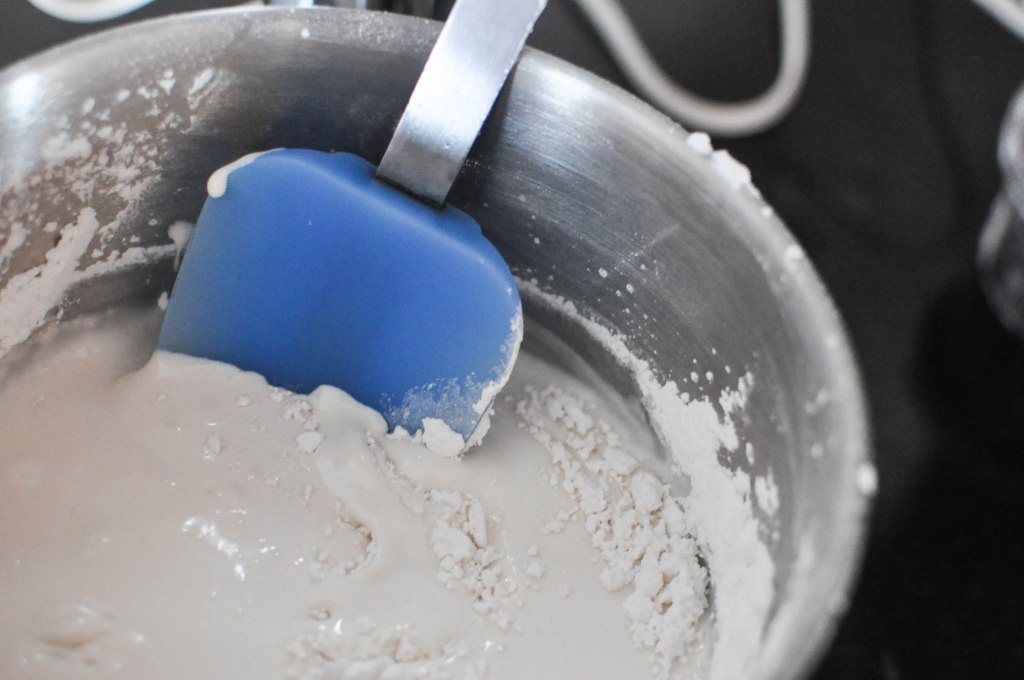
Pause after the sugar has been added to scrape down the sides.

Then turn the speed up! Run the mixer on high speed for at least 6 minutes.

If your kitchen looks this messy, you’re doing something right.
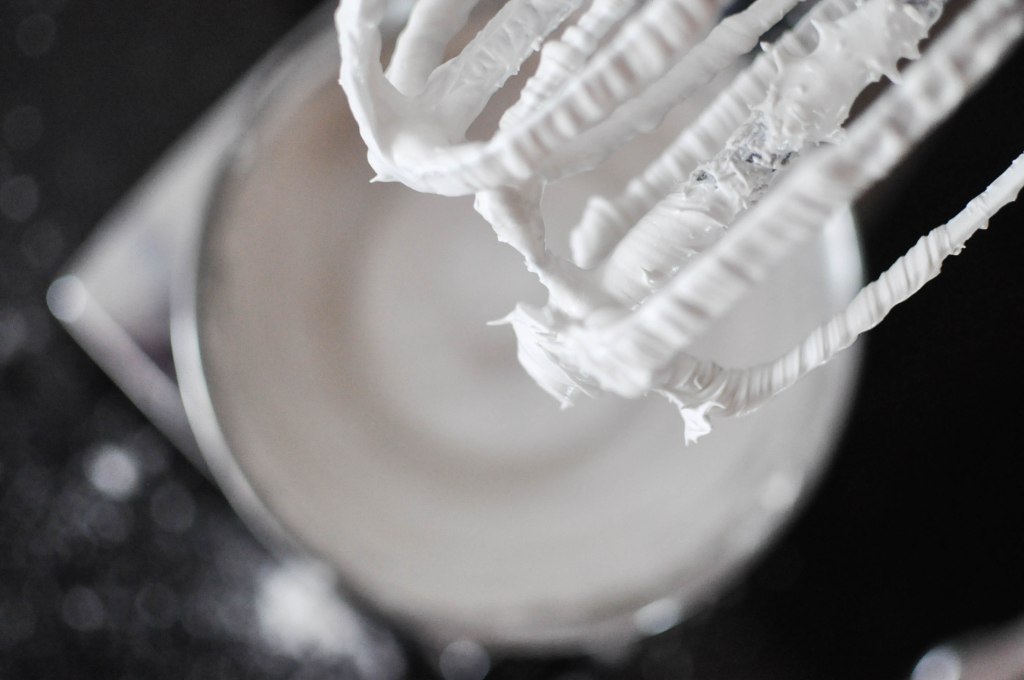
It’s finally done!
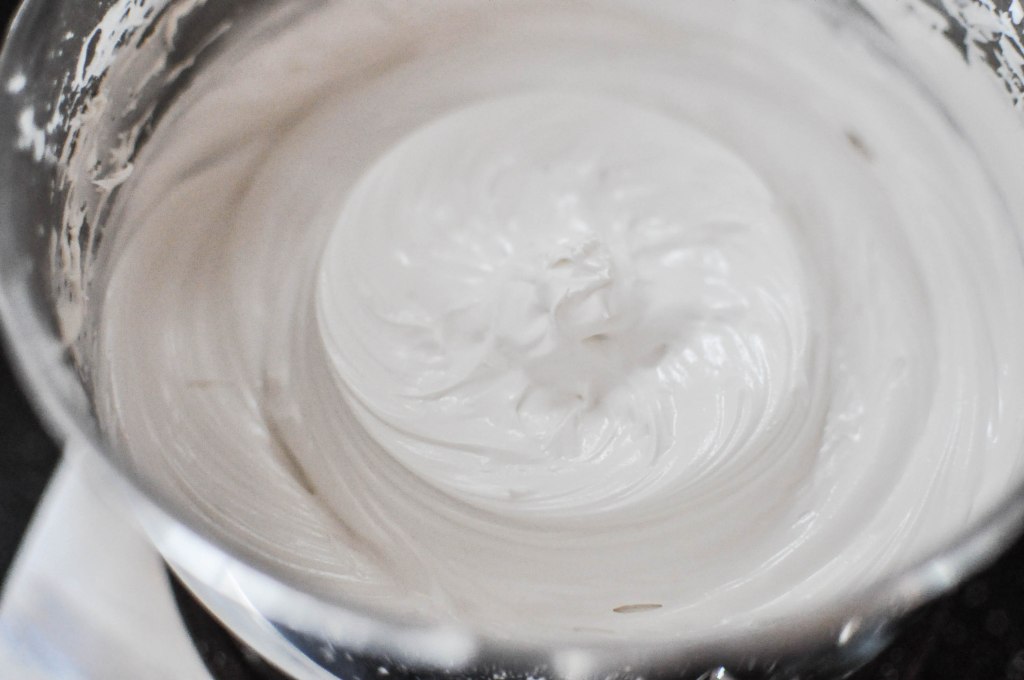
Perfect frosting.

Spoon some of it into a bowl if you want to color it.
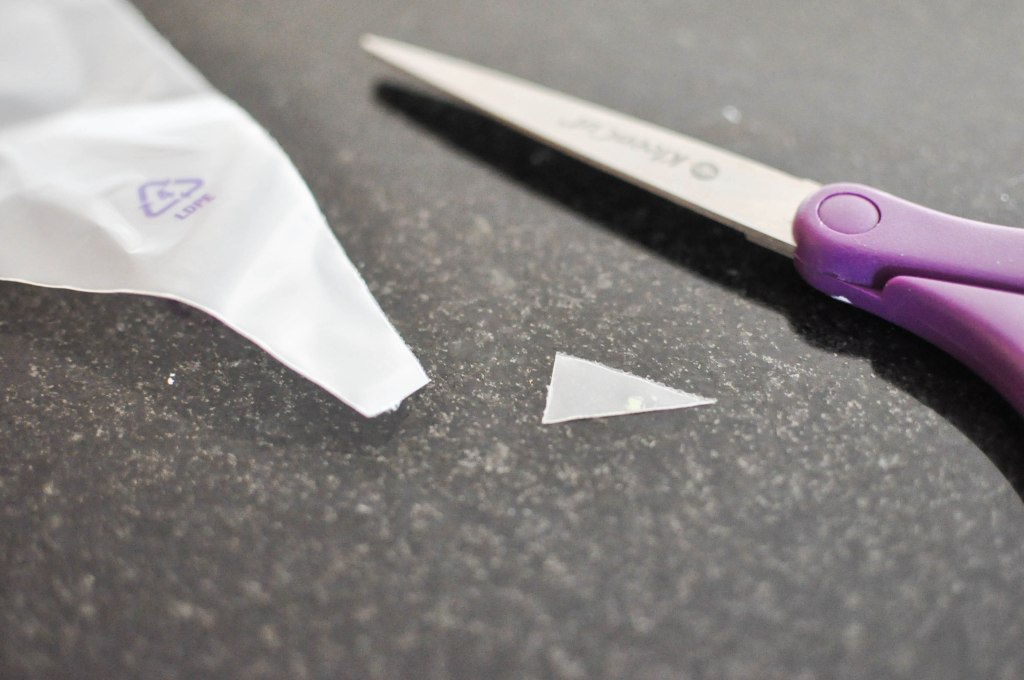
Cut the tip of a pastry bag or plastic bag {I find that because I’m using a fitted tip, an actual pastry bag works best here}.
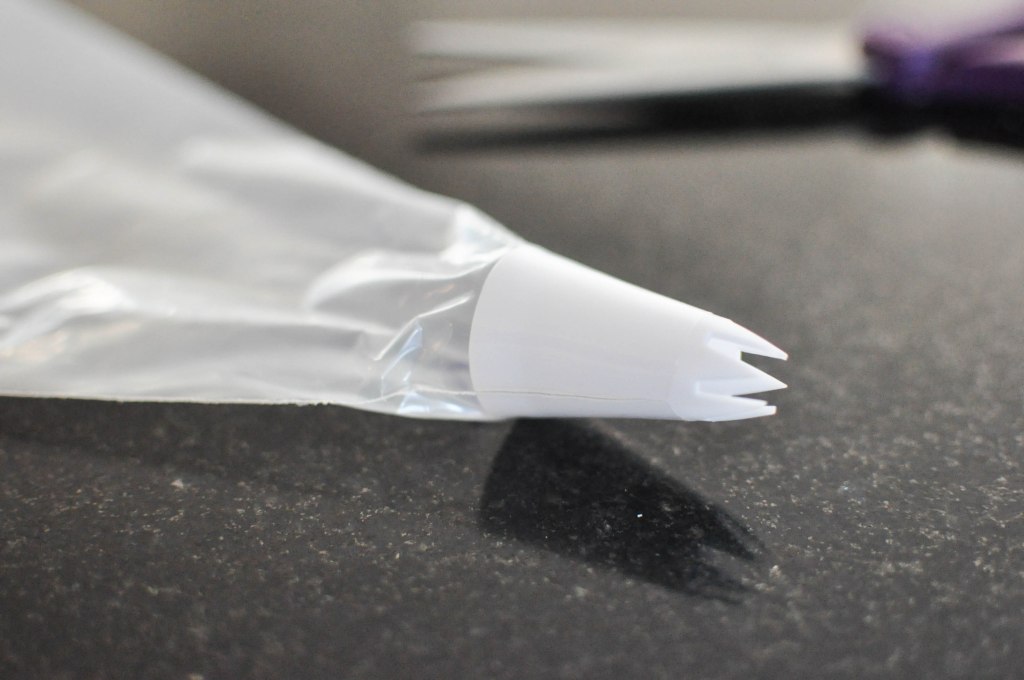
Push a star tip through the opening.
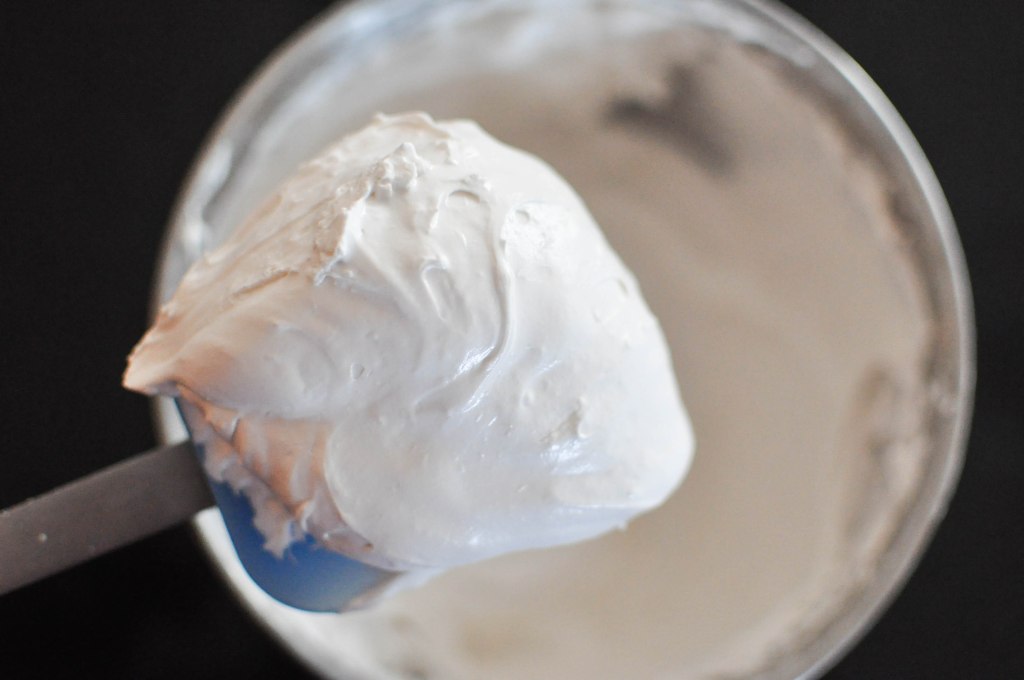
Grab a few big spoonfuls of the frosting.
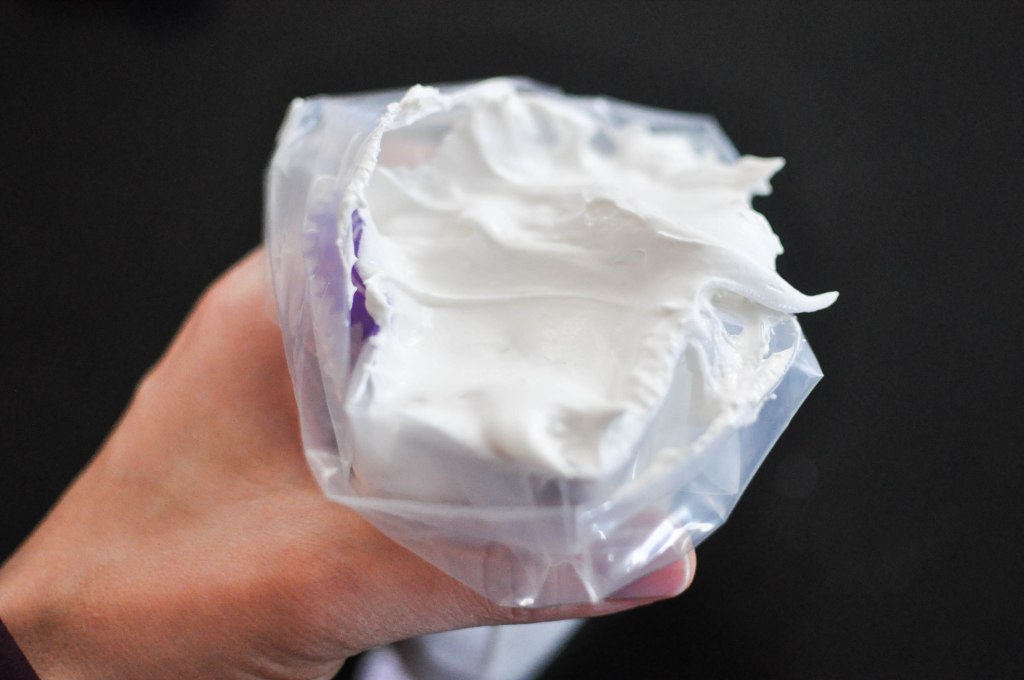
And put it in the bag.

OR, put a few drops of all-natural food coloring onto about ½ cup of frosting. I made green frosting for the trees.

Add that frosting to it’s own bag.
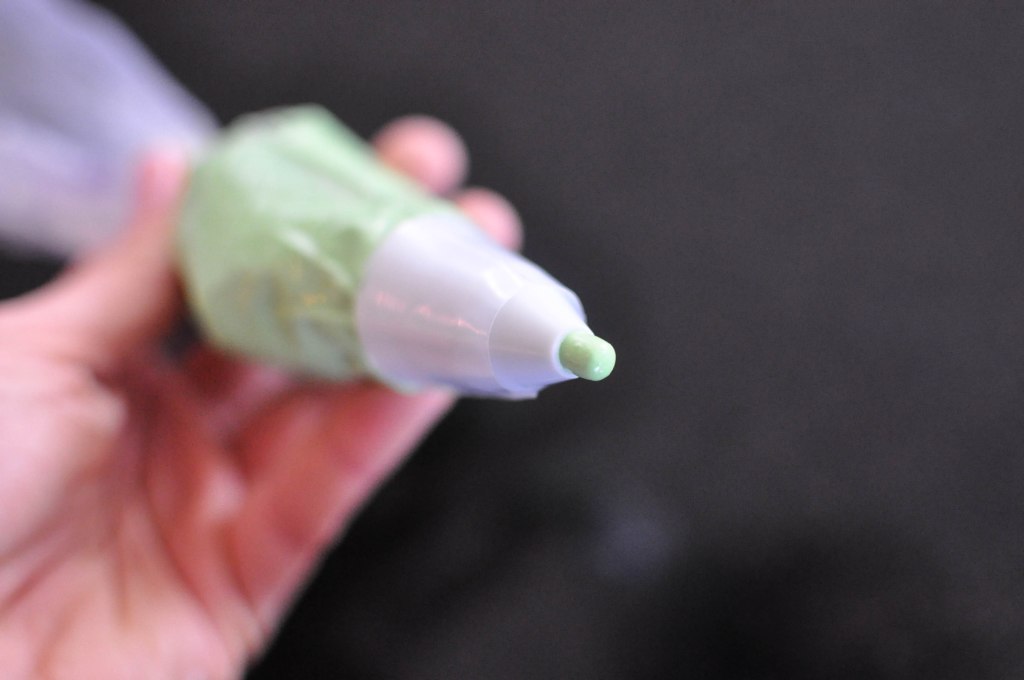
Then squeeze until it comes through the tip.

Before you get too carried away frosting your soon to be gorgeous house, cover any leftover frosting with plastic wrap – this will help keep it from drying out.

Start frosting!

Add decorations as you go – especially before the frosting dries. The Enjoy Life Chocolate Chips make great decorations if you don’t want to make gumdrops.
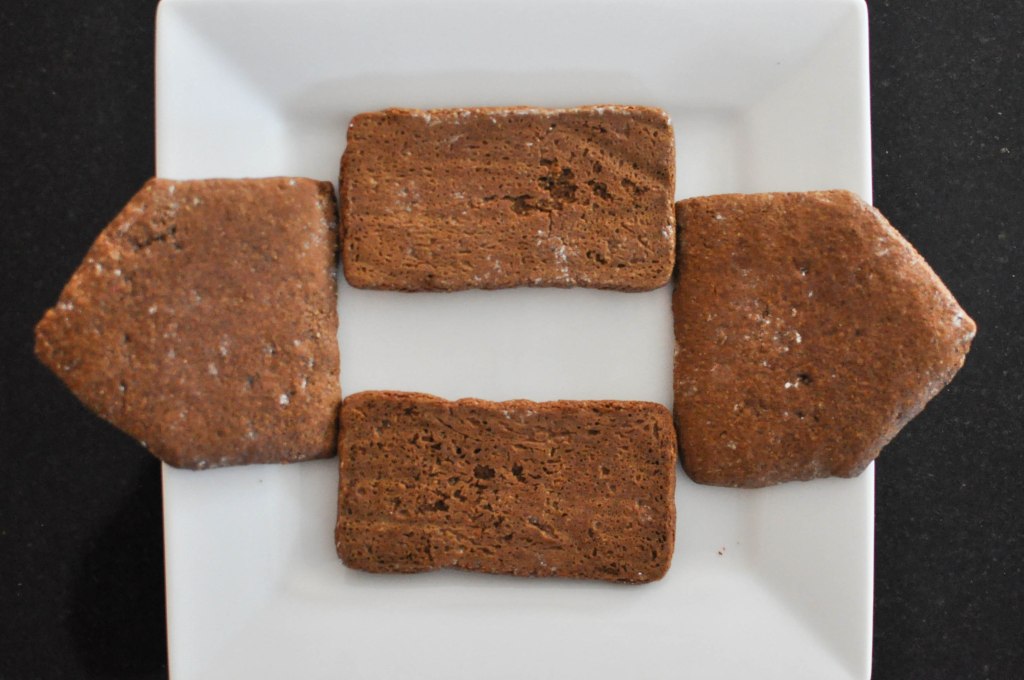
Time to make the house! Choose your plate or platter and lay out the pieces so you have an idea of where it will go.
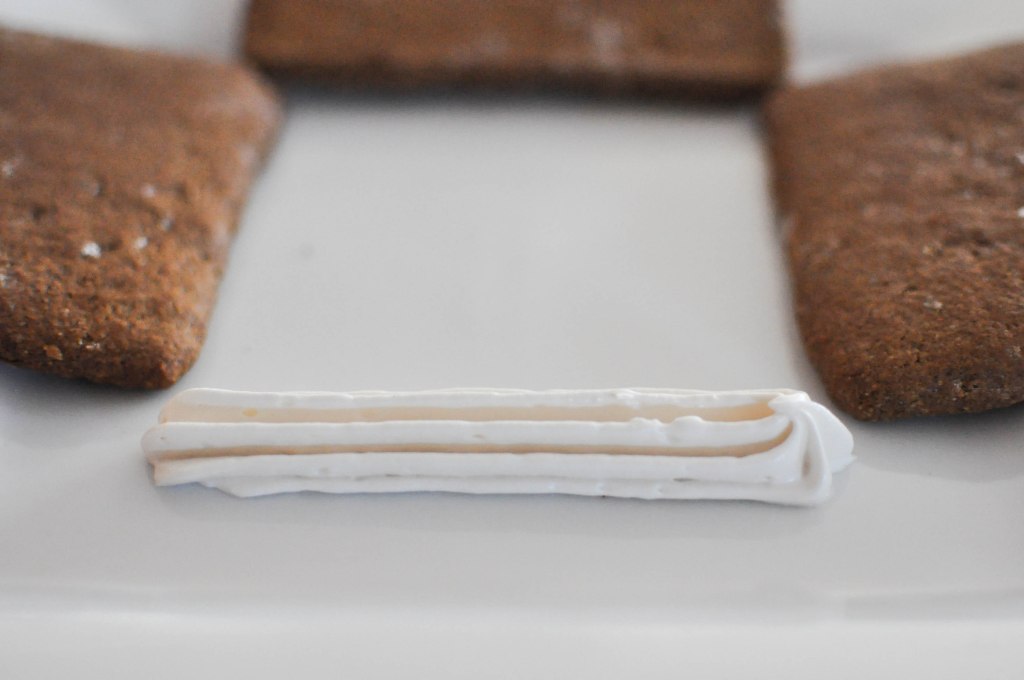
Lay one line of frosting.
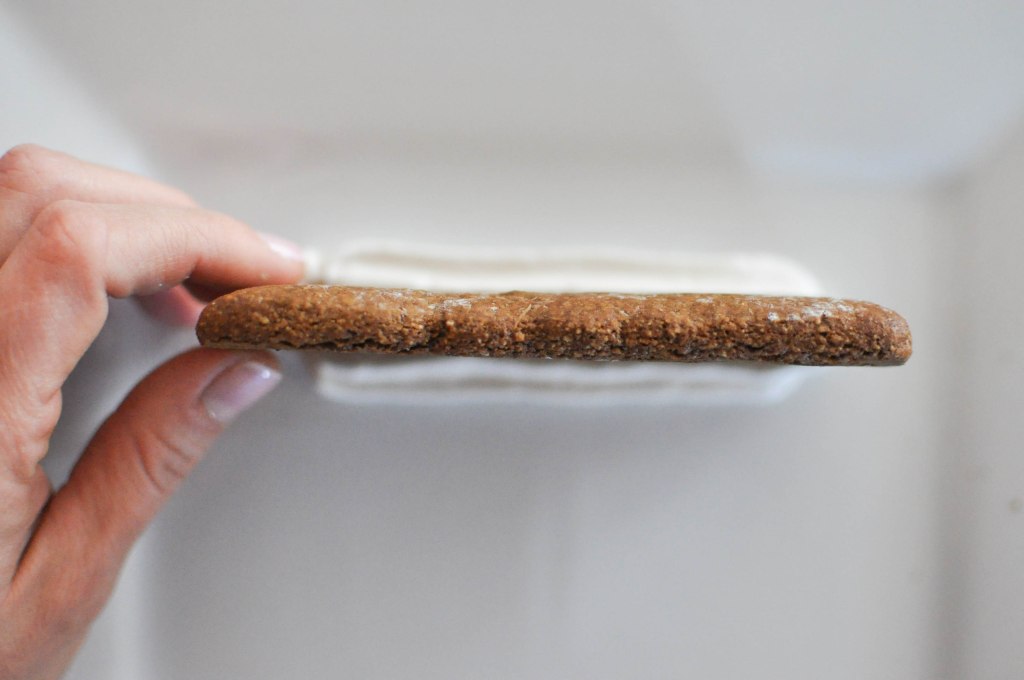
Place the first piece in the middle of the line and hold until it’s able to stand on its own. This should take between 30 and 60 seconds.
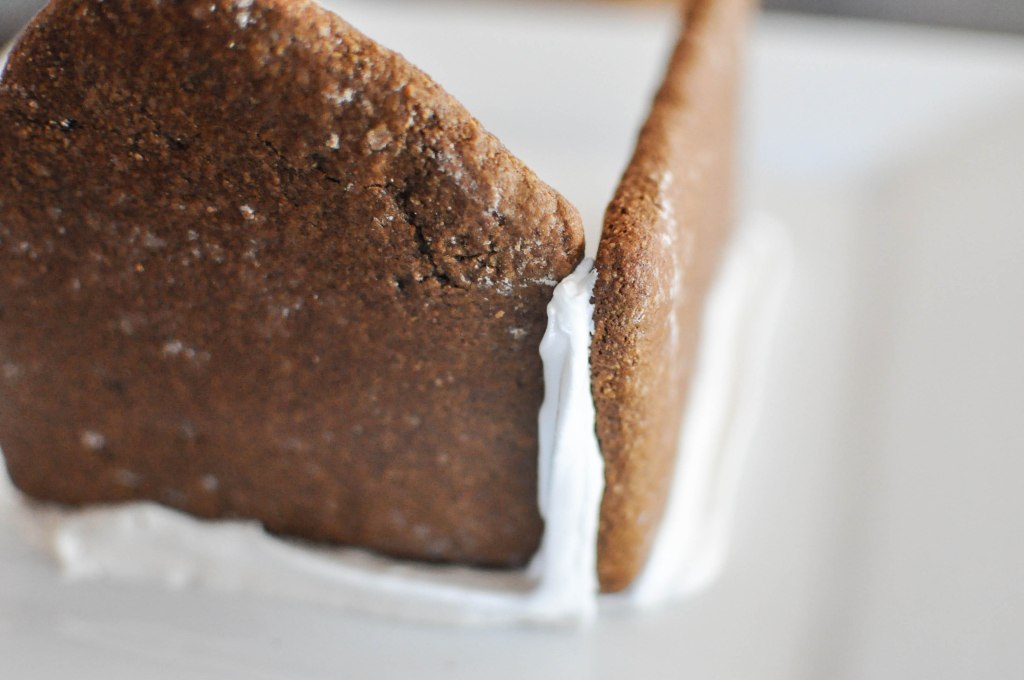
Lay an adjoining piece by piping frosting on the plate and along the side of the original piece.
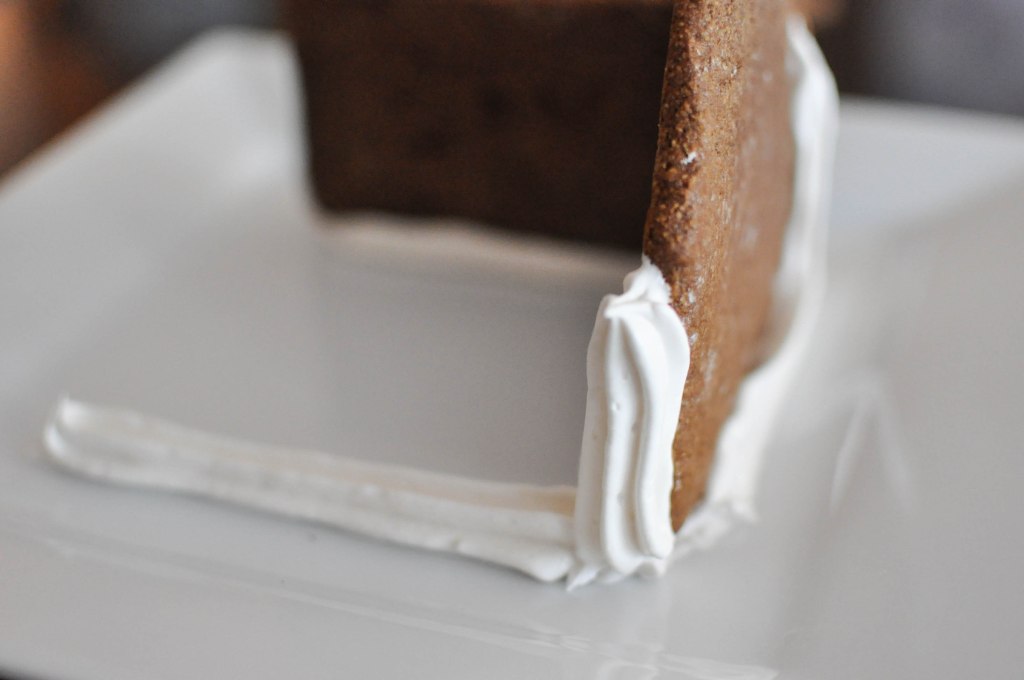
Continue with the next!
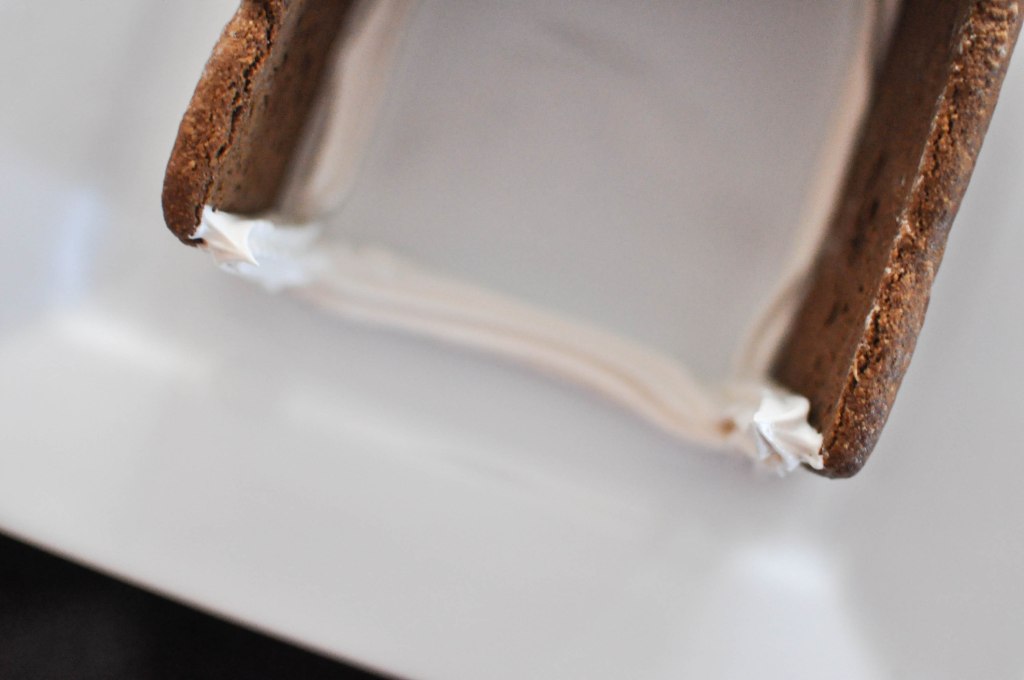
Then the final piece.

Scrape off any large clumps of leftover frosting and don’t worry if it looks messy … A) this is just for fun and B) we can always cover it up with more frosting.
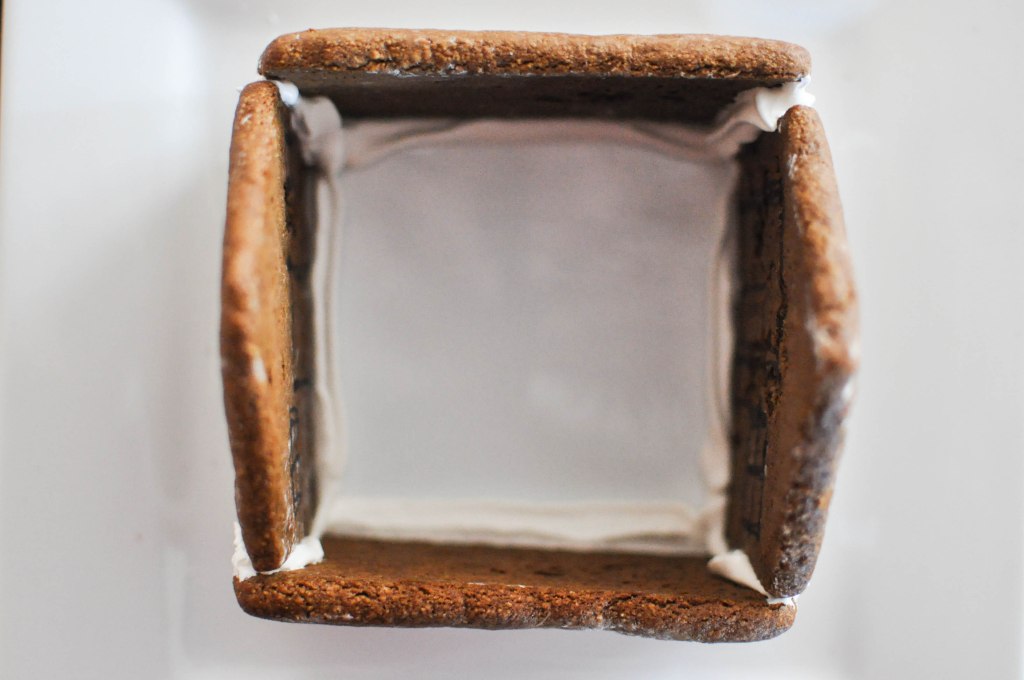
The foundation is set!
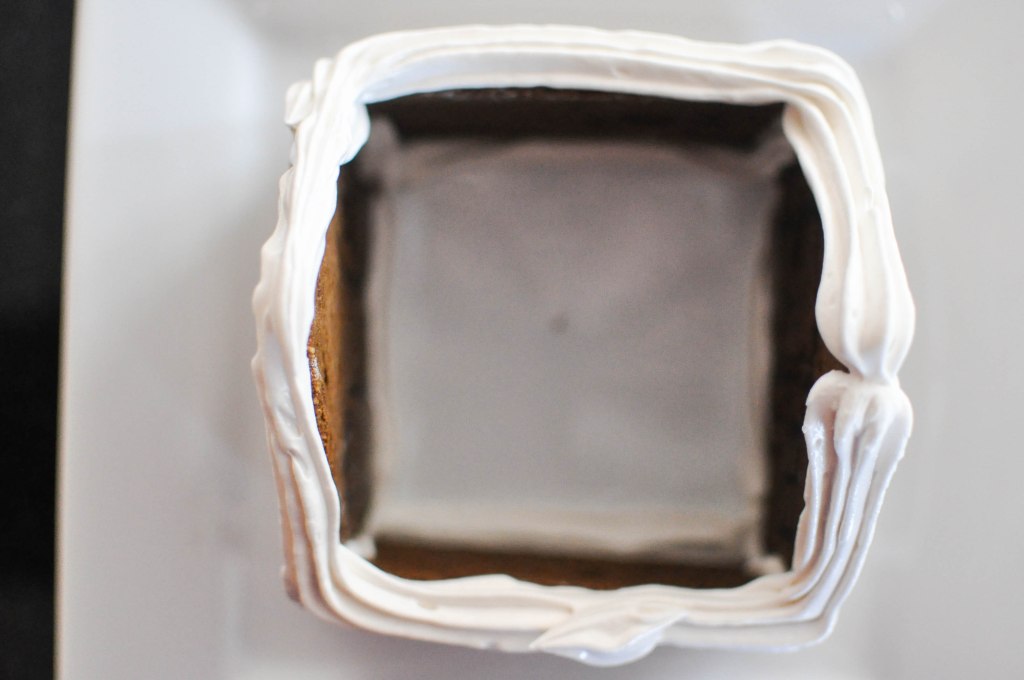
Pipe a generous amount of frosting along the roofline.

Then place the roof pieces on top and hold into place until they’re set. This will probably take about 2 minutes.

Using a star tip, pipe the frosting over all seams.

Using a small circular tip, decorate the roof, doors, and windows.
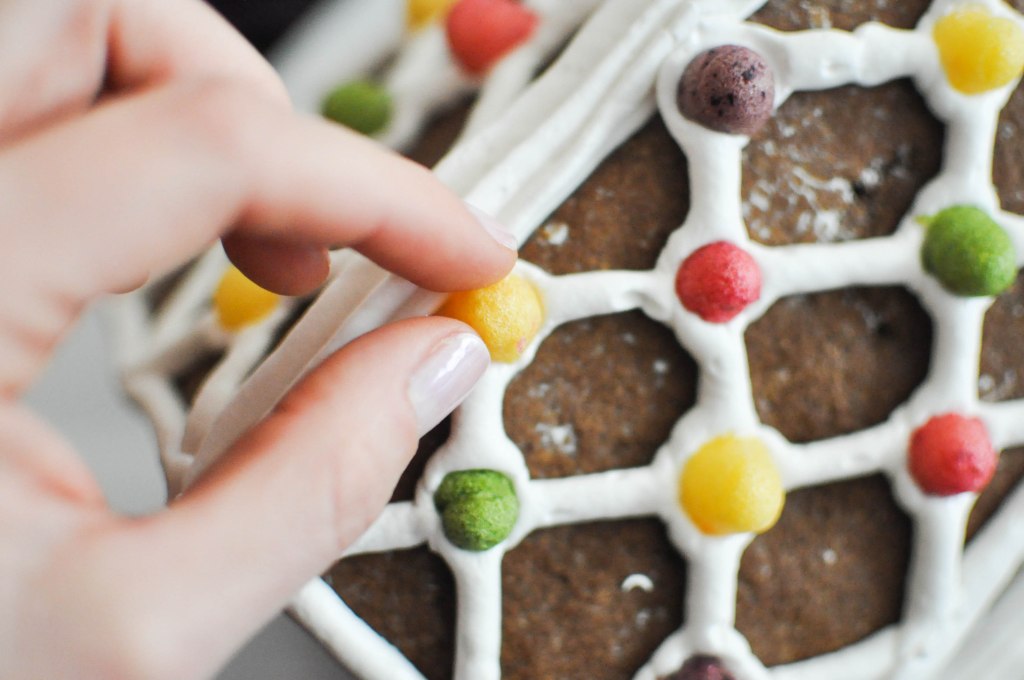
Add the gumdrops! I cut mine in half so that they wouldn’t stick out as much.

How cute is THAT?!

I love it so much.

Pipe some frosting on the plate for your other decorations.

Trees! This Paleo gingerbread house needed trees.

And side windows. Oh, hey Peter! Peter’s my photo-bombing gingerbread man. This is his house.

Peter wanted a close-up. He also asked that I turn on his Christmas lights.

Adorable! I hope you have the absolute BEST time making your own Paleo gingerbread house and be sure to share pictures on Instagram and Facebook!
Paleo Gingerbread House

Ingredients
Paleo Gumdrops
- 1 cup fresh fruit and vegetables
–Pink Gumdrops: strawberries & cranberries
–Purple Gumdrops: blueberries
–Yellow Gumdrops: mango
–Green Gumdrops: green apple and spinach
- 2 tablespoons maple syrup
- 3/4 cup water
- 1/4 cup lemon juice {optional use water if you don’t like sour}
- 5 tablespoons gelatin
Paleo Gingerbread Cookies
- 3 cups almond flour
- 1 teaspoon ground ginger
- 1 teaspoon cinnamon
- 1/2 teaspoon cloves
- 1/2 teaspoon kosher salt
- 1/2 teaspoon baking soda
- 1/2 cup blackstrap molasses warmed slightly
- 2 tablespoons maple syrup
- 2 tablespoons extra virgin coconut oil melted
- 1 egg
- 1/2 cup arrowroot flour {for rolling out dough}
Gluten-Free & All-Natural Royal Icing
- 6 tablespoons cage-free egg whites
- 2 teaspoons fresh lemon juice
- 3 cups sifted powdered sugar
Instructions
Paleo Gumdrops:
- Blend all ingredients together and either pipe into a gumdrop-shaped ice cube tray or pour onto a plastic wrap-lined baking sheet.
- If using an ice tray, freeze overnight then break out of mold. Store in an uncovered container in the refrigerator until day of use.
- If using a baking sheet, let set in refrigerator overnight then cut circles out and store in an uncovered container in the refrigerator until day of use.
- On house construction day, place on counter so that they completely dry which will help them adhere to the frosting.
Paleo Gingerbread Cookies:
- Whisk all dry ingredients together and in a separate bowl, whisk all the wet. Add the wet to the dry and stir until evenly combined. Wrap in plastic wrap or parchment paper and set in refrigerator to cool and harden for either 4 hours or overnight.
- On a large piece of parchment paper well dusted with arrowroot flour, start rolling out the dough until it’s ¼” thick. Use gingerbread house stencils to measure and cut pieces. Carefully place on parchment paper-lined baking sheet. Resize with stencils on baking sheet if necessary.
- Bake at 350 F for 15 minutes. Let cool completely on baking sheet before moving. When cooled, transfer to a wire baking rack to cool and firm overnight.
Gluten-Free & All-Natural Royal Icing:
- On high speed, whisk the egg whites and lemon juice together until they form a thick foam. On low speed, carefully add spoonfuls of the 3 cups of powdered sugar until all is combined. Turn speed up to high and whisk for 6 minutes.
- Transfer to piping bag, color in bowls, or store in an airtight container in the refrigerator for up to three days.
Assembly:
- On a platter or plate, pipe frosting with a star-shaped tip to form the outline of one piece of the gingerbread house. Place the piece and hold in place until firm {about 1 minute}. Pipe the bottom of the next piece and siding with original. Place piece and hold. Continue until all four foundation pieces are set. Pipe the roofline with a generous amount of frosting and place roof pieces at the same time. Hold in place until set {about 2 minutes}.
- Using a small circular tip, pipe all decorative accents on house. Decorate with gumdrops and Enjoy Life chocolate chips, as you like! Cut the gumdrops in half for a smaller application.
- Store on counter and enjoy.




Yours looks lovely!
Could I use stevia inplace of the maple syrup? And if yes, what would I have adjust?
Thank You and God Bless You!
Hi Anna! I don’t think stevia will work as it is a different consistency than maple syrup. It is worth an experiment though, but know that the chemistry will be altered and you may have to play with the dough a bit to make it work.
I love this healthy recipe! How long can the gingerbreadhouse last once it’s done?
Hi Siok! It will last about a week after it is done, but if you would like to keep it longer, it should be refrigerated.
Hi, Your house looks so wonderful! Made mine today….
Gumdrops are very wet, nothing jelly about it and the dough was awfully sticky and didn’t get straight lines for my walls tracing my stencils.
Love the taste but I’m afraid my gingerbread house will never look as good as yours did.
Hi Lilian, I’m sorry yours did not come out solid enough! It’s hard to tell what exactly went wrong without being there with you. At least it tasted good so you could eat it 🙂 Thanks for trying it out!
Excited to make this. Can this dough or the baked pieces be frozen for use at a later date? Thanks!
Hi Wendy! You can definitely bake and freeze them. I would recommend separating by wax paper (or parchment) and freezing in bags.
I’m using this recipe to make gingerbread men. This is my first time doing this, and the dough was still very soft after a couple of hours in the fridge. So, I added more almond flour and stuck it in the freezer, and that seemed to do the trick.
This is great. Thanks! I’m curious about your rolling pin. What is it and where did you get it?
Dear Cassandra
I love the recipe and I’m planning on making it soon,
But I was wondering if you could use spelt flour instead of almond flour?
In Belgium you don’t find all those things very easily…
Thank you!
Kind regards
Cassandra 🙂
Hello Cassandra,
Thanks for the recipe. I think it looks really great. I tried with the gum drops and divided by three, but it seems not to work. I used a kiwi and spinach with 1/4 cup of water, 1/12lemon juice, one Tblsp of maple sirup and a bit more than 1.5 T of gelatin. I guess that wasn’t it enough was it? Should it be more like 2T instead or might it be the kiwi?
Kind Regards
Matthias
So lovely! My son is so excited to make this! Just a quick question regarding the frosting, is it safe for eating since the egg is still raw?
Thank you!!
Any suggestions for flour instead of almond flour? My partner has a nut allergy. Would coconut flour work?
I wouldn’t use coconut flour (because the moisture content of the batter would be way off) but you could try substituting with ground pumpkin seeds!
What’s the difference between the gelatin you mentioned and the gelatin packets from the store?
The gelatin I buy online from Great Lakes is totally natural and made from grass-fed cows. It’s difficult to find such quality in the stores, sadly.
How adorable!
Thank you!
Very cute. 🙂
Thanks, Shonnie! 🙂
This looks amazing. I may have to try this tomorrow if I have time. Thanks for doing all the hard work to create such a fun treat!
It was such a fun project! Hope yours turned out great 🙂
I did see your guest post and completely drooled over my computer screen. I’ll definitely have to try my hand at this recipe… although, I’m sure it won’t come out half as lovely as yours.