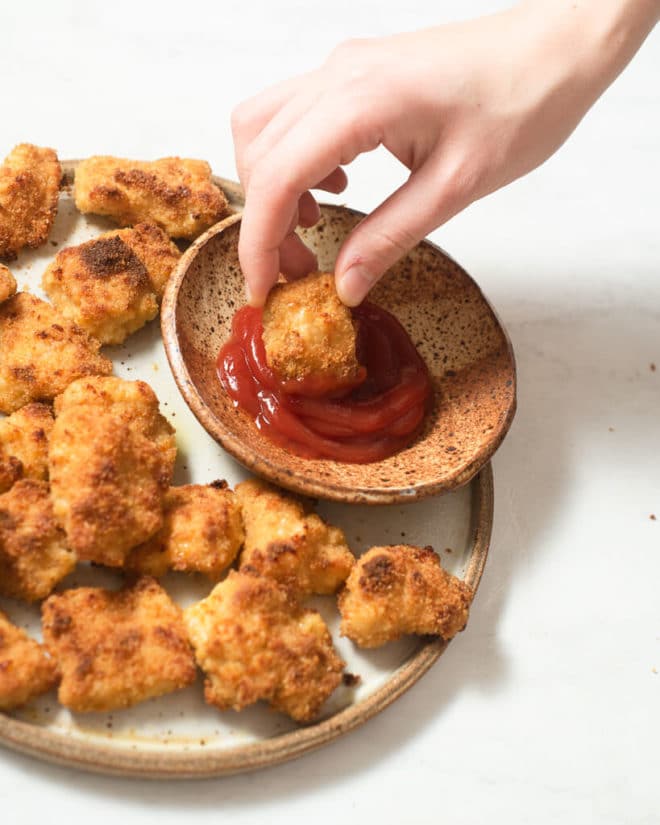
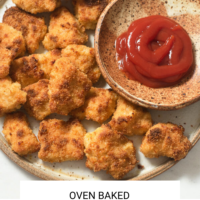
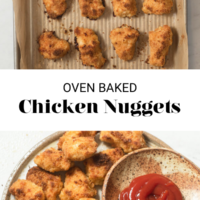
These crispy, oven-baked, homemade nuggets are every bit as delicious as your favorite restaurant nuggets, plus, they’re incredibly easy to make!
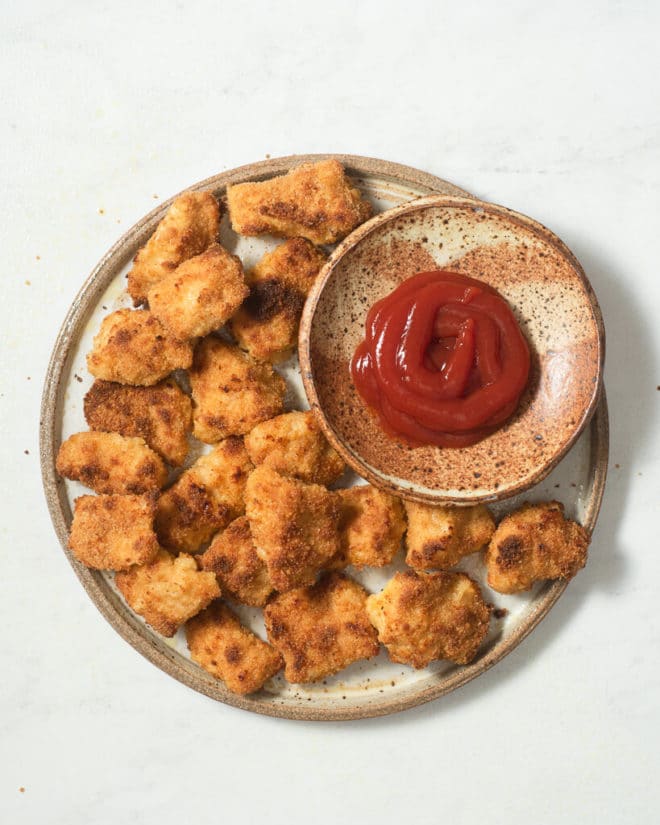
These nuggets are insanely delicious! I have to admit, growing up, I (Brandi) was a chicken nugget girl. I still hear these words often from my dad, “I remember when we used to go to Gringos and you ordered chicken nuggets every single time!” Gringos is a really delicious Mexican restaurant in my hometown, and my parents were always a little bit bummed when I went for my same ole chicken nugget order. The point is that I KNOW chicken nuggets (I still love them and order them, just not at really delicious Mexican restaurants), and I KNOW that these nuggets are incredible. They’re perfectly crispy on the outside while still being nice and juicy on the inside. They also make for the most delicious vehicle for all kinds of dipping sauces (I’m a sauce girl, too). I can’t wait for you to try these!
If you’re looking for more recipes like this, I highly recommend the air fryer chicken nuggets and air fryer chicken tenders.
Why You’ll Love this Recipe
- They’re super flavorful: don’t skimp on the seasoning. Seriously, these nuggets wouldn’t be nearly as delicious without the salt, paprika, garlic powder, onion powder, and cayenne (you can reduce or omit this one if you’re sensitive to spice). This intentional blend of seasonings makes for an incredibly flavorful chicken nugget.
- They’re crispy: the olive oil spray (or drizzle) before baking allows the outside of the nuggets to crisp really well. Also, baking your nuggets at a nice, high temperature for a shorter amount of time (400°F for 25-30 minutes versus 350° for 45 minutes) gives them the opportunity to crisp really well on the outside without drying out on the inside.
Ingredients Needed
The ingredients here are pretty basic — nothing obscure or hard-to-find! Here’s everything you’ll need:
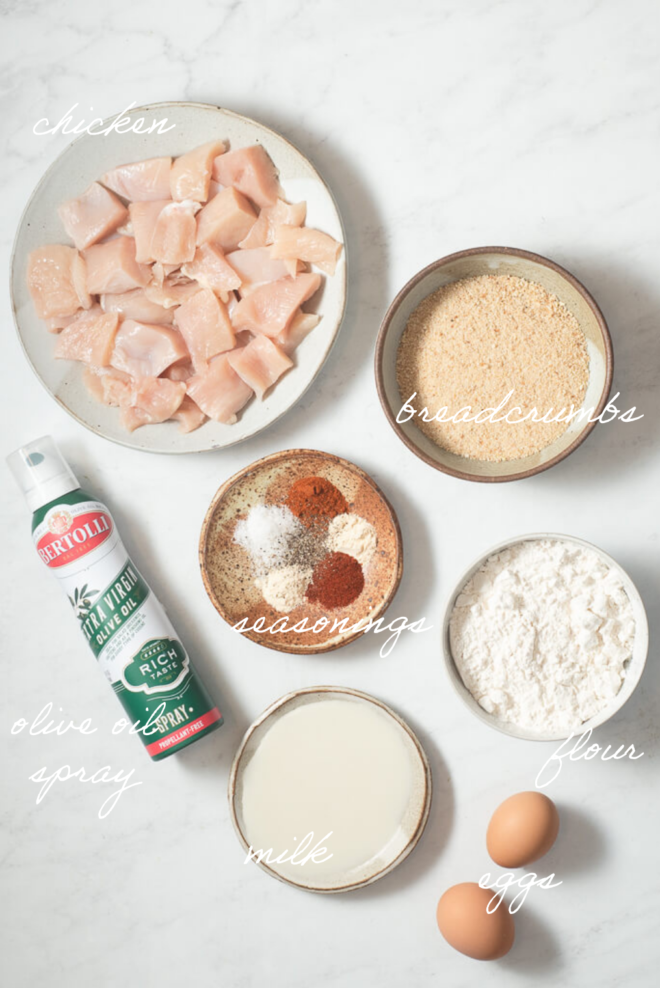
- Chicken Breast Tenders – to start, you’ll need 1 pound of chicken breast tenders cut into 1-inch chunks.
- Flour – 1 cup of all-purpose flour (a gluten-free all-purpose flour will work here also) coats the nuggets before they head into an egg wash, and finally, the breadcrumbs.
- Seasonings – to season your nuggets you’ll need, 2 teaspoons of salt (divided), ½ teaspoon of paprika, ½ teaspoon of garlic powder, ½ teaspoon of onion powder, ½ teaspoon of cayenne, and ¼ teaspoon of ground black pepper.
- Eggs – 2 whisked eggs make up the bulk of the egg wash.
- Milk – 2 tablespoons of milk (dairy or non-dairy) combine with the eggs to finish off the egg wash.
- Breadcrumbs – 1 cup of breadcrumbs coat the nuggets just before they head into the oven!
- Olive Oil – before the chicken heads into the oven, it’ll be either sprayed with olive oil spray, or drizzled with about 2 tablespoons of extra-virgin olive oil.
Ingredient Modifications
This recipe is dynamite as written, but as always, we totally understand the need for ingredient swaps and modifications. Here are a few that we *know* will work great:
- Make it gluten-free: swap the all-purpose flour for a GF all-purpose blend like THIS one.
- Make it dairy-free: make this meal dairy-free by using your favorite non-dairy milk in place of regular cow’s milk.
- Tone down the spice level: rest assured, these nuggets are *not* spicy (they’re actually just really flavorful), but if the amount of cayenne makes you nervous, cut it in half or omit it altogether!
Supplies Needed to Make this Recipe
How to Make Chicken Nuggets
These nuggets are incredibly easy to make! Here’s how you’ll bring the recipe together:
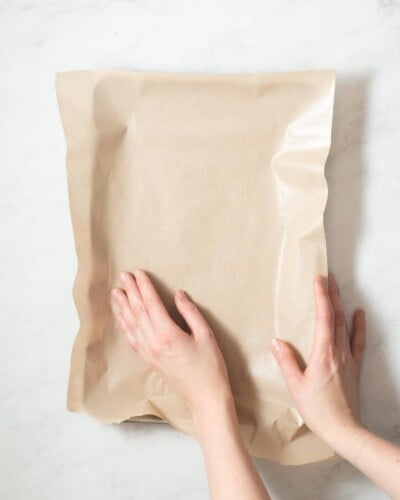
- Prep – preheat the oven to 400°F and line a baking sheet with parchment paper.
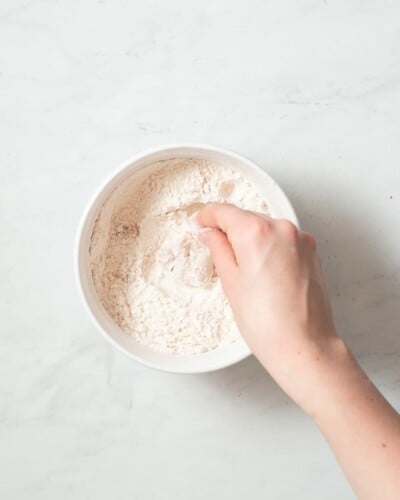
- Whisk the flour and seasonings – in a medium-sized bowl, whisk together the flour, 1 teaspoon of sea salt, paprika, garlic powder, onion powder, cayenne, and ground black pepper until fully combined.
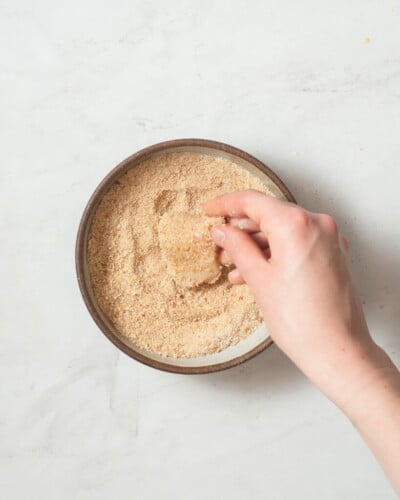
- Combine the breadcrumbs and remaining salt – in another bowl, combine the breadcrumbs and the remaining teaspoon of salt, and whisk to combine.
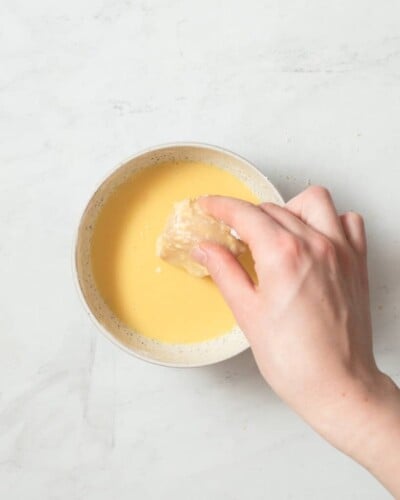
- Make the egg wash – in a third bowl, whisk together the eggs and milk until well combined.
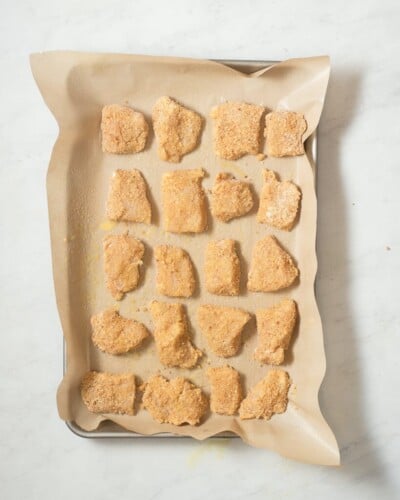
- Coat the nuggets – dip the chicken nuggets into the flour mixture and coat on all sides, then dip them into the egg mixture. Remove the nuggets from the egg wash and let any excess egg wash drip off. Transfer the chicken to the bowl with the breadcrumbs and toss to coat, then place the chicken on the parchment paper-lined baking sheet.
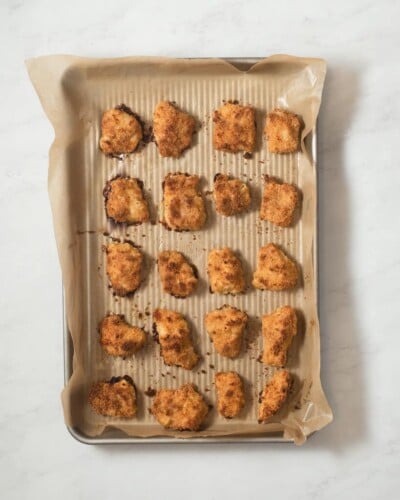
- Spray with olive oil and bake – spray (or drizzle) the chicken with the olive oil, then bake for 15 minutes, flip, and bake for an additional 10-15 minutes, until golden and crisp.
- Serve and enjoy!
Best Sauces for Chicken Nuggets
When it comes to choosing a sauce to go with your chicken nuggets, the sky’s the limit! Here are a few of our favorites:
- BBQ sauce
- Copycat Chick-fil-A Sauce
- Ranch dressing (or jalapeno ranch dressing)
- Ketchup
- Honey Mustard
How to Store
Store any leftover nuggets in an airtight container in the refrigerator. Stored this way, your nuggets will last for up to 5 days.
Do these baked chicken nuggets freeze well? Is it best to freeze them before or after baking?
They do! I’d freeze these nuggets after fully cooking them and then pop them onto a parchment paper-lined sheet pan to reheat in a 400°F oven until completely warmed through.
Frequently Asked Questions
What temperature should you use for baked chicken nuggets?
This recipe calls for the oven to be set at 400°F — a nice high temperature like this allows for the outside of the nuggets to crisp without overcooking the juicy inside of the nuggets!
Should you flip the chicken nuggets while baking in the oven?
Yes! In order to get evenly-crisped nuggets, you’ll want to flip them halfway through the total bake time.
How do you know when the chicken nuggets are done?
You’ll know your nuggets are done when they’re golden brown and crispy. This will take 25-30 minutes total!
How do you keep chicken nuggets crispy?
These nuggets are nice and crispy straight out of the oven, but the real challenge is keeping them crispy for next-day leftovers, right? Reheating the nuggets properly is *key* to crispy leftovers — my recommendation is to either reheat the nuggets in an air fryer (if you have one) or in the oven until fully heated through.
Could these chicken nuggets be fried in oil or cooked in an air fryer?
The beauty of this recipe is that you don’t actually need to deep fry the nuggets to get a crispy end product! You can absolutely cook these in the air fryer at 375°F for 13 minutes total (7 minutes, then flip and cook for another 6 minutes), though. Here’s our air fryer chicken nugget recipe.
More Favorite Chicken Recipes
- Easy Dry Rub Chicken Wings
- Chicken Tinga Tacos
- Sheet Pan Chicken Quesadilla
- Quick & Easy Buffalo Chicken Wraps
- Air Fryer Chicken Nuggets
- Air Fryer Chicken Tenders
- Air Fryer Taquitos
Baked Chicken Nuggets Recipe
Ingredients
- 1 pound chicken breast tenders cut into 1-inch chunks
- 1 cup all-purpose flour THIS one for gluten-free
- 2 teaspoons salt divided
- ½ teaspoon paprika
- ½ teaspoon garlic powder
- ½ teaspoon onion powder
- ½ teaspoon cayenne
- ¼ teaspoon ground black pepper
- 2 eggs
- 2 tablespoons milk dairy or non-dairy
- 1 cup breadcrumbs
- Olive oil spray or about 2 tablespoons of extra-virgin olive oil
Instructions
- Preheat the oven to 400°F and line a baking sheet with parchment paper.
- In a medium-sized bowl, whisk together the flour, 1 teaspoon of sea salt, paprika, garlic powder, onion powder, cayenne, and ground black pepper until fully combined.
- In another bowl, combine the breadcrumbs and the remaining teaspoon of salt, and whisk to combine.
- In a third bowl, whisk together the eggs and milk until well combined.
- Dip the chicken nuggets into the flour mixture and coat on all sides, then dip them into the egg mixture. Remove the nuggets from the egg wash and let any excess egg wash drip off. Transfer the chicken to the bowl with the breadcrumbs and toss to coat, then place the chicken on the parchment paper-lined baking sheet.
- Spray (or drizzle) the chicken with olive oil, then bake for 15 minutes, flip, and bake for an additional 10-15 minutes, until golden and crisp.
- Serve and enjoy!


This recipe is a winner in our household and will be added to the recipe rotation. Great flavor and texture!
We’re so glad you love this recipe, Angela! Thanks so much for taking the time to share this with us!