These Flourless Dark Chocolate Brownies are a rich and fudgy treat that are easier to make than you think and perfect for a special occasion dessert!
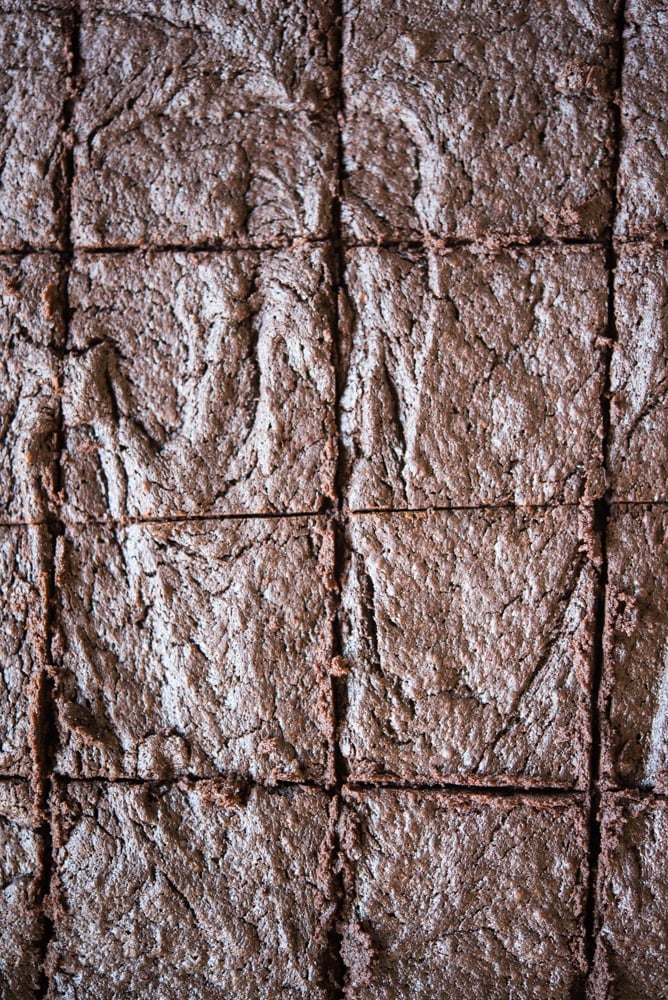
Table of Contents
- This recipe is…
- Why You’ll Love This Flourless Brownies Recipe
- Flourless Chocolate Brownies Recipe Ingredients
- Recipe Variations and Modifications
- How to Make Flourless Chocolate Brownies
- Recipe Tips
- How to Serve Flourless Brownies
- How to Store and Reheat
- Frequently Asked Questions
- More Gluten-Free Chocolate Dessert Recipes
- Flourless Dark Chocolate Brownies Recipe
This recipe is…
These flourless dark chocolate brownies taste like the definition of decadence. Each bite is rich, fudgy, intensely chocolatey, and makes you feel like you’re eating some kind of very-indulgent, took-hours-to-make dessert. But, I’ve got good news! These brownies contain no flour and are made from a base of dark chocolate, eggs, butter, and a touch of coconut sugar. Even better? You don’t need to be a pastry chef to make this incredible dessert, it comes together in just a few simple steps!
I’ll be honest, the first time we recipe tested these flourless dark chocolate brownies, I was somewhat skeptical. I couldn’t quite wrap my head around how it was possible to make a brownie without any flour. So, I was very pleasantly surprised when I opened the oven to find that the brownies had that classic shiny crust on top and a dense, yet still somewhat cake-like texture. Then, I took a bite. The rich, dark chocolate flavor was perfectly balanced with just a hint of sweetness from the coconut sugar and a bit of salt and made me want to keep going back for more.
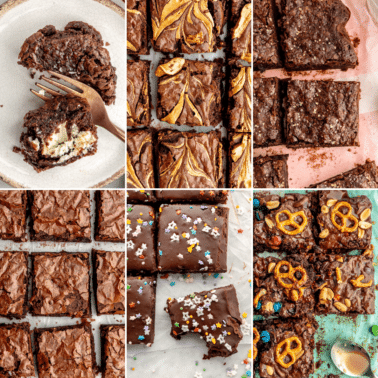
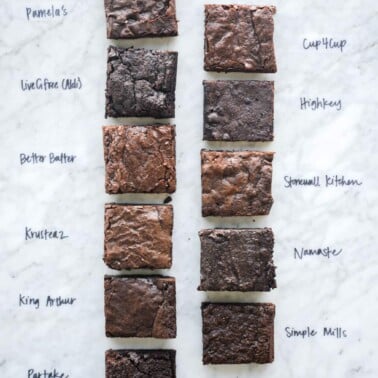
Once you’ve mastered these flourless brownies, try our Jameson Caramel Brownies, Chocolate Brownie Cookies, and tips on how to dress up a box of brownie mix. And if you’re looking for the best gluten-free brownie mix, we taste-tested 11 brands! Check out the winner here.
Why You’ll Love This Flourless Brownies Recipe
- Gluten- and grain-free brownie recipe
- Makes the richest, fudgiest, most delicious brownies ever!
- Craving caramel, berries, or espresso? This versatile recipe is easy to make your own.
Flourless Chocolate Brownies Recipe Ingredients
For being such a delicious, decadent dessert, it’s pretty amazing that these brownies only call for 7 ingredients (4 of which – butter, sea salt, eggs, and vanilla extract – you more than likely have in your kitchen already!). Here’s what you’ll need to pull this easy recipe together. Find ingredient notes (including substitutions and swaps) below.
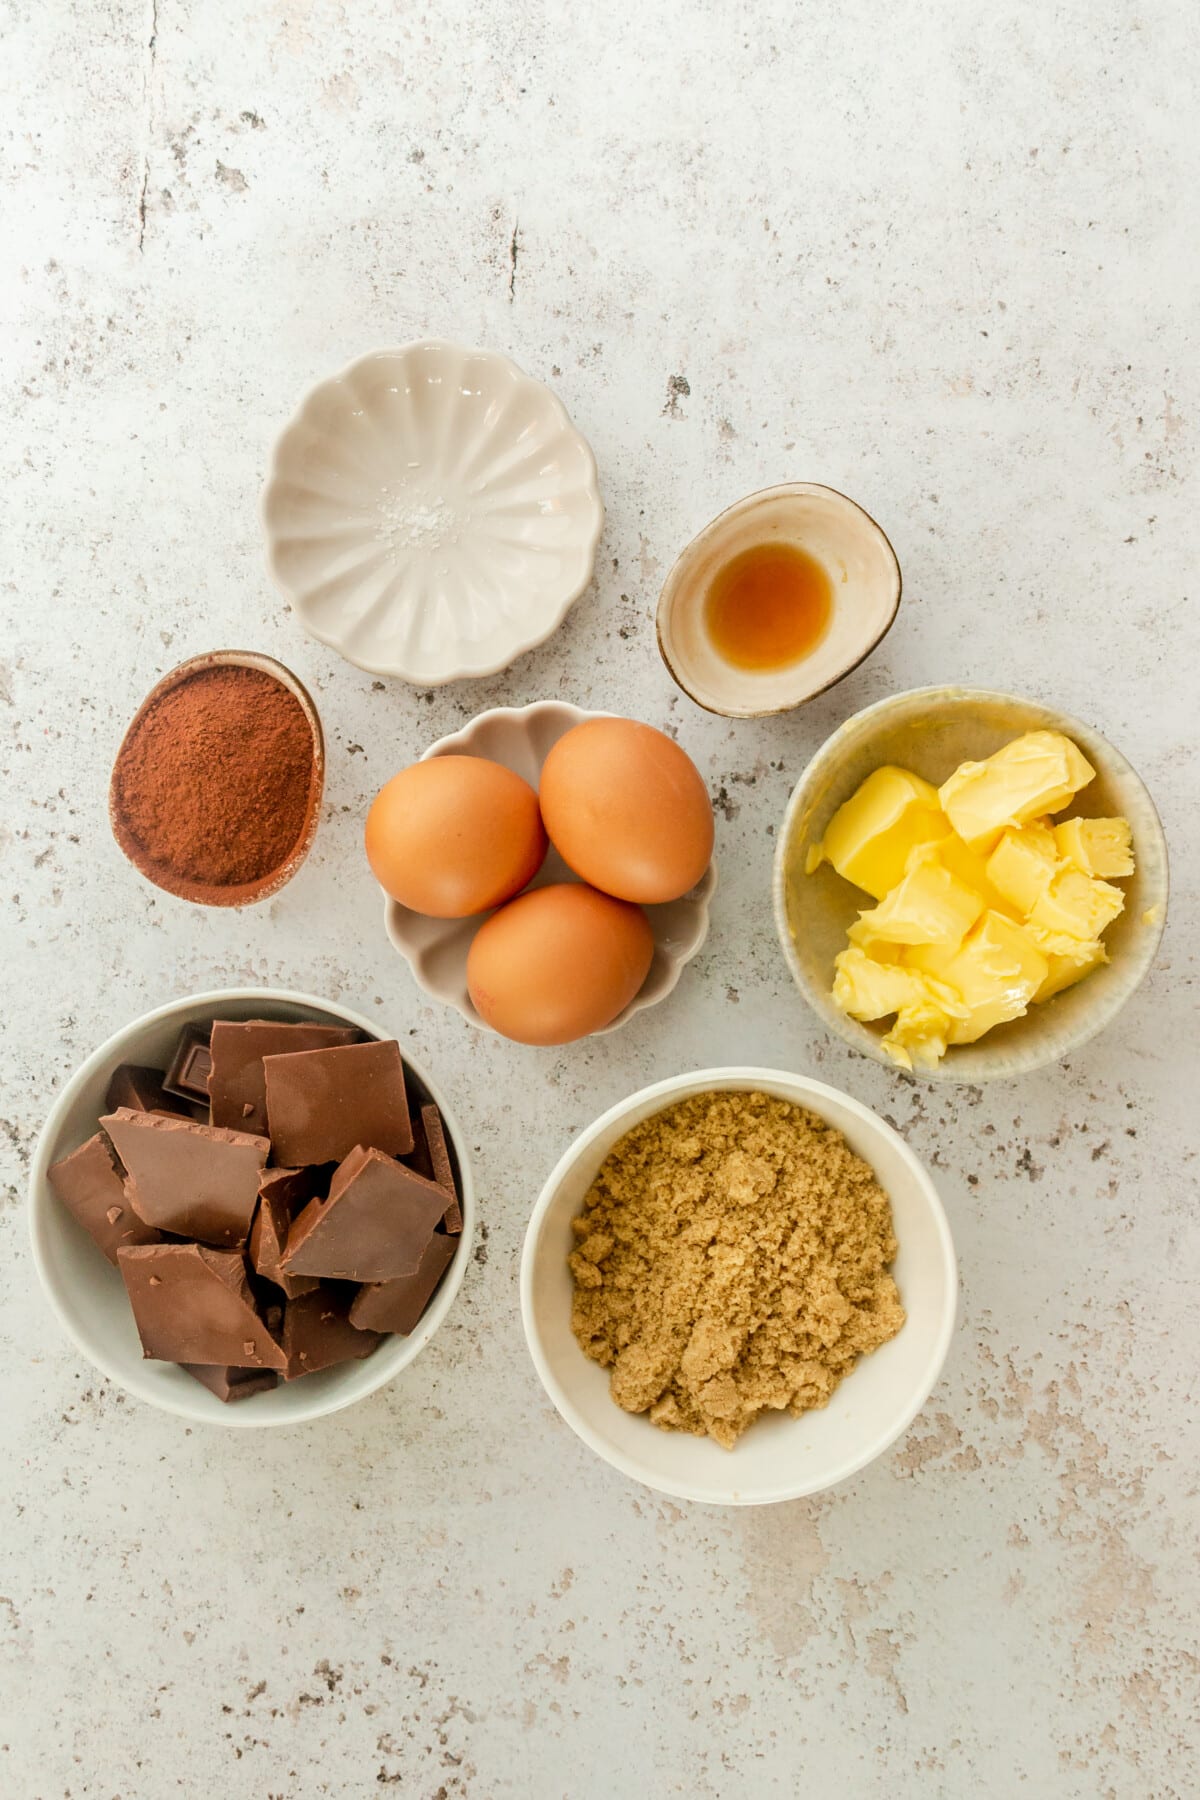
- Dark Chocolate – to start, you’ll need 9 ounces of 60-70% dark chocolate. The darker the chocolate you use, the more intense the flavor will be.
- Butter – 8 tablespoons (or 1 stick) of melted butter really adds to the richness of these brownies!
- Sea Salt – there’s just something about dark chocolate and sea salt, isn’t there?! A ½ teaspoon of coarse sea salt cuts the sweetness just a tad and gives these brownies some real depth!
- Eggs – you’ll also need a few basic baking ingredients: 3 large eggs, beaten,…
- Vanilla Extract – …1 teaspoon of vanilla extract, and…
- Sugar – …a ½ cup of granulated sugar (white sugar, brown sugar, or coconut sugar all work great here).
- Cocoa Powder – to finish everything off (and take the rich, chocolatey flavor up a notch), you’ll need a ¼ cup of cocoa powder.
A full ingredient list with exact amounts can be found in the recipe card below.
Recipe Variations and Modifications
As amazing as these brownies are on their own, here are a few ideas on how you can take them to the next level:
- Add Espresso Powder – add 2 tablespoons of espresso powder to the mix for dark chocolate espresso brownies!
- Make a Berry Sauce – make a simple berry sauce following this recipe to spoon on top of the brownies. The acidity and sweetness help to cut through the richness of the chocolate and add another layer of flavor!
- Add More Sea Salt – sprinkle flaky sea salt on top for a more salty-sweet vibe.
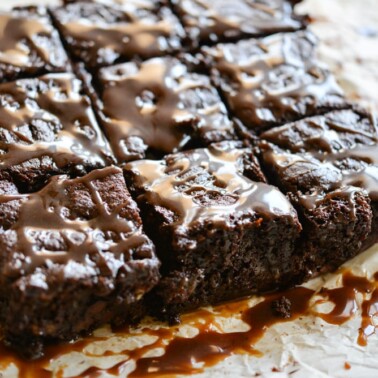
- Add Caramel – drizzle this best-ever caramel over top.
- Frost with Ganache – if you’re the kind of person who can never have too much chocolate, frost these with hard cider ganache.
- Add Peppermint Extract – for a chocolate peppermint spin on these brownies, reduce the amount of vanilla extract in the recipe to a ½ teaspoon, and add in a ½ teaspoon of peppermint extract!
How to Make Flourless Chocolate Brownies
These flourless brownies are a cinch to make! Here’s what you’ll need to do (from start to finish) to get these brownies on the table.
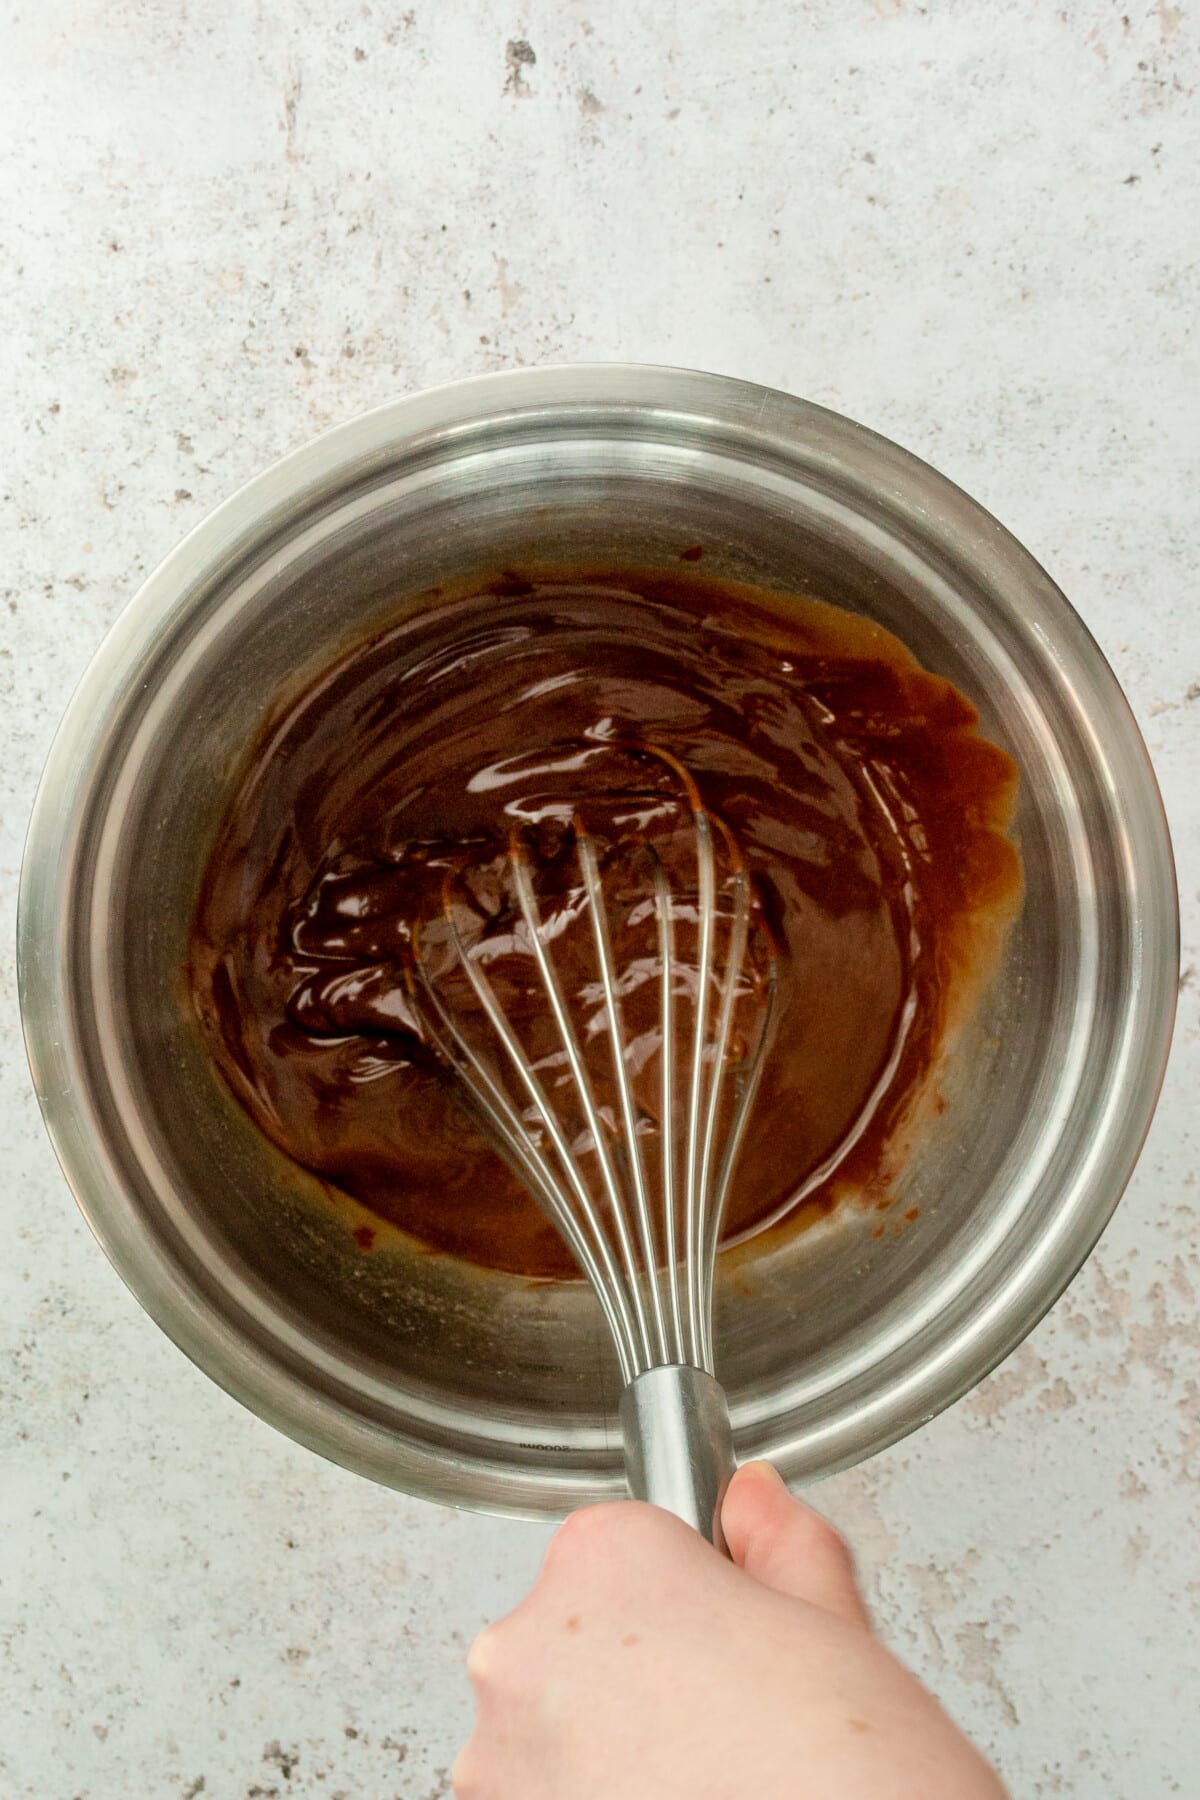
Step 1: Preheat your oven to 350°F, and line a square (an 8-inch square pan works great) baking dish with parchment paper.
If you’re working with a block or bar of dark chocolate (as opposed to chocolate chips), cut the chocolate into small ½-inch sized pieces. Next, melt the chocolate via one of the two methods below:
Double-Boiler Method: place the chocolate in a medium-sized glass bowl that can rest on top of a pot without falling in. Fill the pot with a couple of inches of water, place the bowl of chocolate over top, and bring the water to a boil. Use a spatula to constantly stir the chocolate until it’s melted and smooth.
Microwave Method: place the chocolate in a medium-sized microwave-safe bowl and microwave it in 20-second increments, stirring well between each spell, until it’s melted and smooth.
Step 2: Once the chocolate is melted, add the butter, sea salt, and vanilla. Continue to stir until it’s fully incorporated. Note: if the mixture starts to seize up, it means the chocolate isn’t warm enough. Place the mixture back over the double-boiler or back in the microwave long enough so that the butter can melt and incorporate into the chocolate.
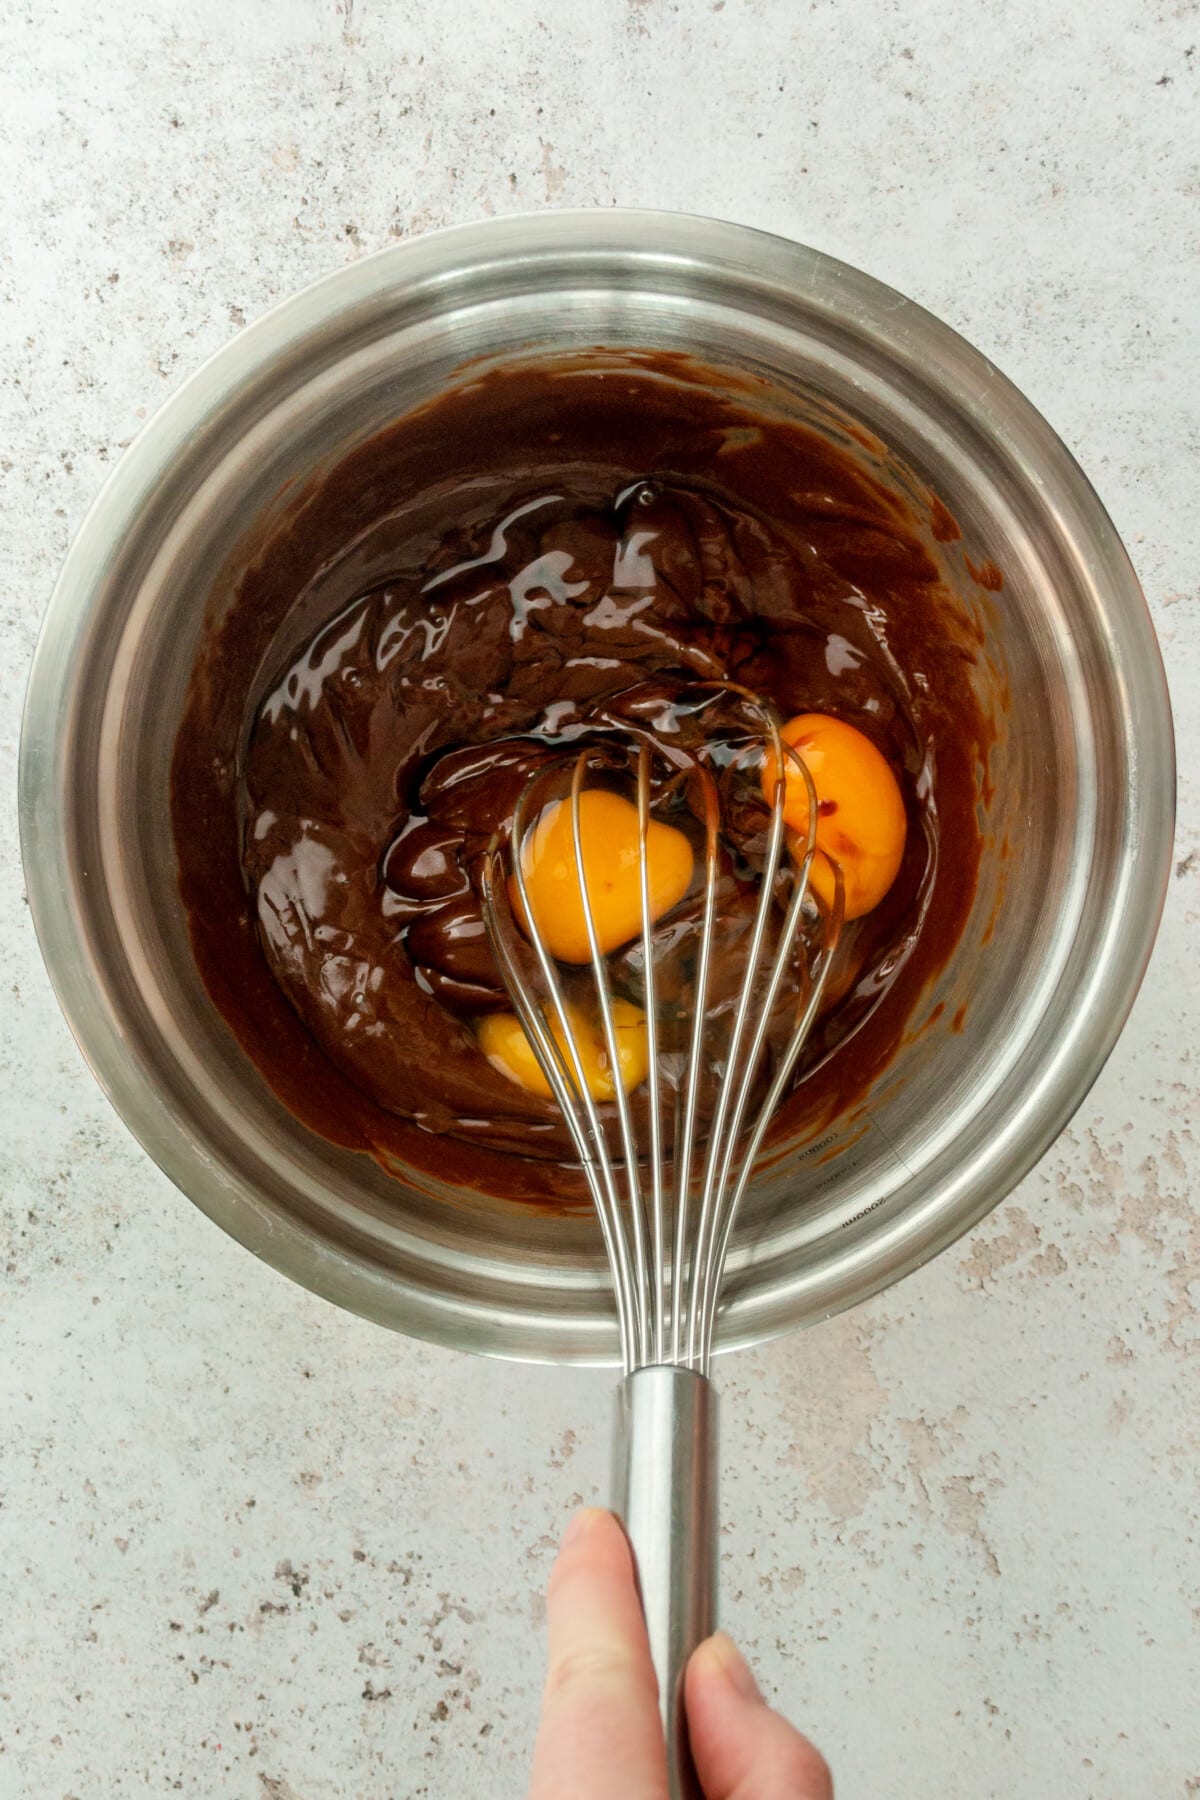
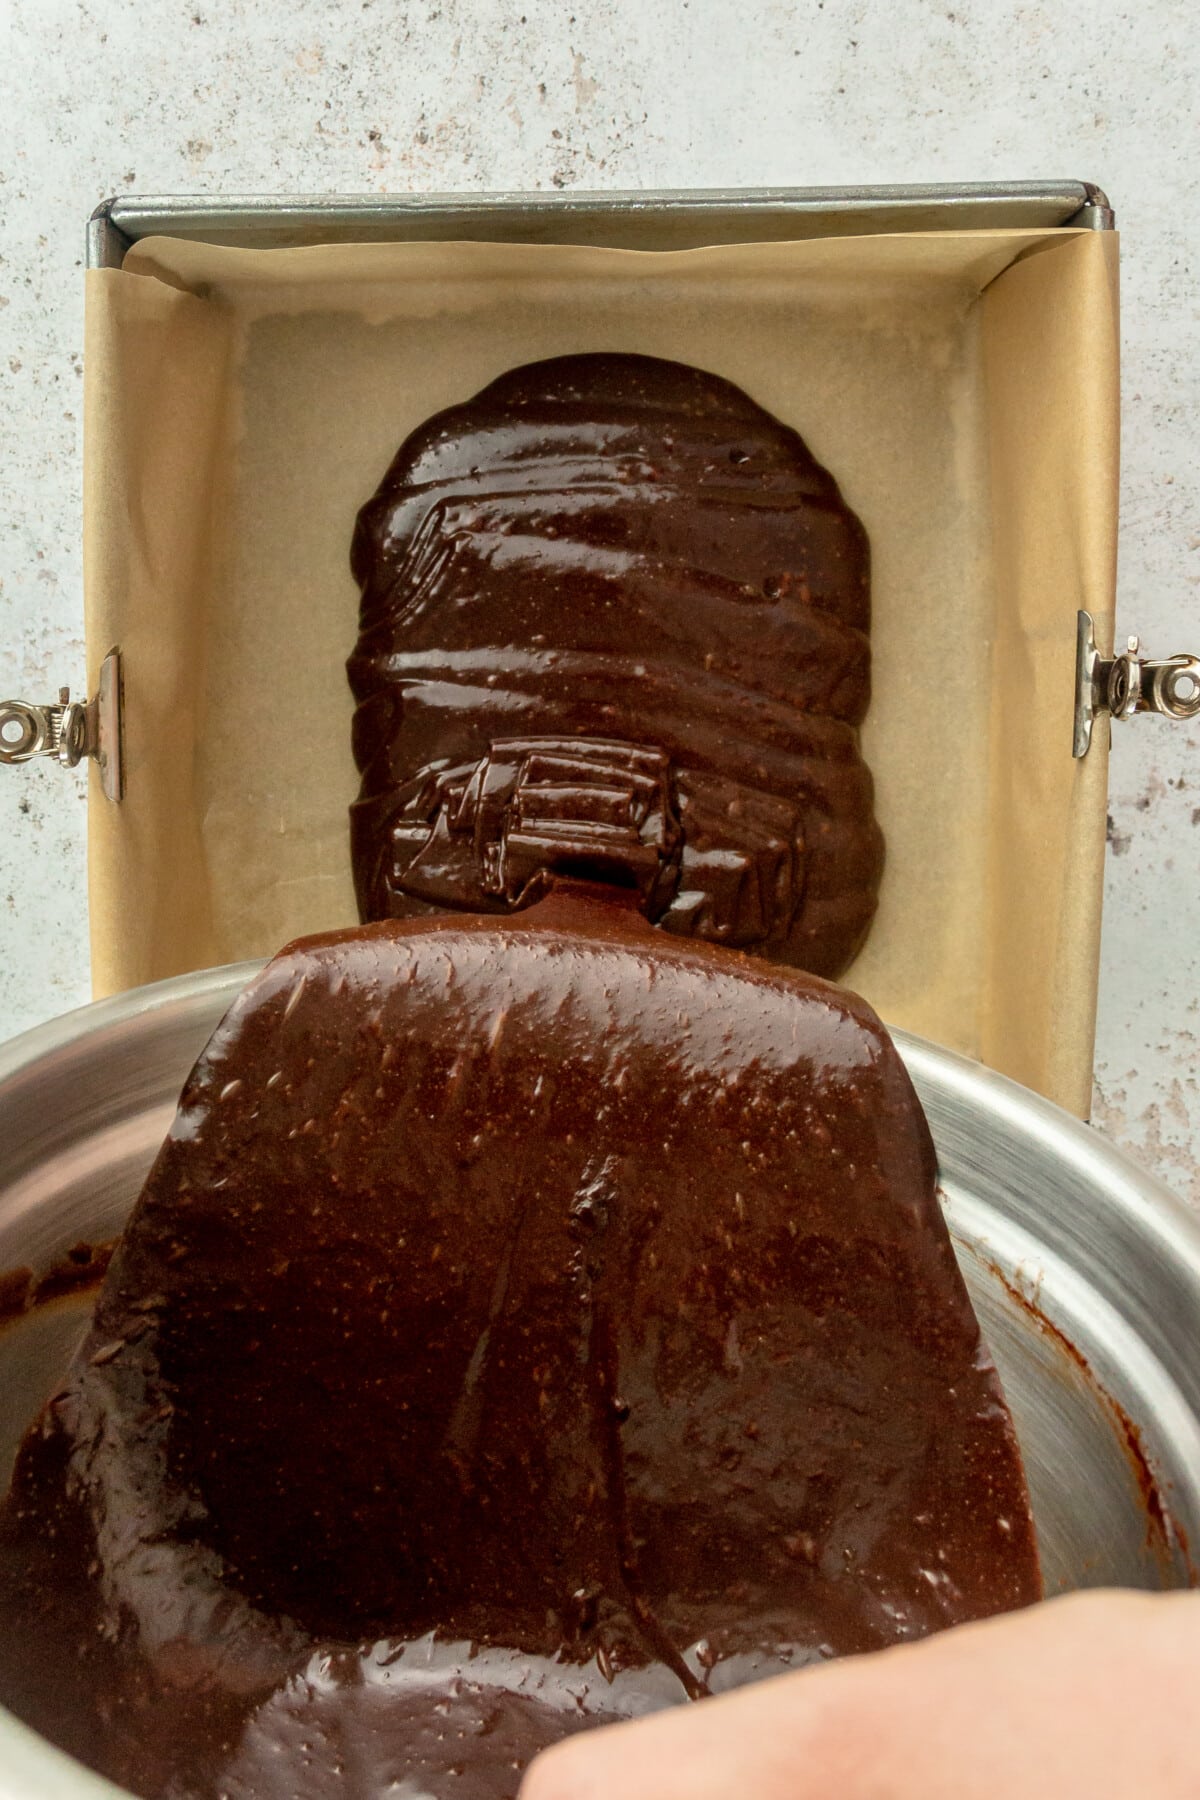
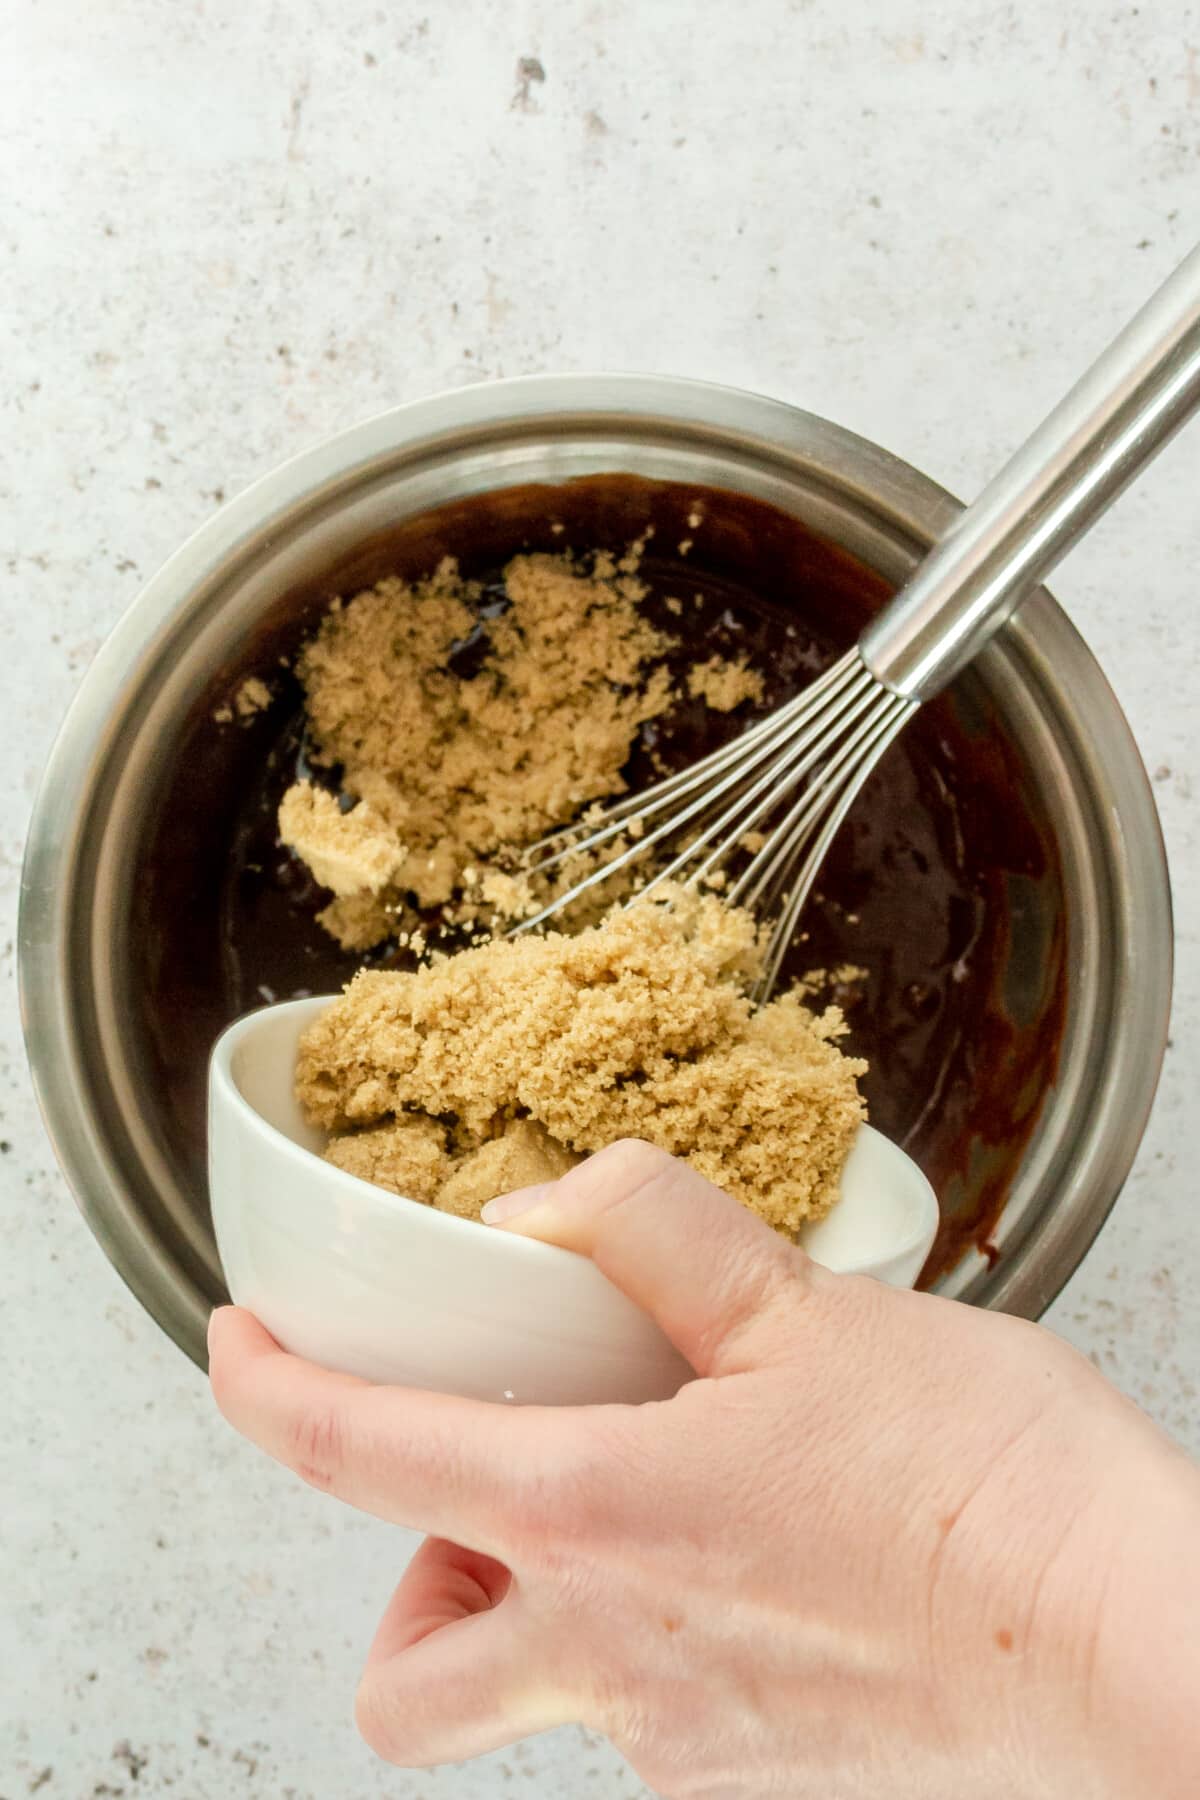
Step 3: Whisk the eggs into the chocolate mixture. Once fully incorporated, stir in the coconut sugar and cocoa powder.
Step 4: Pour the batter into your parchment paper-lined baking pan and bake for 20-25 minutes, or until a toothpick inserted in the center of the brownies comes out clean.
Recipe Tips
Dark Chocolate – Even if you usually prefer milk chocolate, we encourage you to use dark chocolate here! That’s the ingredient that gives this recipe its rich, decadent flavor and fudgy texture.
Parchment Paper – No need to wrestle with your parchment paper! Just rip a sheet off the roll, place your brownie pan overtop, trace the shape, and cut. You’ll have a perfectly sized piece of parchment to line the inside of the pan without a lot of fussing or folding.
How to Serve Flourless Brownies
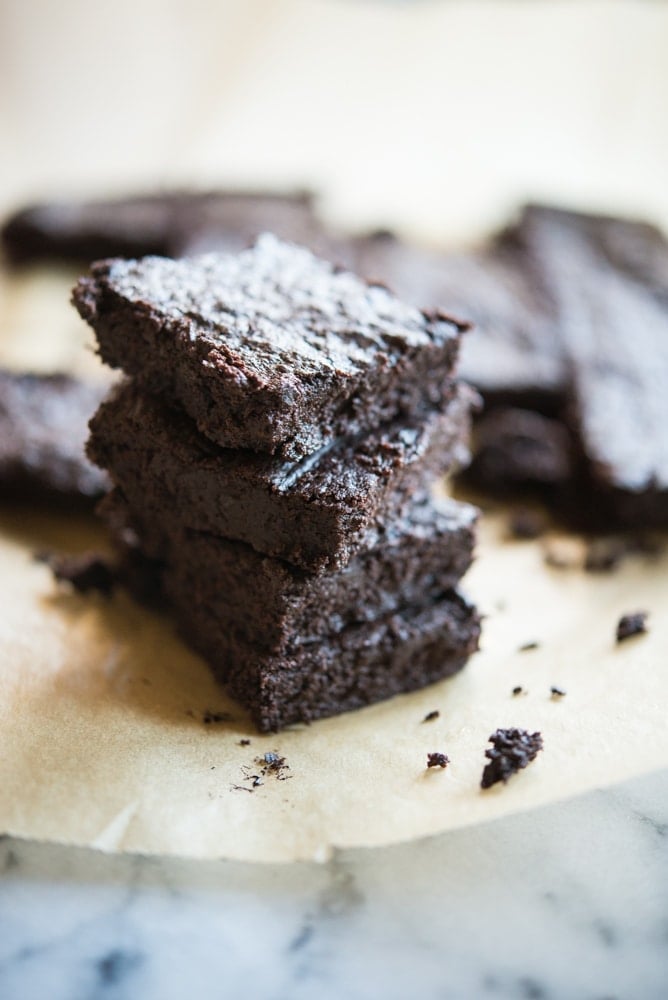
Serve these fudgy brownies warm or at room temperature, on their own or à la mode.
How to Store and Reheat
These fudgy dark chocolate brownies are best stored in an airtight container in the fridge. Stored this way, they’ll last for 3-4 days. Enjoy a cold brownie right from the fridge or pop it in the microwave for about 20 seconds to enjoy warm!
Frequently Asked Questions
Flour is a staple ingredient in brownies, right?! (It’s a staple ingredient for baking in general, really.) Here’s the deal, though: we decided to go rogue and take the flour out of these brownies, and they turned out to be the FUDGIEST, most delicious brownies ever. Besides the fact that removing this (typically) essential ingredient made these brownies naturally gluten-free, it also resulted in the softest, gooiest, fudgiest, richest brownies (that still have a nice, crisp crust), and that, my friends, is what makes these flourless brownies different from regular brownies.
Yes! To make a dairy-free brownie recipe, simply substitute coconut oil for the butter.
Sure! For refined sugar-free, use coconut sugar. For completely sugar-free brownies, try using monk fruit or erythritol.
Absolutely! Just use coconut sugar for the sweetener, and ghee or coconut oil in place of the butter.
More Gluten-Free Chocolate Dessert Recipes
If you tried this recipe for Flourless Dark Chocolate Brownies, or any other recipe on the Fed & Fit website, please leave a 🌟 star rating and let us know how it went in the 📝 comments below!
Flourless Dark Chocolate Brownies
Ingredients
- 9 ounces 60-70% dark chocolate, the darker the chocolate the more intense the flavor will be
- 8 tablespoons butter, 1 stick, melted
- 1/4 teaspoon coarse sea salt
- 3 large eggs, beaten
- 1 teaspoon vanilla extract
- 1/2 cup white sugar, brown sugar, or coconut sugar
- 1/4 cup cocoa powder
Instructions
- Preheat the oven to 350 F and line a square cake pan with parchment paper.
Unless you’re working with chocolate chips, cut the chocolate into small 1/2-inch sized pieces. Next, melt the chocolate via one of the two methods below:
- A. Double-boiler method: place the chocolate in a medium-sized glass bowl that can rest on top of a pot without falling in. Fill the pot with a couple inches of water, place the bowl of chocolate over top, and bring the water to a boil. Use a spatula to constantly stir the chocolate until it’s melted and smooth.
- B. Microwave method: place the chocolate in a medium-sized glass bowl and microwave it in 20-second increments, stirring well between each spell, until it’s melted and smooth.
- Once the chocolate is melted, add the butter, sea salt, and vanilla. Continue to stir until it’s fully incorporated. Note: if the mixture starts to seize up, it means the chocolate isn’t warm enough. Place the mixture back over the double-boiler or back in the microwave long enough so that the butter can melt and incorporate into the chocolate.
- Once it has cooled slightly, stir the eggs into the chocolate mixture. Once fully incorporated, stir in the coconut sugar and cocoa powder.
- Pour the mixture into your parchment paper-lined pan and bake for 20-25 minutes, or until a toothpick inserted in the center of the brownies comes out clean.
- Let cool slightly and enjoy!
Recipe Notes
- For Dairy-Free: Substitute coconut oil for the butter
- For Paleo: Use coconut sugar for the sweetener and use ghee or coconut oil in place of the butter


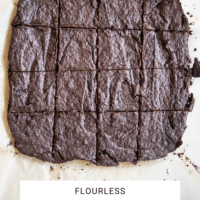
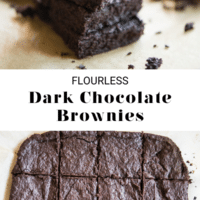
I couldn’t even cut them into squares without crumbling. So disappointing.
Absolutely wonderful! I am new to the gluten free lifestyle. And missing sweets! This is perfect! My whole family loved them! Going to try with a peanut butter swirl next time!
Peanut butter swirl sounds AMAZING!!! We are so so happy you found us! Welcome to the gf fam!!
These look great! It would be awesome to have a way to share recipes with friends via an Mail icon that plants this recipe into an email template? Just an idea x
Hi Chase! Thank you for your feedback! We will take that into consideration. Hope you enjoy! ~Melissa
My eggs seemed to start cooking when I poured them into the chocolate butter mixture and the whole thing got weird.
Oh I’m so sorry! It sounds like your chocolate-butter mixture may have been a bit too hot.
Just made these using monk fruit and chocolate chips, and they look & smell perfect! Haven’t tested them on my picky family yet but I’ll report back. I baked for 20 minutes.
That’s great, Michal! Can’t wait to hear how they turned out!
Would coconut oil work instead of butter?
Ahhhh darn. I used pure maple syrup instead of coconut sugar and these turned out pretty grainy and weird… Still alright tasting though!
Just made these for the second time! They are so delicious and fudgy! And easy to make! Delicious with vanilla ice cream! Thank you for this awesome recipe Cassy!
I love brownies. Looks so yummy. Will have to try this for my family. Thanks for sharing your recipe.
Do you have any recommendations for subbing out the eggs? Flax egg, applesauce…? What would be the best substitute?
What size pan would work best for this? I don’t have a square pan.
An 8 or 9 inch round pan should work just fine, just keep an eye on the baking time!
Any chance of using ghee instead of butter?
Yes, ghee would work great here!
Could I use Monk fruit sweetner in place of the coconut sugar? Trying to see if I can make these Keto friendly 🙂
We haven’t tried it but I think that should work! The texture may be slightly different.