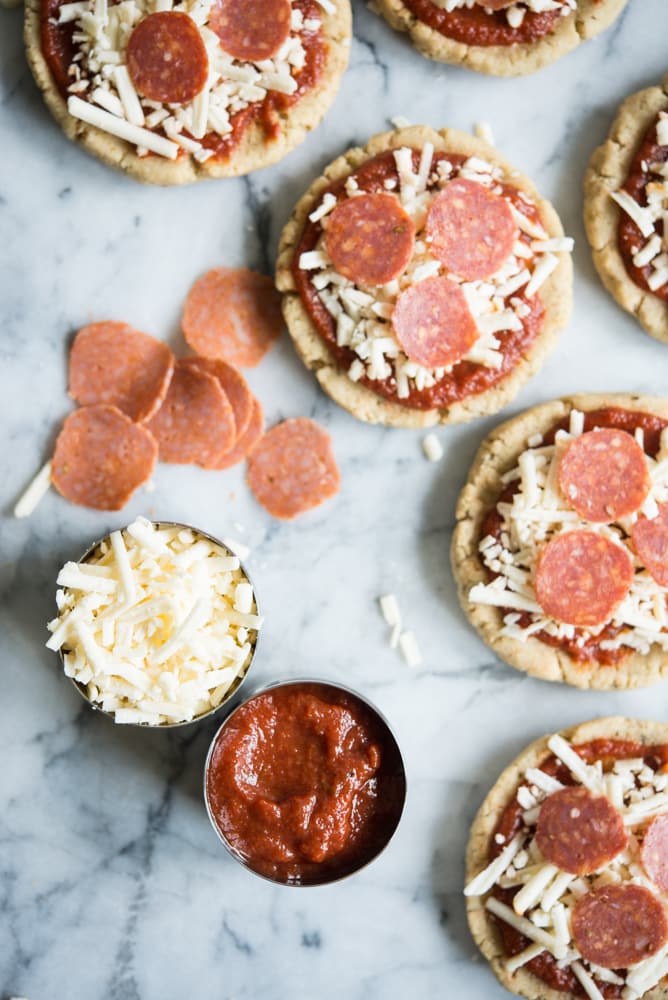
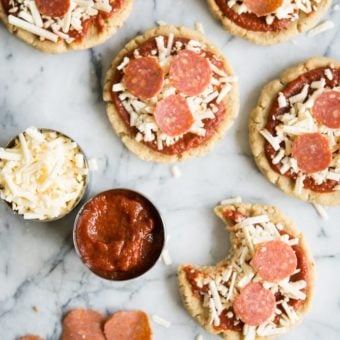
These Homemade Pizza Lunchables are based on the classic lunch time favorite, but made healthier with a grain-free crust and high quality toppings. Your kids will love finding these in their lunchboxes!
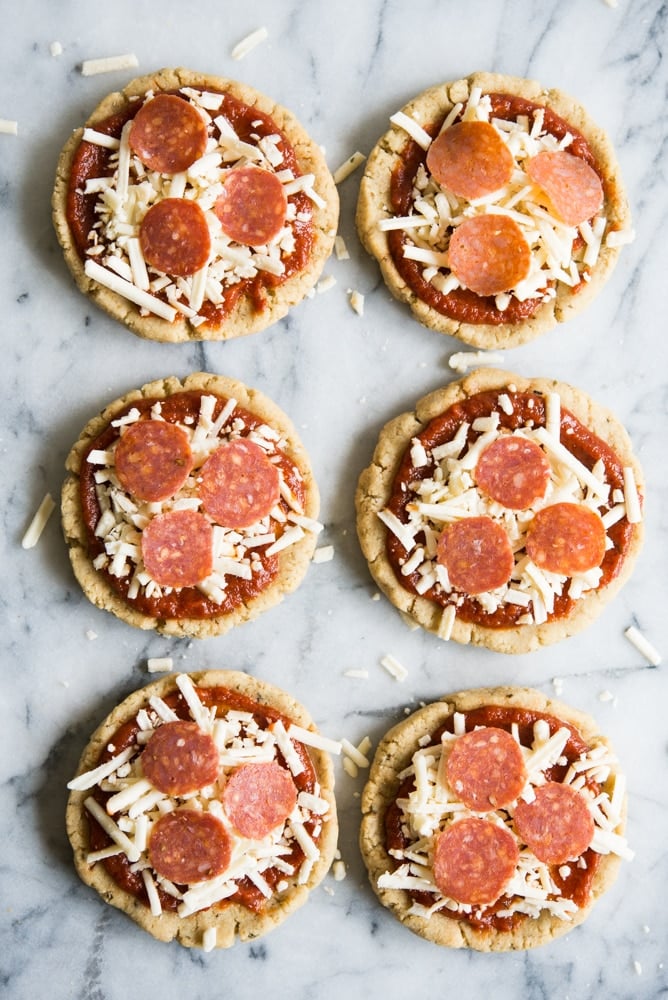
Table of Contents
This recipe is…
These little hand held discs of joy remind me of every day in 3rd grade when I scarfed down those pizza Lunchables like I was on. a. mission. Raise your hand if you know EXACTLY what I’m talking about.
Those pizza Lunchables were the lunch time jackpot. If your mom sent you with one that day, you were practically the most popular kid at school—and you for sure wouldn’t be trading your lunch for anything—not even a chocolate pudding cup! I truly don’t even want to think about how many of those things I consumed in my elementary school days because I don’t want to scare you. Let’s just say part of my genetic makeup is now pepperoni and leave it at that.
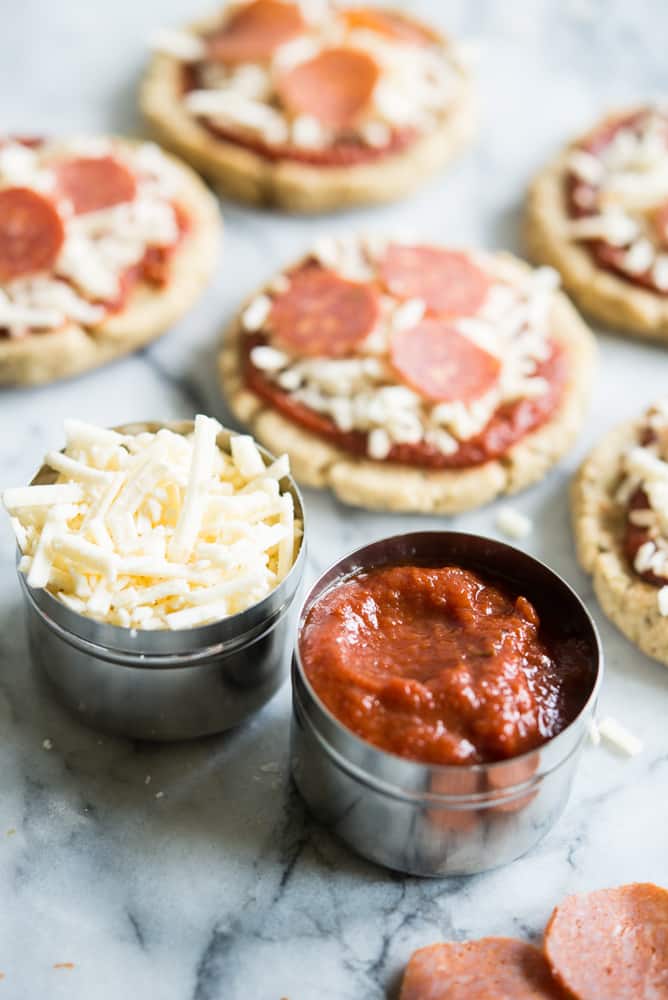
This crust is super simple, grain, and dairy-free, and makes about 6-7 mini crusts-which is perfect! They store well in the fridge, in an air tight container with parchment paper placed between, and they’re easy to assemble if you pack some nitrate-free pepperonis, tomato sauce, and shredded cheese of your choice. Make sure you include a utensil to spread the tomato sauce, and you’ve got everything you need! If you serve them at home, you also can take these to the next level by loading your toppings, and placing under the broiler for a minute or so to get your pizzas melty, warm, and crisped up. These homemade pizza Lunchables are sure to be on the lunch rotation all year long!
Looking for more recipes that will be sure to please picky kid eaters? Try our Chicken, Broccoli and Rice Casserole, Peanut Butter and Jelly Quesadillas, Sloppy Joe Casserole, and Kitchen Sink Cookies.
Why You’ll Love This Recipe
- A healthier version of a nostalgic childhood favorite!
- Only 10 minutes of prep + 10 minutes of cook time
- 1 recipe = 6 or 7 mini pizzas ready for lunchboxes
Lunchables Pizza Recipe Ingredients
It just takes a handful of simple ingredients to make these kid-friendly mini pizzas. Find ingredient notes (including substitutions and swaps) below.
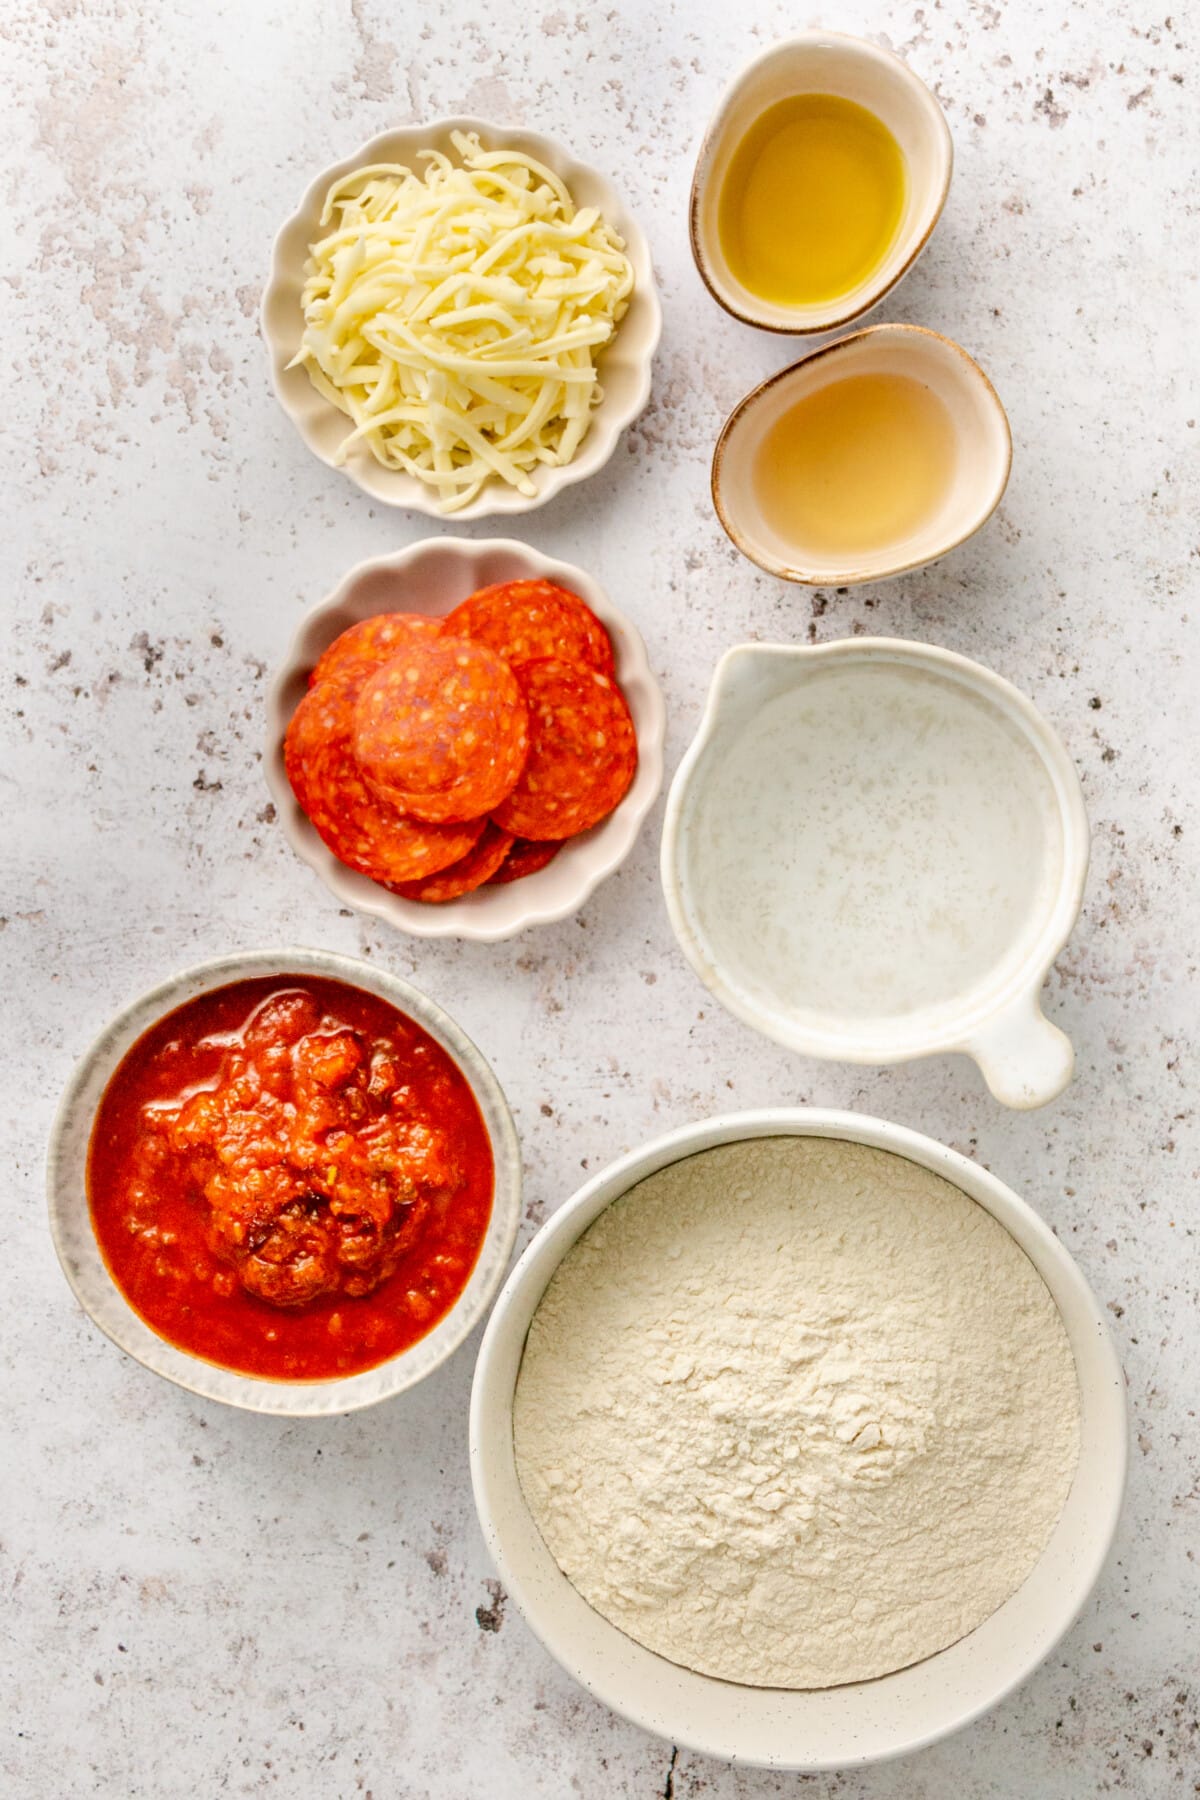
- Pizza crust mix – 1 box of Simple Mills Pizza Crust Mix
- Apple cider vinegar – 2 tablespoons apple cider vinegar
- Olive oil – 2 tablespoons extra virgin olive oil
- Water – 6 tablespoons water
- Pepperoni – 2 ounces pepperoni, we like the mini ones, but you can dice up larger ones if needed
- Mozzarella – 4-6 ounces shredded mozzarella
- Pizza sauce – 1 small jar of pizza sauce
A full ingredient list with exact amounts can be found in the recipe card below.
Recipe Variations and Modifications
This pizza Lunchables recipe is super flexible, so feel free to load these little ‘zas up with your choice of toppings:
- Cheese – shredded mozzarella is the most common type of cheese, but don’t let that limit you. Parmesan, fontina, asiago, and other types of cheese would all taste great!
- Veggies – feel free to add broccoli, mushrooms, peppers, and olives too!
- Sauce – want to try something new? If your kids will eat it (or if you want to make a more grownup version of these pizzas for yourself), swap pesto in for the tomato sauce.
How to Make Homemade Lunchables
Here’s how easy it is to make your own healthier Lunchables at home!
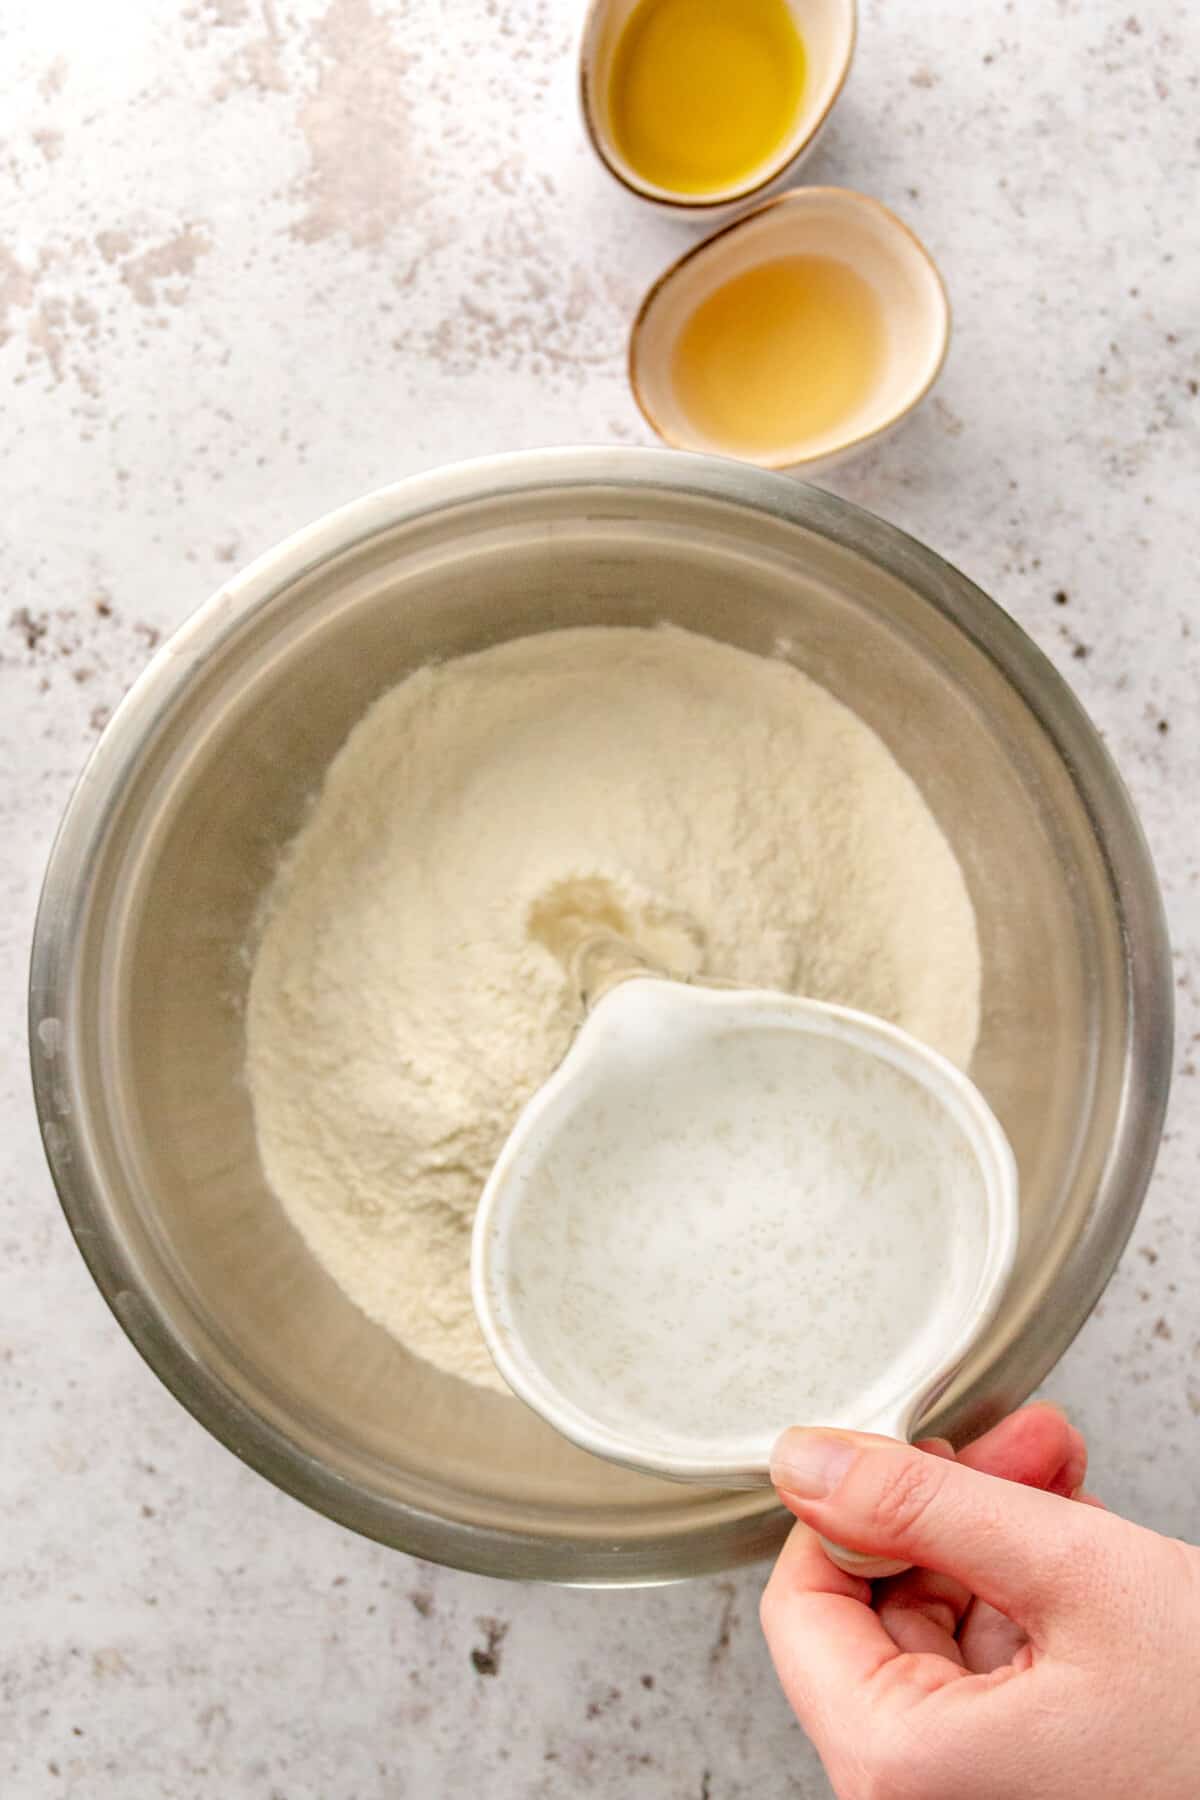
Step 1: Mix dough according to the directions on the box.
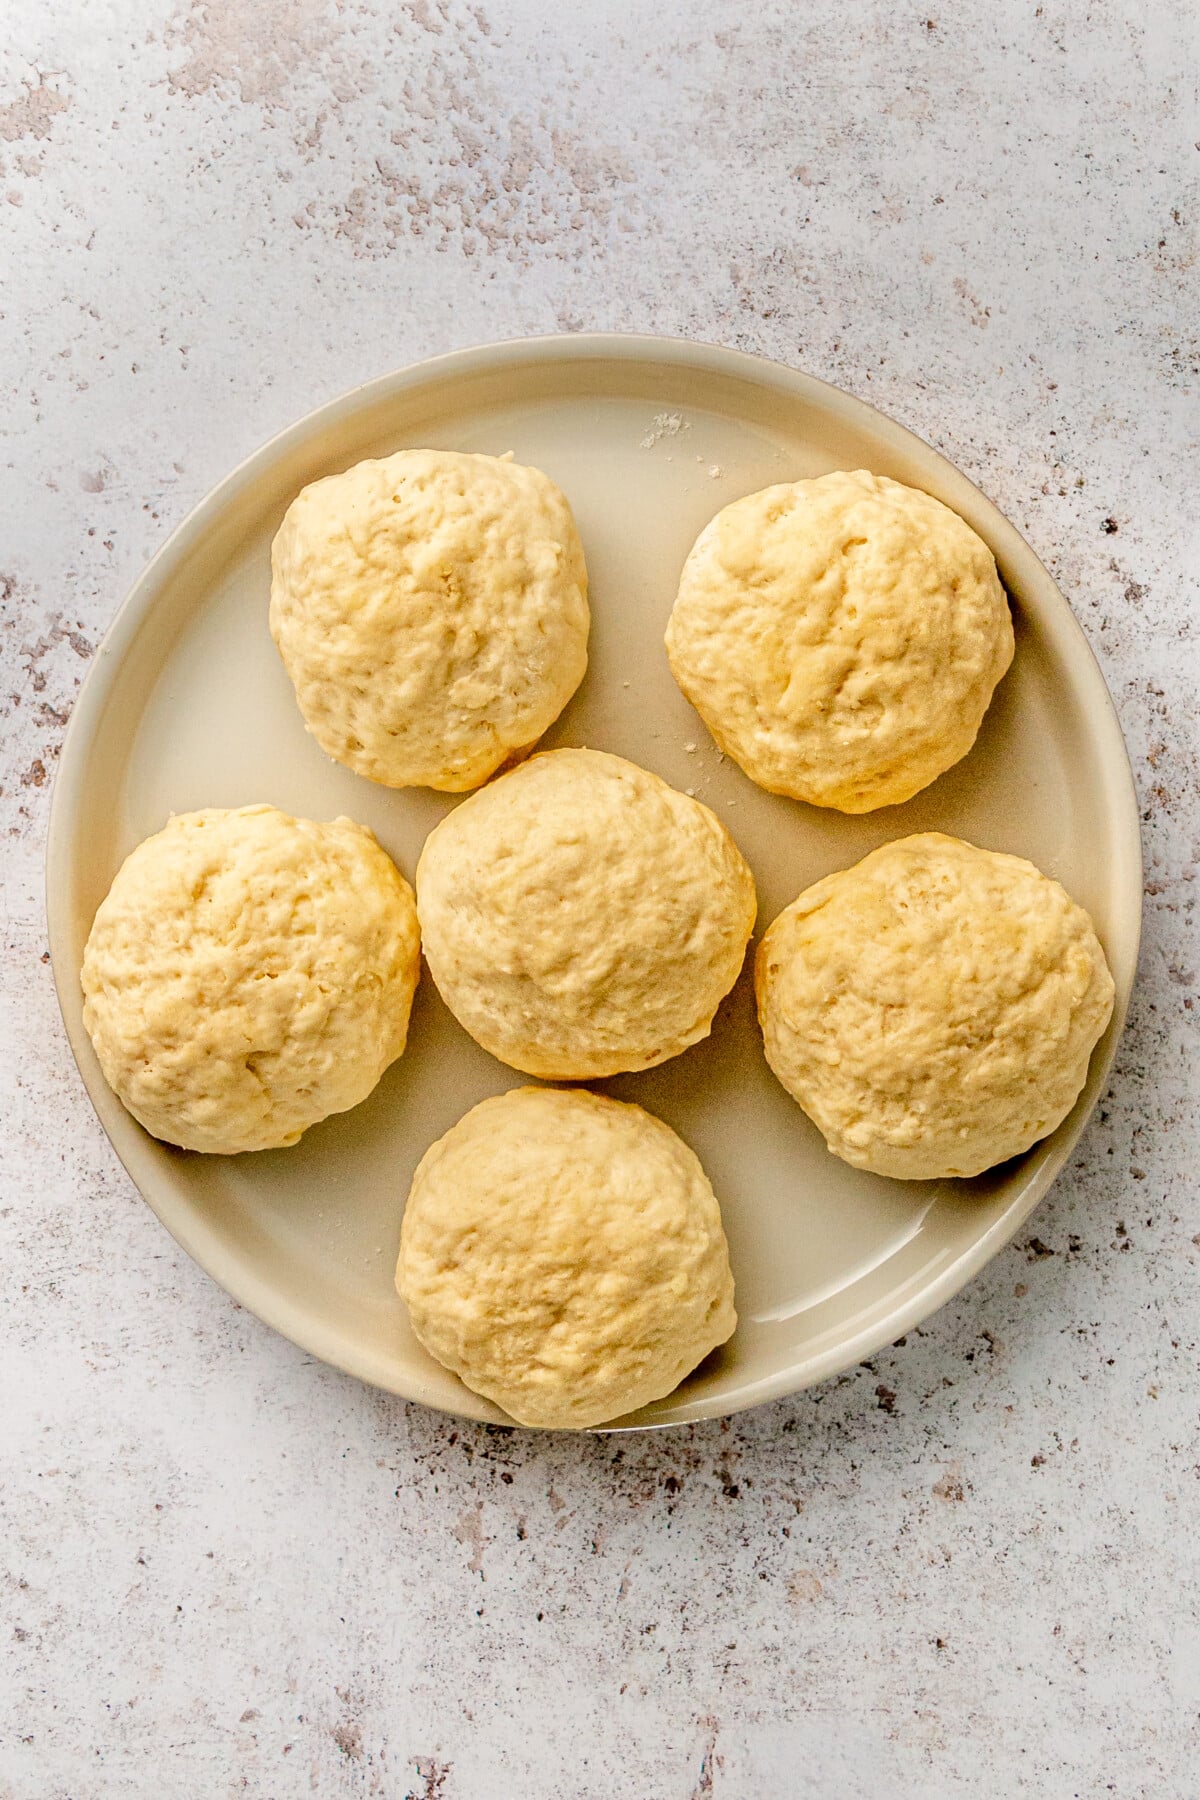
Step 2: Form the dough into 6-7 balls of dough.

Step 3: Press each ball into a small circular crust, approximately 4 inches in diameter.
Place each crust on a lightly greased baking sheet, and bake in a 350-degree oven for 10 minutes.
Step 4: Remove the crusts from the oven. If packing them for lunch, let them cool completely.
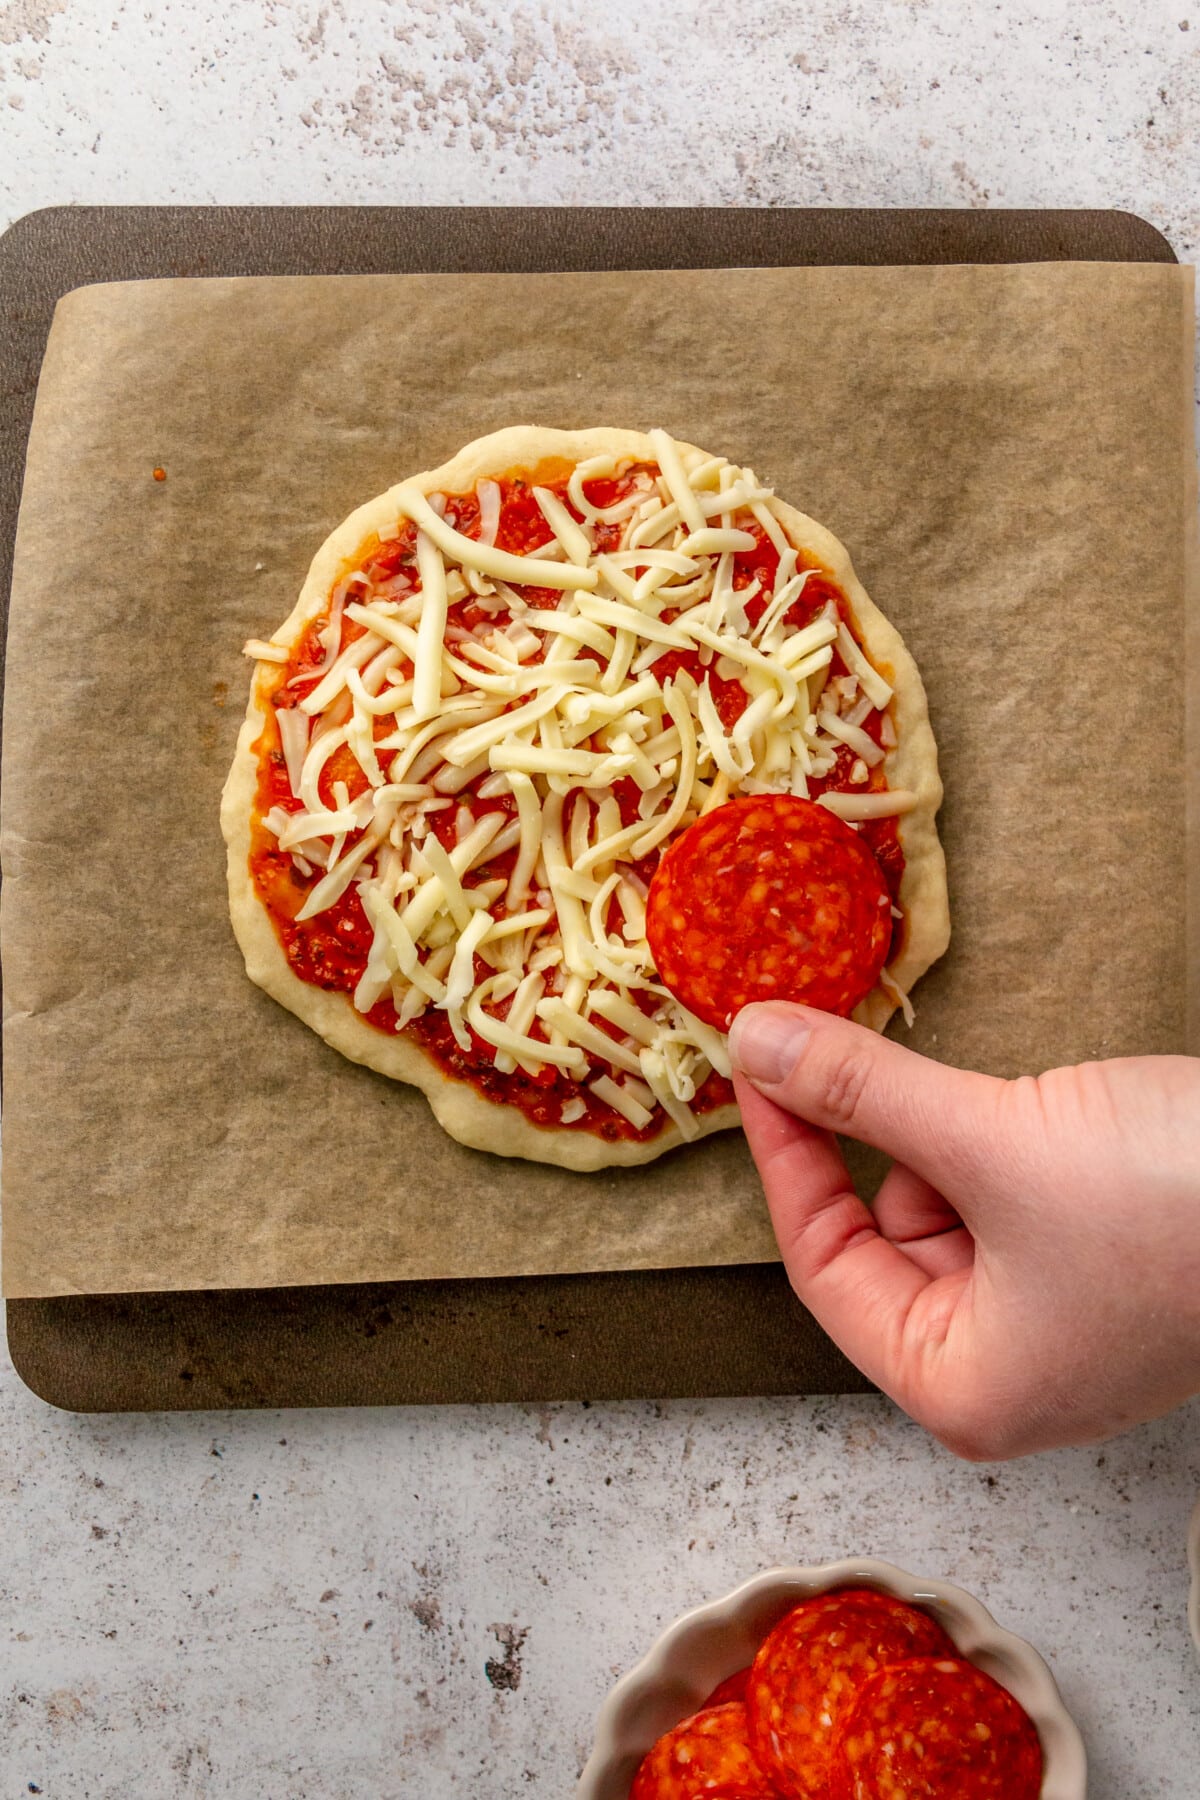
Or, if you’re eating them right away, layer tomato sauce on first, then top with shredded cheese and pepperonis.
Recipe Tip
Storing crusts – If you want to bake the pizza crusts ahead of time so they’re ready to go when you’re ready for assembly, store them in an airtight container with parchment paper placed in between the layers.
How to Serve
Pack these mini pizzas up for school lunches, or – if eating them at home – place them under a broiler for a few minutes to heat them up and get the cheese melty and gooey.
How to Store and Reheat
Store the mini pizzas in the fridge, in an airtight container with parchment paper placed in between the layers. If you’d like, you can stick them under a broiler for a few minutes to heat them and melt the cheese.
Frequently Asked Questions
Packaged Lunchables are highly processed, and contain a lot of sodium and preservatives. Our better-for-you version isn’t exactly health food…but it’s made with more high-quality ingredients like gluten-free pizza crust.
We’re big fans of Simple Mills Pizza Crust Mix, which is made with good-for-you ingredients like almond flour, cauliflower, and flax meal.
More Family-Friendly Recipes

If you tried this recipe for Homemade Lunchables (Pizza), or any other recipe on the Fed & Fit website, please leave a 🌟 star rating and let us know how it went in the 📝 comments below!
DIY Lunchable (Pizza)
Ingredients
- 1 box of Simple Mills Pizza Crust Mix
- 2 tablespoons apple cider vinegar
- 2 tablespoons extra virgin olive oil
- 6 tablespoons water
- 2 ounces pepperoni, we like the mini ones, but you can dice up larger ones if needed
- 4-6 ounces shredded mozzarella
- 1 small jar of pizza sauce
Instructions
- Preheat oven to 350 degrees.
- Mix dough according to direction on box.
- Make your dough into 6-7 balls of dough, and then press each ball into a small circular crust, approximately 4 inches in diameter.
- Place each crust on a lightly greased baking sheet, and bake for 10 minutes.
- Remove from oven and let cool completely if packing for lunch, or assemble topping and consume when cooled right away. For storage, I would place in an airtight container in the fridge until consumed.
- For lunch packing purposes, I recommend if packing more than one, place a square of parchment paper between. Assemble toppings in separate small containers or in your bento box.
- When ready to eat, layer tomato sauce on first, then top with shredded cheese and pepperonis.
- ENJOY!


`This is perfect for like a gathering or a party.