To be honest, the first time a friend told me that she’d added the Olive and June set to her birthday wish list, I was pretty surprised. I thought the product line, one that I’d seen several times in paid ads on my own Instagram, was just that: paid ad fluff. I hadn’t seen or heard of an actual person using the system and offering their honest thoughts.
My friend, however, had. She had a few friends who’d clicked “buy” from one of those ads (something I’ve totally been known to do myself), and who found themselves loving the system.
Okay, Olive and June could officially, though still somewhat skeptically, make its way onto my home manicure radar.
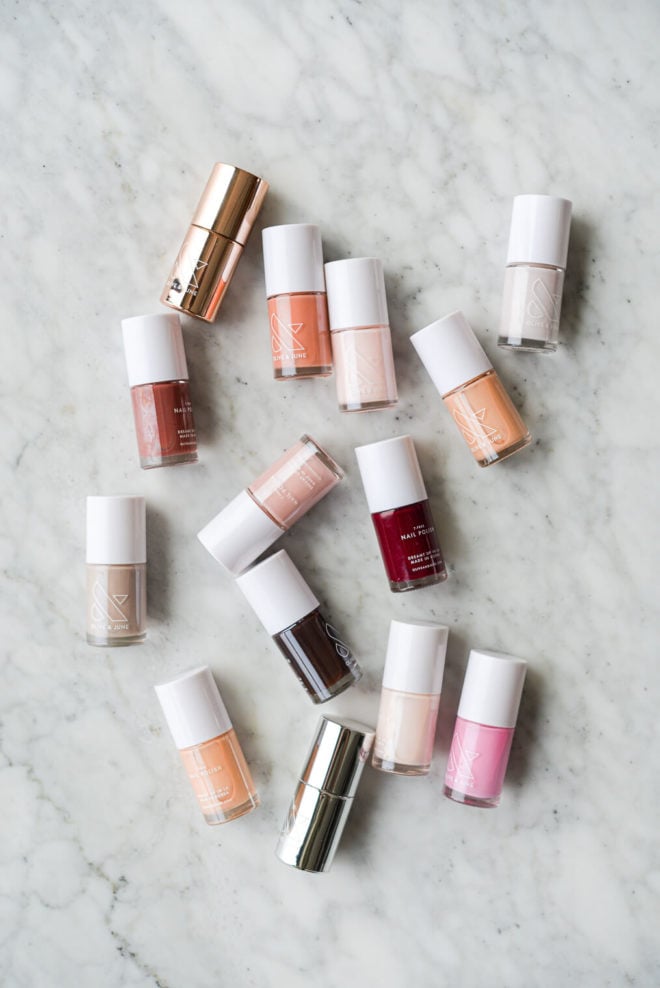
Table of Contents
My Experience with Home Manicures
Right around the time that our oldest daughter was born, about 4 years ago, I mostly stopped going to the nail salon. While I loved the every-other-week errand to treat my nails to a professional manicure, I had several reasons to slow (and nearly stop) my visits.
First, I was ready to turn my “look for cleaner/safer” gaze onto my beauty routine. While I’d already transitioned my skincare and most of my makeup over to safer, I hadn’t “cleaned up” my nail routine. Sitting in a fume-filled nail salon felt contrary to all the safer-product efforts I was making at home. Second, I wanted to reduce my monthly spending. Some quick math showed me that if I could do my own manicures, the cost of polish + the other equipment needed would pay for itself in just ONE manicure. Lastly, with a newborn baby at home and a full work schedule, I didn’t really want to spend that much “free” time away from her. 4 years later, with now 2 sweet baby girls and our 3rd just days away from joining our family, this feeling is even stronger. I liked the 2ish hour trip to the nail salon on the weekend, but I LOVE being able to spend my weekends entirely with our family, painting my nails in the quick margins of naptimes.
All that to be said, I’ve now accumulated some experience painting my own nails! I’ve also made it my mission to give an honest try of all of the safer polish systems out there. You can read the full list in my safer nail polish guide. I feel pretty confident in how to use nail tools correctly and also how to “make it work” when a polish or system is fussy (sometimes, in the safer product world, you trade fussy for better-for-you formulas).
Ordering Olive and June
If there is one area where Olive and June is DOMINATING when compared to their safer polish (or even conventional polish) industry counterparts, it’s in their customer experience. Goodness, their website is fun, the colors beautiful, the copy relatable, and the branding drew me right in. While I was just going to order a couple shades, that list quickly quadrupled into polish colors I HAD TO HAVE.
The fact that the polishes are only $8 definitely helps the “more is better” thinking, too.
Ordering was a breeze and it arrived quickly.
Using the Olive and June System
I actually caught all of this on camera for you! The first time I unboxed the system and painted my nails can be found HERE.
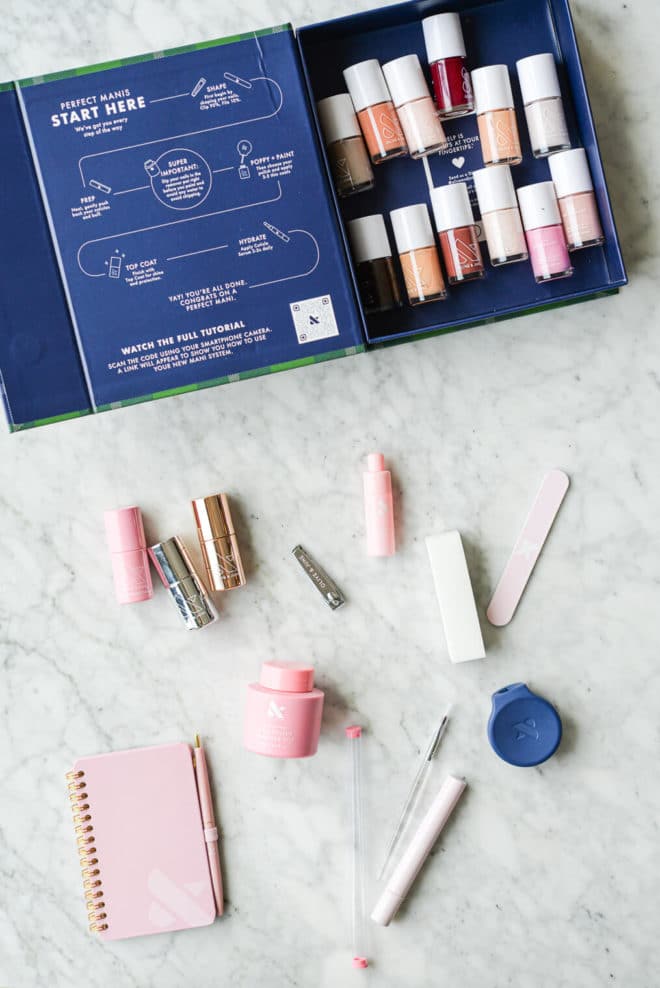
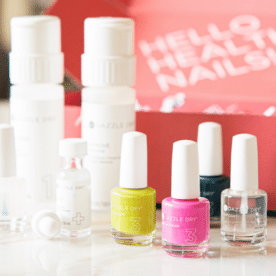
Just like their virtual customer experience, the physical one of opening the box was also a treat. It was well-packaged and full of thoughtful inserts with easy-to-read tips.
Here are the basic system instructions that I followed:
- Step 1: To prep your nails for polish, first start by dipping them in the Nail Polish Remover Pot. This ensures that all excess debris is removed, and your nails have a clean base to start with! Make sure not to touch anything or get your nails wet after this step to keep the cleanest canvas for applying your polish.
- Step 2: Pick your color! Then apply 2-3 thin coats to your nails.
- Step 3: To finish, apply 1 layer of the top coat to provide protection and give your nails the shine you love!
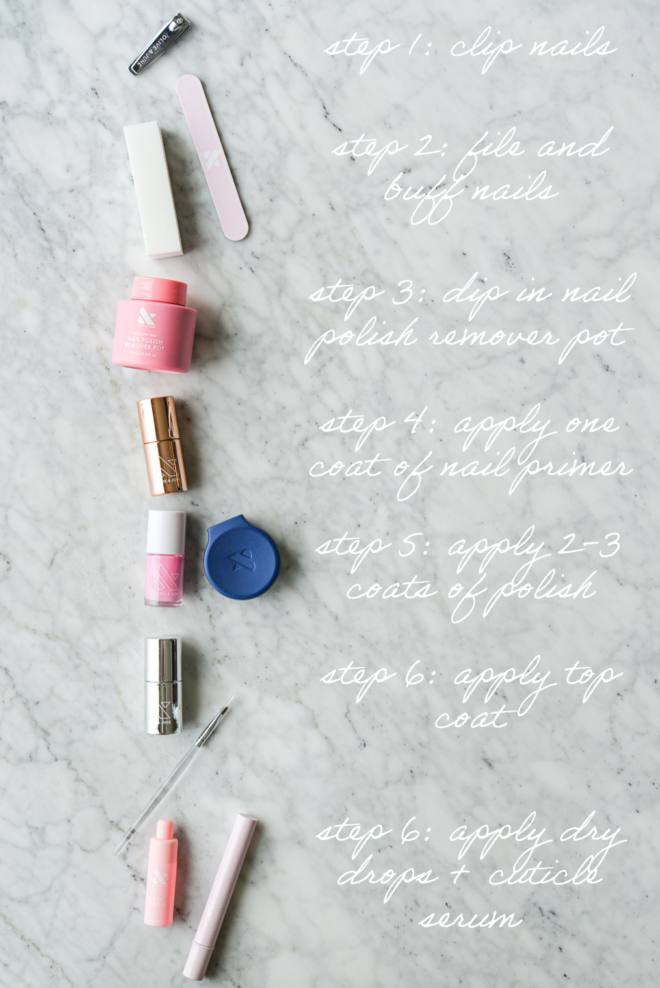
Optional Additions:
- Use the Olive and June straight-edge nail clippers and dual-grit nail file to shape your nails. Then gently push your cuticles back and buff your nails using their salon-quality nail buffer to get nail salon experience prep before painting.
- Apply one coat of the nail primer to create the ideal base to help your polish last longer.
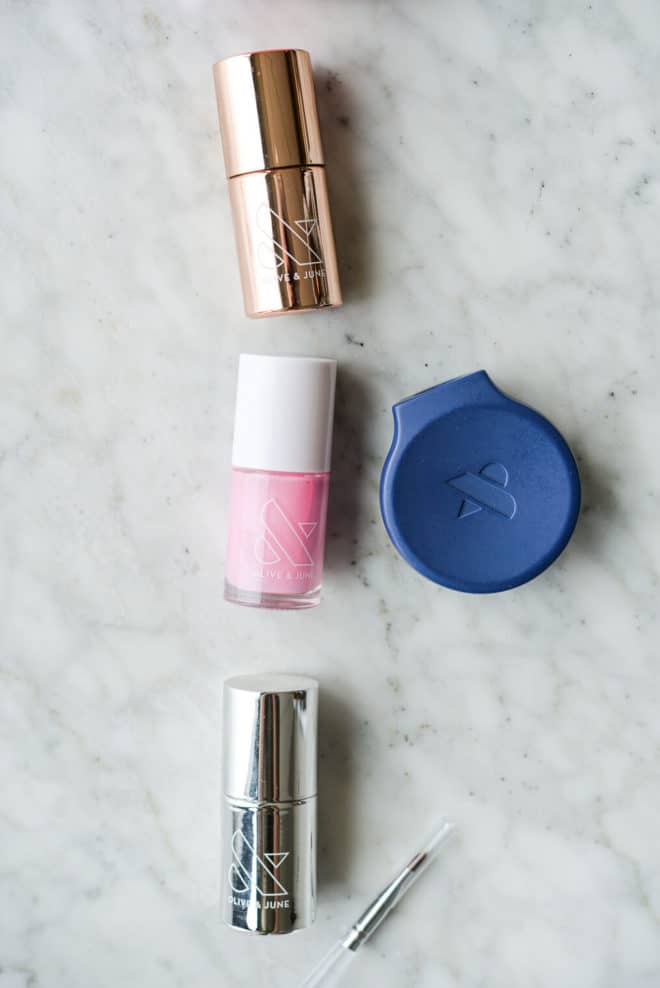
- Try the Olive and June Poppy (their patented polish bottle handle) to give yourself a steadier hand for smoother, more even strokes when painting your nails.
- Apply the dry drops to help your polish dry faster.
- After painting/ongoing: to help with your cuticle health and hydration, you can apply their award-winning cuticle serum 2-3xs daily.
Overall, I loved using the system. While the Poppy isn’t something I think I’ll reach for in the future (I’ve got a pretty steady painting hand without it), I do love the way the polish applies. It goes on smooth, has rich color saturation, and really only needs 2 coats, regardless of the color (in my experience).
In my experience, it took a full 2 hours for the polish to completely set. I have used their dry drops and while that helped set the top layer quickly, I could still cause a smudge/ding if I reached for anything hard or pointy in those first couple hours.
This, honestly, is the main deal breaker for me. Because of my lifestyle (painting nails in 30-minute windows and quickly moving onto the next task), I need a polish system that dries FAST – otherwise, it feels like a wasted effort.
In my experience, I’ve gotten an average of 5 days out of my manicure before it started to dull, crack, and chip. Like a traditional polish, this polish tended to crack (in fine lines) around the tips of my fingernails as my nails started to grow out. Essentially, if my nail would bend, the polish would break. Then, a day later, that break would turn into the polish chipping off.
I’ve only found one other safer polish (Dazzle Dry) that didn’t crack and chip like this.
I will say that it wore beautifully for those first 5 days. As a professional recipe developer and mom of two littles, I don’t take it easy on my nails. If you’ve used the Olive and June system and found that it didn’t last this long, my hunch is that there may be an opportunity for you to improve how you’re applying the system (make sure you carefully read and follow every step).
After day 5, I was itching to take it off, and I usually got around to that by day 7.
Removing the polish was easy, just like a conventional (think OPI or Essie) polish. A few swipes of a nail polish remover, either their own pot or using one of my favorite acetone-free options, and it was off.
I went to the salon for gel manicures for years and can honestly say, no. It does not perform like gel. It doesn’t dry as quickly, go on as thick, last as long, and bend (vs. crack) with time.
On the pro-side, though, and one reason I started to shy away from gel manicures, removing the polish is a BREEZE in comparison. There’s no soaking for 30 min in polish remover or wrapping each finger in cotton/foil to get the polish off. It just comes right off, like you would expect from a conventional polish.
Advice for Using Olive and June
My first piece of advice if you’re going to use the Olive and June system is just that, use the whole system. While I do have a feeling that this particular polish CAN work on its own (or mix/matched with other base and top coats), it’s obvious that their system works best when used as a set.
My next piece of advice is to read ALL the material that comes with your set BEFORE you start prepping or painting your nails. Whether it’s a recipe for a cheesecake, instructions on how to use your new air fryer, or a new nail system, I’m a big believer in reading the instructions in their entirety before you start. This will help you avoid mistakes AND move faster/more confidently through the process.
Per their instructions, I strongly encourage you take them seriously and NOT touch anything once you’ve done the polish remover pot wipe to clean your nails before you polish. This step really helped extend the life of my manicure.
Lastly, your manicure will last longer (and this is true for most polish systems) if you: adequately prep your nails in advance (file, trim, buff) and if you also do NOT paint all the way to your cuticle/skin. Fun fact: if you leave a small margin of unpainted nail between your skin/cuticle, you will get MORE days out of your manicure.
Do I recommend Olive and June?
Overall, yes! If you’ve been using a conventional polish (again, think OPI or Essie) and are ready for a safer formulation and upgraded home manicure experience, I have a feeling you will LOVE this system.
The pros of Olive and June:
- Unbeatable customer experience. From the branding, the website, the packaging, the helpful instruction, and their hands-on customer service, I haven’t seen anything like it.
- A complete system. There’s comfort in knowing that when you buy their system, you’re getting everything you need to pull off a quality home manicure.
- Polish is a beautiful formula. It’s not too thick, not too thin, and goes on without streaking.
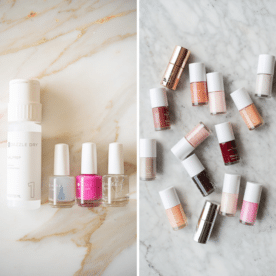
- Beautiful polish colors to choose from, each of which have high quality color saturation (meaning, you won’t wind up painting 4 layers to get the color you expect).
- Decent wear (I got 5 days).
- Easy to take off with non-acetone (or I imagine, also acetone) remover.
- Competitive price. At $8 a bottle for each new color, Olive and June comes in less than many conventional polishes.
- A safer (7-free) formula. For as well as it performs when compared to their conventional polish counterparts, it’s impressive that it’s also formulated with safer in mind.
The cons of Olive and June:
- It’s not like gel. While there were some rumors circulating early in the Olive and June days that it wore like gel, I’m here to debunk the myth.
- While I did put 5-day wear under the pro list, I could also argue that it’s a con when comparing it against systems (like gel) that last much longer.
- Slow drying time. While the dry drops helped prevent light markings on the top of the polish right away, the polish (for me) didn’t totally set until a full 2 hours had passed.




Tried to cancel order the day after it was placed. Was told no.
14 days later no product and no delivery date on shipment.
Is this a scam?
I keep buying more bottles of olive and June nail polish, but I don’t know why. I have been doing my own nails for over 40 years and this polish is the hardest to use that I’ve ever tried. It seems to drive before I can even finish a nail it always looks clumpy and streaky, and it is not self leveling. I have done my own research and found that resin is not harmful to your nails maybe leaving that out has made the polish impossible to get a smooth application. I have just bought my last bottle today and thought I would give it one more shot, but it’s streaky and thick and my nails look like a six-year-old painted them .
Hello I am very intrigued with your products as salon manicures are damaging my nails – I’ve tried the gel manicures in the salon with less chemicals and it’s still been hard. What I would like to know is if a nail dryer would speed up the drying time of your products. Amazon link below: UV LED Nail Lamp, NAILGIRLS 150W Nail Dryer for Gel Nail Polish 4 Timer Setting with Automatic Sensor, UV Nail Light Curing Lamp for Home, Salon
I was also curious to know if you have a nail repair/glue and if you have a powder chrome finish available? Thank you!
I am on a strict budget right now due to lots of medical bills and a well needed purchase that has to paid off in full in a few months so as not to pay interest. I realized when I looked at my nail polishes they were all old. I was at Walmart and looked at Opi amd Essie and the really cheap nail polishes , but then saw the color I wanted in the Olive and June line. I just put it on today, but habe to say the smoothest, nicest application. As a former hair stylist I have used lots of good brand nail polishes, but this seems to be the nicest. I will have to see how it wears.
I’m 6 months into my olive and June just got back from dr…because my nails look so horrible, brittle, thin, weak, ridges , I’ve never had before…I’ve always had long , strong nails curious of your option after long term use …
We’re so sorry about that, Rhonda.
Hi Cassy! Loving your reviews on Olive and June and Dazzle Dry. I’ve decided to jump in and buy both haha. I have a question though – would you feel comfortable using either on your daughter occasionally? I’d love to be able to share in the mani experience with my 3 year old daughter but am wondering if I should buy kid specific safer polish.
What color is the pink shade called? It’s so pretty!☺️
I think olive and june is the best polish ever. Mine has been on for 20 days and looks like I just got them polished.
That’s so great, Linda! Thank you for sharing! ~Melissa
Appreciate this comprehensive review! I’m drawn to beautiful marketing and branding, and O&J seems to have just that… but also in a season of life that dry time is top of my list! I would have been bummed to discover this took so long to dry while (inevitably) ruining some manis. Thanks for testing for us! 🙂
You’re so welcome, Kate! I’m so glad this was helpful for you!