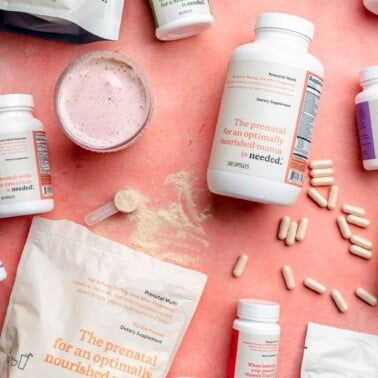
Today I’m sharing my full Dazzle Dry review! I’ve been using this nail system for 6 months now, and it has become my favorite non-toxic nail polish and at-home mani/pedi solution.
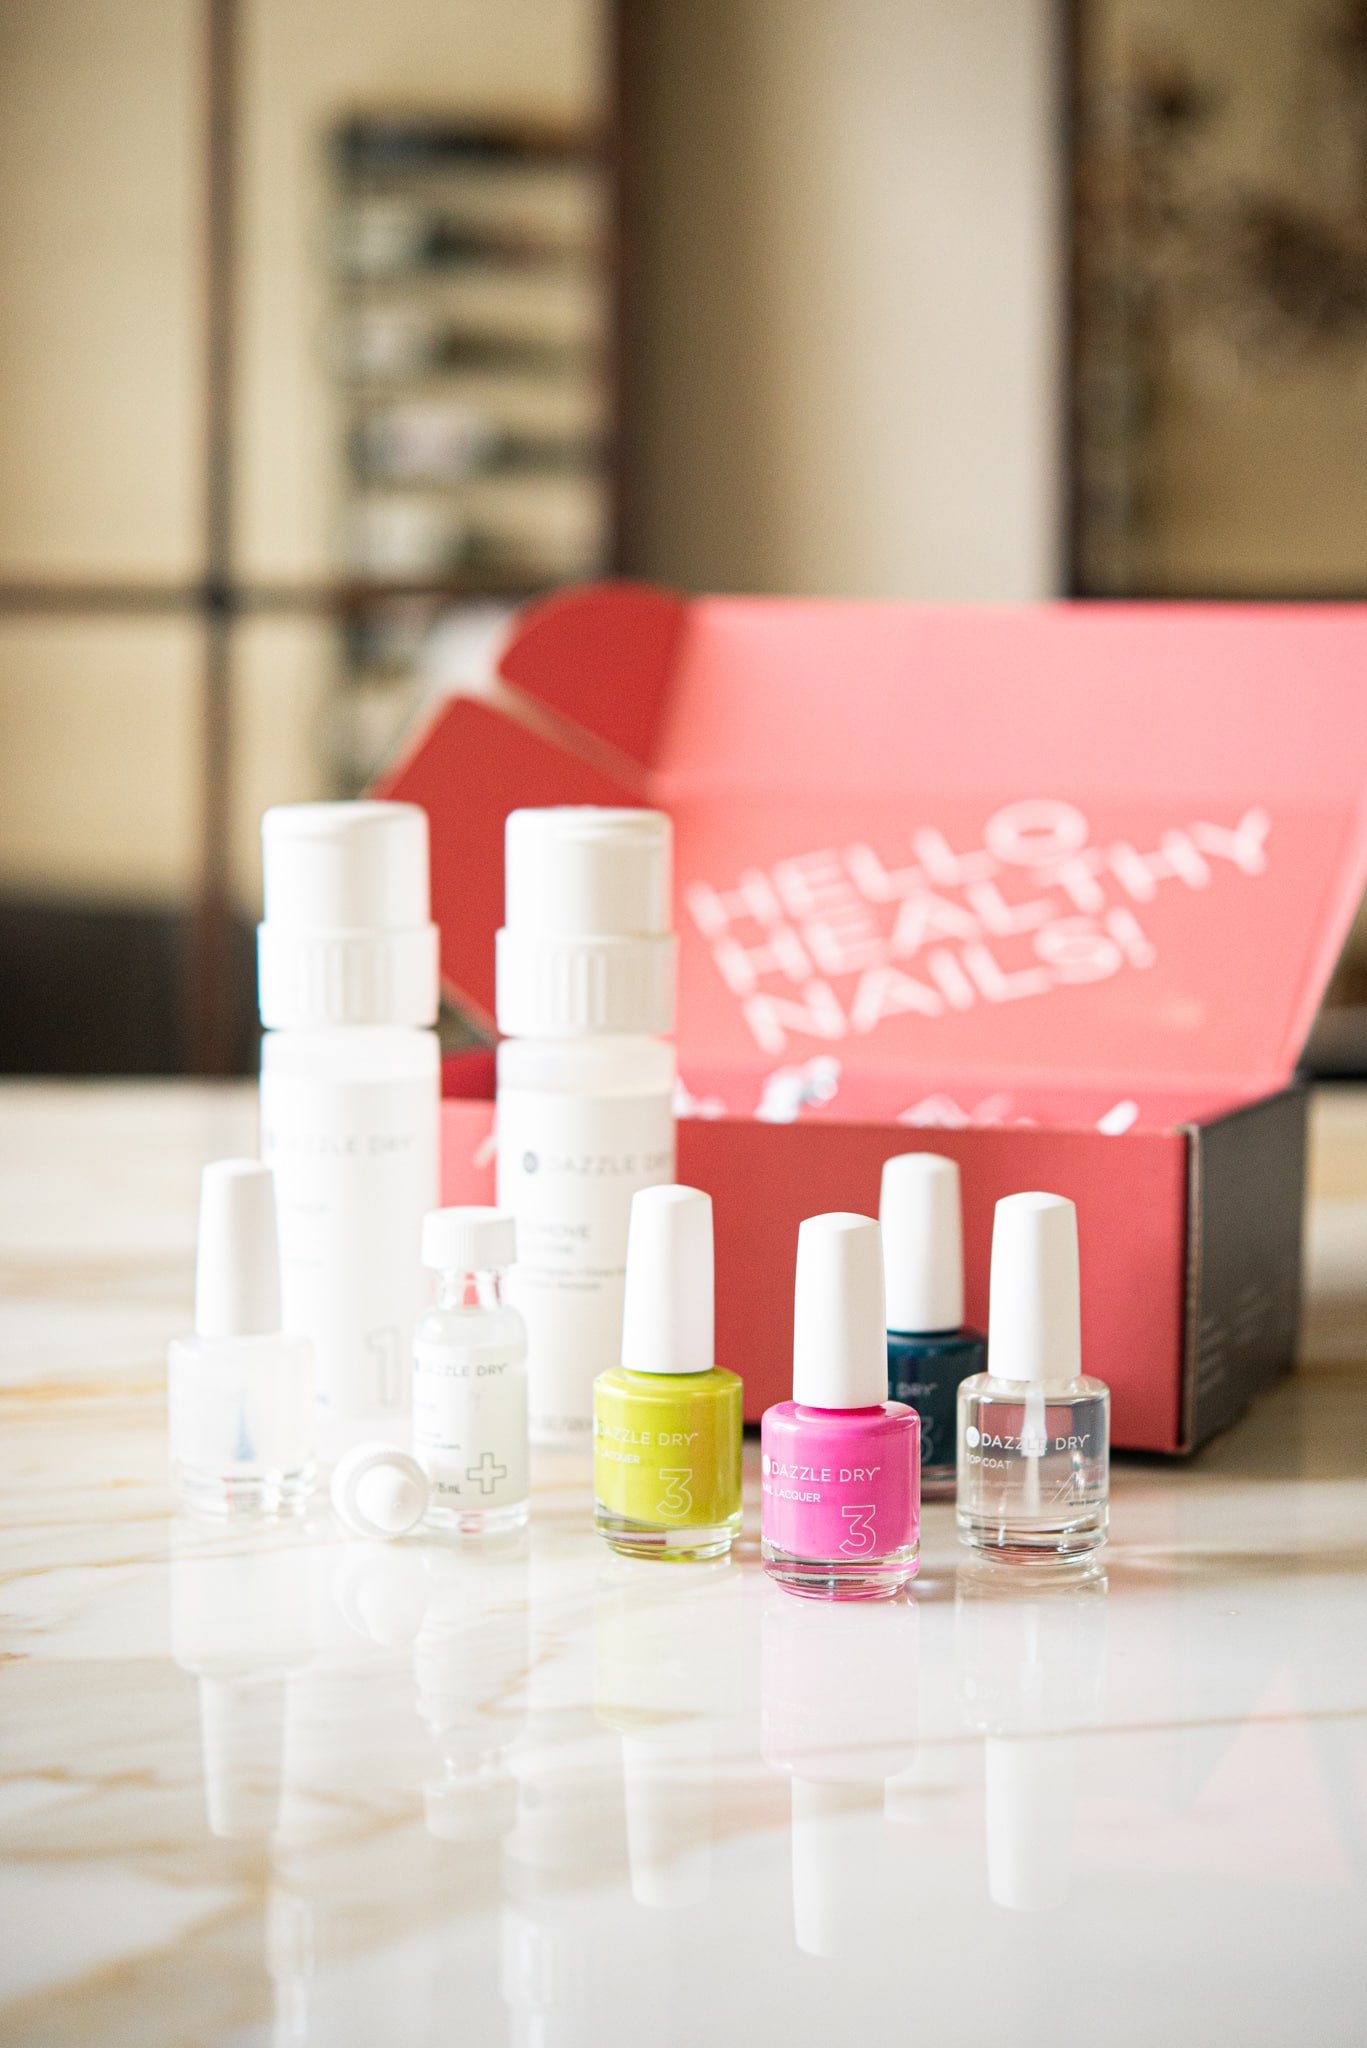
Table of Contents
In my constant state of hot pursuit for the BEST at-home, safer nail polish systems, I think I’ve landed on the best one yet. Last Fall, I got to visit the fabulous Ojai Valley Resort (a trip with Beautycounter) and, to pass the time with a bit of pampering, I booked myself a few treatments at their renowned spa. I went all out with a massage, a facial, and a manicure/pedicure …but it was the latter that I was the most impressed by.
I really appreciated the Ojai spa. I could tell that the products they used during treatments were carefully selected for superior results AND safer formulations (a lot like Beautycounter – so the setting was very fitting for that trip). What blew me away was the polish system they used for the manicure/pedicure. My manicurist walked me through an explanation of the system and, I’ll be 100% honest, I was VERY skeptical.
In a nutshell, she told me that this Dazzle Dry system is “formulated with safer ingredients” (which, I could easily verify once I got back to my computer), “goes on like regular polish” (I could witness that right away), “dries immediately” (also easy to verify), and “lasts just as long as gel” (right, I’ll be the judge of that).
I enjoyed polite conversation with the lovely manicurist. She removed my Aila polish manicure (my favorite safer polish up to this point), remarked at my damaged nail beds (product of 1.5 years of back-to-back dip powder manicures), and then went on applying the Dazzle Dry System.
I WAS immediately impressed with the finish, albeit skeptical about how long it would last. My nails were shiny and very dry after just 5 minutes. I thanked her and then went on to meet my friends and fellow Beautycounter teammates at the pool (where I ordered a virgin margarita to go along with my chips and salsa).
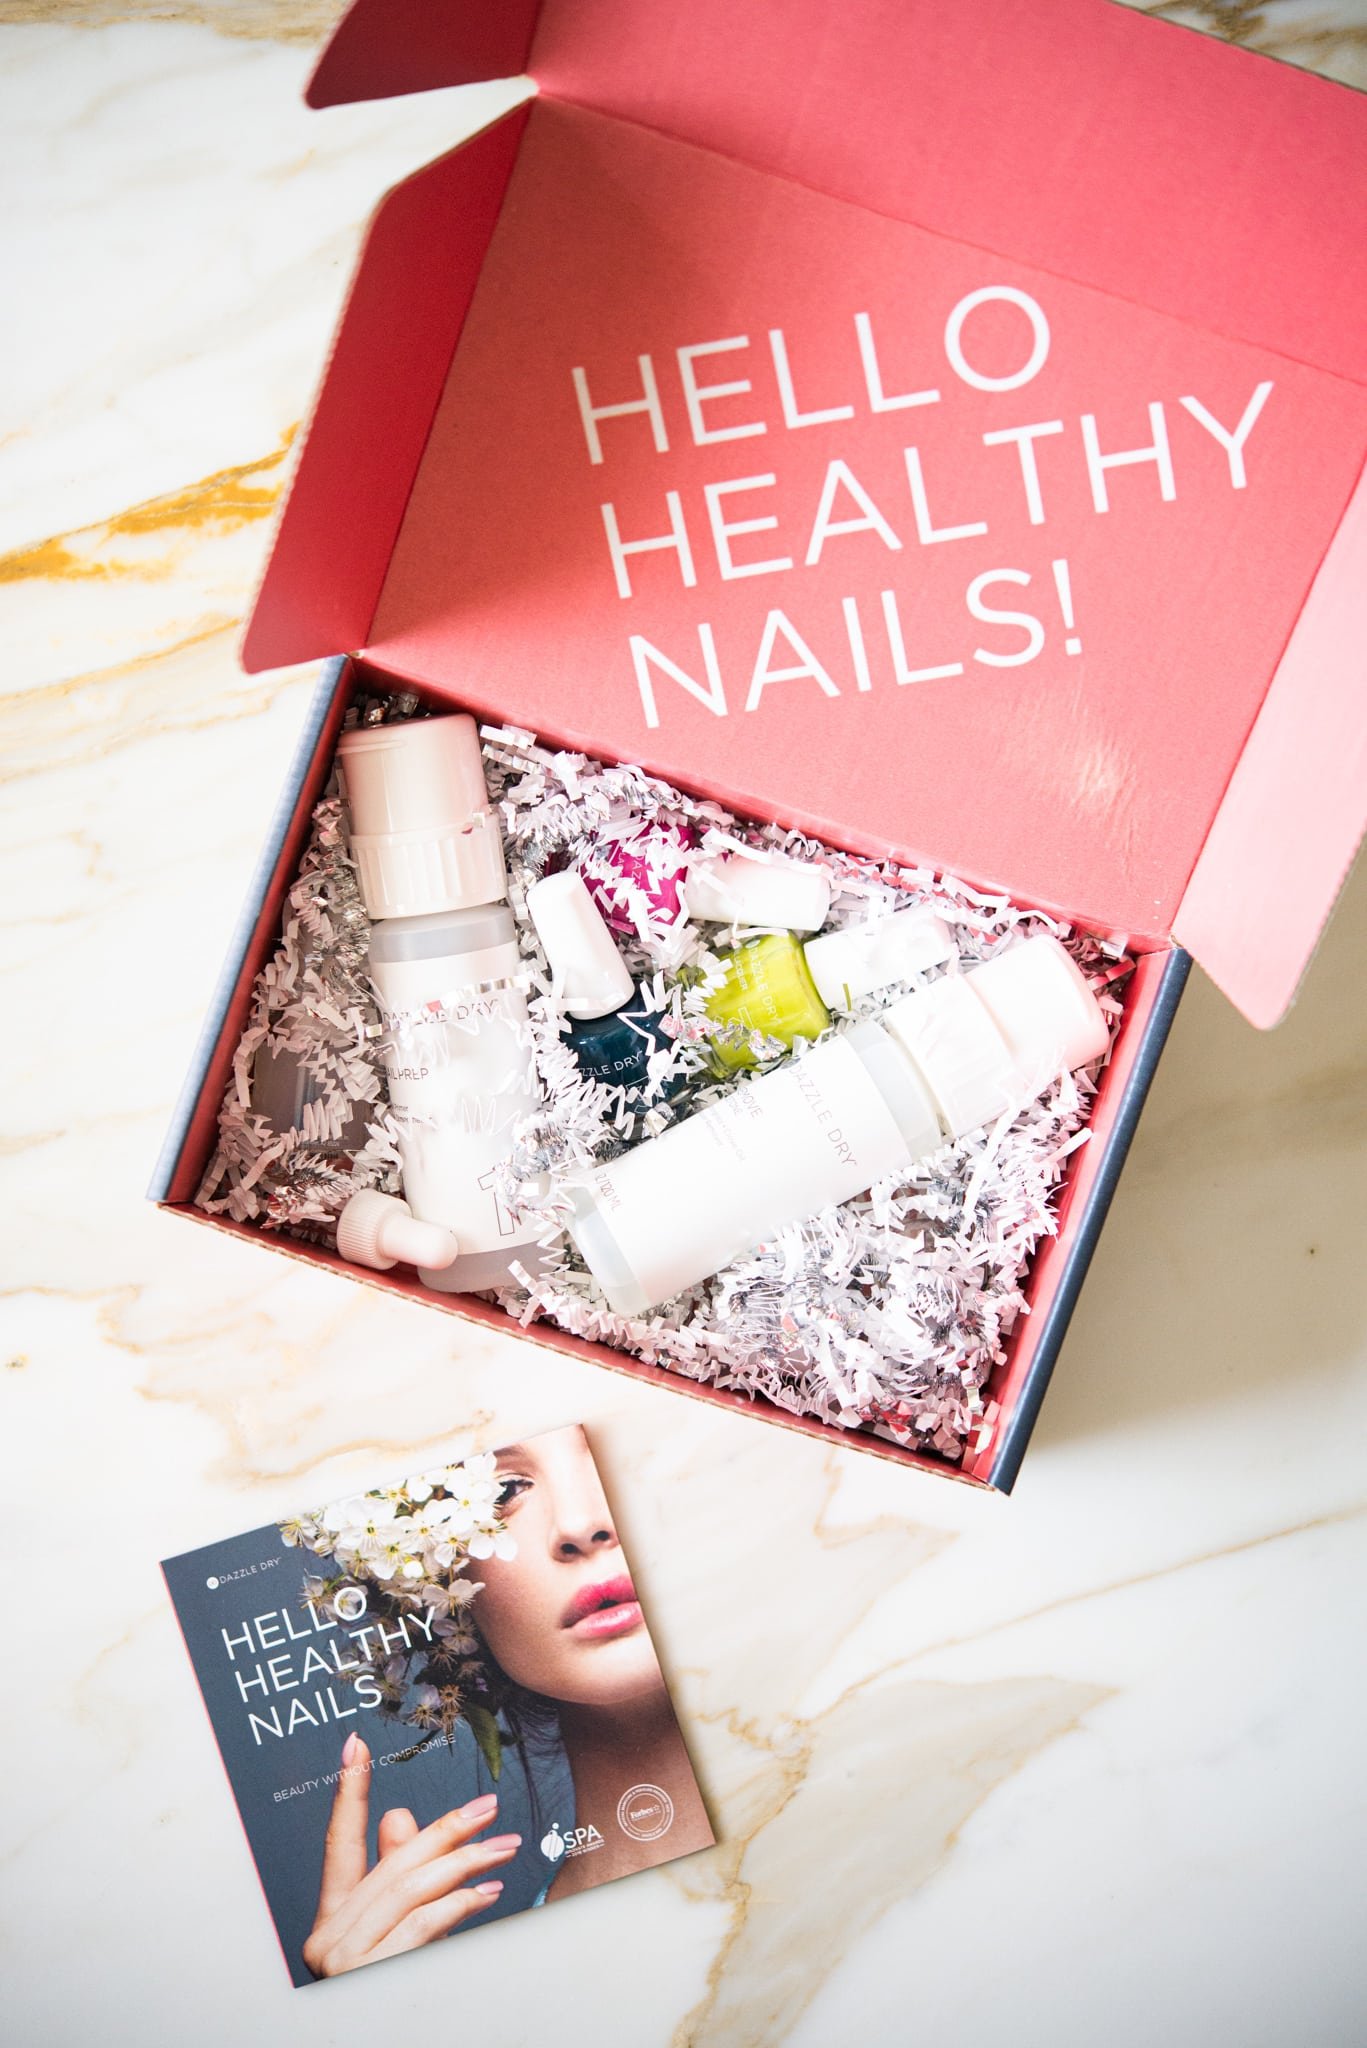
Fast-forward to my being home and watching the days tick by. When my manicure made it to the 5-day mark without any wear, I thought, “Okay, that’s great! Longer than the other polishes I have on hand.” Then, it made it to day 10 and I was shocked. Y’all, I am ROUGH on my hands. I wash dishes twice a day, cook, garden, play with Gray (my daughter) …these nails usually take a beating, which is why I’d gotten so addicted to dip powder manicures. It was on day 10 that I ordered my first Dazzle Dry System and a few colors. On day 15, the kit arrived and, though I had a few chips (that I honestly caused because I picked at them), I was ready to try the system myself.
Now 6 months later, I’ve been using this system non-stop. I’m, in a word, obsessed.
Though I *can* get a manicure to last me 2 weeks, I actually find myself changing colors weekly because it’s just so darn easy to apply.
Below are the steps I follow to get the best results, a list of the colors I’ve used/loved, and, after months of use, a summary of my lessons learned. I hope you enjoy and find it helpful!
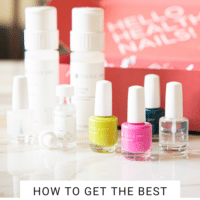
What are the Dazzle Dry System steps?
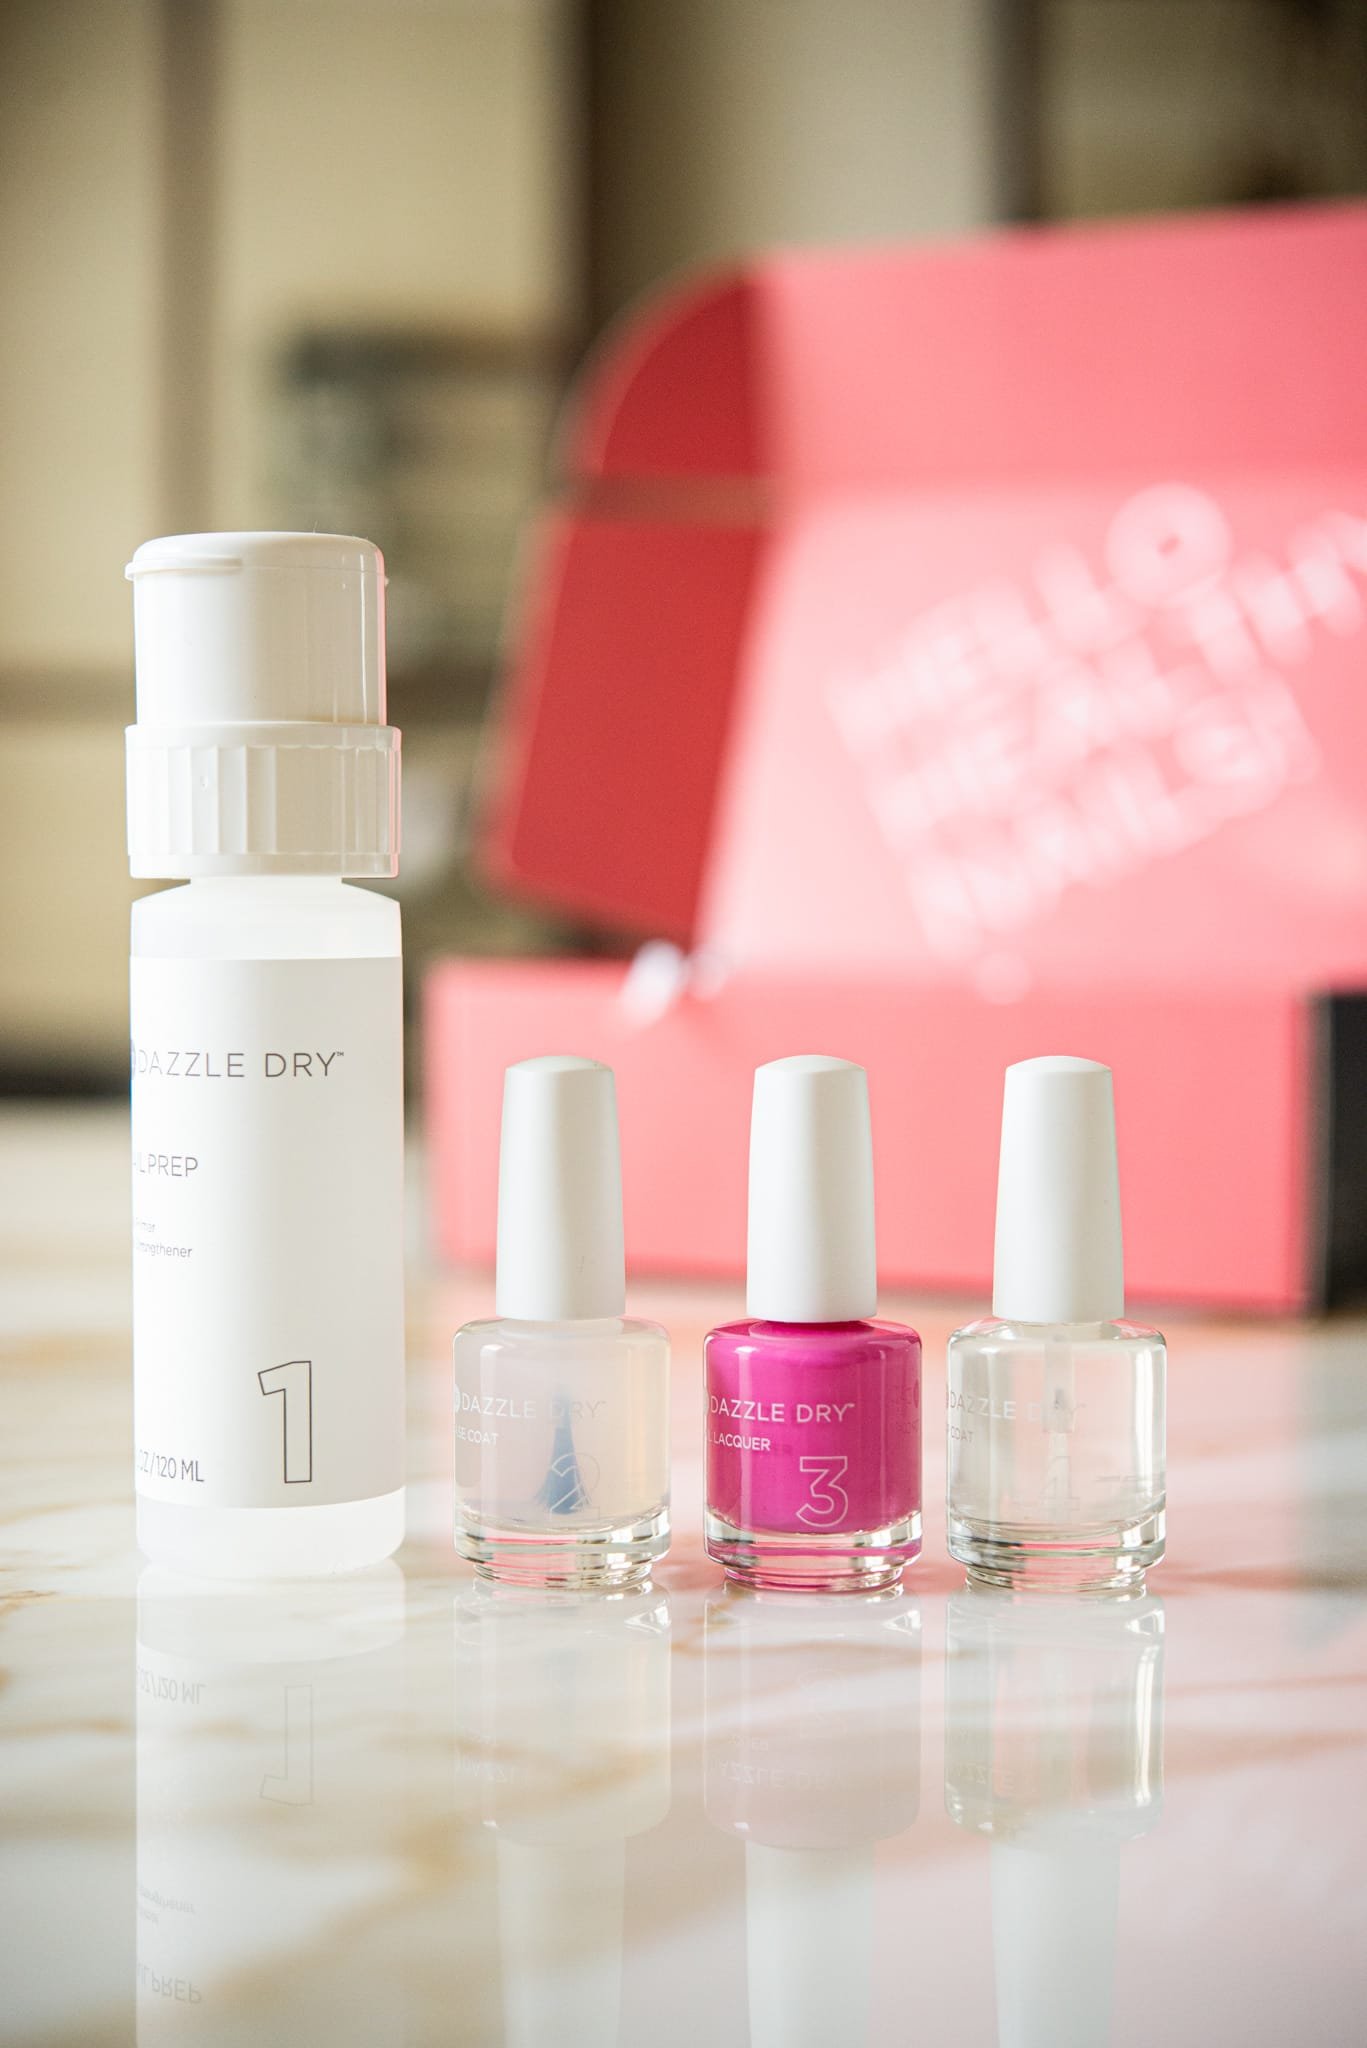
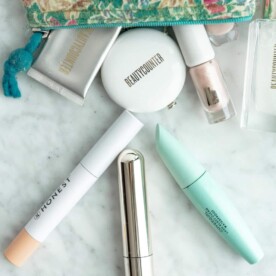
STEP 1: Prepare your nails. This may involve removing your previous polish (here’s an acetone-free polish remover I really like), filing (these are my favorite emery boards), soaking so your cuticles are easy to trim (cuticle trimmers here) and buffing a bit.
Note: while I’m preparing my nails, I’ll get the base coat started in a bowl of warm water. You see, the base coat, when cooled, looks thick (jelly-like) and opaque. You need to heat it slightly until it’s crystal-clear and running thin before use. I usually microwave a small bowl of water for 30 seconds and then place the base coat in the water to warm while I file and trim my nails.
STEP 2: Apply the “nail strengthener” (labeled: 1). This product comes in a polish remover-style bottle. One cotton pad soaked through is usually all I need for a manicure. I will rub my trimmed nails down with the soaked cotton and then try not to touch them again before the polish goes on. You’ll note that if you have any leftover pigment on your nail from a previous manicure, this substance actually does a great job cleaning it all up/off.
STEP 3: Apply 2 coats of the “base coat” (labeled: 2). Do your best to apply this coat to your nail ONLY (meaning: don’t run the polish up to your skin, give it a bit of a border). Let the first coat dry before you apply the second.
STEP 3.B: OPTIONAL – if you have it (and if it’s in stock) the “ridge filler” is great for helping you get a really smooth, gel-like finish on your nail. I use it every time I give myself a manicure now and love the finish!
STEP 4: Apply 2 coats of your chosen color, letting each coat dry completely before applying the next. Be sure NOT to paint your skin!
STEP 5: Apply your top coat and then let dry for 5 minutes. Note: the clear/shiny topcoat that comes with the system is lovely! I also bought the “Matte Effect” top coat for a not-shiny finish and I love that, too, for a different look. I haven’t noticed a difference in how long my manicure lasts between the two. I’d say they’re even.
Dazzle Dry Lessons Learned:
- Don’t paint all the way up to your skin. I referenced this above, but this is KEY. If you’re having a hard time steadying your hand while you paint your nails, just remember that practice will help you get there. The ideal way to paint your nails is to completely cover each coat with the next, but not painting to your skin. You’ll want to end up with a slight gap between your skin and your polish. This will do two things: make for a very pretty manicure and prevent lifting later.
- Don’t skip the base coat warming step. I’ve done this a few times and, though it will apply evenly, my manicure doesn’t last nearly as long.
- Enclose your nail tips with polish. If your nails are long enough to do this, this step involves you painting across the very tip of your nail (the part that would tap on a keyboard). This also helps to prevent lifting later.
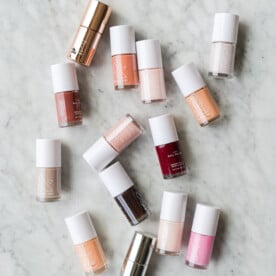
- Colors can sell-out. If your best friend raved about her favorite Dazzle Dry color and you can’t find it anymore, don’t fret. You’re not alone. Just go to the next closest one. I’ve found that the polish colors they have online with photos ON actual nails to be really helpful for figuring out how the color would look.
- Let each layer dry before you apply the next. If you’re in a rush, I get it, you need to get moving. The odds are that by the time you finish painting nail #10, your first will be dry. But in the off-chance that you’re the speediest manicurist ever, give it a minute to dry until it’s matte-looking (not shiny, obviously doesn’t apply to the top coat). This will help everything set and you get a more firm finish sooner.
Does it actually dry in 5 minutes?
I would NOT lie to you about this. The answer is yes, yes it does dry that fast. I can’t tell you how many times I’ve painted my nails 1 hour before going to bed only to wake up to sheet imprints on the polish. This is not the case with Dazzle Dry. Though I’d still be a little careful for about 30 minutes after your manicure (don’t go rummaging through a can of metal screws at the 5-minute mark), you CAN paint your nails and then go to bed without worry 5 minutes later.
Video
Frequently Asked Questions
While the manicure will last a full 2 weeks and a pedicure 3+ weeks, I’ve gotten a lot of questions about how long the SYSTEM will last. I’ll let you know when I finish one! I’ve been using my current system for 6 months and still have over half of the nail strengthener, base coat, and top coat left.
When writing this post, you can grab the system for $72. The system comes with the nail prep, the base coat, top coat, and polish-thinner (should you need it). I wouldn’t just buy a polish, without the rest of the system, and expect the same lasting results.
Individual polishes are priced at $22 each.
I’ve found that while my manicures last a solid 10-14 days (though I get color boredom at day 7 and often change then), my pedicures last 3+ weeks.
Troubleshooting Your Dazzle Dry Manicure
If you’ve found that your manicures aren’t lasting longer than 7 days, here are a few things to consider:
- Are you picking at your nails? No polish system can withstand picking.
- Are you painting too close to your cuticle? This will create a ridge and eventual air pocket that will cause the polish to lift.
- Are you following the steps as-written? Including the nail strengthener and warmed base coat?
- Did you possibly touch your nails after you applied the nail strengthener? I’ve found that when I run off to do something between that step and the base coat, my manicure doesn’t last as long.
How to use Dazzle Dry at YOUR salon.
One last thought. I’m a BIG fan of not having to go to the nail salon anymore. I’d gotten to a point that I really didn’t look forward to my every 2-week visit. I always felt like I was missing out on something (work or time with family) and didn’t enjoy breathing in all those chemicals. PLUS, the cost of a bi-monthly manicure and pedicure really adds up …money I’d rather spend on a monthly massage. THAT SAID, if you happen to *love* your time at the neighborhood salon (no shame, you do you!), then there’s a way you can bring your Dazzle Dry with you. It’s going to take you being a little bold, but you’ve got this.
- Ask your nail salon if they’d consider buying the system. If no, go to step 2.
- Buy the system and bring it with you.
- When making your appointment, give the salon a heads-up that you’re bringing your own nail system for them to use. Reassure them that it’s easy and you can walk them through the steps.
- Walk them through the steps! Easy peasy.
Note: the process is the same if you want to use safer products throughout your manicure/pedicure! When I was going to the salon, I’d bring my own scrub and lotion.
What are the best colors to start with?
If I were just getting started, these are the 4 colors I’d grab out the gate:
- “Prima Ballerina” – a very light/opaque pink similar to OPI’s “bubble bath.”
- “White Lightning” – for a true white.
- “Red Hot Chili” – a bright orangey-red.
- “Midnight Express” – a great true black.
We hope that this Dazzle Dry review has answered all of your biggest questions, we truly can’t recommend this non-toxic nail system enough!


This polish isn’t totally non toxic. It contains polyisobutyl methacrylate, a major allergen. I’ve been looking for a safe polish after having a terrible reaction to gel polish. I wouldn’t use this polish because it contains many ingredients that come with hazard warnings. I’m disappointed to see this polish advertised as non toxic.
You mentioned that previously you were using a dip powder for your nails. May I ask which system were you using and why you stopped it? I’m assuming nail damage, but am curious. I’m definitely not interested in all the steps required of the Dazzle system, plus I’m not very steady handed so I’m searching for something easier and super long lasting. Thx!
Hi Crystal! Cassy used dip powder at nail salons but was looking for a non-toxic option and stumbled across Dazzle Dry!
Hi! Would you feel comfortable using this nail polish on a small child as well?
Saw this product on the “Today” show and didn’t realize it had so many steps!,
Hi Karen, yes! There are several steps, but through our experience, it is still a really fast process since the polishes dry so quickly in between coats. -Team F&F
This polish peeled off my nails from the sides one day after it was applied . Not worth the money, sorry I bout the system.
We are so sorry that you had this experience, Nancy! We are happy to share tips and tricks we have learned along the way if you want to troubleshoot with us. -Team F&F
Thank you for this blog. I just purchased the system
Thank you for this blog. I just purchased the system
It is our pleasure! Hope you enjoy the system! -Melissa
Thanks for the great review. I just received my system and two colors, plus the mattifier today and can’t wait to use it! I’ve been letting my nails heal from all of the countless home gel manicures I’ve been giving myself. I learned about Dazzle Dry from a local nail salon that uses Dazzle Dry and other healthier options. So there are nail salons out there that do use and promote it! I would go to my local one more often, because I personally enjoy the experience there, but it is much more costly than doing it yourself.
Hi Diane! I am glad that you found the review helpful and hope that you love your Dazzle Dry system! ~Melissa
Hi, what color is the pink in this post?
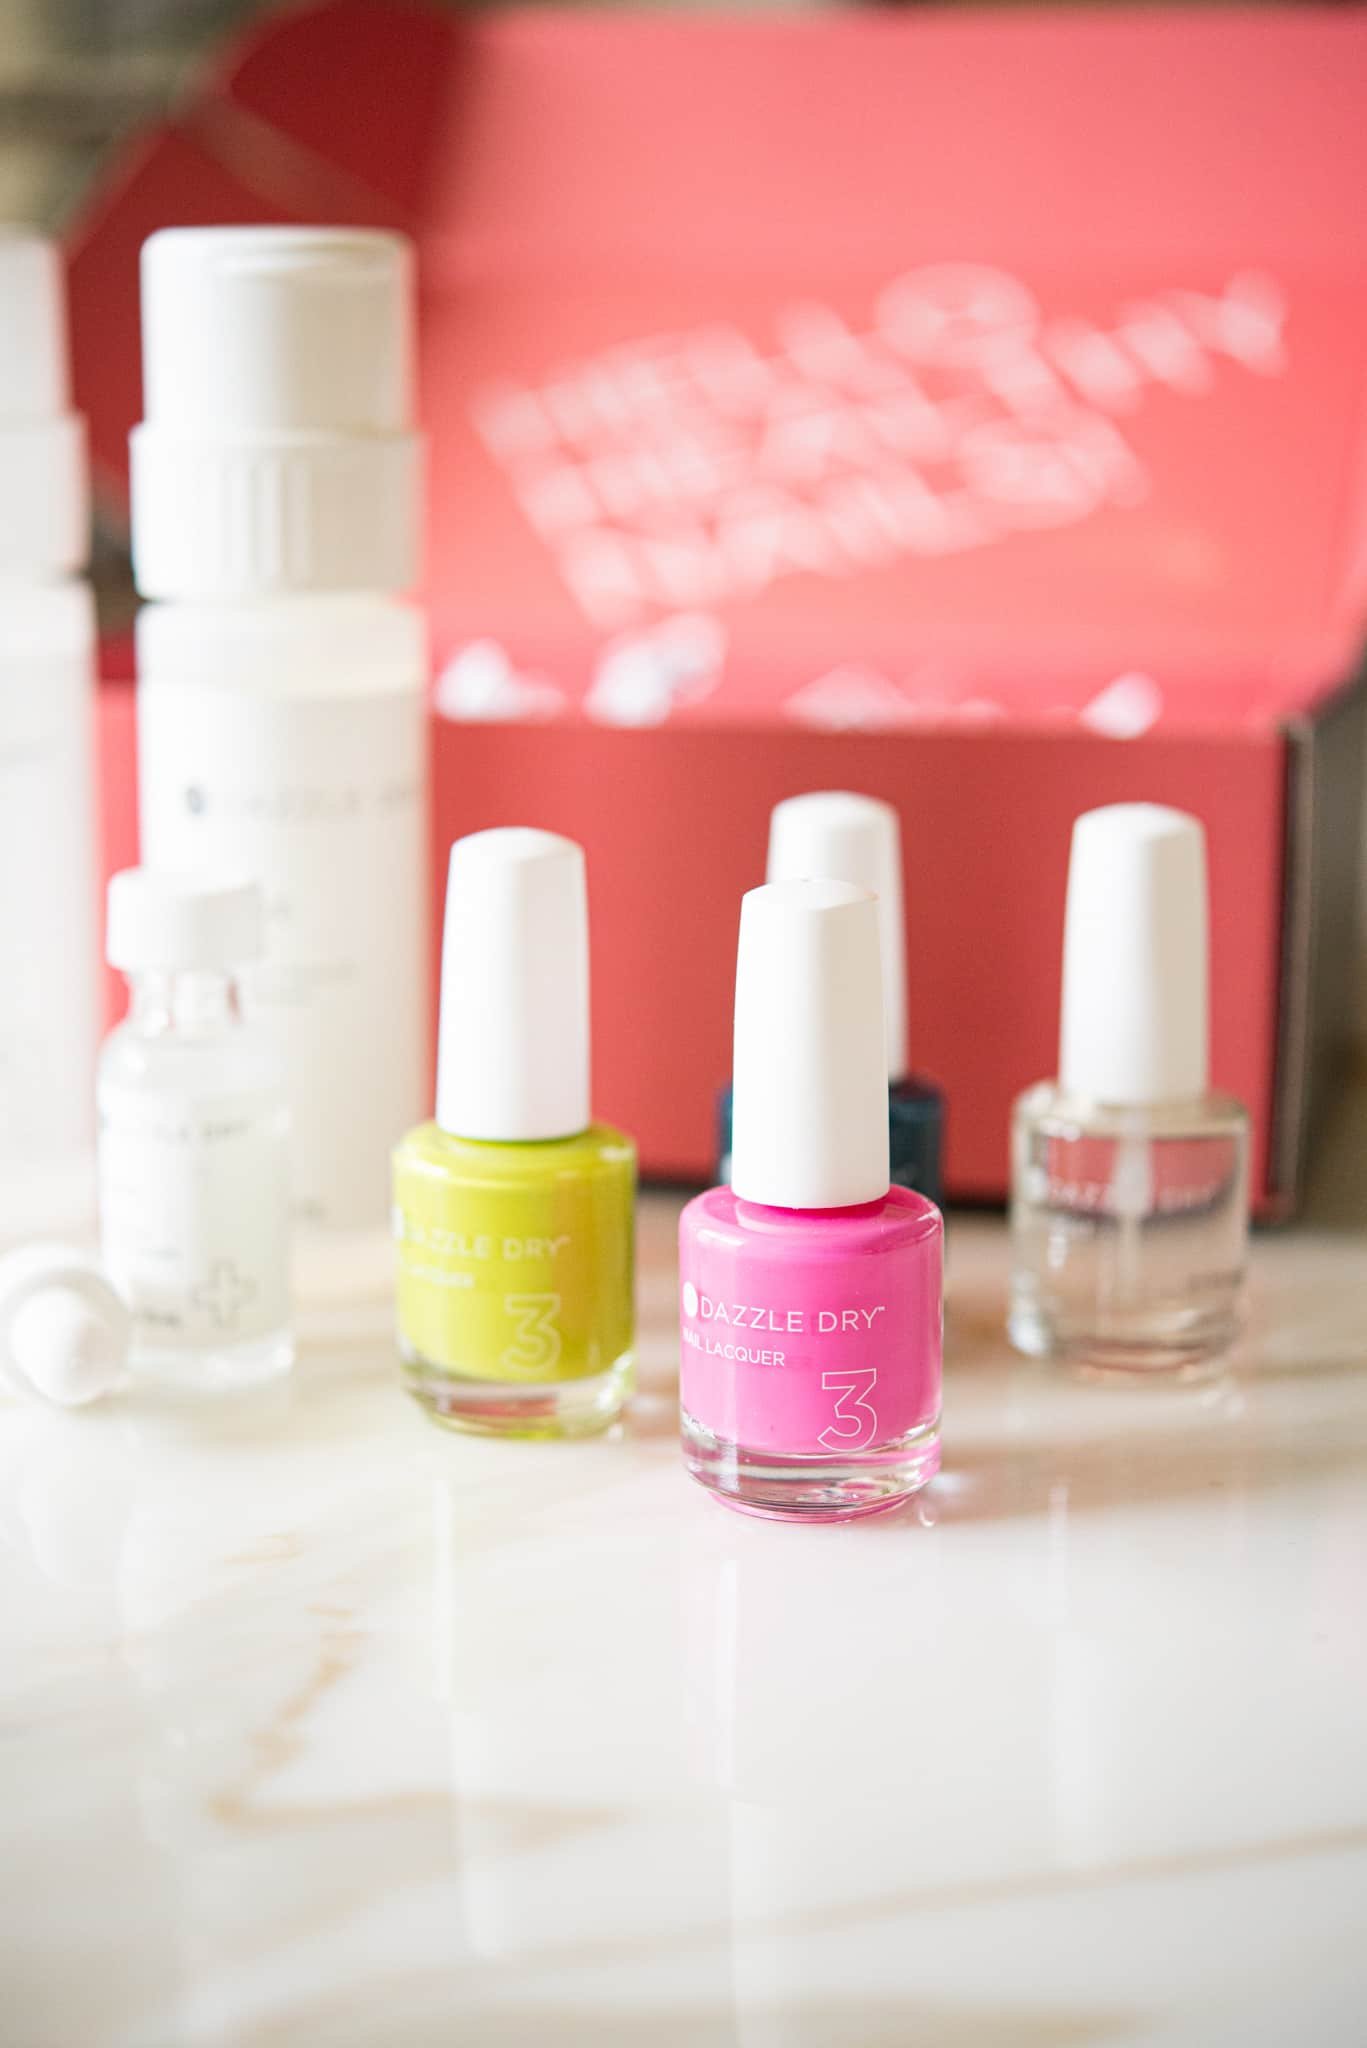
Hi! The pink color is Cherry Parfait.
Thank you for the review! This has been very helpful. I have been considering using this product on my clients. I already use Arbonne’s lotions and soaks so this will truly make the manicure/pedicure more pure, safe, and beneficial!
We’re so glad this was helpful, Susan! Dazzle Dry is the BEST!
I was wanting to try the system, but your code wasn’t working for me. Is it still a valid discount code?
No, it isn’t active anymore, KC. So sorry about that. I’ve removed it from the post!
Can this product be used with acrylic nails?
I’m not sure, Radd! You may check with Dazzle Dry customer service to see if they can help you with that!
I believe I read online that it is only for natural nails. I could be mistaken.
I order a lot of this system. The Metalic lasted great, The color polish color not so much. The third day I had chipping on three nails. Needless to say after spending so much money I want to know what went wrong. I followed the directions to a tee. Has anyone else experienced this. I am deciding if I should send it all back.
Oh no, I’m so sorry, Joanne. I actually use Dazzle Dry exclusively and haven’t ever had this problem. My polish lasts a good 3 weeks without chipping (though my nails grow out so anything past 3 weeks doesn’t look great because of that). It may be worth reaching out to Dazzle Dry to see if they can give you any advice – their customer service is great!
I have this on my nails now as my salon suggested it when I wanted a break from no chip polish but im hearing some horror stories about it causing peeling/thin nails. Debating taking it off now after just a few days as I’m very nervous about possible nail damage. Any tips for preventing damage with this system?
I’ve been using Dazzle Dry really consistently for quite a while now, Kate, and haven’t ever experienced nail damage! I just follow the system instructions!