Love chicken fingers? Love their crunchy outer, juicy inner, and oh-so-delicious taste that reminds you of childhood? I love them too.
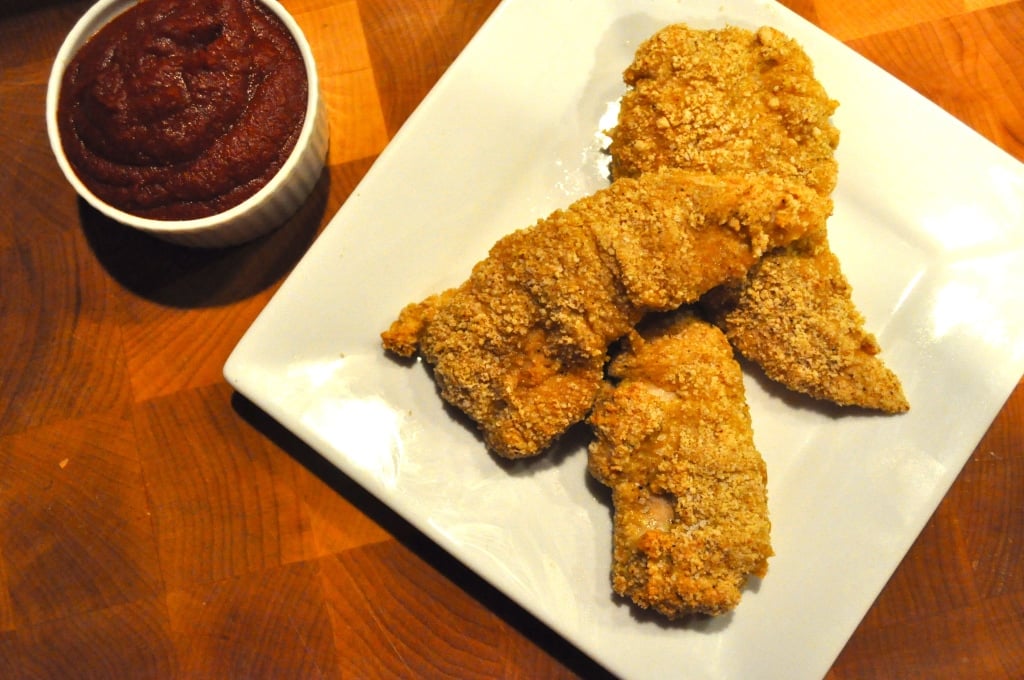
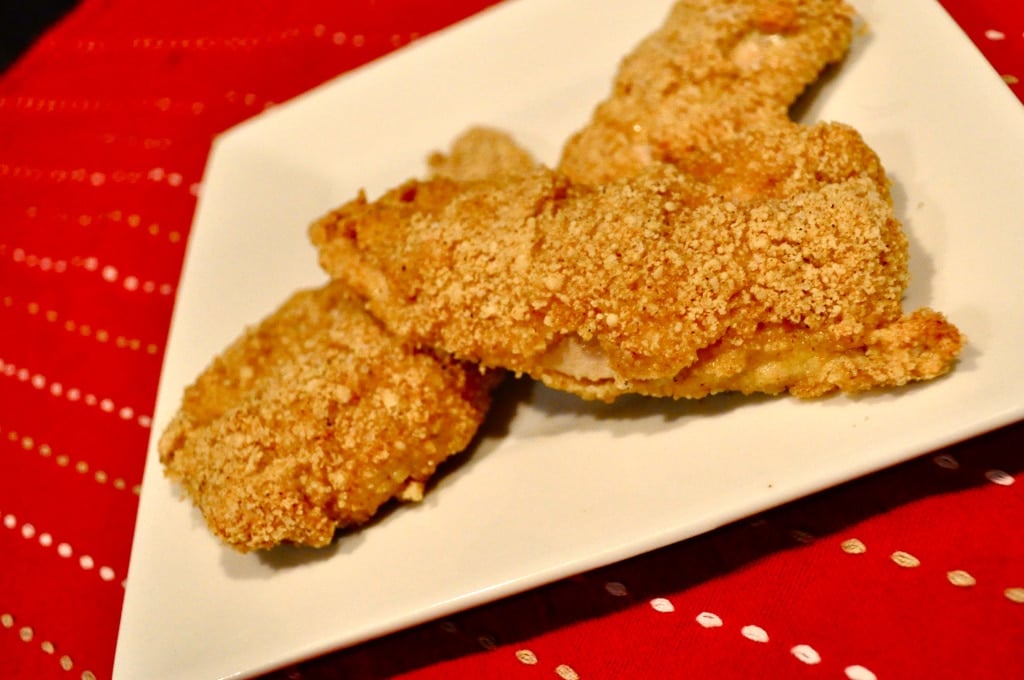
This is my recipe for breadless baked chicken fingers. Instead of bread, I used almond meal. I season the almond meal with what you would expect to find in normal breading but with a little added punch – I add hot smoked paprika for some adult flavor. If you’re making these for the kiddos, feel free to substitute with a less spicy substitute.
Complete the meal with sweet potato fries and homemade paleo ketchup!
Similar to the sweet potato fries, I bake these chicken fingers on a wire baking rack to ensure they become crispy on all sides without the risk of burning.
This recipe calls for dipping in the almond meal twice, like fried chicken, so that you get a thick, crumbly, mouth-watering crust.
Let your inner child out to play with this tasty meal that is sure to please the whole family.
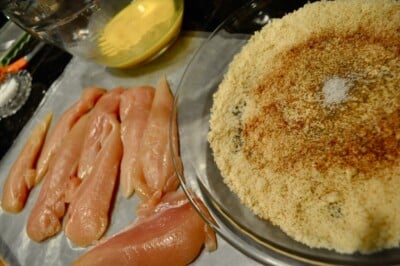
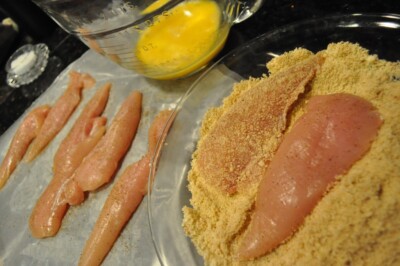
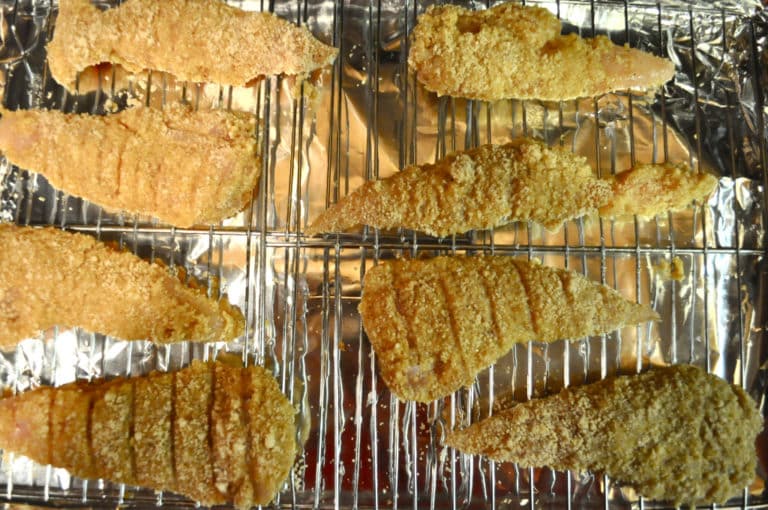
Paleo Chicken Fingers
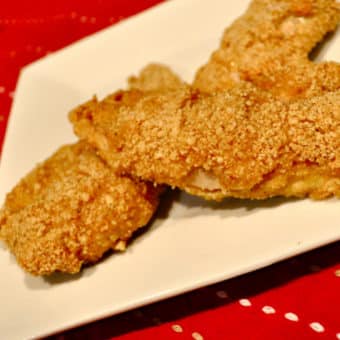
Ingredients
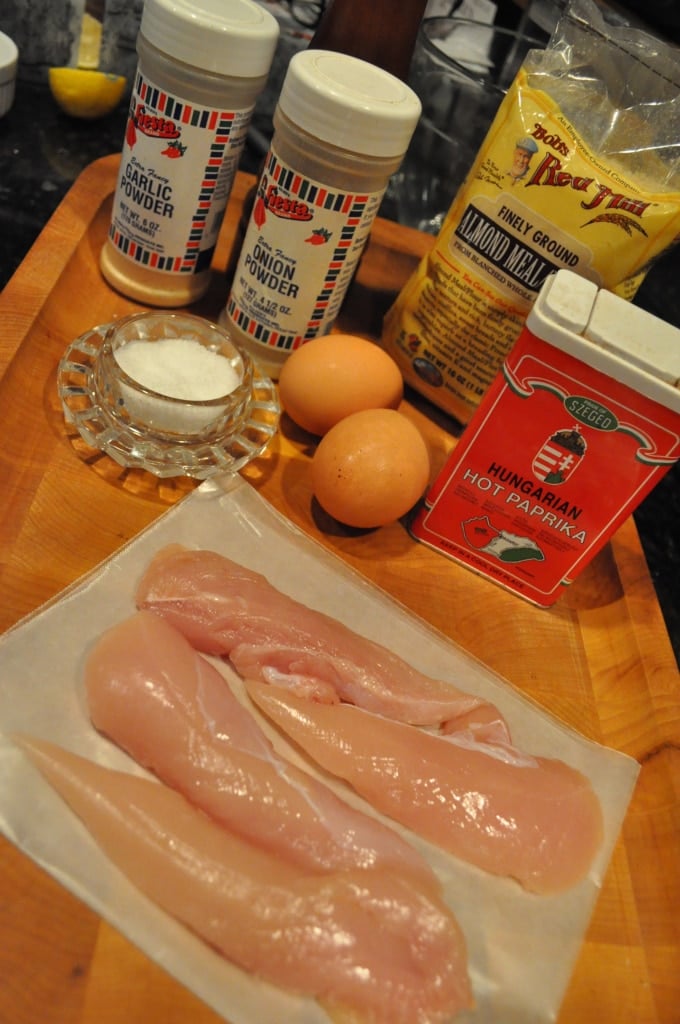
- 8 chicken tenders can substitute with chicken breasts cut into strips
- 2 eggs
- 1 1/2 cups almond meal
- 1 tablespoon garlic powder
- 1 tablespoon onion powder
- 1 teaspoon hot smoked paprika optional
- 1 teaspoon sea salt
- 1 teaspoon cracked black pepper
Instructions
- Preheat oven to 375 degrees.
- Line a baking sheet with aluminum foil and place wire baking racks on top.
- Crack eggs in a medium sized bowl and whisk until they’re evenly scrambled.
- In a pie pan or other flat dish, combine the almond meal, garlic powder, onion powder, smoked paprika, sea salt, and black pepper.
- Start by lightly seasoning your cleaned chicken tenders with the sea salt and cracked pepper.
- Lay them in the almond flour mixture and be sure they’re coated on all sides.
- Dip them in the egg wash.
- Finally, lay them back in the almond flour mixture for one more coating.
- Place the chicken on the wire baking rack.
- Bake for approximately 20 minutes
- Turn the heat up to 400 degrees and leave in for an additional 5 minutes.
- Be sure to check that they’re done then let sit for approximately 10 minutes.
- Serve and enjoy!


These taste great! Mine also stuck a little bit to the rack but nothing terrible. I should have broiled them towards the end too but I was too hungry. I used two large chicken breasts and it made about 7 tenders.
Glad that you enjoyed them Jenn!
Well… Not sure if we were supposed to spray the rack, but all the pieces stuck to it, so when we pulled them off, the bottom half of the crust stuck on the rack. Flavor was good, but just like most paleo, it was not crispy. I guess I just have to get used to that. Ours did NOT look like the pictures above. In fact, I ended up having to put them under the broiler for 8 minutes to brown them. I have a thermometer in the oven, so I’m sure the temperature was correct. Oh well. I didn’t LOVE them, but they were pretty good. One last thing, and this may be the reason… We had a lot more chicken than the 8 pieces in the pictures above. Some pieces were thicker too. Maybe that makes the cooking time longer. We’ll try this again sometime. Thank you!! 🙂
Thanks for trying them and for stopping by, Alfredo! You’ve now got me curious about how to multiply cooking time by ingredient amount. Thanks for the idea! Hope they work out better for you the next time.
Great suggestion, Cassy! I’ve had these on my mind since the post came out, and bought the ingredients yesterday to make them tonight! I’ll let you know how they turn out 🙂