I love pizza.
There, I said it. I love pizza! I don’t just kind of like it or kind of eat it when it’s available. I have a deep, meaningful, find any excuse to order it, eat ‘till it hurts, love of pizza.
Doesn’t everyone?
No? Well most everyone does. I bet.
I’m not really that big on melted cheese …so when I DO order a (non-paleo) pizza, I ask for as little cheese as possible. I really just want the crispy meats, sauce, and the crust. Oh, the crust.
New here? This may be a good time for me to explain again that I abide by the 80/20 rule of healthy eating {80% paleo and 20% non-paleo}. With the exception of the final stretch of my current 45-day Paleo Challenge, my 20% non-paleo usually revolves around pizza, cocktails, and “recipe research” desserts. I don’t know if I’m fooling anyone with that last one.
Anyhew, I eat a lot of paleo-ized pizzas. I’ve tried crusts made from meat (aka the famous meatsa), crusts made of kale, and crusts made of almond flour. They’re all good, but my favorite so far is the cauliflower crust.
Like all things worth having, cauliflower pizza crust is a labor of love. Don’t get me wrong, it’s a simple process …but it’s definitely more involved than calling in a pizza delivery.
What goes on your beautiful little cauliflower pizza crusts? Paleo Pesto, of course!
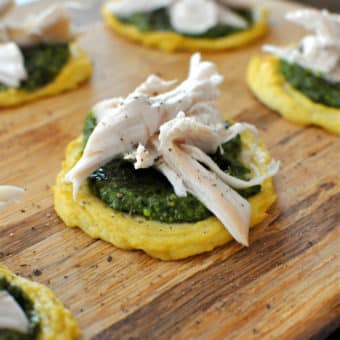
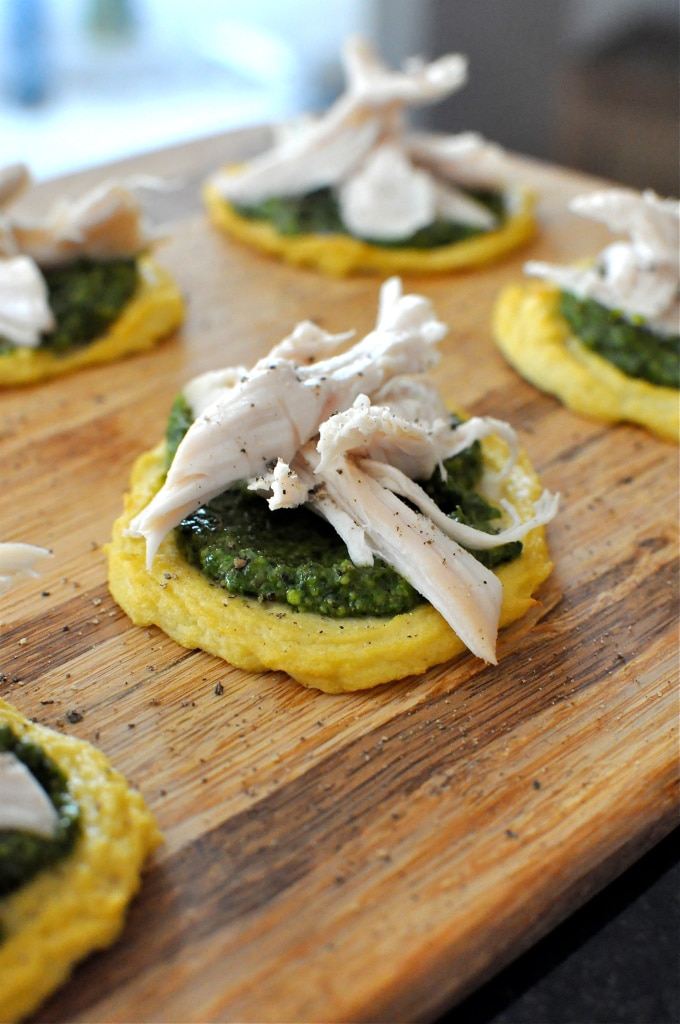
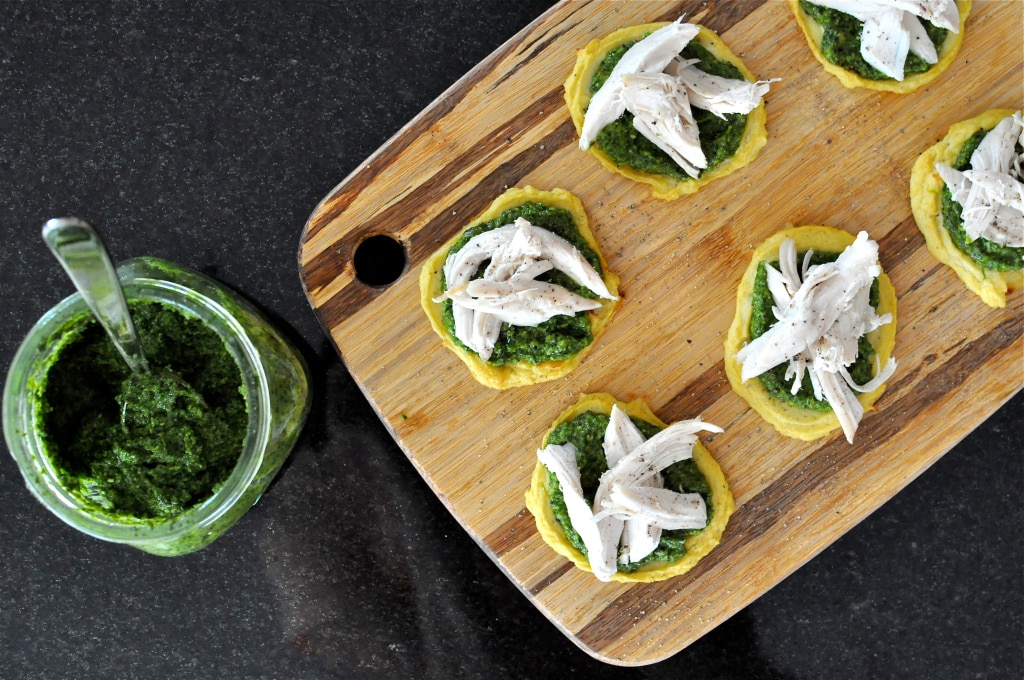
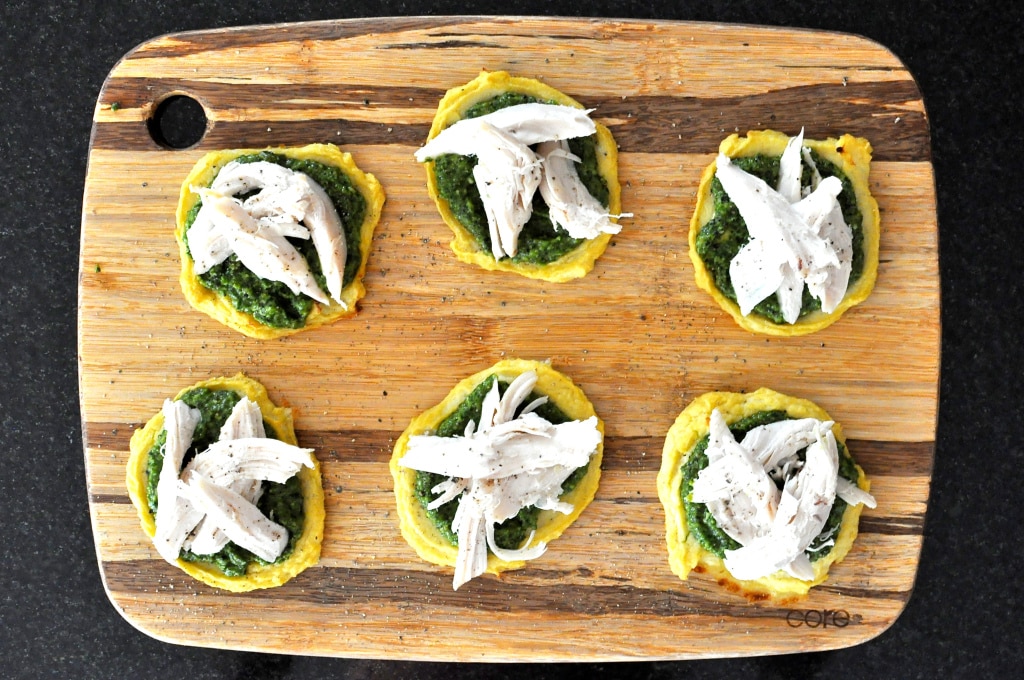
What goes on top of the Paleo Pesto? Shredded chicken! Duh. You can either quickly pan-sear some chicken tenders in salt, pepper, and ghee (or coconut oil), chop and then use OR you can be lazy like me and grab a rotisserie chicken from the grocery store. Step 1: shred. Step 2: eat. Simple and delicious.
These little bites are SO tasty. You can either serve them up as a major crowd-pleasing paleo appetizer or plate up 6 (or so) for a healthy meal disguised as a naughty pizza.
I’ve now served these pizzas to my Elite CrossFit 45-Day Paleo Challenge family, my work family (day-job), and Gus. Everyone loved them. Enjoy!
First off, let’s chop cauliflower. Make sure you leave as much stem behind as possible. Steam the cauliflower for about 10 minutes. Transfer to a food processor. Run the food processor until it looks like this.
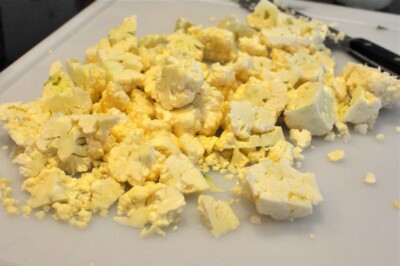
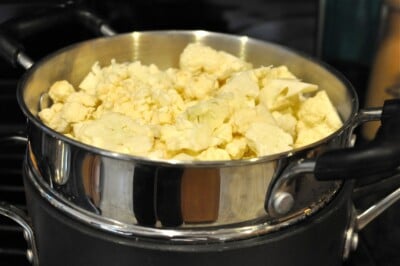
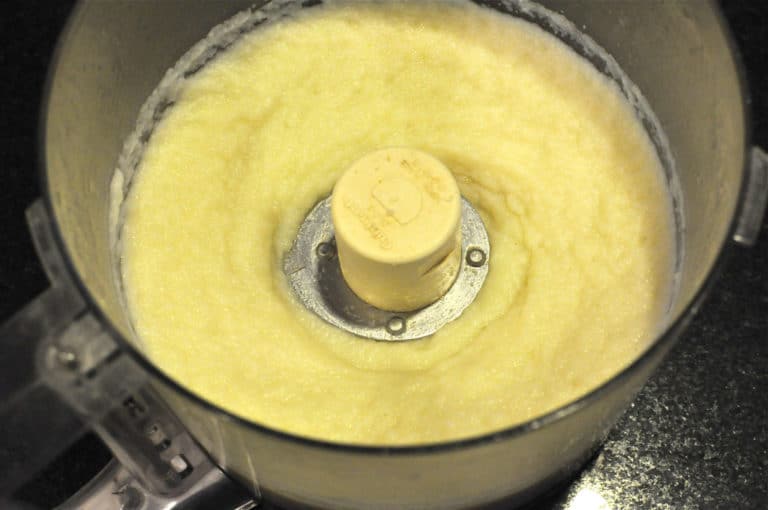
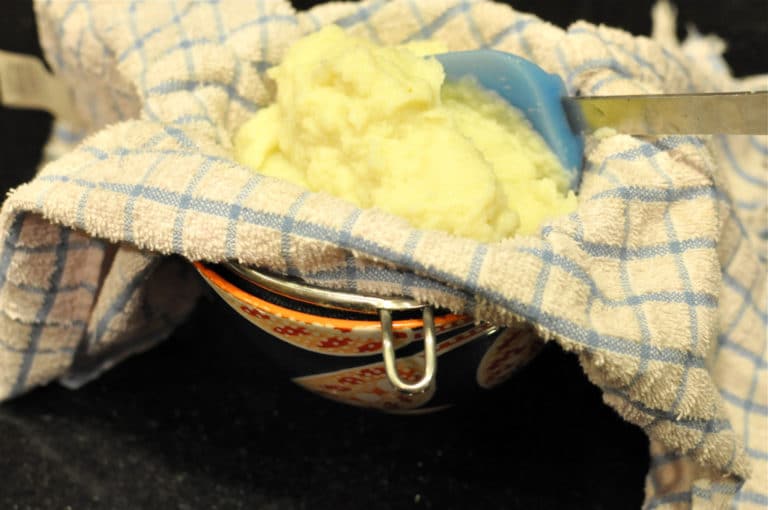
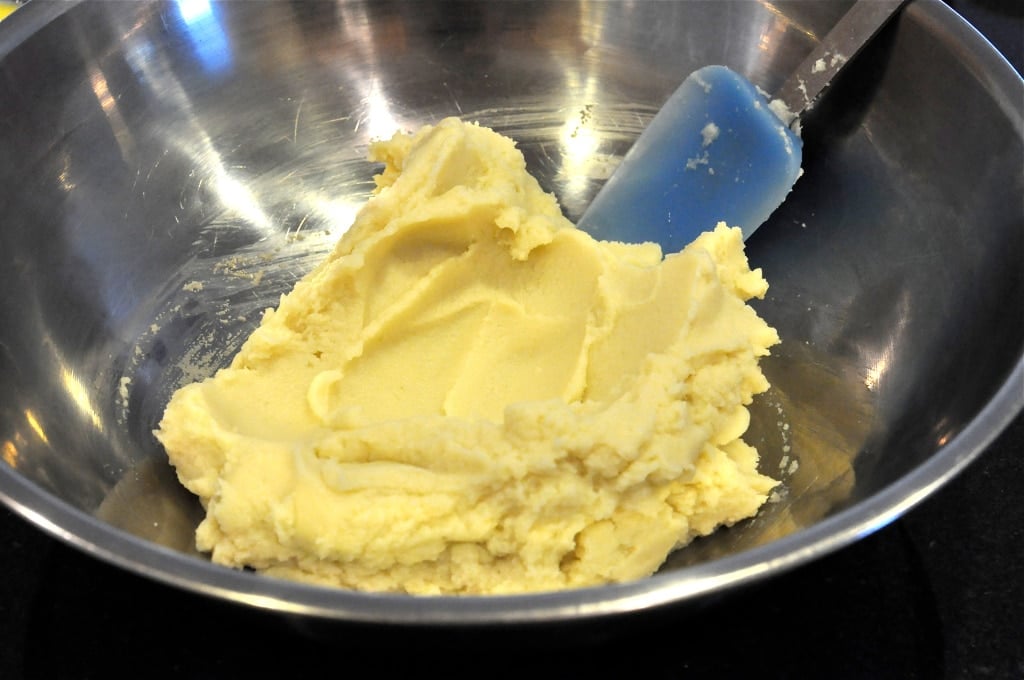
Now, you have a choice. You can either proceed straight to the straining step and possibly burn your hands or you can wait one more day, let the mashed cauliflower cool in your fridge, and safely handle the next day. I’ve done it both ways. In this picture example, I’m going with the longer, less burnt hands, process. Put a mesh strainer over a bowl, cover with a kitchen towel, and fill with the cauliflower mash. Let it sit like this in your fridge over night or until it cools. This will allow some of the excess water to passively seep out saving you some work later. Next, let’s strain. Wrap your kitchen towel around the mashed cauliflower (smaller spoonfuls at a time work best) and squeeze out as much water as possible. Getting rid of the moisture is important. Now would also be a good time to preheat your oven to 350 Fahrenheit. Because I was cooking for an army, I started with 4 heads of cauliflower and yielded 1 ¾ cup of excess water. Meaning, if you’re using the recipe below, you should get close to ½ cup of water from your one head.
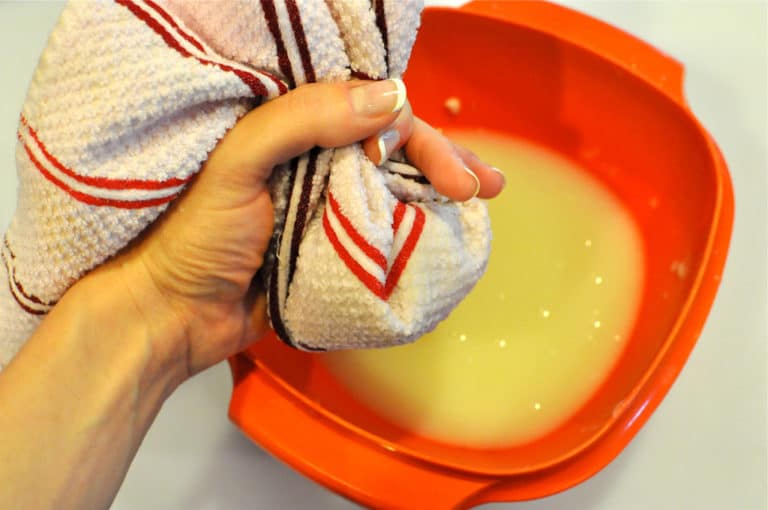
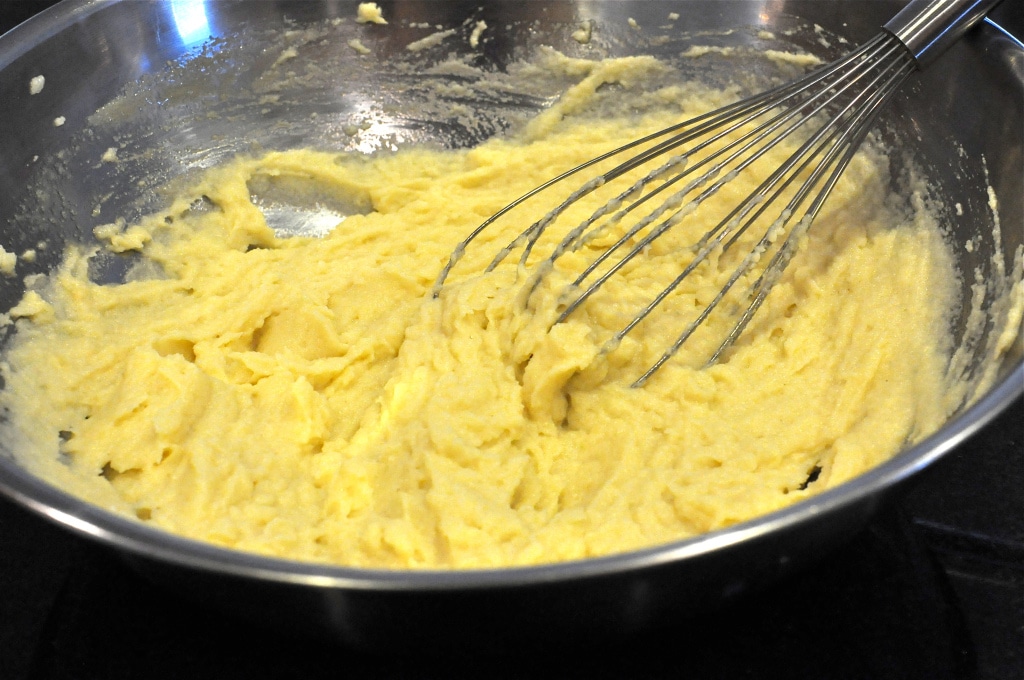
Transfer your now dehydrated cauliflower to a bowl and marvel at your hard work. Whisk your egg(s …if you’re making a larger batch). Add in the kosher salt and whisk again. Pour the egg & salt into the cauliflower. Whisk until evenly combined.
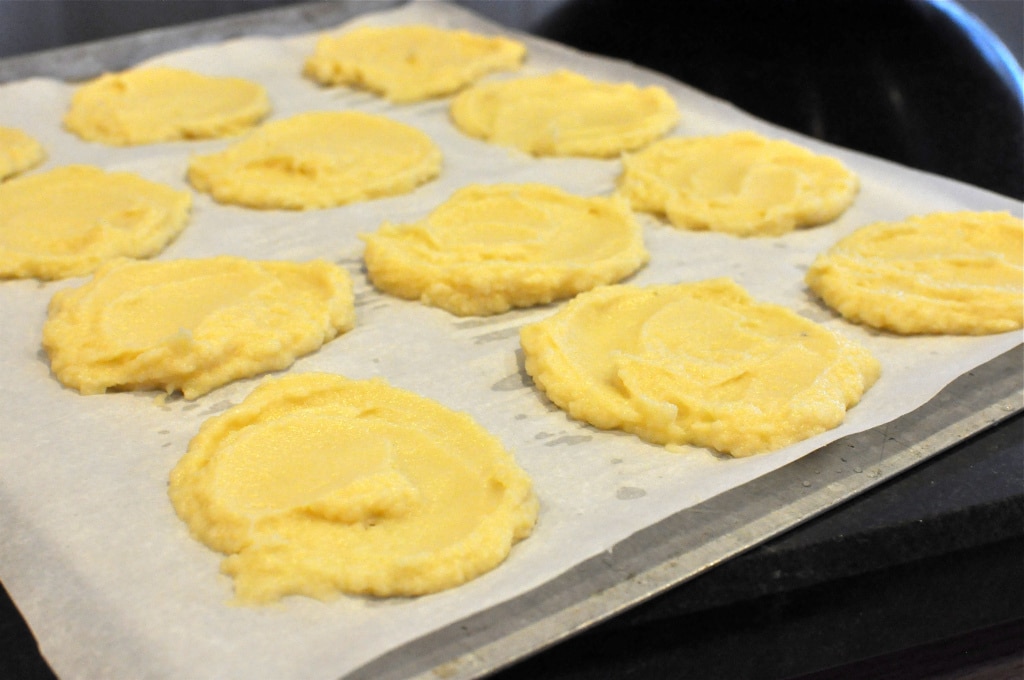
Spoon about 1-2 teaspoon of the mixture onto a parchment-paper lined baking sheet. Smear them into small discs with the back of a spoon or rubber spatula. They should look something like this. Bake at 350 Fahrenheit for 20 minutes or until the edges have turned slightly brown. If they’re not brown yet, continue baking and check back often (about every 2-3 minutes). All ovens are different so you may have to do some tweaking here.
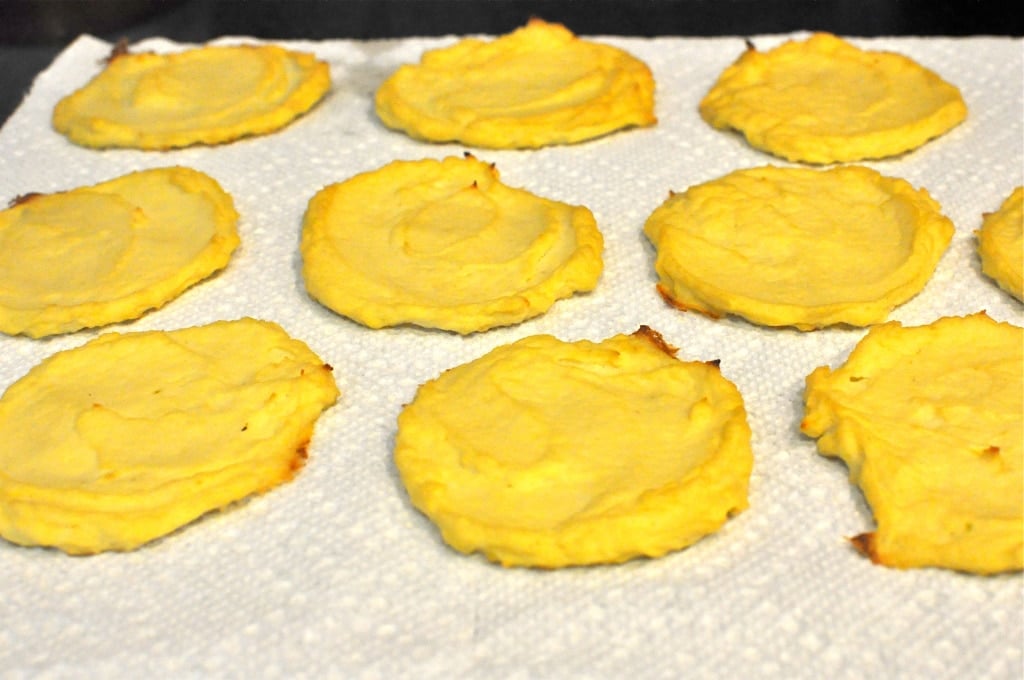
Let the crusts cool on the parchment paper before you try to move them. They’ll stick if you move them too quickly. After they’re cooled and not sticking to the paper, transfer them to a paper towel so you can absorb any last moisture possible.
Note: The crusts stick together but are not crispy/turgid. I still think you’ll love them.
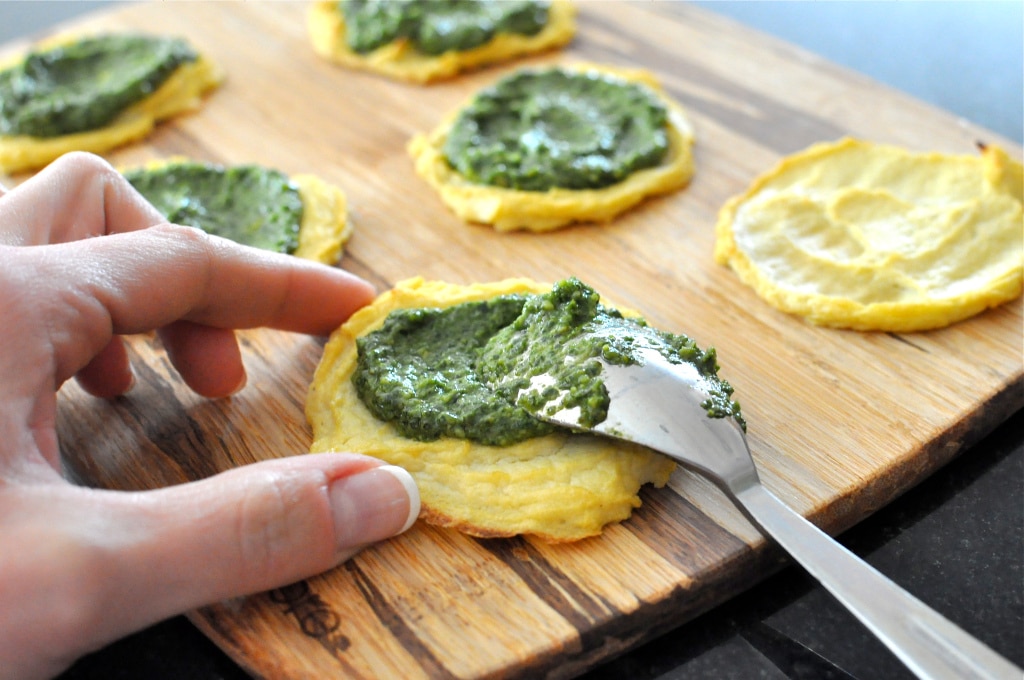
Now, the fun part! Smear with as much Paleo Pesto as you like.
Top with chicken, a sprinkle of salt, and a dusting of pepper. Feel free to pop these back in the oven for a quick 1 or 2 minutes to heat everything through again. I’m usually too hungry and too impatient for that step.
Mini Paleo Chicken Pesto Pizzas
Ingredients
- 1 Head Cauliflower
- 1 Egg
- 1/8 teaspoon Kosher Salt
- 3 tablespoons Paleo Pesto
- 1/2 pound Chopped/Shredded Chicken
- Salt & Pepper to Taste
Instructions
Previous Night Prep
- Chop cauliflower head and dispose of the stems.
- Steam the cauliflower for 10 minutes.
- Transfer to a food processor {or blender} and blend until smooth.
- Place in a towel, sitting in a strainer, sitting in a bowl over night so that it may cool and passively drain some liquid off.
Current Day
- Preheat oven to 350 degrees Fahrenheit and line a couple baking sheets with parchment paper.
- Wrap small portions of the mashed cauliflower in a kitchen towel and squeeze out as much liquid as possible. For one head of cauliflower, you should get almost ½ cup of water.
- Whisk the egg and salt together.
- Add the egg and salt to the strained cauliflower and whisk together until smooth.
- Spoon 1-2 teaspoon dollops of the cauliflower mixture onto the parchment paper-lined baking sheet. Flatten into small discs with the back of a spoon or rubber spatula.
- Bake at 350 for approximately 20 minutes or until the edges start to brown. If they’re not done after 20 minutes, continue cooking for additional 2-3 minute increments.
- Let cool completely on the parchment paper before you move them.
- After they’ve cooled, transfer to sit on paper towels to absorb any last remaining moisture.
- Smear each crust with pesto, top with chicken, and sprinkle with kosher salt and cracked pepper.
- Either plate immediately or place the finished pizzas back in the oven for another 1-2 minutes to warm up.
- Enjoy!


We have loved this recipe since last May when I found it while doing my first Whole30. It is a total family favorite and is the only reason my hubby gets giddy when I tell him I am starting a new round of Whole 30. Got a round of crusts in the oven now for dinner tomorrow night and he is beyond excited! And I’d be lying if I wasn’t too! 🙂
Thanks for this amazing recipe!!
me gustaría, si puede ser posible, la traducción de esta receta. Muchas gracias
Can’t wait to try this! I featured your recipe in my weekly meal plan this week too. https://sassymomsinthecity.com/real-food-recipes-round-up-weekly-meal-plan-november-16th/
Thank you!
Cassy, can you freeze the crusts after baking?
Possibly! I haven’t tried to freeze them, but can imagine it’ll work just fine. I would recommend you separate each by a layer of wax or parchment paper.
Cassy, I am a recent paleo convert (2 weeks) & I am missing pizza very much. Is that large pizza dough idea ready yet? Lol! Cant wait to try these in the mean time. =) thanks for posting!!
Haha it is! I’m saving it for a special project, though. I’ll be sure to broadcast when it’s available!
When I went to strain the cauliflower, it seeped through the towel.
Were you using a special kind of towel?
I will sometimes double-up on my thin kitchen towels but have the most luck with thick towels. Squeezing slower will help reduce the amount that may come through. Hope that helps!
Could you make these Into bigger pizza disks or will it not cook right?
I’m afraid they won’t stick together well. I’ve got a large pizza dough idea in the works – stay tuned!
Holy Moly!
You are my new favorite person. And this is the greatest blog ever!
I happened upon you a few weeks ago – a family member posted your stuffed avocado recipe to facebook.
Tried it. LOVED IT.
Then I cyber stocked you and all your recipes. I’ve made the breakfast casserole thing – YUM.
The cauliflower rice – LIFE CHANGING.
And now I made these pizza’s last night. Oh My God they were soooooo good!
So I just wanted to stop in and finally let you know how utterly amazing you are.
Haha hi, Sarah!! Your comment totally made my day. XO
If you wanted to make extras, how do you store them?
I would store all the components separately. Layer the pizza crusts between pieces of parchment or wax paper. Hope that helps!
Nice work, will give it go! Great post.
Thanks!! I’d love to know how they turn out after you give it a try.
Yum, these look absolutely scrumptious! Pesto + bite sized pizza would make a perfect patio appetizer. You take beautiful, clear pictures as well!
Alicia
Thank you, Alicia!! I agree. They are a perfect patio appetizer 🙂