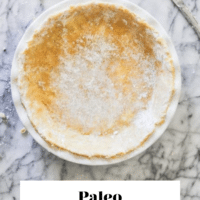
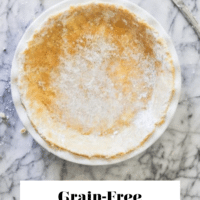
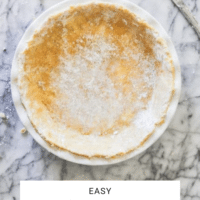
Today we’re bringing you our ultimate guide to gluten-free pie crust! We’ll walk you through step-by-step instructions for a gluten-free, egg-free, nut-free version so you can enjoy, tender, flaky pie crust no matter your dietary restrictions.
It is officially pie season, we have pretty much made it our mission in life to create the perfect pie crust for all of your holiday baking needs. Today, we’re bringing you a perfected egg-free, nut-free pie crust (with dairy-free substitution options) that is absolutely delicious, and if you’re looking for a paleo(ish) crust (we used grass-fed butter because we are definitely team butter), here’s my paleo pie crust recipe.
Crafting the perfect pie crust is a science y’all. More often than not, a truly rich and rustic pie crust recipe is one that has been passed down for generations as a family secret. There are tons of “tips” to get the ideal crust too! Anywhere from the temp of your butter, how to cut it into the flour, how long to refrigerate it for, or what type of water to use, depending on who you ask you’ll get a different “swear by” recipe.
Not to mention most of those tips are for creating a pie crust that uses gluten as an essential ingredient to create the right texture and look. So, you can imagine that developing our original homemade wheat-free pie crust was a challenge that was gladly accepted, and NAILED after about 11 tries (we are very determined)!
What makes this the best gluten-free pie crust?
This crust is the golden child for those of us that really need egg-free, nut-free (and potentially dairy-free) options to feel our best. Here’s what makes it the best gluten-free pie crust out there:
- It’s Easy – this crust is surprisingly simple to make (or as easy as pie crust can be!). We chose to use a hand method to cut the butter/flour, making it really easy to create with minimal steps (always a bonus!).
- It’s Forgiving – if the dough cracks while you are shaping it, no worries! You can easily pinch it back together.
- It Rolls Out Beautifully – this pie crust rolls out beautifully and is much less finicky than many pie crusts tend to be.
- It Doesn’t Crumble – this is important! Another reason this crust is so great is that it doesn’t crumble when you cut a slice of pie – HALLELUJAH!
- It’s Flaky + Buttery – when it comes to pie crust, does it really get any better than flaky and buttery? In my mind, those are two essential pie crust qualities.
Gluten-Free Pie Crust Ingredients
This crust calls for just a few ingredients, many of which you may already have on hand! Here’s what you’ll need:
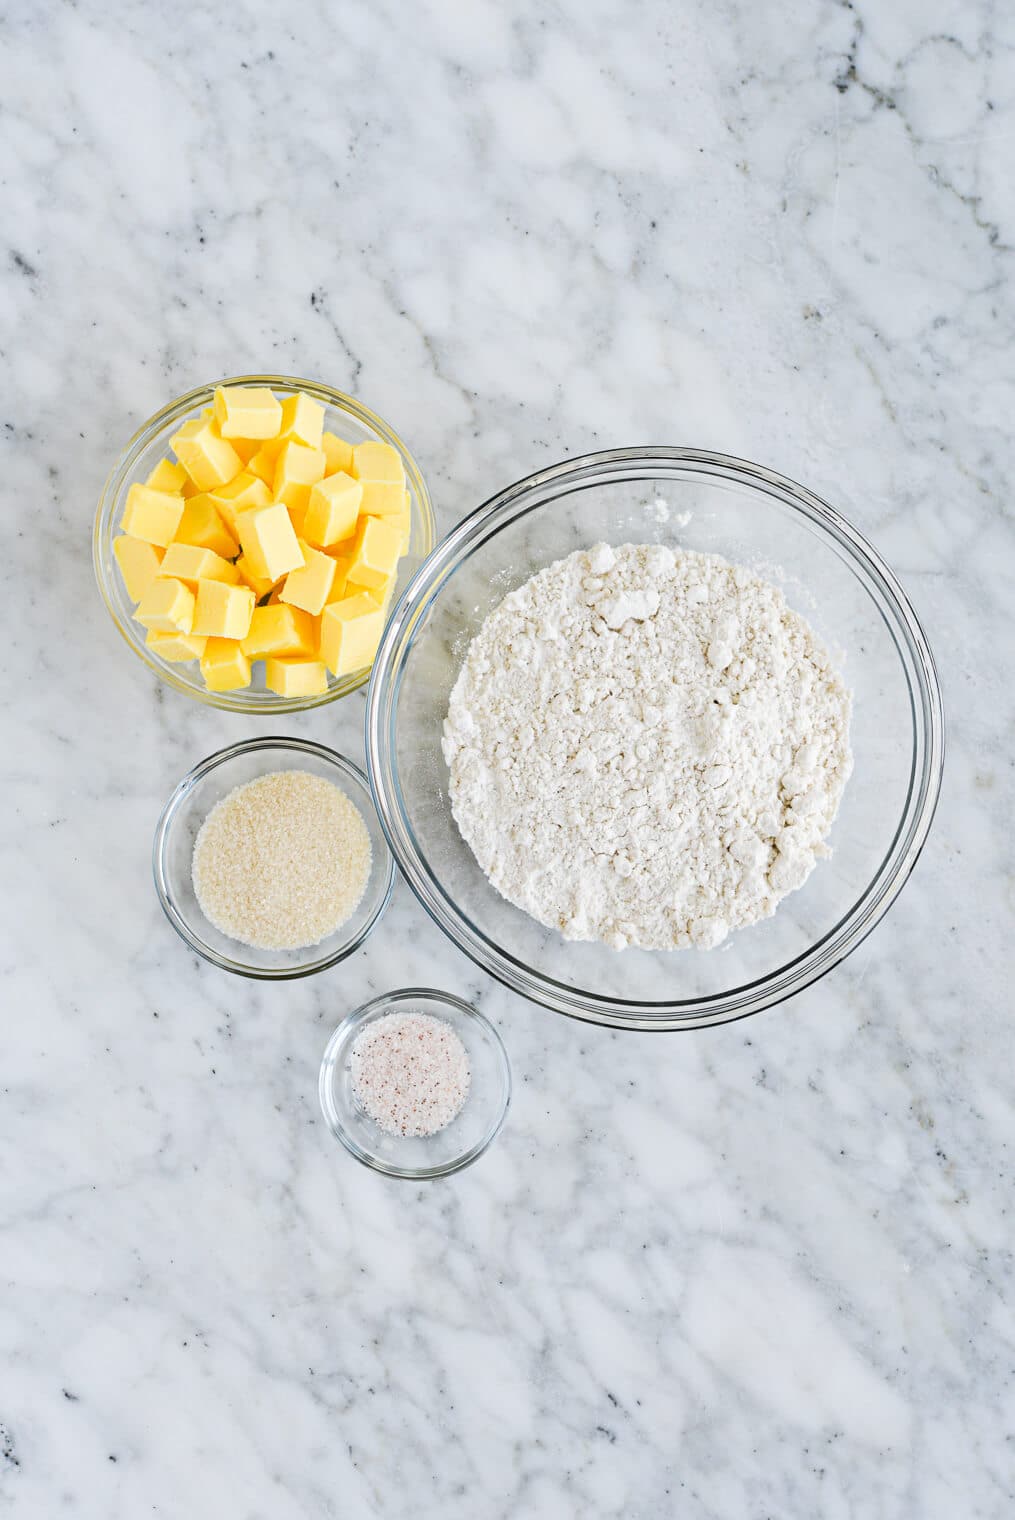
- Chilled Butter – butter is an essential pie crust ingredient. For this recipe, you’ll need 8 tablespoons of butter, cut into ½-inch chunks. You’ll need to make sure that your butter is chilled for this!
- Gluten-Free Flour – you’ll also need 1 cup of gluten-free flour + a little bit extra for dusting.
- Coconut Sugar – 1 tablespoon of coconut sugar adds a hint of sweetness to the crust without being too overpowering, and…
- Sea Salt – …1 teaspoon of sea salt counters the sweetness just a bit and adds a great depth of flavor.
- Ice-Cold Water – lastly, you’ll need 2–4 tablespoons of ice-cold water.
What is the best flour for gluten-free pie crust?
Our favorite gluten-free flour blends are Bob’s Red Mill 1-to-1 gluten-free flour and King Arthur Measure for Measure GF flour. These are our tried-and-true all-purpose gluten-free flour brands, and what we use to create all of our flour-containing recipes!


How to Make Pie Crust
Though 7 steps may feel daunting, know that each step is super manageable, and you can totally do this! Here’s how you’ll bring this GF pie crust together:
- Whisk Together the Flour, Sugar, and Salt – in a large bowl, whisk together the flour blend, coconut sugar, and salt.
- Add the Butter – once the flour mixture is fully incorporated, add the cubed, chilled butter and work it into the mixture either with your hands or with a pastry cutter, until it forms a fine crumb.
- Add the Ice-Cold Water – add the cold water in one tablespoon at a time until the dough begins to hold together. When you can pinch the dough between your fingers and it flattens instead of crumbles, you’ve added enough water.
- Form + Refrigerate the Dough – form the dough into a ball and place it on a piece of plastic wrap, then flatten it into a disk and wrap it with the plastic. Refrigerate the dough for 1 hour (you can leave it up to a day if needed), until it is slightly hardened.
- Let the Dough Sit – after the pie dough has chilled for an hour, let it sit out on the countertop for about 10 minutes so that it becomes pliable and easy to work with again.
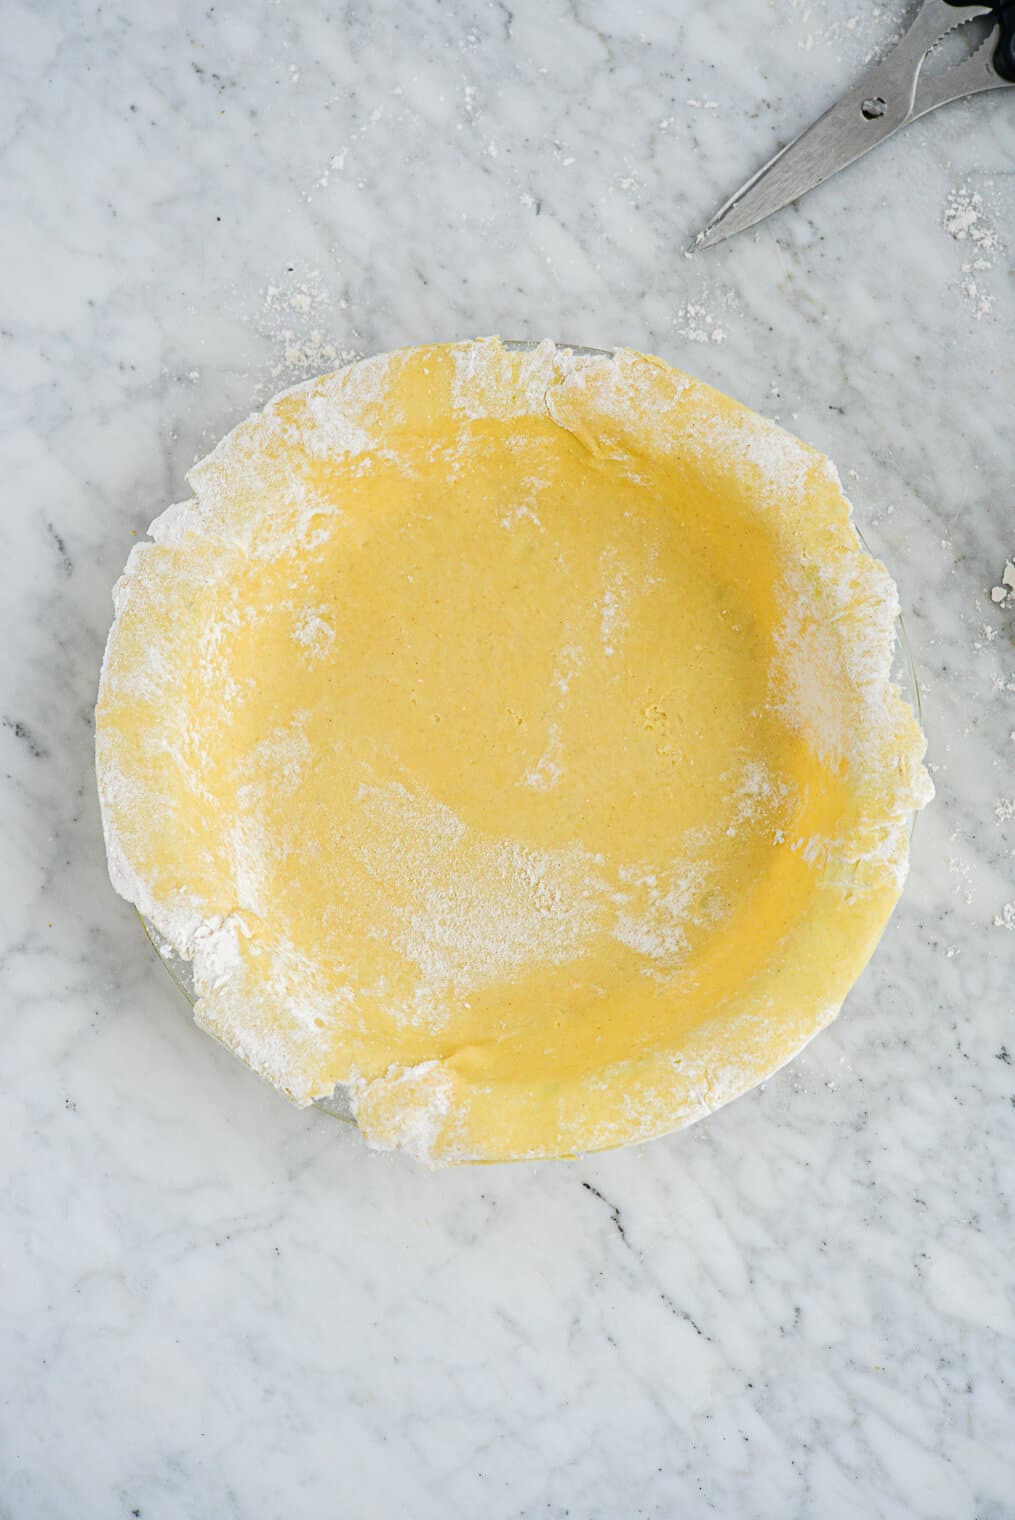
- Roll Out the Dough – place a large sheet of parchment paper on your countertop, and sprinkle about 2 tablespoons flour on it. Then, place the dough on top and sprinkle additional on top of it. Using a rolling pin (or wine bottle, cylindrical jar, or another similarly shaped object), begin to roll it into a round ⅛-inch-thick disk. If the dough starts breaking on you, form the dough back into a ball and add one more tablespoon of cold water, then roll out again, making sure it is smooth. If you have any one-off cracks in the dough, simply pinch them back together and apply a touch of water if needed.
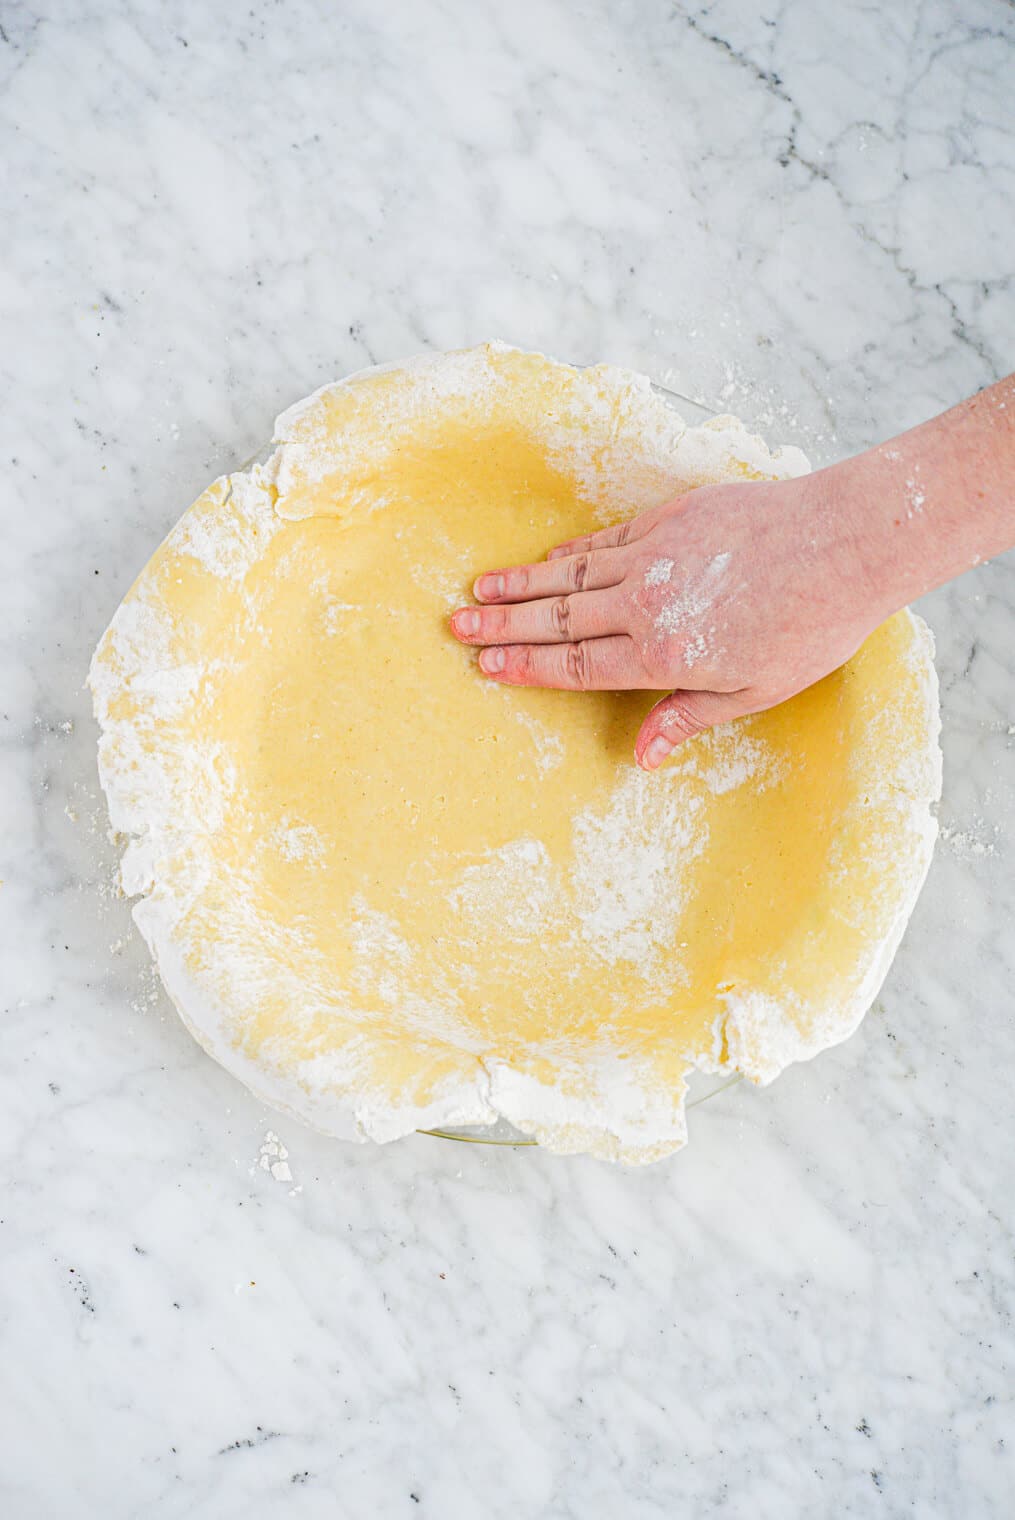
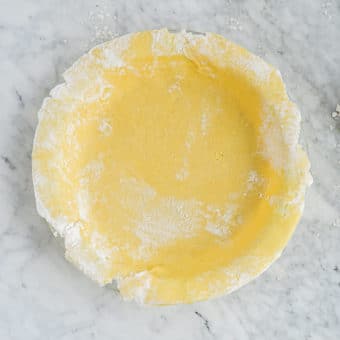
- Flip the Crust into a Pie Pan – carefully flip the crust into a pie pan, mend any cracks by pinching them together, and trim off any excess crust, then follow the pre-baking/baking oven instructions included with your pie.


Tips for Making the Best Pie Crust
- You’ll know the pie crust has enough water when you squeeze a piece of dough between your fingers and it doesn’t crack around the edges.
- The dough may seem a bit wet when you first make it, but don’t worry – it will firm up in the fridge!
- If you are having trouble with the dough cracking when you roll it out, add more water 1 tablespoon at a time. You can also easily pinch the cracks back together!
- The most foolproof roll out method I’ve found is to roll the dough out onto a floured piece of parchment paper, then slide a sheet pan or even a piece of cardboard underneath, place the pie pan on top, and flip!
- For long-bake pies (like our perfect pumpkin pie), I recommend covering the edges with a pie shield or pieces of aluminum foil. For shorter bakes, keep a close eye on the crust and cover it if it starts to get too brown.
- You can leave out the sugar if you’re baking savory pies!
- If you’re making single-crust pies, you’ll just need one crust per pie, and if you’re making a double-crust pie, you’ll need 2 crusts per pie!
Can this pie crust be made dairy-free?
It can! To make this crust dairy-free, just use dairy-free shortening or solid coconut oil in place of the butter.
Can you freeze gluten-free pie crust?
You definitely can. You can either freeze the dough in a disk, then defrost in the refrigerator overnight before rolling it out and using it, or you can go ahead and roll it out and then freeze it in a pie tin and bake it directly from frozen!
How to Use Gluten-Free Pie Crust
There are so many ways to use this wonderfully flaky gluten-free pie crust recipe! Here are a few of our Fed + Fit website favorites:
- Pumpkin Pie – classic, right?!
- Dutch Apple Pie – swap the grain-free crust in this apple pie recipe for this gluten-free crust if you’d like, and then enjoy a warm slice of apple pie with a scoop of ice cream on top!
- Sweet Potato Pie – made with healthy, real foods, this delicious pie is silky smooth and will become a staple on your family’s holiday table!
- Turkey Pot Pie – is there anything more comforting than a good ole turkey or chicken pot pie?
We hope that this homemade gluten-free pie crust option really alleviates the stress of having to navigate tricky holiday gatherings with food sensitivities!
Homemade Gluten-Free Pie Crust
Ingredients
- 8 tablespoons butter cut into ½ inch chunks and chilled*
- 1 cup gluten-free flour blend
- 1 tablespoon sugar
- 1/2 teaspoon sea salt
- 2-4 tablespoons ice-cold water
- Additional flour for dusting
Instructions
- In a large bowl, whisk together the flour, sugar, and salt. Once fully incorporated, add the butter and work it into the mixture either with your hands or with a pastry cutter, until it forms a fine crumb.
- Add the water in one tablespoon at a time until the dough begins to hold together. When you can pinch the dough between your fingers and it flattens instead of crumbles, you’ve added enough water.
- Form the dough into a ball and place on a piece of plastic wrap, then flatten it into a disk and wrap it with the plastic. Refrigerate for 1 hour (you can leave it up to a day if needed), until the dough is slightly hardened.
- Let the dough sit out on the counter top for about 10 minutes so that it becomes pliable and easy to work with again.
- Place a large sheet of parchment on your counter top and sprinkle about 2 tablespoons flour on the parchment. Place the dough on top then sprinkle additional flour over top. Begin to roll into a round 1/8th inch thick disk. If the dough starts breaking on you, form the dough back into a ball and add one more tablespoon cold water, then roll out again, making sure it is smooth. If you have any one-off cracks in the dough, simply pinch them back together and apply a touch of water if needed.
- Carefully flip the crust into a pie pan, mend any cracks by pinching them together, and trim off any excess crust, then follow the baking instructions included with your pie.


I made 4 of these crusts for Thanksgiving (it’s possible I went overboard on pies), and all 4 crusts turned out perfect. I did all quantities as written, using Bob’s Red Mill 1 to 1 gluten free flour. I pulsed mine in the food processor and it worked great (just make sure your butter is nice and chilled – I kept mine in the freezer until I was ready – and pulse to make sure the mixture doesn’t get warm from the motor). My non-gf parents and inlaws said it was great (without prompting).
NOT possible to have too many pies, Diana!!! Haha! AND unprompted?!?! Amazing!!! We are so so happy they were a hit with your family!