Tired of bland, boring turkey? Learn how to dry brine a turkey and turn that bird into a flavor-packed masterpiece. We’ve got the scoop on how to make your Thanksgiving turkey the star of the show with this simple, no-fuss technique.
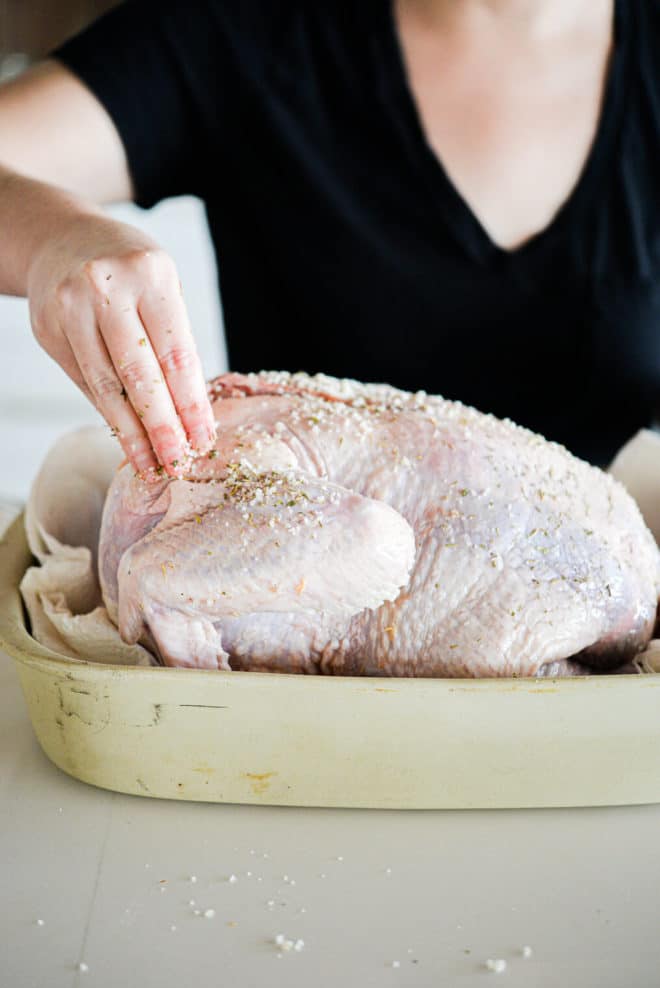
Table of Contents
This recipe is…
So, what is a dry brine anyway? To put it really simply: dry brining is heavily salting a piece of meat and letting it sit before cooking. It allows meat to get super moist, flavorful, and tender with very little time or effort.
When you season the turkey just before cooking it, the seasoning stays on the surface of the bird. When you brine it beforehand, the salt has a chance to penetrate the turkey so that every single bite is flavorful. Another huge benefit of brining is it helps to lock in the moisture of the turkey, avoiding the age-old issue of a dried-out bird. All of this to say, if you’re short on time, skip the brine, but if you’ve got enough time for it, do it!
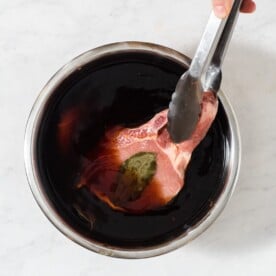
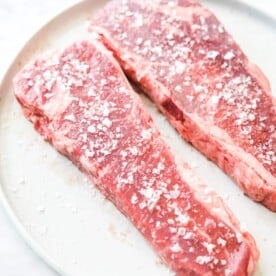
Sold on dry brining and want to use the technique on more of your proteins? Check out How to Dry Brine a Steak, How to Dry Brine Chicken, and, if you want a super flavorful wet brine method, this pork chop wet brine recipe is incredible.
Dry Brine vs. Wet Brine
There’s a good chance you’ve heard of wet brining before, and while the two yield similar results, the processes are quite different.
Wet brines go like this: you boil a mixture of water, sugar, salt, and aromatics, then place the meat in the mixture and refrigerate for up to a day. While this does result in a tender, flavorful, and juicy end product, it requires quite a bit of work, and depending on the size of what you are brining (think: a whole turkey), it can be a bit impractical.
Dry brines, on the other hand, just require you to heavily salt the meat on all sides a day or two before cooking, and let the salted meat sit. Dry brining yields similar results to wet brining and allows for meat that is tender, flavorful, and easier to crisp and caramelize.
While both result in tender, delicious end products, dry brining tends to be a lot easier and more practical than wet brining.
Ingredients Needed for Dry Brining a Whole Turkey
Find ingredient notes (including substitutions and swaps) below.
- Whole turkey – of course, you’ll need your turkey in order to dry brine it! Make sure that it is thawed and ready to go by the time you start your brine.
- Salt – you’ll need about 1 tablespoon of coarse salt per 5 pounds of turkey.
A full ingredient list with exact amounts can be found in the recipe card below.
Fresh Herbs vs. Dry Herbs
While you’ll likely use fresh herbs at some point in the turkey cooking process (if you’re using our perfect oven-roasted turkey recipe, it’ll be in the form of herby garlicky butter), all you need for a good dry brine are dried herbs. Because the salt and herbs sit on the turkey for a couple of days, it actually works out a lot better to use the dried herbs for this and save the fresh herbs for the garlic butter.
How to Dry Brine a Turkey
As mentioned above, the dry brine process is incredibly easy, so if you’re intimidated, don’t be! You’ve got this. Here’s what you’ll do 2-3 days before you’re ready to cook the turkey.
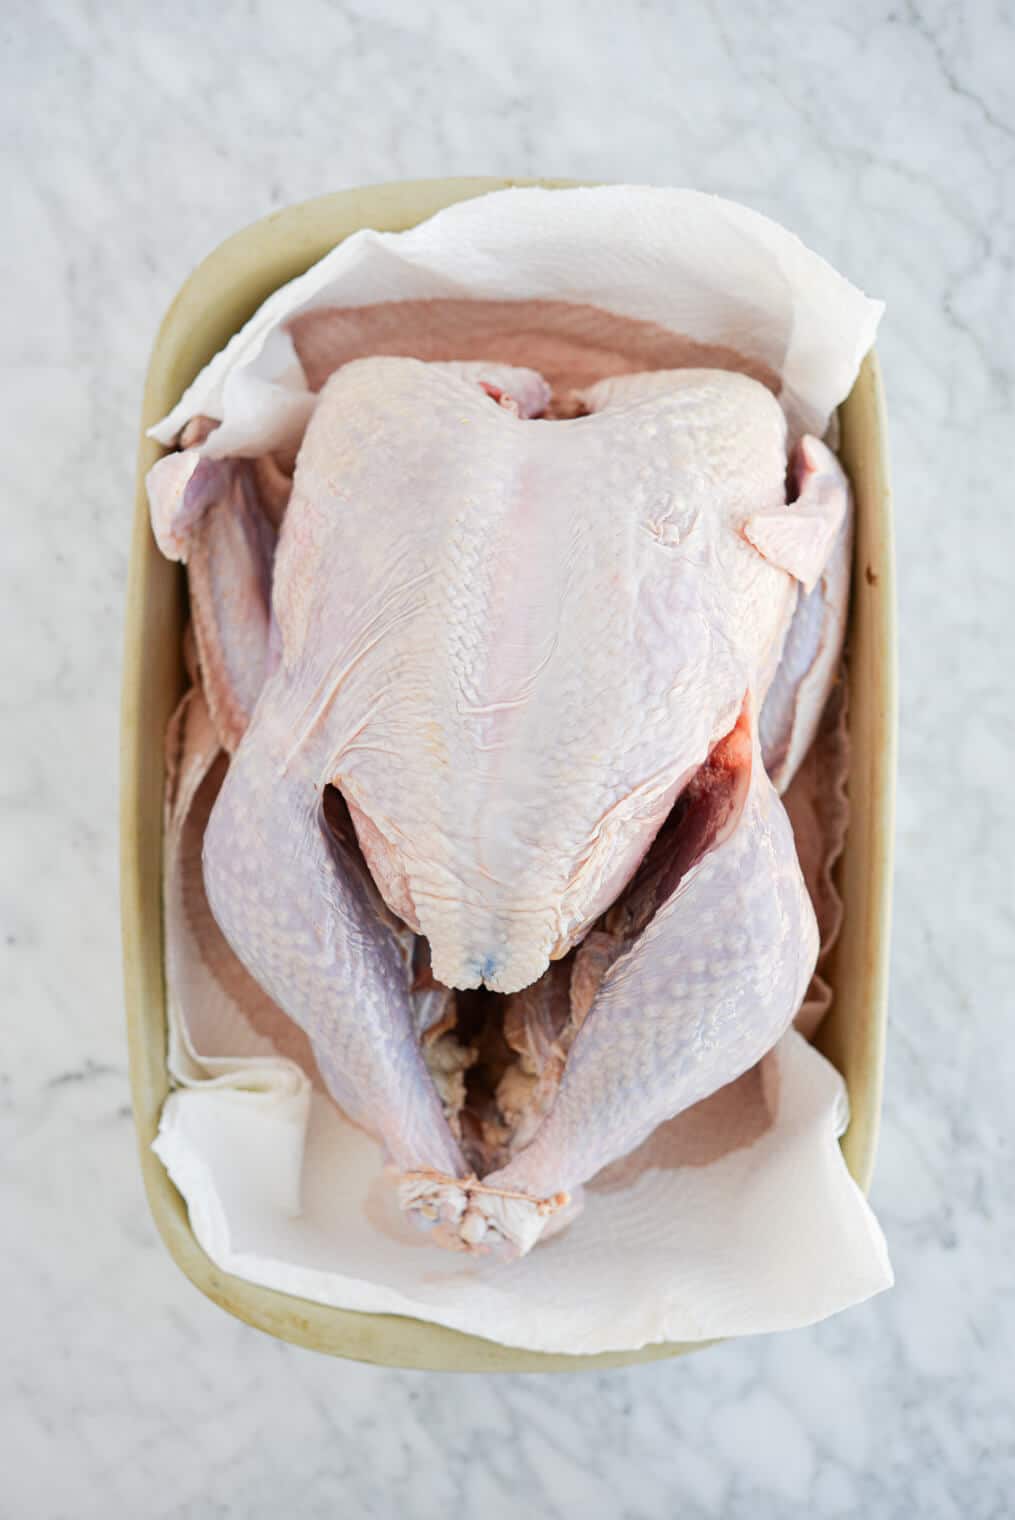
Step 1: 2-3 days before you plan to cook the turkey, remove it from its packaging, take out the giblet package, pat it dry, and place it in a roasting pan.
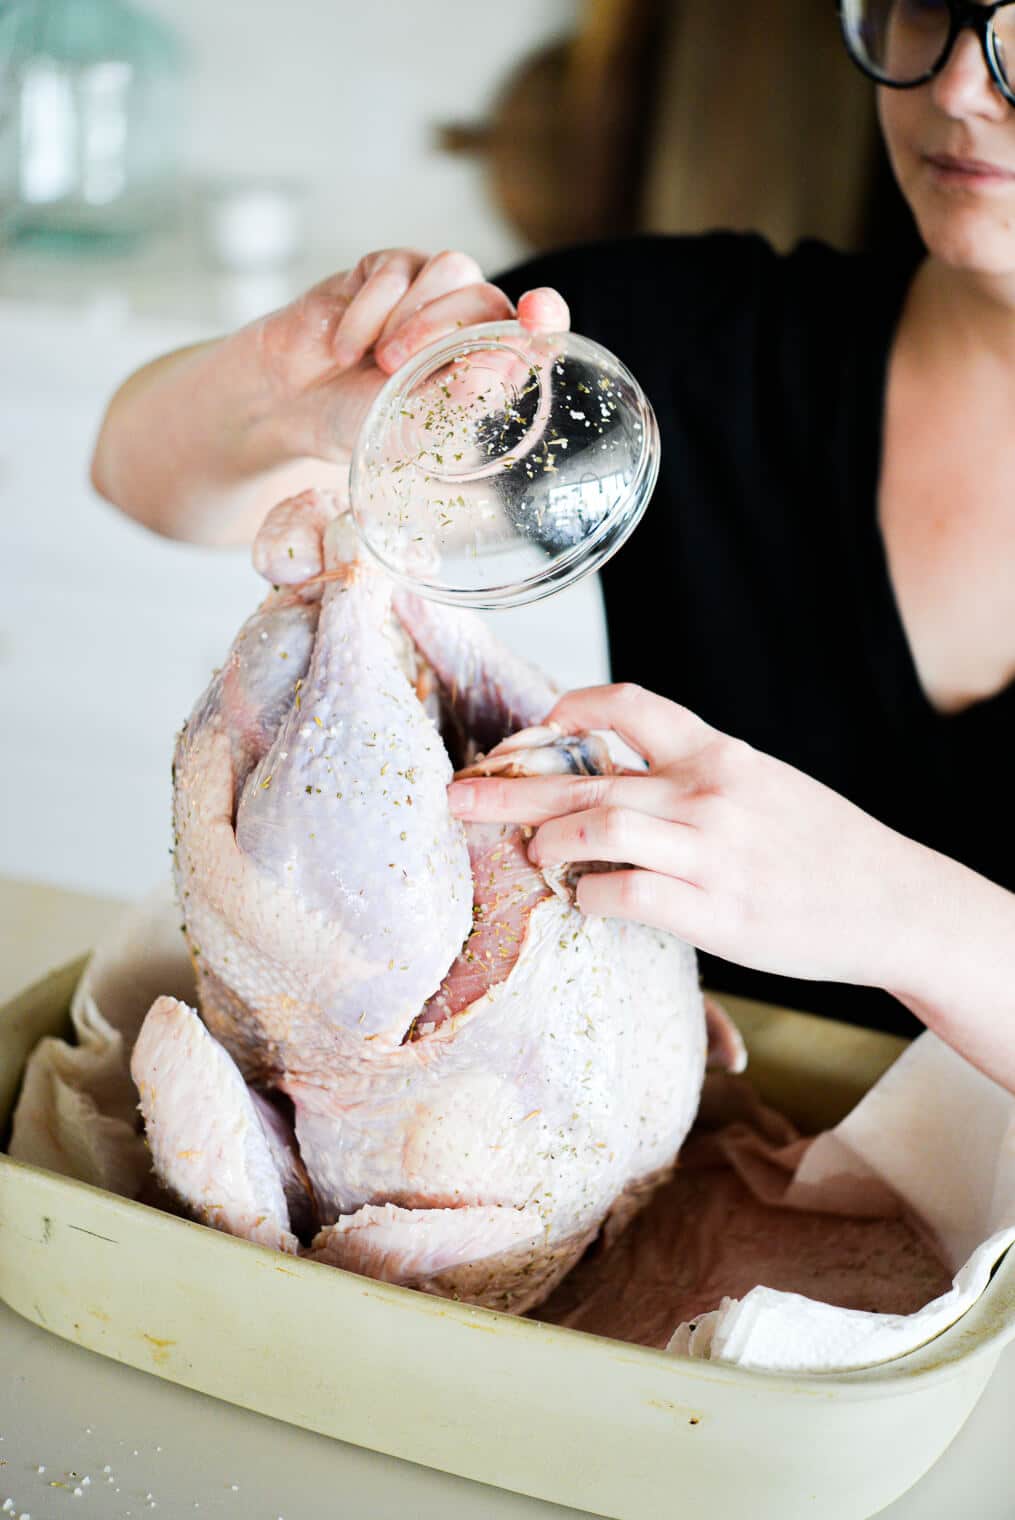
Step 2: Add the salt, dried herbs, and cracked black pepper to a small bowl, then whisk to combine. Sprinkle about two teaspoons of the salt mixture in the turkey cavity.
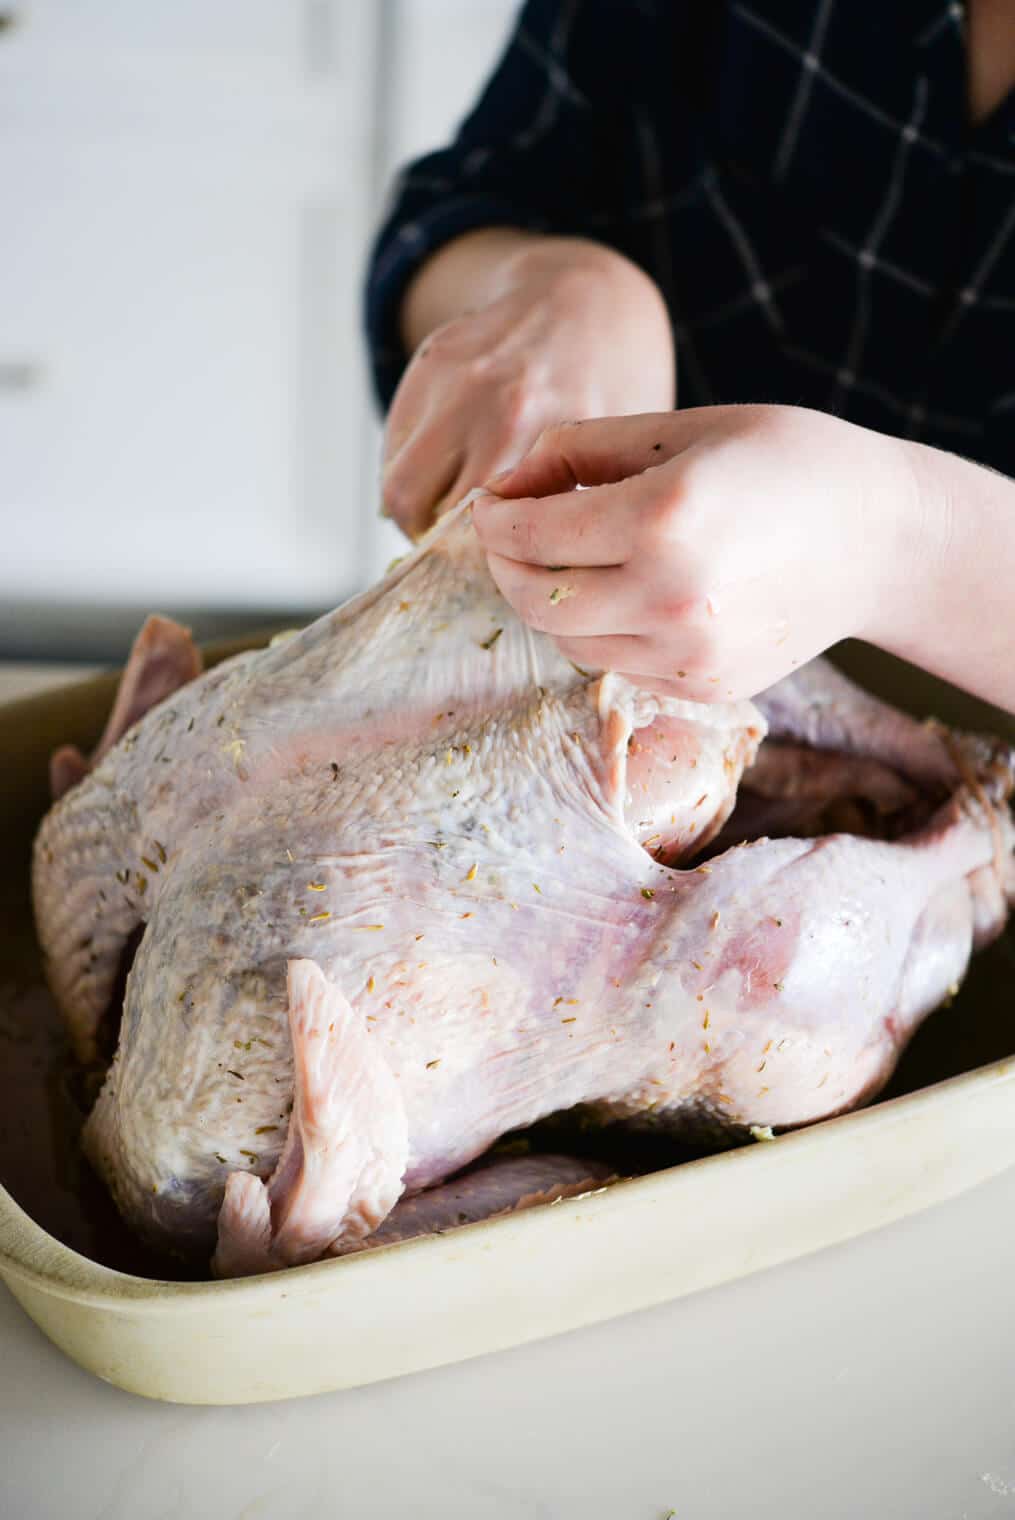
Step 3: Separate the turkey skin from the breasts and put one teaspoon of the salt mixture under the skin on each side.
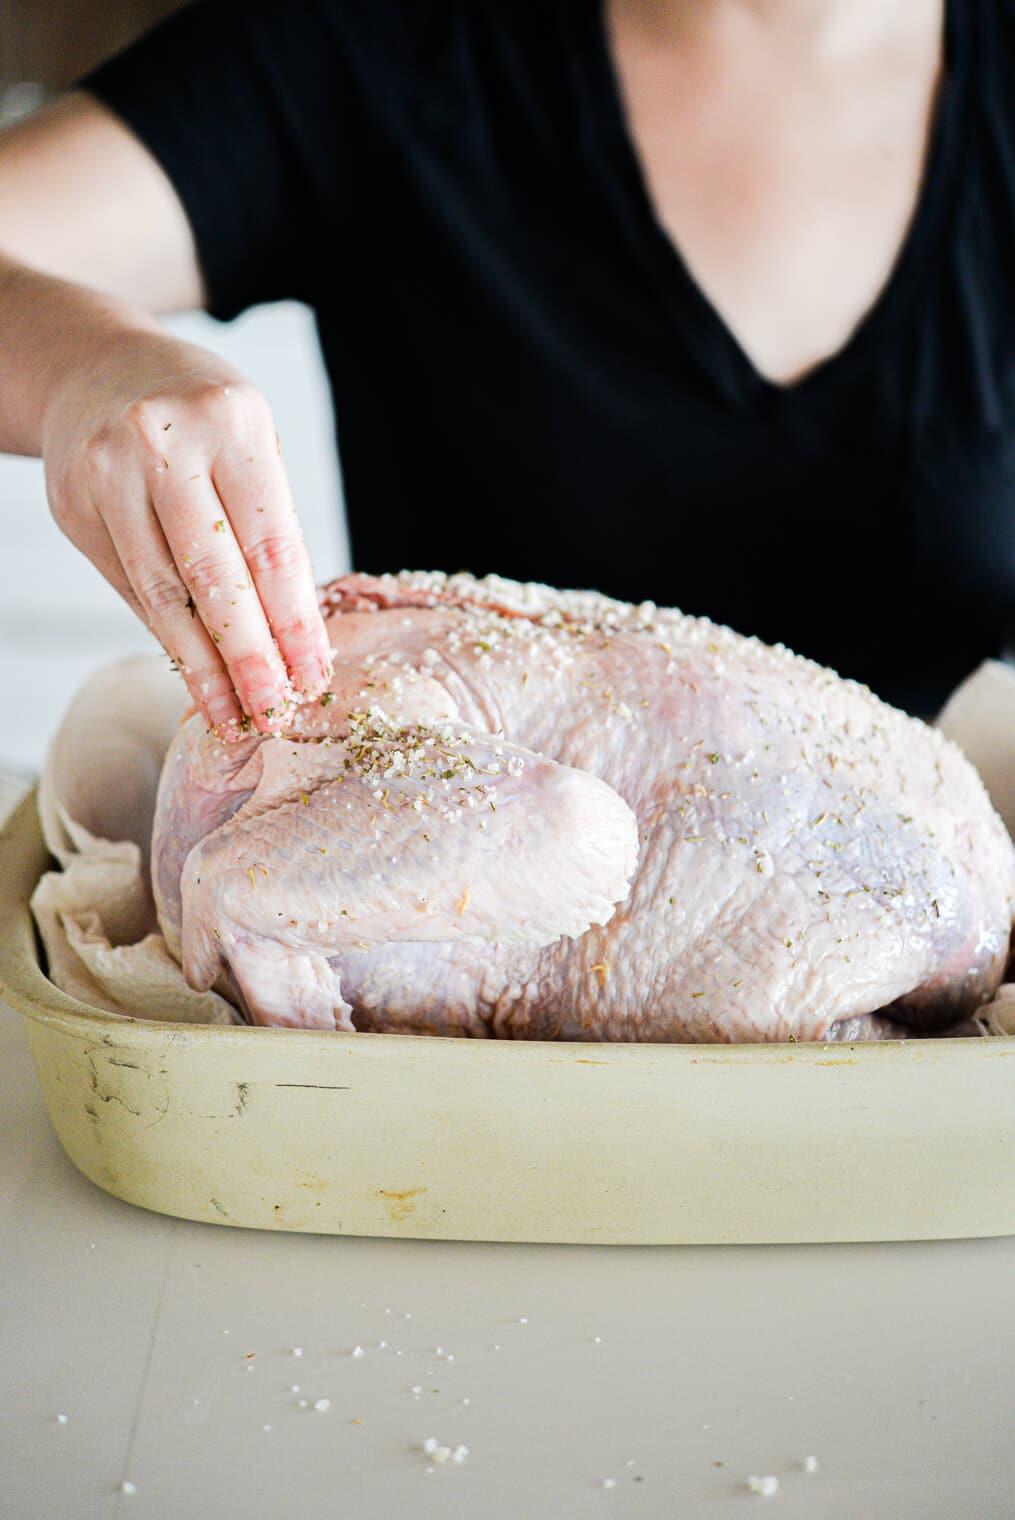
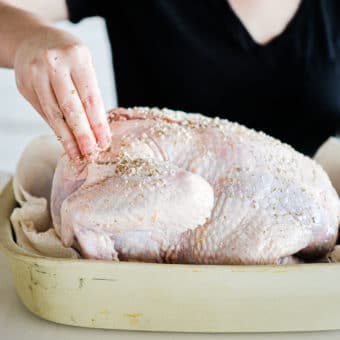
Step 4: Sprinkle the rest of the brine liberally over the turkey, then cover and refrigerate for 1-2 days.
How Long to Dry Brine Turkey
For the best results, let your thawed turkey sit with the salt mixture for 1-2 days. If you’re in a pinch, a shorter amount of time (8-12 hours) will work just fine.
When you’re ready to cook your turkey, follow these perfect oven-roasted turkey instructions.
Frequently Asked Questions
Most any turkey will do! Both frozen and fresh turkeys will work – you’ll just want to make sure to fully thaw a frozen turkey before brining it. I’d avoid pre-seasoned turkeys since the dry brine is going to take care of flavoring the turkey, but otherwise, pick whichever turkey looks the best to you!
Make substitutions as you wish! The real *musts* here are the turkey and salt. Otherwise, play with the herbs to make them fit your tastes and preferences. Dried sage, thyme, oregano, basil, and rosemary are all great options.
Good question! You’ll want to apply the salt mixture in the turkey cavity, under the skin of the turkey breasts, and then all over the surface of the turkey.
Because you need to wait until your turkey is thawed to start the dry brine and it’s best to cook a turkey within 2-3 days of thawing, I actually wouldn’t let the dry brine sit for longer than 2 days.
You don’t! While it’s definitely going to feel like you’re using WAY too much salt (especially if this is your first time dry brining a turkey), I promise your turkey will not taste overly salty when it’s time to carve into it. The salt acts as a seal for all of the delicious moisture that *is* possible to lock into a finished roasted turkey!
More Favorite Brine and Marinade Recipes
Dry Brine Turkey Recipe
Ingredients
- 1, 12-16 pound turkey thawed
- 2-3 tablespoons coarse or kosher salt use about 1 tablespoon for every 5 pounds of meat
- 1 teaspoon dried sage
- 1 teaspoon dried thyme
- 1/2 teaspoon cracked black pepper
Instructions
- 1-2 days before you’ll be cooking your turkey, remove it from its packaging, take out the giblet package, pat it dry, and place it in a roasting pan.
- Add the salt, dried herbs, and cracked black pepper to a small bowl, then whisk to combine.
- Sprinkle 2 teaspoons of the salt mixture in the turkey cavity, then separate the turkey skin from the breasts and put one teaspoon of the salt mixture under the skin on each side. Sprinkle the rest of the brine liberally over the turkey, then cover and refrigerate for 1-2 days.
