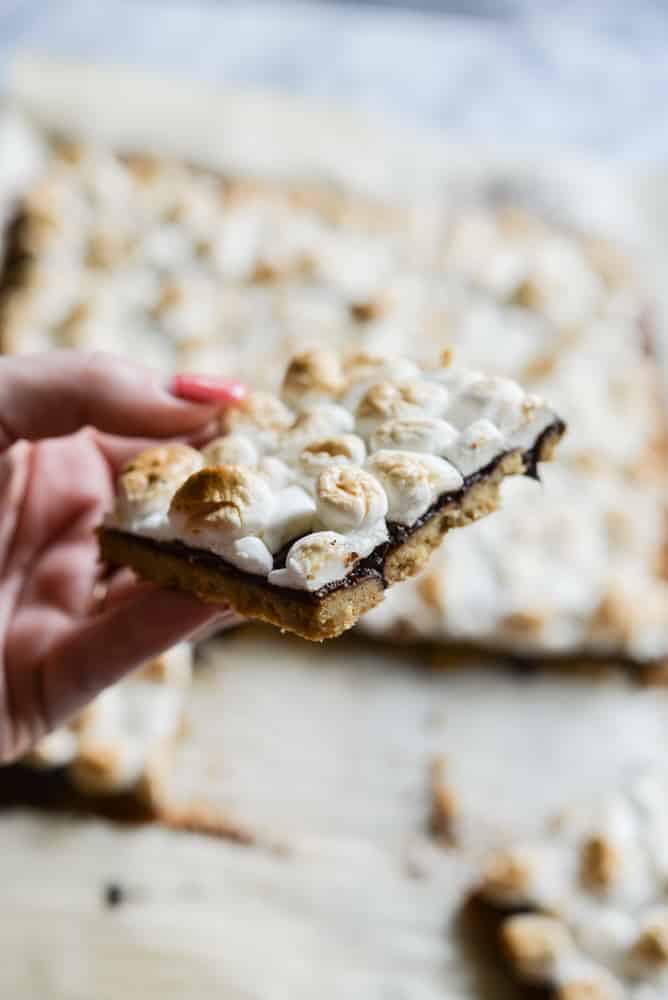
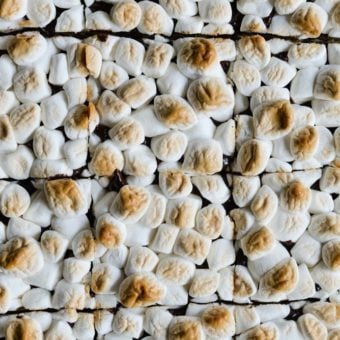
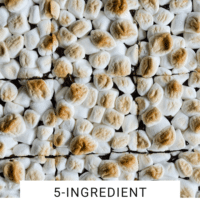
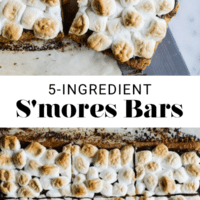
No campfire is required to make these ooey-gooey and perfectly toasty 5-Ingredient S’mores Bars!
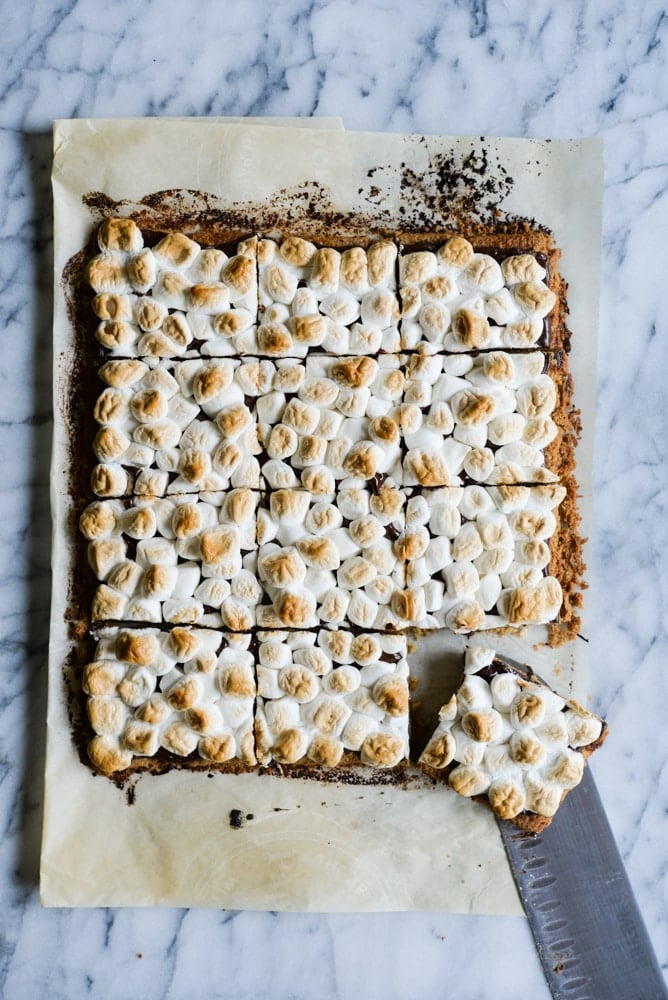
Table of Contents
This recipe is…
Make everyone in your family happy campers with this super easy version of s’mores in bar form!
With just 5 ingredients and 10 minutes of prep, it couldn’t be easier to make a big batch of these delicious gluten-free treats. And if you’ve got the perfect trifecta of chocolate, graham crackers, and marshmallows — plus butter and sugar — on hand, you’ve already got everything you need to make them.
Just like our No-Bake Cheesecake Bars, Easy Blueberry Crumble Bars, and Gluten Free Lemon Bars, this easy s’mores bars recipe lets you skip the work of scooping, forming, and baking individual cookies and get to the eating part faster!
Why You’ll Love This Recipe
- Only 5 ingredients you may already have on hand
- No campfire required!
- Crowd-pleasing recipe makes a dozen bars
- Easy to transport to picnics and potlucks
- Just 10 minutes of prep!
S’mores Bars Recipe Ingredients
It’s almost hard for me to believe how incredibly delicious such a simple, 5-ingredient (and one of them is optional!) dessert can be. Find ingredient notes (including substitutions and swaps) below.
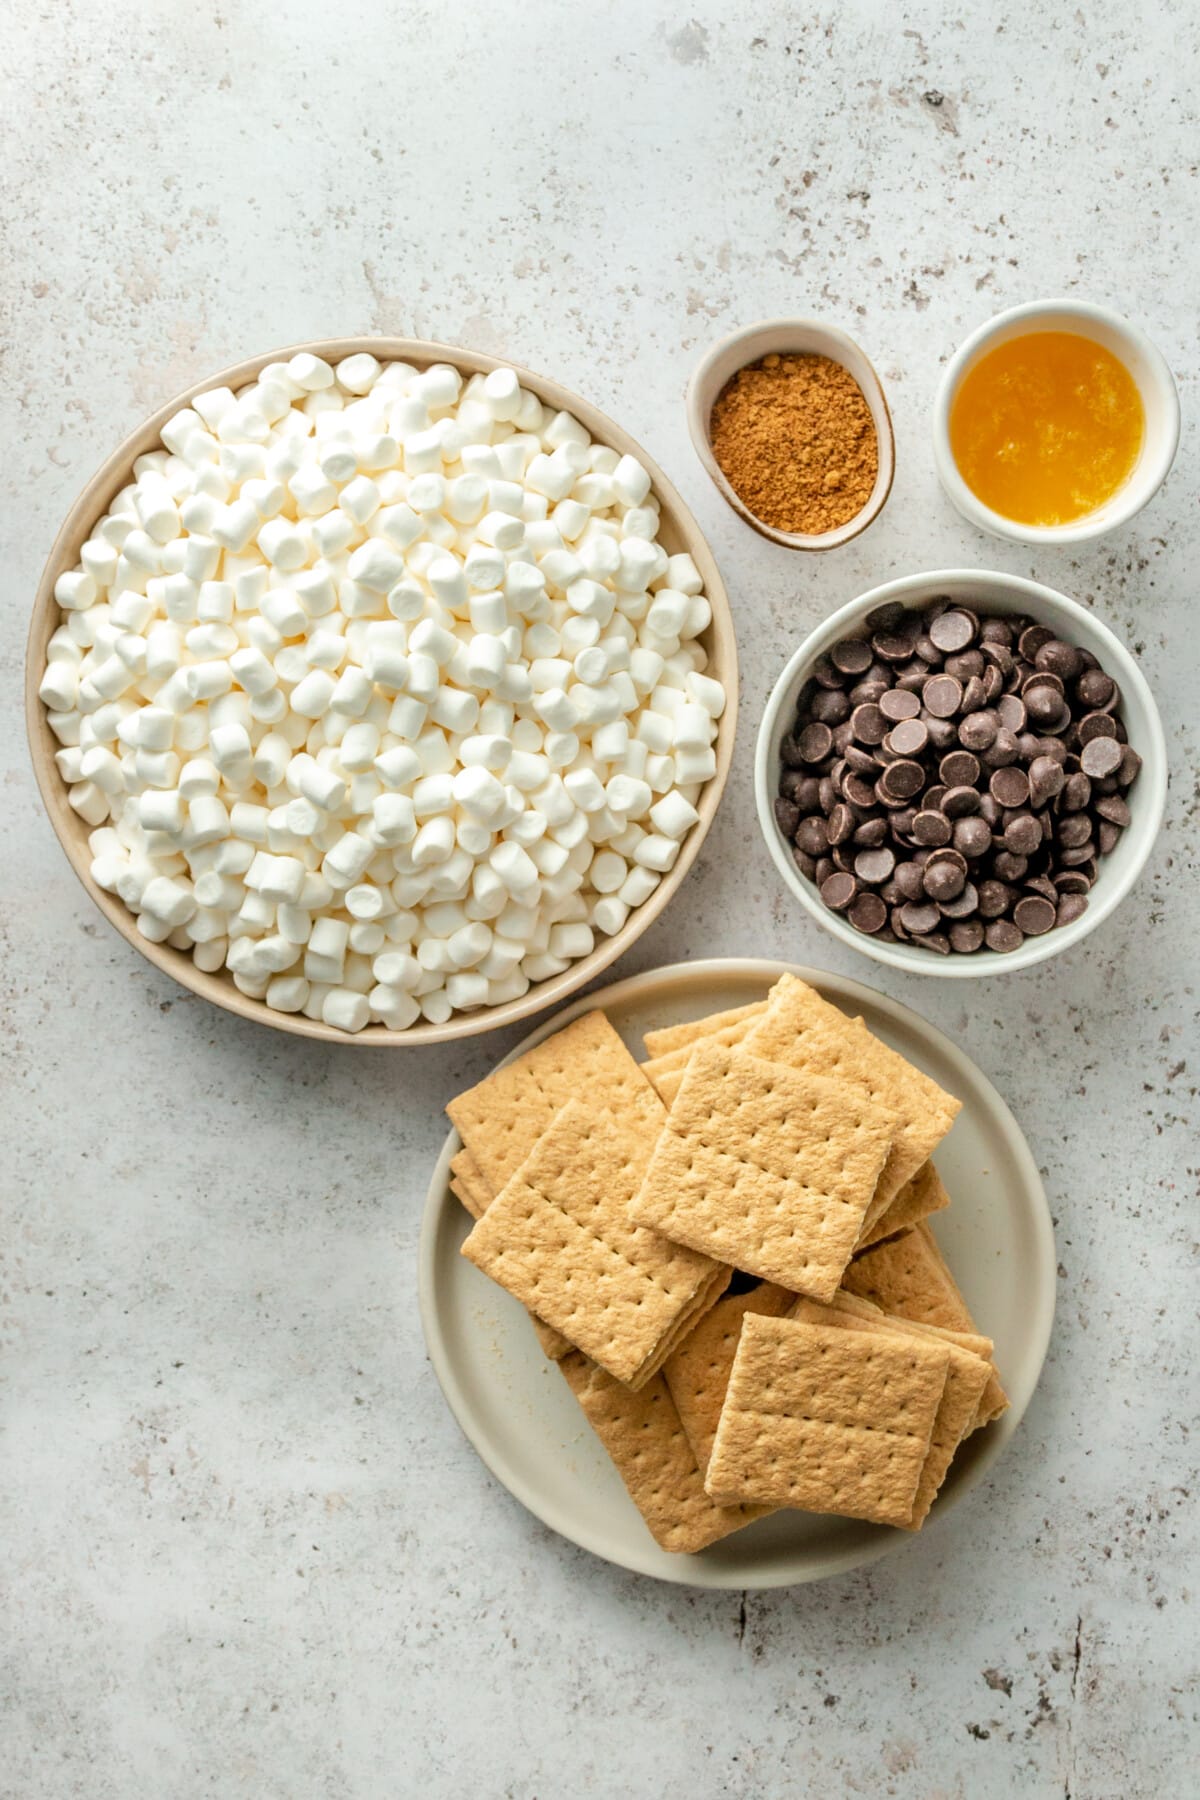
- Gluten-Free Graham Crackers – you’ll need one box, and truthfully, even if you’re not gluten-free, I think these graham crackers are the way to go. They’re thicker than normal graham crackers and make a great base for the bars.
- Butter or Ghee – we’ll drizzle the melted butter right over the graham crackers for an irresistible buttery graham cracker crust. If you’re dairy-free, know that you can easily use coconut oil as a substitute for the butter.
- Chocolate Chips – what are s’mores without chocolate? You’ll need 1 cup of chocolate chips – feel free to use dark or milk chocolate (these are our favorite).
- Marshmallows – a s’mores bar must! You’ll use one 10-ounce bag here. You can use regular or mini marshmallows, though mini will be a bit easier to cut – these are our go-tos.
- Coconut Sugar – the coconut sugar (or brown sugar, if you’d prefer that) is totally optional, but adds a really nice touch to the bars. You’ll need 2 tablespoons.
A full ingredient list with exact amounts can be found in the recipe card below.
Recipe Variations and Modifications
Here are a few easy ways to make these bars your own:
- Sweetness – omit the sugar to make these bars less sweet. You’ll still get sweetness from the chocolate and marshmallows.
- Nuts – if you’d like to give these bars some extra crunch, add some nuts like toasted hazelnuts or pecans.
How to Make S’Mores Bars
Ready for the easiest dessert ever? Seriously, when you bite into these bad boys, you’re going to be shocked at how *delicious* they are even though they required such little effort to make! Here’s how you’ll whip these layer bars up:
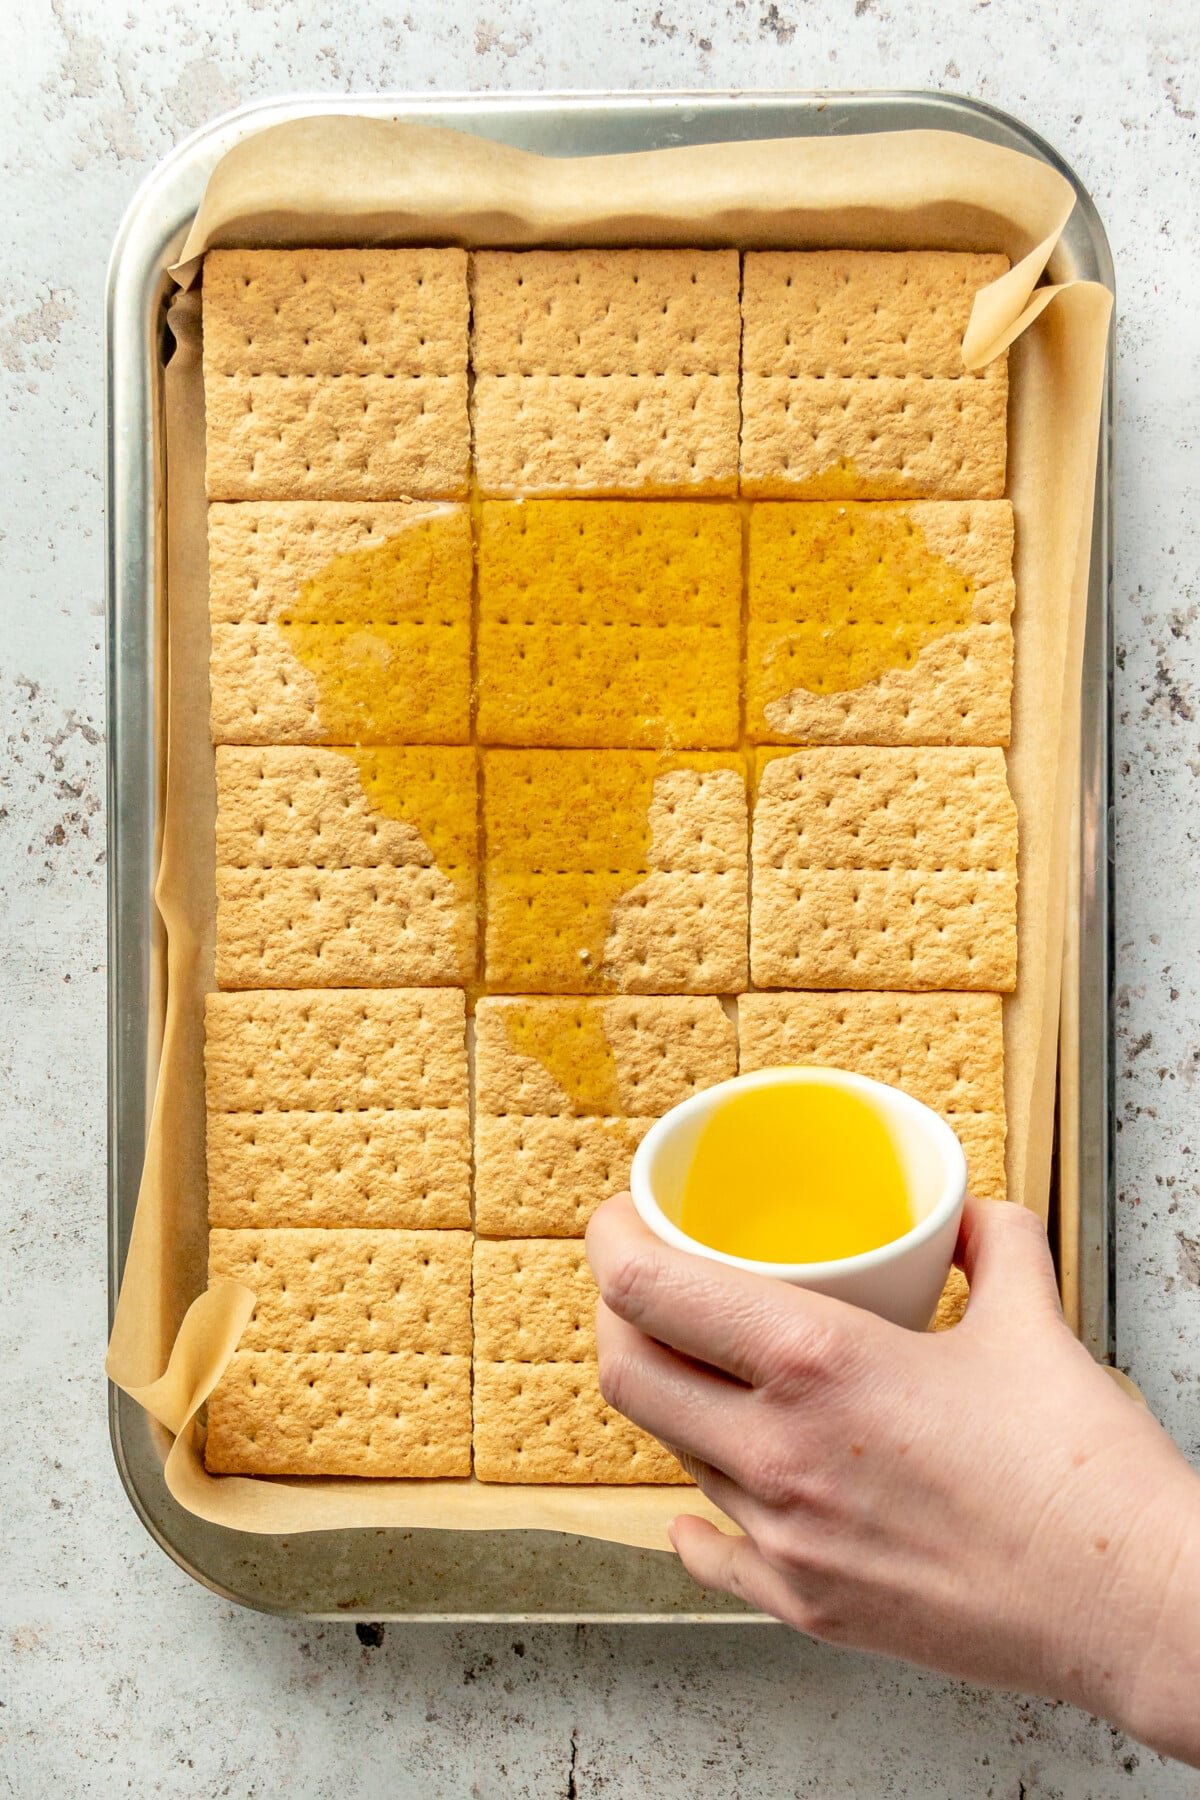
Step 1: Preheat oven to 400°F, and line a rimmed baking sheet with parchment paper.
Place the graham crackers on the parchment paper (leave them whole…don’t crumble them!), and drizzle with the butter, ghee, or coconut oil. Sprinkle with single layer of the coconut sugar (if you’d like), and bake the graham crackers for 5 minutes.
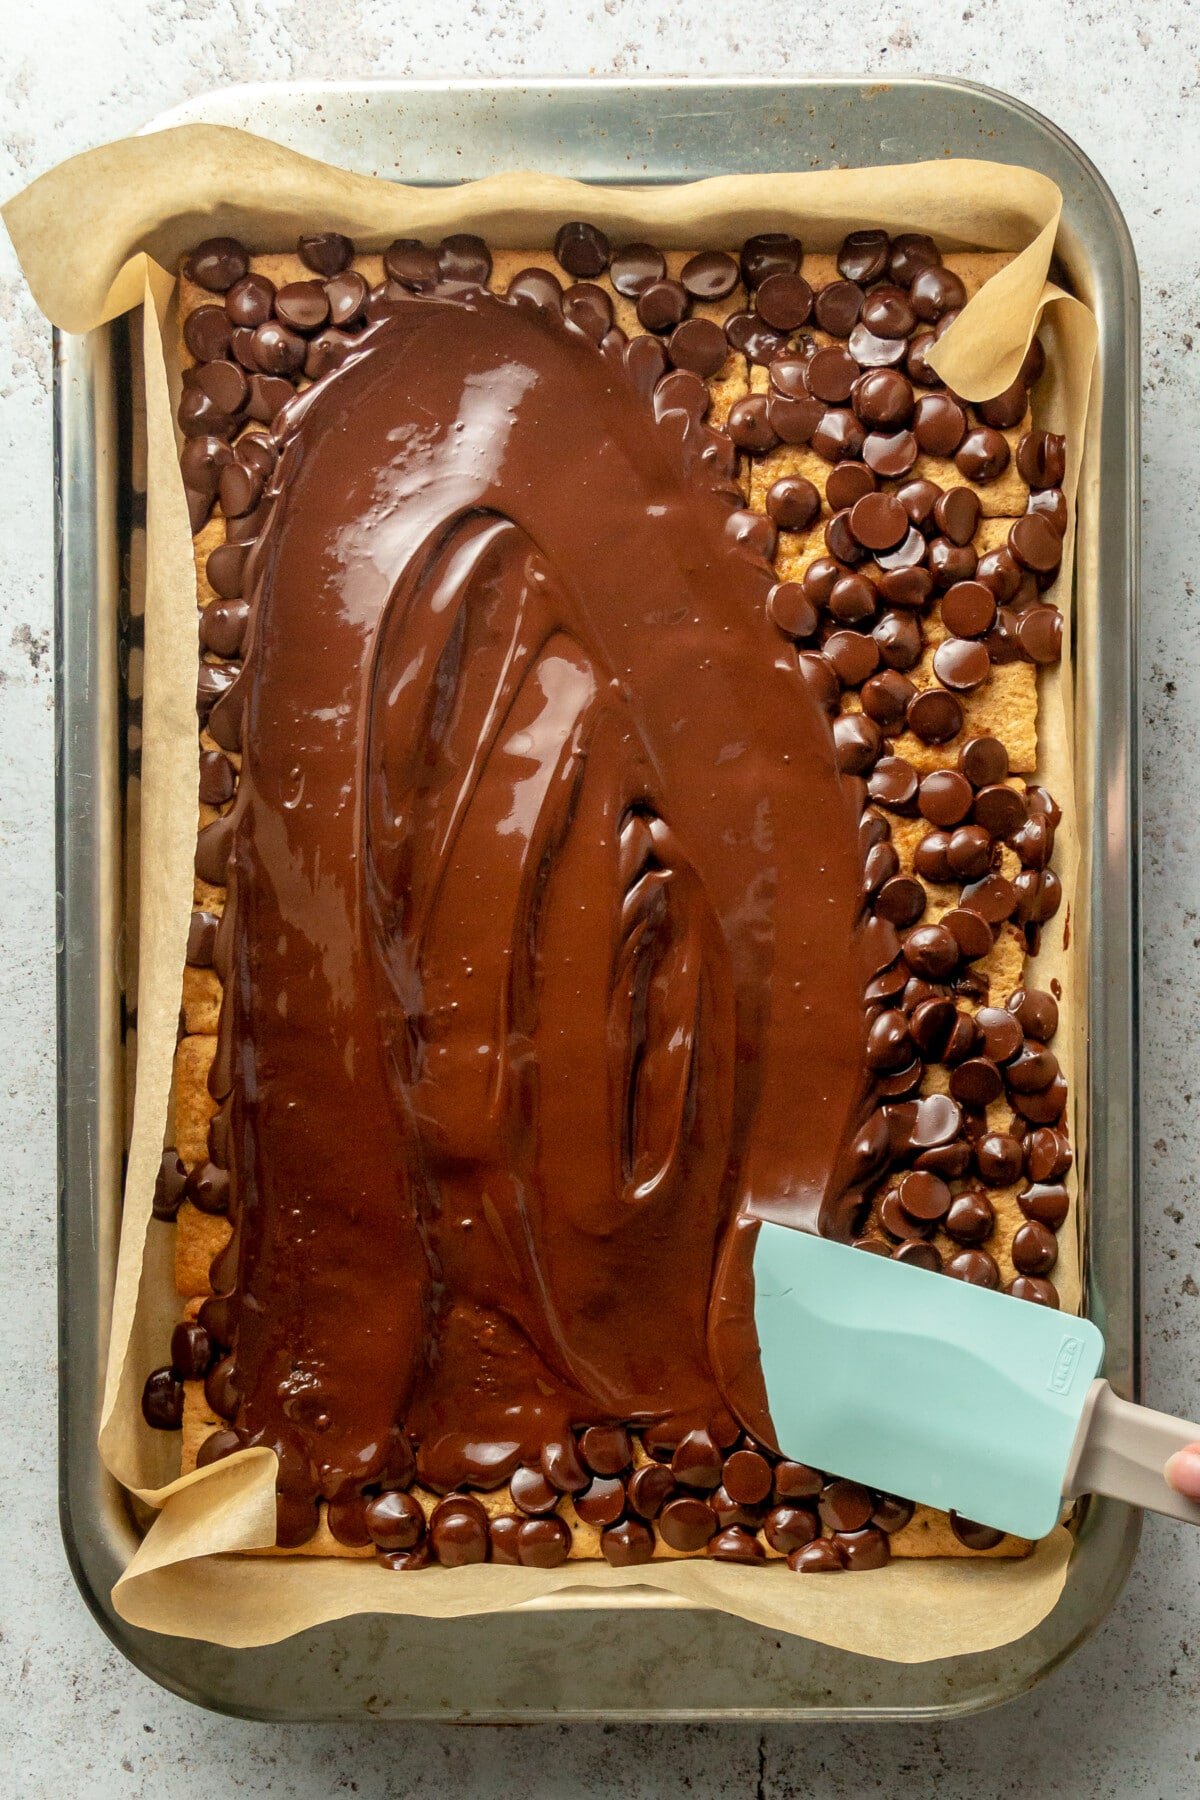
Step 2: Once the graham cracker crust is out of the oven, sprinkle the chocolate chips over it. If they don’t melt completely, stick the pan back in the oven for 2-3 minutes. Once they’re melted, use a rubber spatula to spread the chocolate evenly over the graham crackers.
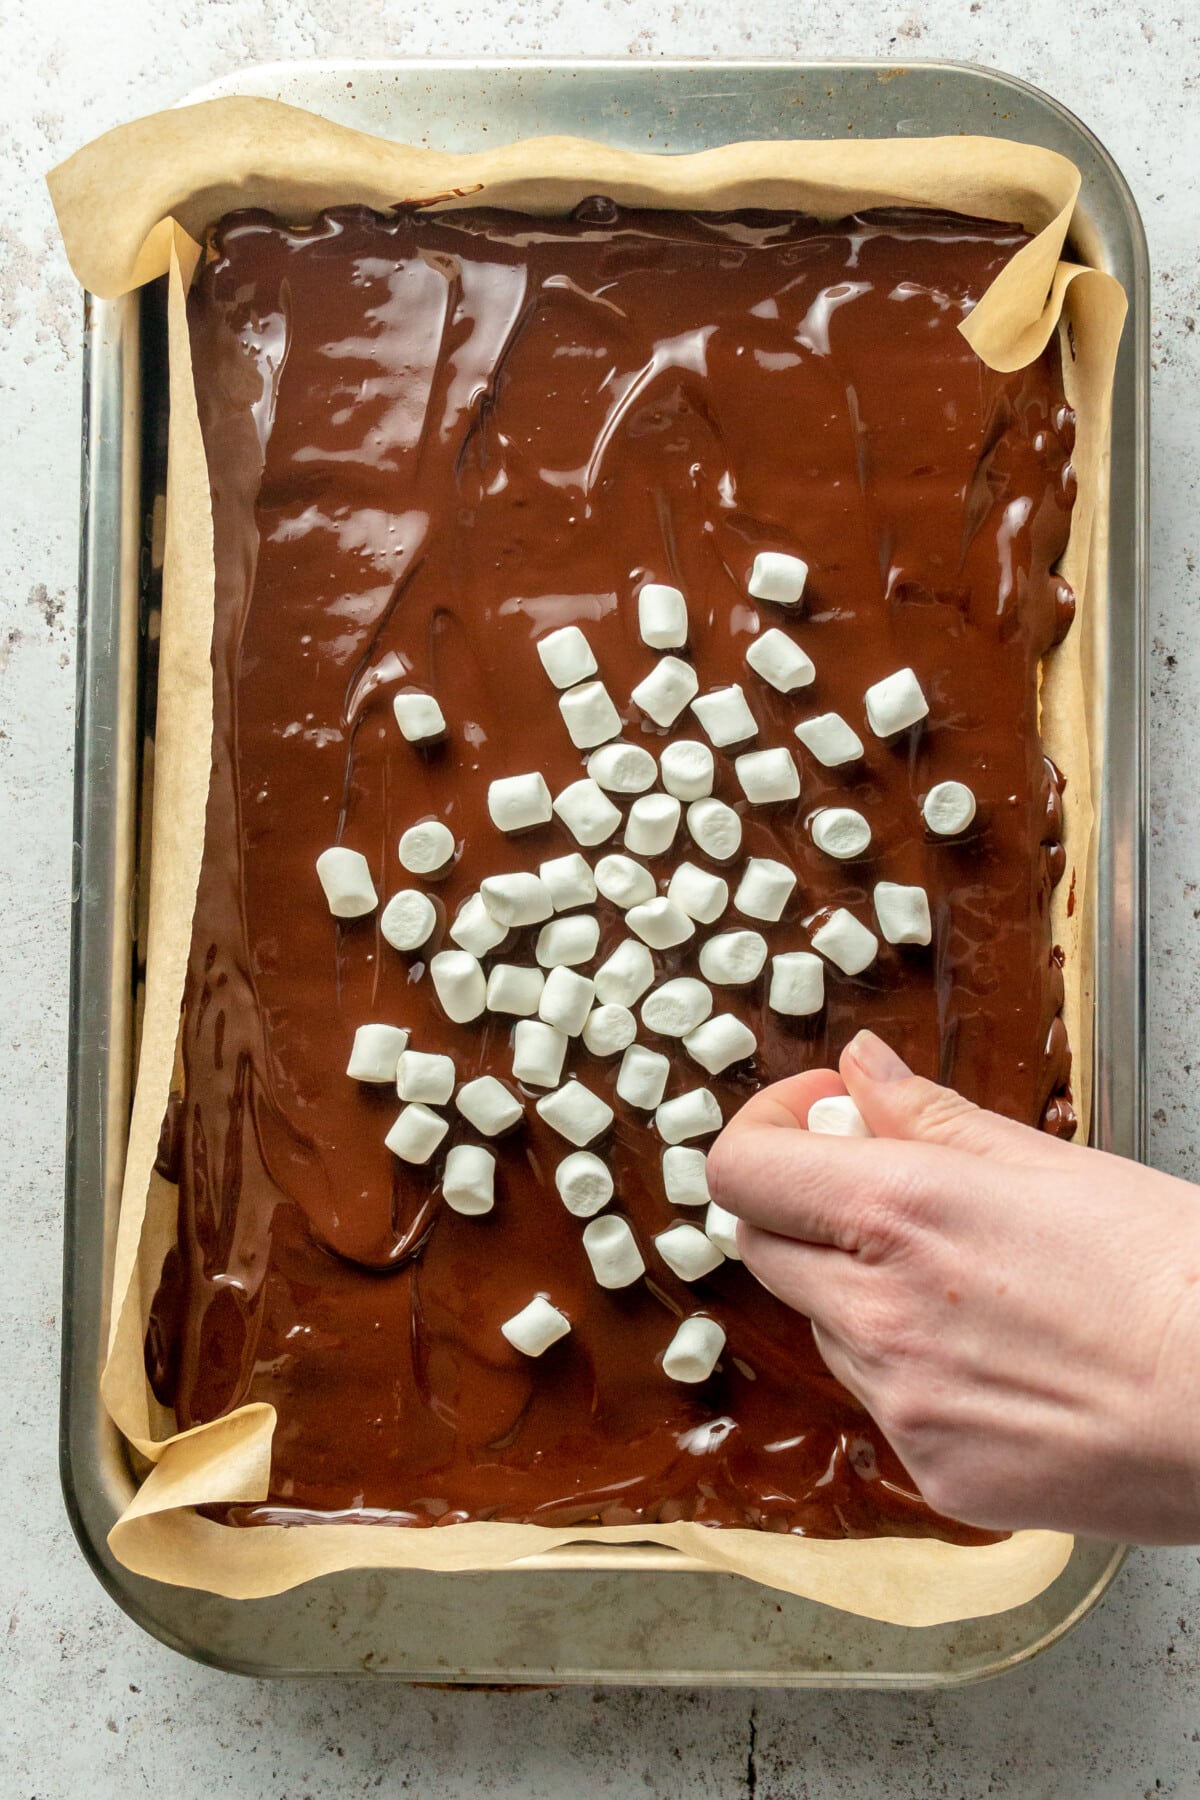
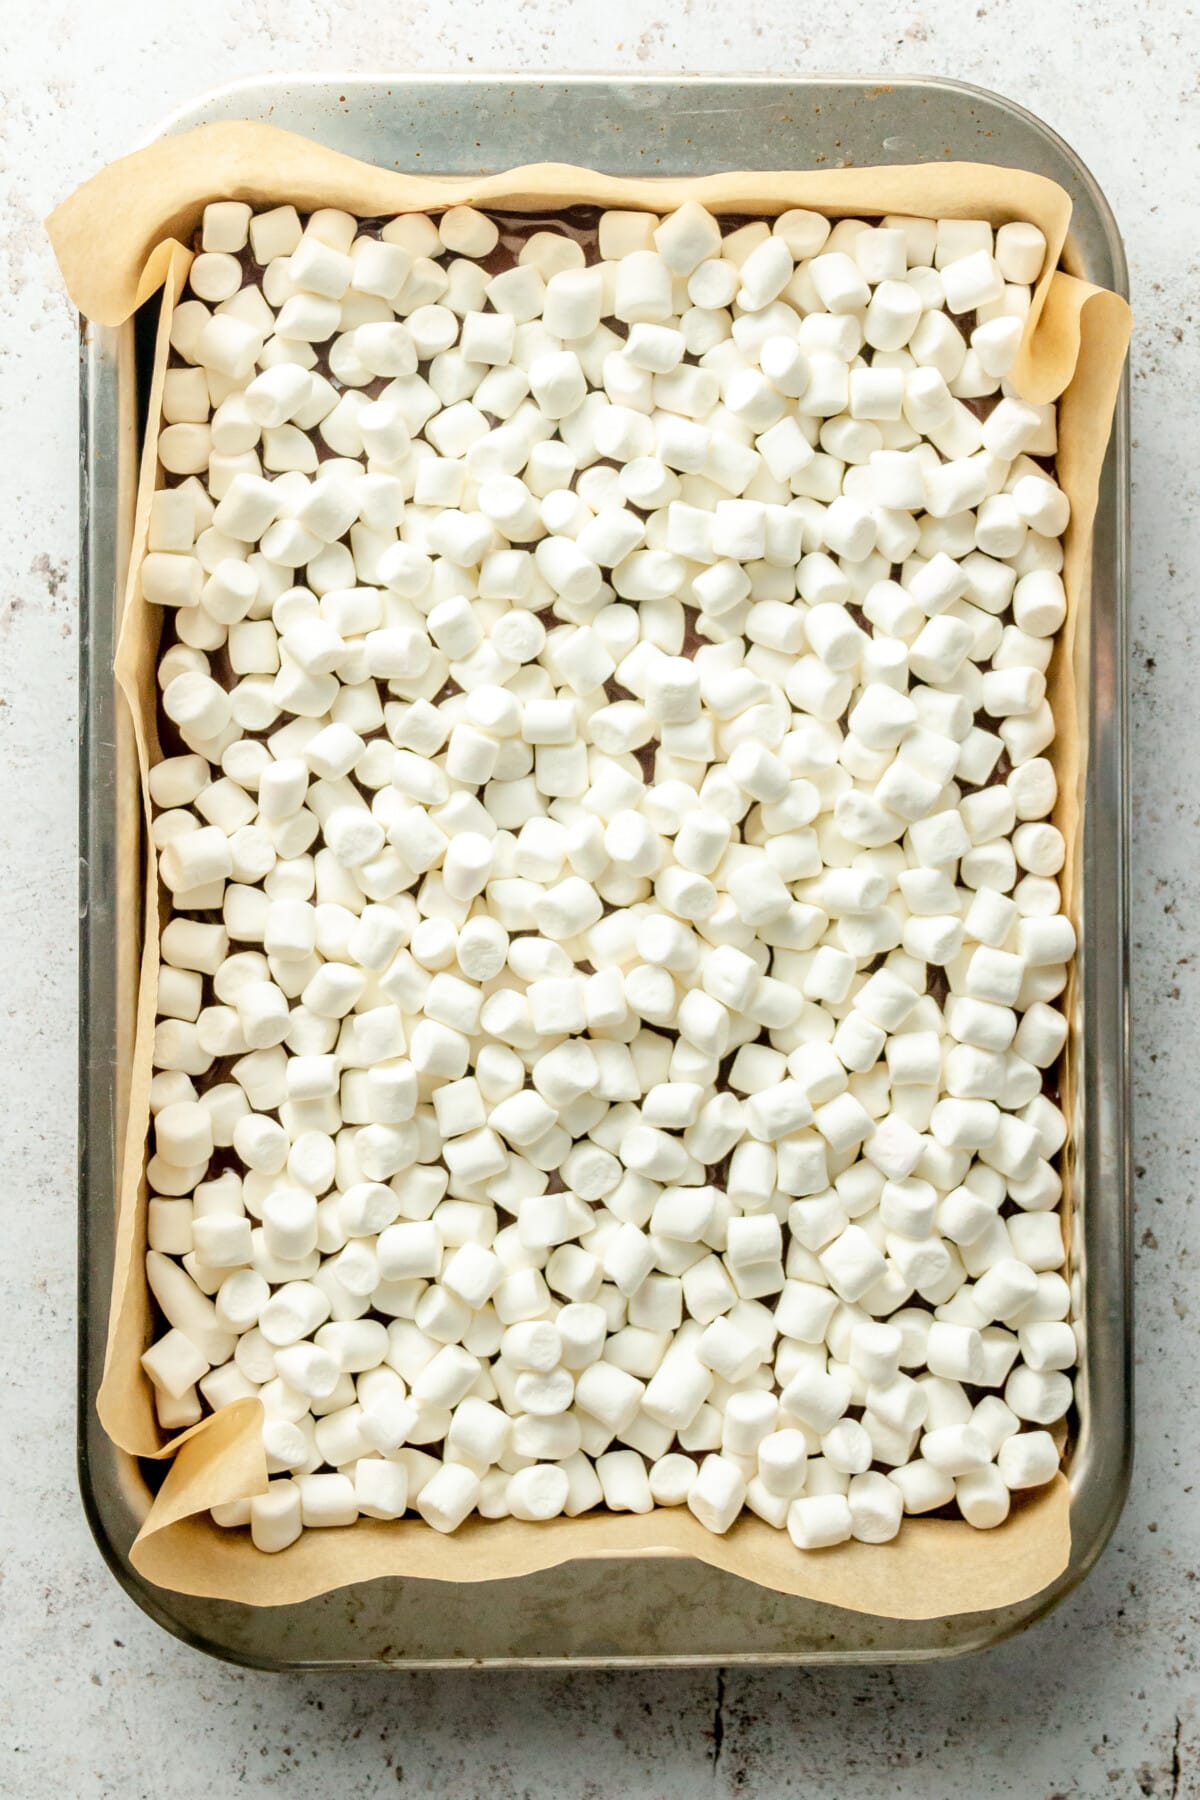
Step 3: Sprinkle the marshmallows over the melted chocolate.
Step 4: Bake the assembled s’mores bars for 3-5 minutes – keep an eye on the bars, so that the marshmallows brown, but be careful not to burn. Let cool and serve!
Recipe Tip
Chocolate – while we used semi-sweet chocolate chips, you can use any type you’d like. Just keep in mind that if you use a darker or bittersweet chocolate, you may want to adjust the sweetness since they contain less sugar.
How to Serve
Let the bars cool, then serve right away or store them for later (more info below).
They transport well, so they’re a perfect party “bring!”
How to Store
These bars have become one of my go-to desserts that I make when we’re having a BBQ or when we’re headed to a potluck-style dinner, and one of the reasons for that is because they can be made in advance and are EASY to store. Store these bars in an airtight container on the counter for up to 5 days.
Frequently Asked Questions
Fun fact! The first known mention of s’mores is in the 1927 edition of the Girl Scout manual. The recipe for the now-classic campfire-toasted marshmallows sandwiched between two graham crackers and a bar of chocolate was called “Some More” because of their addictively delicious taste, and the name was shortened to s’mores from there!
We think semi-sweet chocolate gives this recipe just the right level of sweetness for these smores bars, but you can swap in milk chocolate, bittersweet, or even white chocolate instead.
We’re fans of these graham crackers, which are also free of soy, dairy, and nuts.
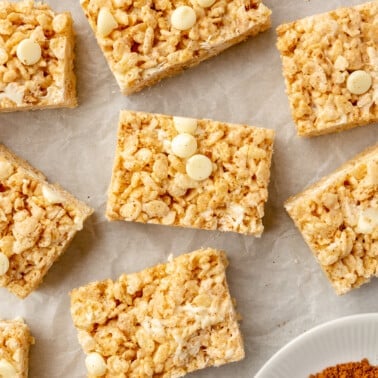
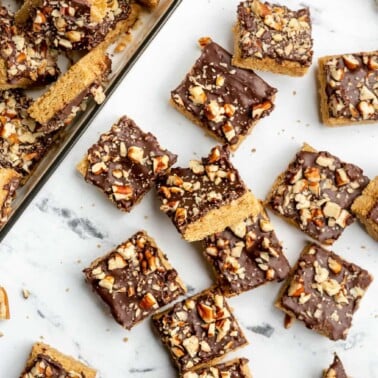
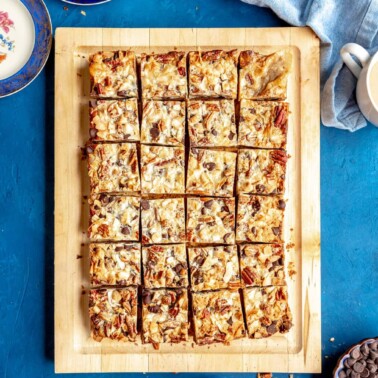
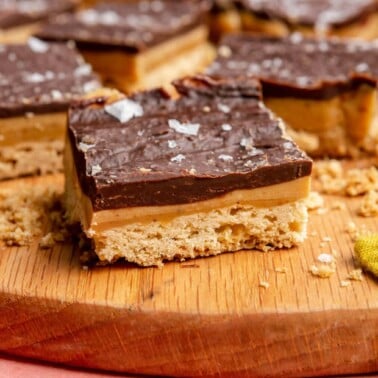
More Favorite Dessert Recipes
If you tried this recipe for 5-Ingredient S’mores Bars, or any other recipe on the Fed & Fit website, please leave a 🌟 star rating and let us know how it went in the 📝 comments below!
Easy S’mores Bars
Ingredients
- 1, 8 ounce box graham crackers, we used these for gluten-free
- 1/3 cup butter or ghee, melted
- 2 tablespoons brown sugar or coconut sugar, optional
- 1 cup semi-sweet chocolate chips
- 1, 10- ounce bag mini marshmallows
Instructions
- Preheat oven to 400 F.
- Line a rimmed baking sheet with parchment paper. Place graham crackers on parchment paper and line them up into a rectangle, then drizzle with butter. It is ok if they are slightly uneven. Sprinkle with the sugar (if you like). Bake for 5 minutes, then remove from oven.
- Once the graham cracker crust is out of the oven, sprinkle the chocolate chips over it. If they don't melt completely, stick the pan back in the oven for 2-3 minutes. Once they're melted, use a rubber spatula to spread the chocolate evenly over the graham crackers.
- Sprinkle the marshmallows over the melted chocolate.
- Bake for 3-5 minutes, watching closely until marshmallows are browned. If the marshmallows still aren’t browning at the 5-minute mark, switch the oven to broil and cook for an additional 1-2 minutes, until toasted. This will ensure that the graham crackers don’t overcook.
- Remove from oven, let cool, then serve!
Nutrition
Like this recipe?
Leave a commentJust for You
Dessert Recipes
Want more recipes and ideas like this?


These are so tasty and easy to make! I make these with the Partake gf grahams and they always turn out wonderful! I actually prefer these to campfire s’mores!
Awe yay, Emily! We are so happy you enjoyed them!
So yummy & easy!! My 5 year old loved making these together- thank you for the recipe & fun activity!
Awww I love that! So so happy y’all enjoyed them, Erin!
I had so much fun making these with my 4 year old! A perfect bake to do with kids. And also they were totally delicious!
Aww, we love to hear that, Danielle! Thank you for sharing with us. -Team FF