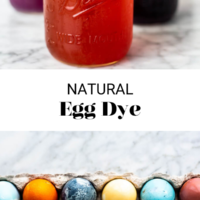
This natural DIY egg dye is such a fun science project for kids and adults alike! Grab some food items from around the kitchen and have fun!
Natural Egg Dye
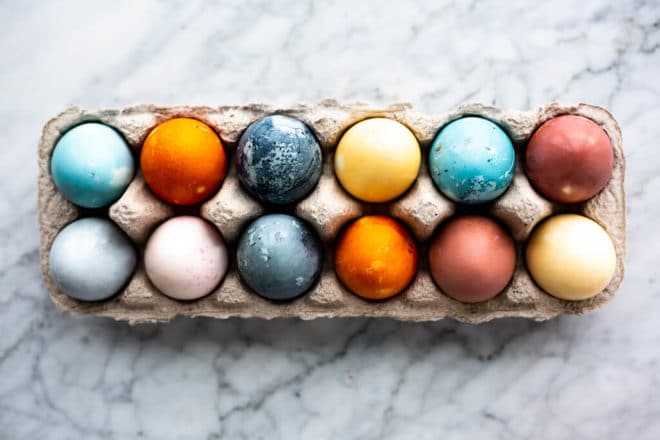
Dying eggs is definitely a favorite childhood pastime of mine (especially at the Easter holiday or when making May Day baskets). I have such fond memories of dying eggs as a family and experimenting with different colors, textures, and designs. Using these natural egg dyes is a really fun and festive experiment using foods from around the kitchen that result in some really rustic and beautiful colors! For this recipe, I experimented with beets, yellow onion peels, frozen blueberries, and purple cabbage, but have fun with what you can come up with using the same method!
Natural Egg Dye Color Cheatsheet
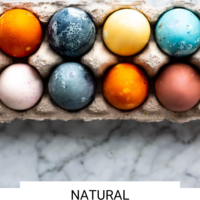
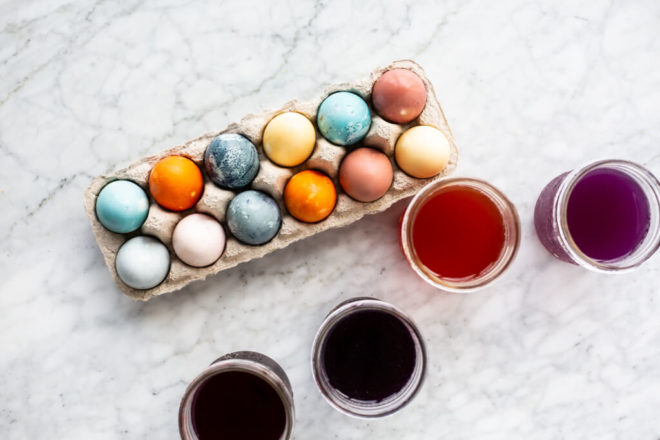
These were the colors I achieved by using the following common food ingredients. This is a really fun time to get the kids involved in the process! You can even make predictions about what color you think the eggs will turn out with each ingredient. I was surprised the most by the blue hues from the purple cabbage.
| Natural Dye Ingredient | Color Achieved |
| Purple Cabbage | Blue |
| Yellow Onion Peel | Orange |
| Shredded Beets | Maroon |
| Frozen Blueberries | Light Purple |
Ingredients Needed for DIY Egg Dye
Here is the ingredient list from the four food items I experimented with. You can sub in any common food item you want, you’ll just want 2 cups for every 4 cups of water.
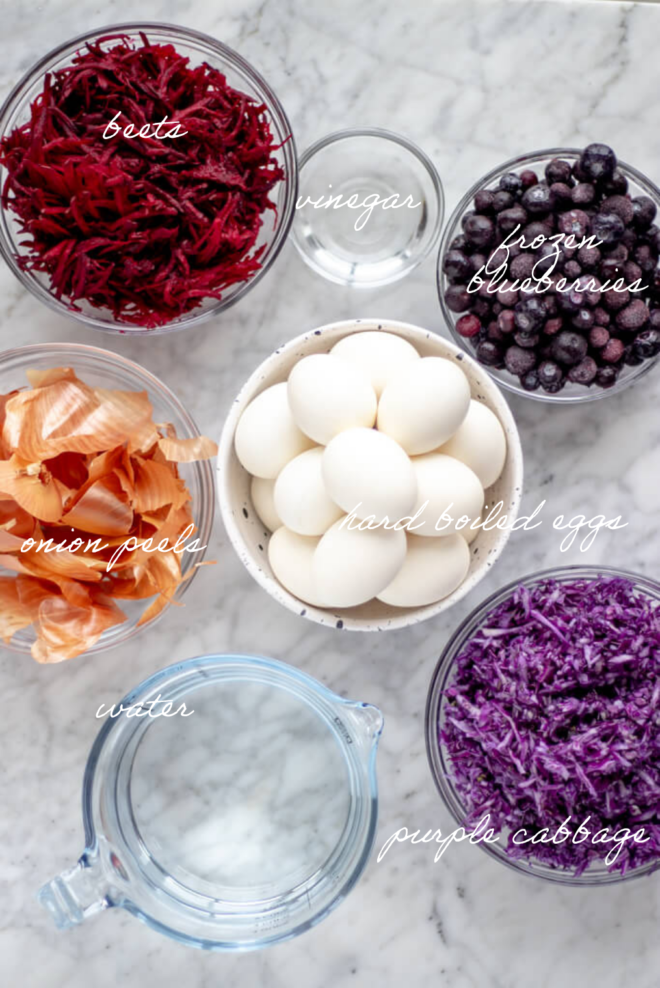
- Hard-Boiled Eggs – to start, you’ll want 18 hard-boiled eggs (I opted to use white eggs to start with a blank slate for color–you can use brown eggs, but it will significant;y impact the end result in terms of vibrancy of color). Check out our guide for perfect hard-boiled eggs.
- Water – for each of the natural dye ingredients, you’ll need 4 cups of water.
- Vinegar – you’ll add 2 tablespoons of vinegar to each dye (the change in the pH causes molecular changes that give you more vibrant colors).
- Purple Cabbage – for the natural dye ingredients, you’ll need 2 cups of shredded purple cabbage…
- Shredded Beets – 2 cups of shredded beets…
- Yellow Onion Peels – 2 cups of yellow onion peels and…
- Frozen Blueberries – 2 cups of frozen blueberries.
Supplies Needed to Dye Eggs
- Saucepan
- Fine Mesh Strainer
- Mason Jar (one for each dye color)
- Paper Towels
- Platter or Plate (to dry eggs)
How to Naturally Dye Easter Eggs
You’ll go through this process for each set of dye. If you have multiple pots, you can have multiple colors developing at the same time. Here’s how you’ll do it:


- Add water – to the saucepan, add 4 cups of water over high heat.
- Add natural dye ingredients – to the water, add your natural ingredient (beets, yellow onion peel, frozen blueberries, or purple cabbage) and bring the water to a boil.
- Reduce heat – turn the heat down to low and simmer for 30 minutes, or until the dye has reached the desired color you’re looking for (you’ll want your dye a couple shades darker than the color you want your eggs to be). The longer it simmers, the richer the color.
- Strain the dye – once your dye has reached the desired depth of color, remove from the heat and let cool (for about 20 minutes). Then pour the cooled dye over the fine-mesh strainer into the mason jars.
- Add the vinegar – stir in 2 tablespoons of vinegar into your dye.
- Repeat – repeat steps 1-4 for each of the natural dye ingredients.
- Dye your eggs – gently place your hard-boiled eggs into each mason jar (about 2 per jar).
- Transfer to fridge – transfer your eggs to the fridge and let them chill until your desired color is reached (at least 30 minutes, up to 24 hours for the richest color result).
- Remove eggs – remove your eggs from the natural dye to a paper towel lined dish and dry them off.
- Store – store your dyed eggs in the fridge for up to 2 weeks.
More Natural Dye Ideas
There are SO many fun ways to play with the idea of natural dye in the kitchen! There really isn’t a “wrong” idea because it is all experiment and fun (and I really encourage you to have FUN with it!). Here are some additional ideas you can try:
| Natural Dye Ingredient | Desired Color |
| Red Onion Peel | Lavender/Purple |
| Ground Turmeric | Golden Yellow |
| Avocado Skins + Pits | Peach/Pink |
| Spinach | Green |
| Black Beans | Blue |
| Black Coffee | Brown |
Tips + Tricks for Naturally Dying Easter Eggs
- Save your scraps – this is a great way to utilize food scraps! Save them leading up to dying your eggs and see what colors you come up with while simultaneously repurposing the waste!
- Use white eggs – for the most vibrant colors (though brown eggs will result in a really rich tone).
- Use old towels – or a layer of newspaper and wear older clothes when dying eggs in case you get any of the dyes on the counter or your clothing–they are dyes after all and will stain!
- Leave the eggs longer – for the most bright and vibrant colors, allow the eggs to sit in the dye overnight. You can also try dipping them multiple times to create layers of colors.
- Use a rubber band or tape – to make stripes or designs on the eggs.
- Let your eggs dry – when you remove them from the dye, let them dry completely. For an extra shine, rub them with a little oil once dry.
- Have fun! – this is what it’s all about anyway, right?! Have fun with the process!
Recipes for Hard-Boiled Eggs
Need some inspiration for what to do with your hard-boiled eggs? Look no further! Here are some of our favorite recipes:
- Deviled Eggs with Bacon
- Loaded BLT Egg Salad
- Mom’s Egg Salad
- Paleo Deviled Eggs
- Salmon Nicoise Salad
- Breakfast Salad (trust me on this one!)
- Cauliflower “Potato” Salad
- Make-Ahead Balanced Breakfast Jars
DIY Natural Egg Dye

Ingredients
- 18 eggs hard-boiled eggs
- 16 cups water divided (4 cups water for each food ingredient)
- 8 tablespoons vinegar divided (2 TBSP for each dye)
- 2 cups purple cabbage shredded
- 2 cups beets shredded
- 2 cups yellow onion peels
- 2 cups frozen blueberries.
Instructions
- To the saucepan, add 4 cups of water over high heat.
- To the water, add your natural ingredient (beets, yellow onion peel, frozen blueberries, or purple cabbage) and bring the water to a boil.
- Turn the heat down to low and simmer for 30 minutes, or until the dye has reached the desired color you’re looking for (you want it to be a couple shades darker than the color you want your eggs). The longer you leave it to simmer, the richer the color.
- Once your dye has reached the desired depth of color, remove from the heat and let cool (for about 20 minutes). Then pour the cooled dye over the fine-mesh strainer into the mason jars.
- Stir in 2 TBSP of vinegar into the strained dye.
- Repeat steps 1-4 for each of the natural dye ingredients.
- Gently place your hard-boiled eggs into each mason jar (about 2 per jar).
- Transfer your eggs in the dye to the fridge and let them chill until your desired color is reached (at least 30 minutes, up to 24 hours for the richest color result).
- Remove your eggs from the natural dye to a paper towel lined dish and dry them off.
- Store your dyed eggs in the fridge for up to 2 weeks.
Recipe Notes
- Save your scraps – this is a great way to utilize food scraps! Save them leading up to dying your eggs and see what colors you come up with while simultaneously repurposing the waste!
- Use white eggs – for the most vibrant colors (though brown eggs will result in a really rich tone).
- Use old towels – or a layer of newspaper and wear older clothes when dying eggs in case you get any of the dyes on the counter or your clothing–they are dyes after all and will stain!
- Leave the eggs longer – for the most bright and vibrant colors, allow the eggs to sit in the dye overnight. You can also try dipping them multiple times to create layers of colors.
- Use a rubber band or tape – to make stripes or designs on the eggs.
- Let your eggs dry – when you remove them from the dye, let them dry completely. For an extra shine, rub them with a little oil once dry.
- Have fun! – this is what it’s all about anyway, right?! Have fun with the process!