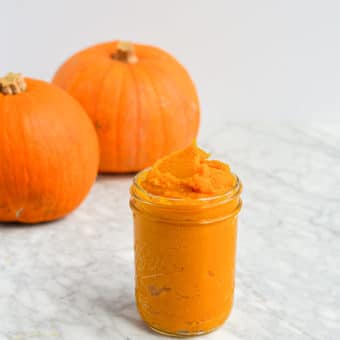
Ready to level up your pumpkin game this fall? Get ready to ditch the canned stuff and dive headfirst into pumpkin paradise with homemade pumpkin puree made right in your Instant Pot. It’s so easy, you’ll wonder why you ever settled for the store-bought stuff!
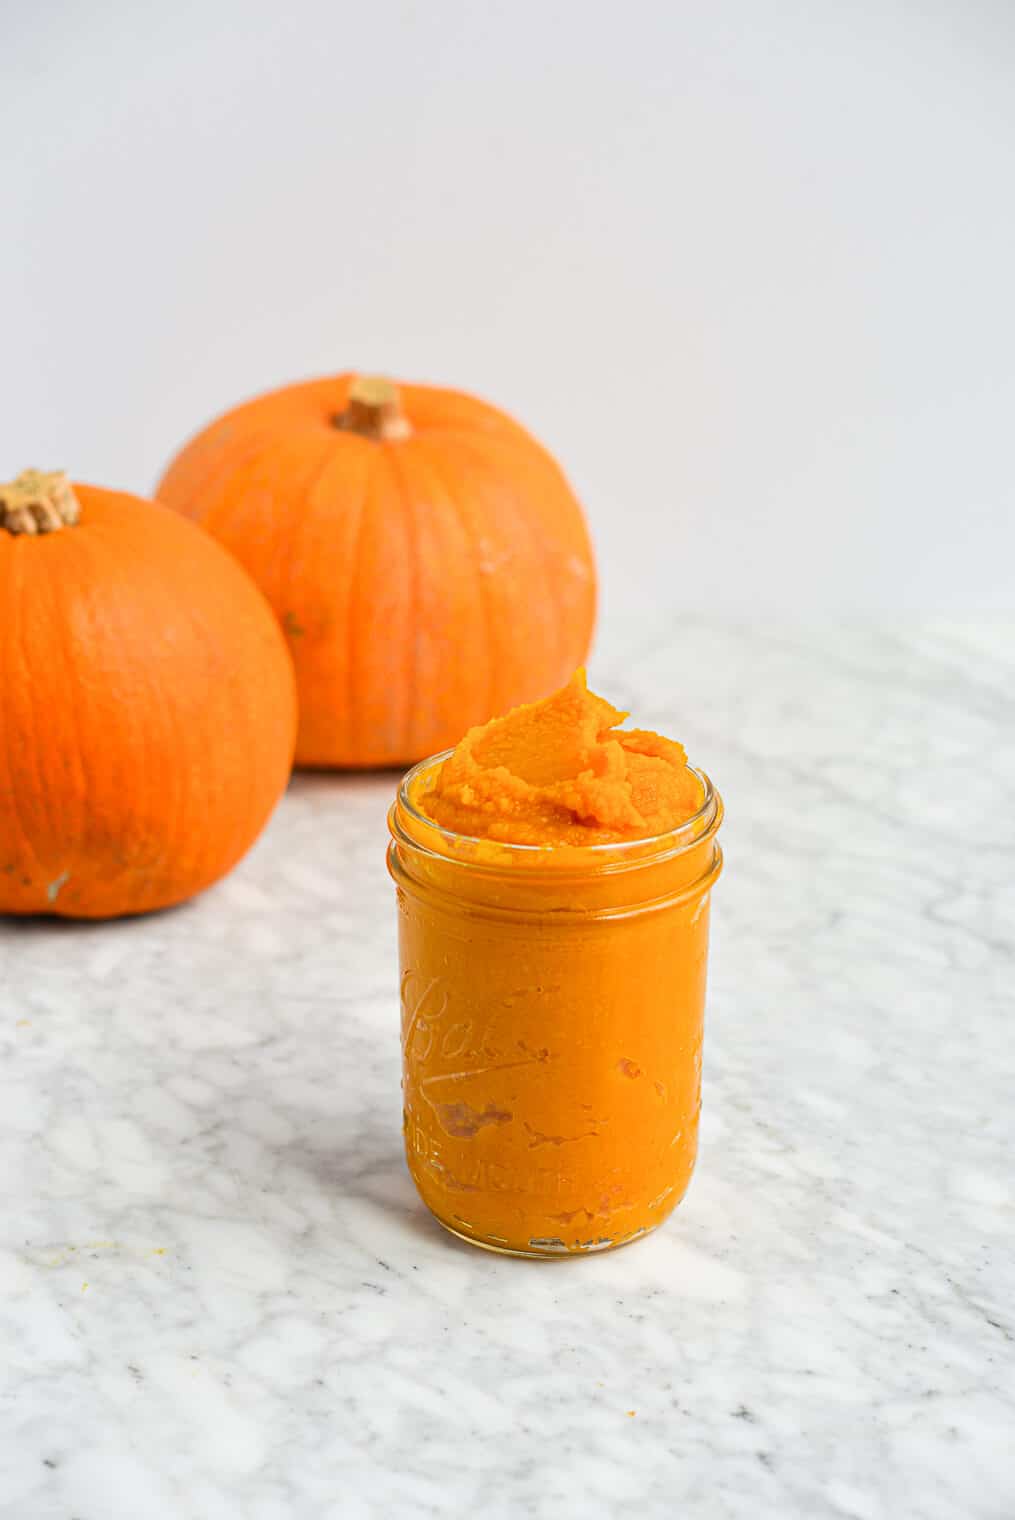
Table of Contents
This recipe is…
It’s pumpkin season, people! I’m one of those pumpkin fanatics that would be SUPER happy if pumpkin season was a little bit longer (maybe, say, January to December?!), but it isn’t, so I feel the need to fully bask in pumpkin glory all fall long!
Today, we’re giving you step by step instructions on exactly how to make your own pumpkin puree (no more scouring the grocery store shelves for canned puree!) so that you can enjoy all things pumpkin from September to November!
Looking for more fun fall recipes? We’ve got a pumpkin bread for EVERYONE! Try our classic pumpkin bread, healthy pumpkin bread, keto pumpkin bread, or vegan pumpkin bread.
Why You’ll Love This Recipe
- It’s easy – if you’ve got an Instant Pot at home, then you’re already halfway to homemade pumpkin puree. This recipe truly consists of cooking the pumpkin at high pressure for 15 minutes, letting it cool, then scooping out the seeds and food processing the flesh. It’s so easy!
- It’s cost-effective – if you’ve been purchasing canned pumpkin from the store, this is your sign to stop and save yourself some money! This recipe requires one pumpkin and yields 3 cups of pumpkin puree.
Recipe Ingredients and Equipment
Just one ingredient and a handful of kitchen tools stand between you and homemade pumpkin puree. Find notes below.
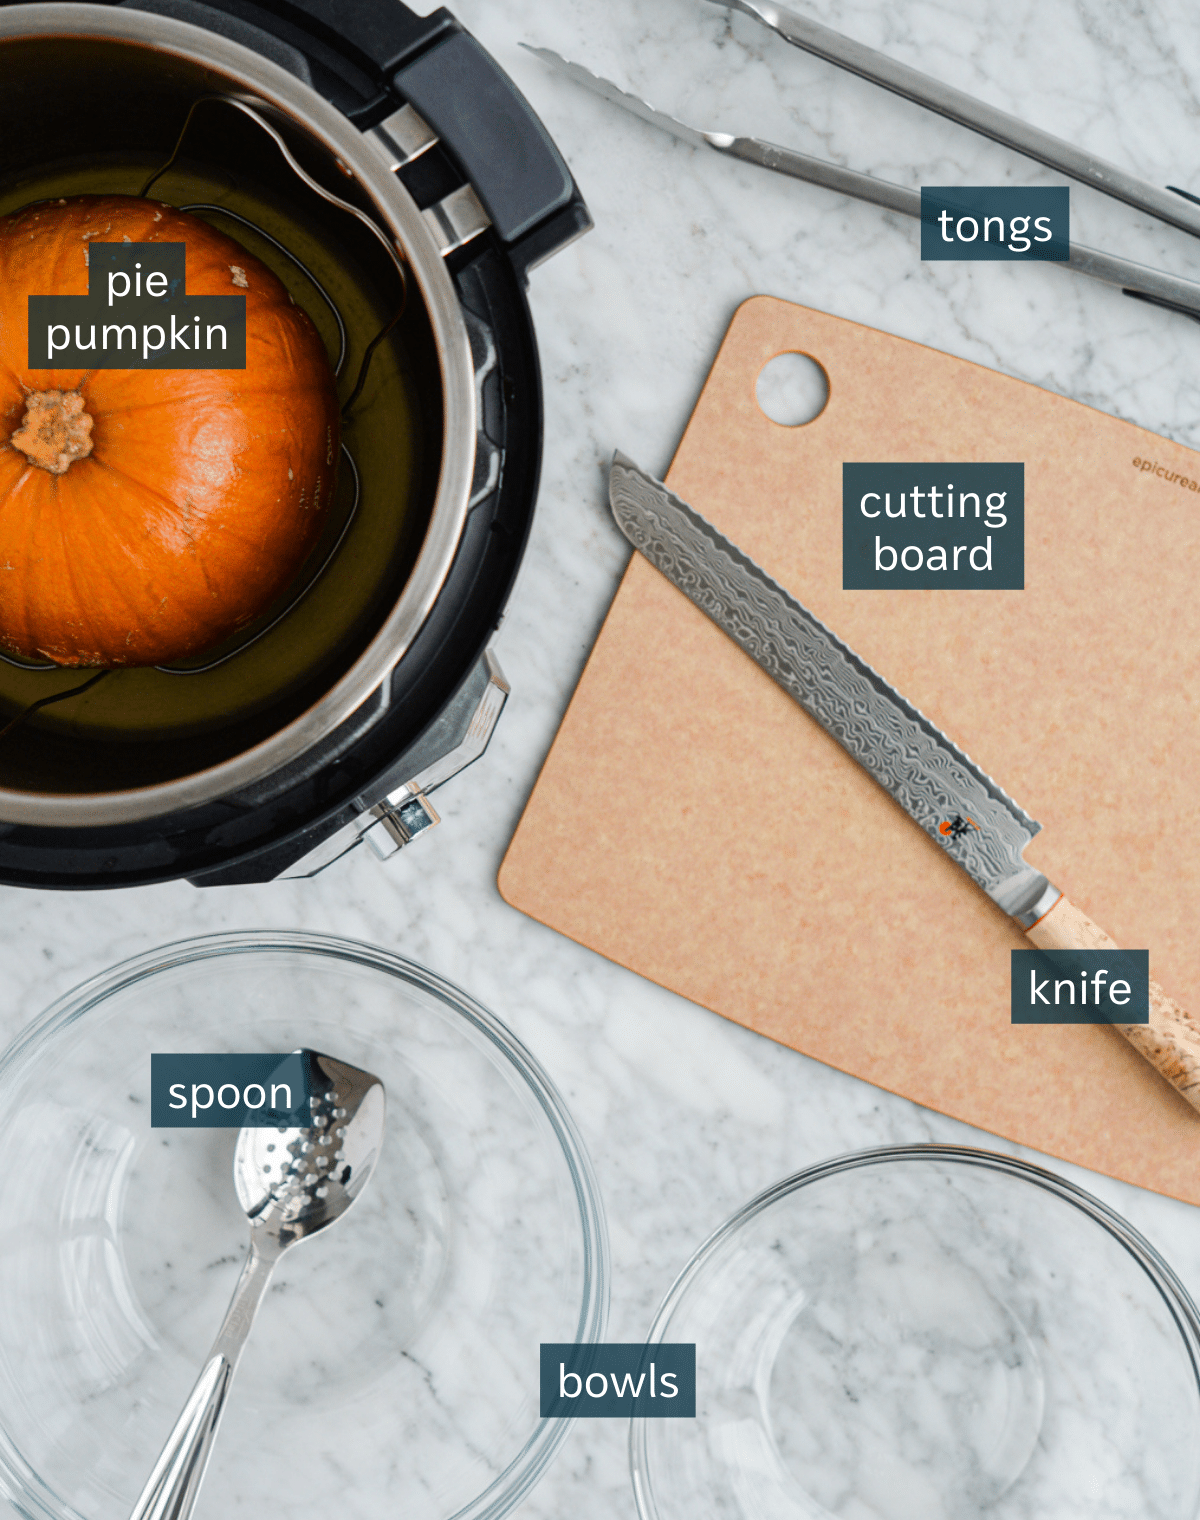
- Pie pumpkin – there are tons of different kinds of pumpkins, but for this recipe, you’ll need a small (1.5-2 pound) pie pumpkin.
- Bowls – you’ll need 2-3 bowls for this recipe. If you plan on scooping out the pumpkin seeds and saving them for later, grab 3 bowls. If you plan on trashing the pumpkin seeds with the skin, grab 2 bowls.
A full list can be found in the recipe card below.
How to Make Pumpkin Puree in the Instant Pot
This really is the easiest thing ever, you guys! It totally makes me wonder why I’ve always purchased the canned stuff! Here’s how you’ll use your Instant Pot to make perfect pumpkin puree.

Step 1: Place the steamer rack trivet in your Instant Pot, then add 1 cup of water and place the whole baking pumpkin on the rack. Seal the lid, then cook on high pressure for 15 minutes. Once the timer goes off, release the pressure manually, then remove the pumpkin from the pot and let it cool for about 15 minutes, until it’s at handling temperature.
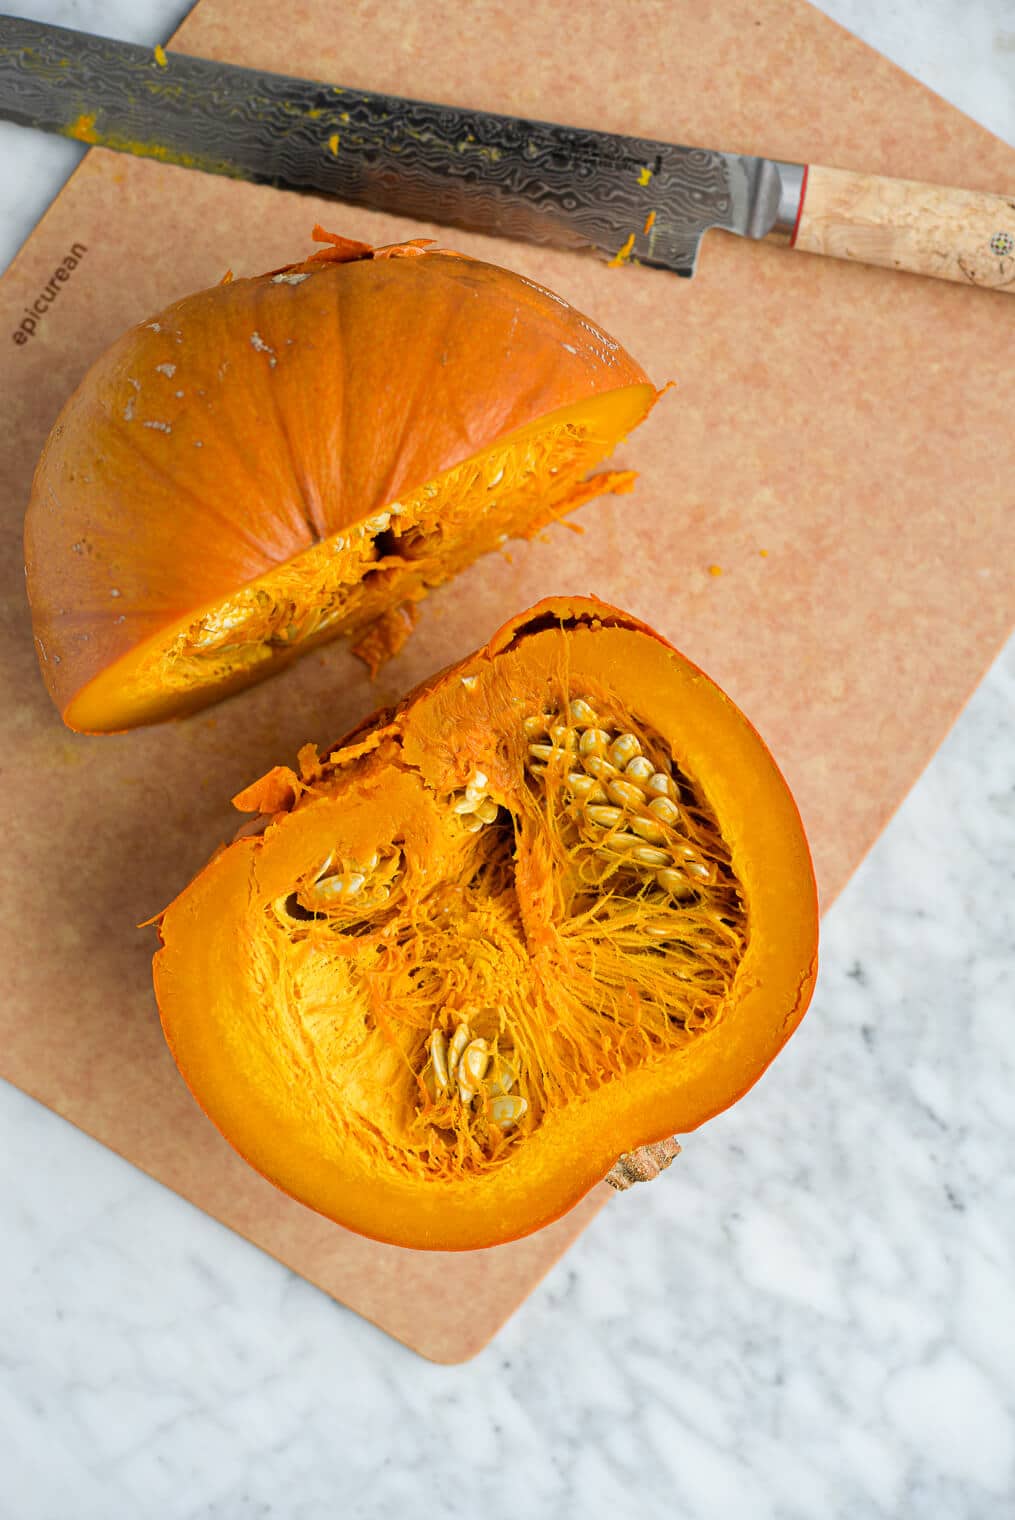
Step 2: Using a sharp knife, cut the pumpkin in half, starting near the stem and making your way through the pumpkin.
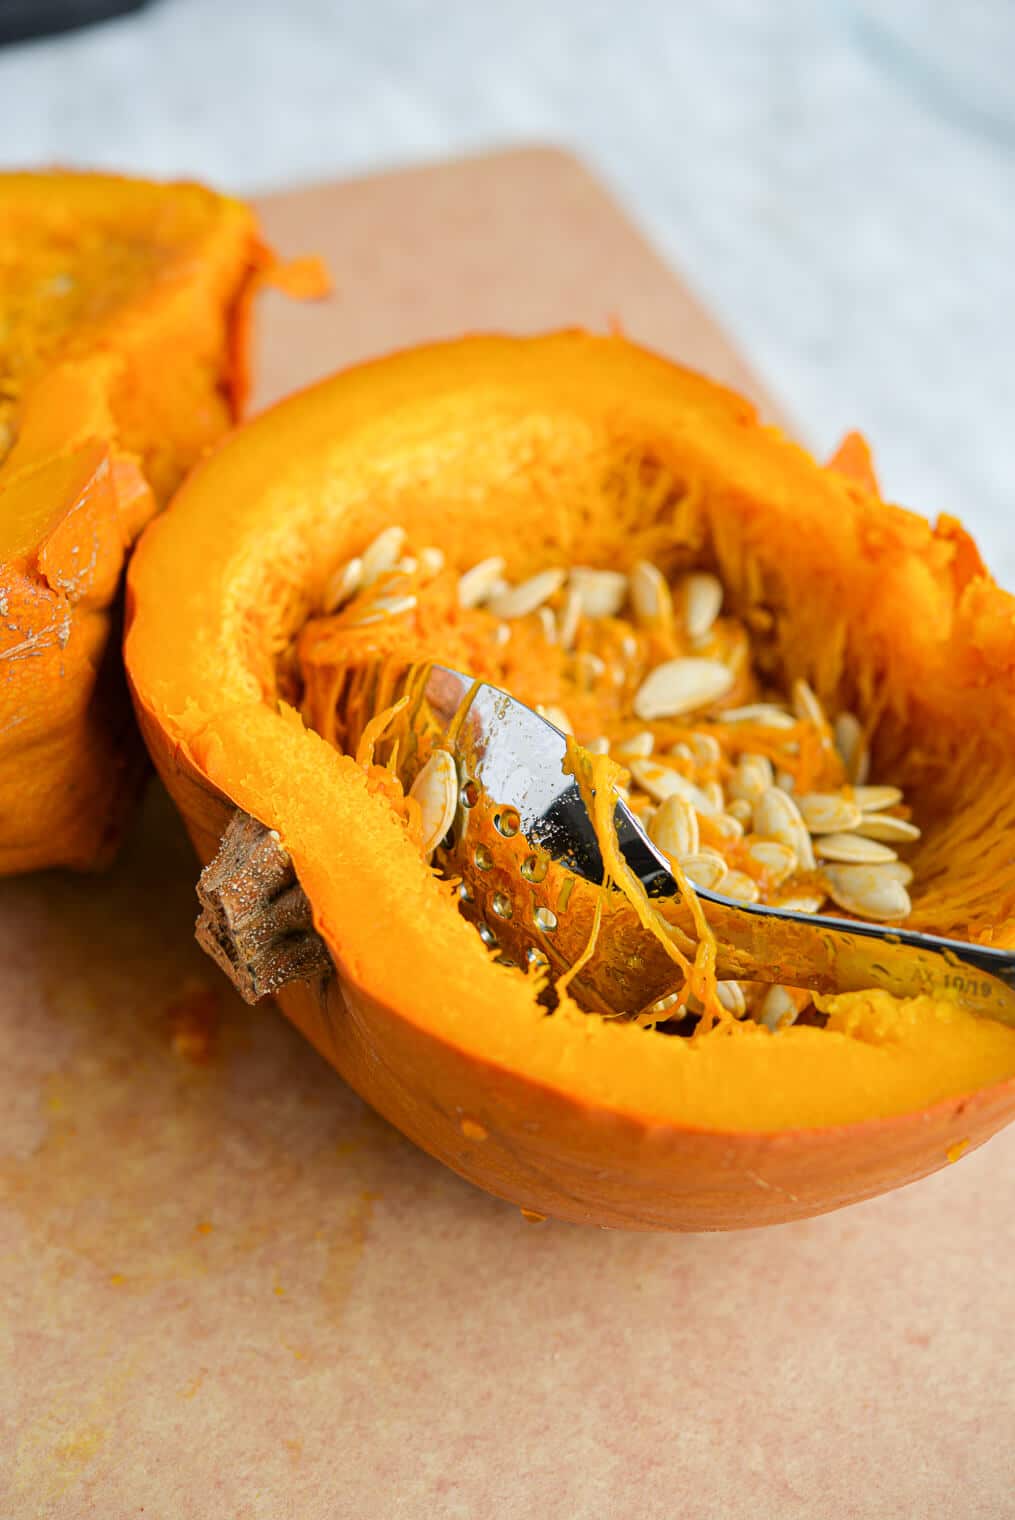
Step 3: Use your spoon (blunt-nose or regular) to gently scrape out the seeds, the flesh will be softer on the bottom of the pumpkin so be careful to not include too much flesh there while you’re seed scooping. If your pumpkin is still hot, use your tongs to help you handle it. If you plan on roasting your pumpkin seeds, we recommend using our roasted pumpkin seed recipe as a guide!
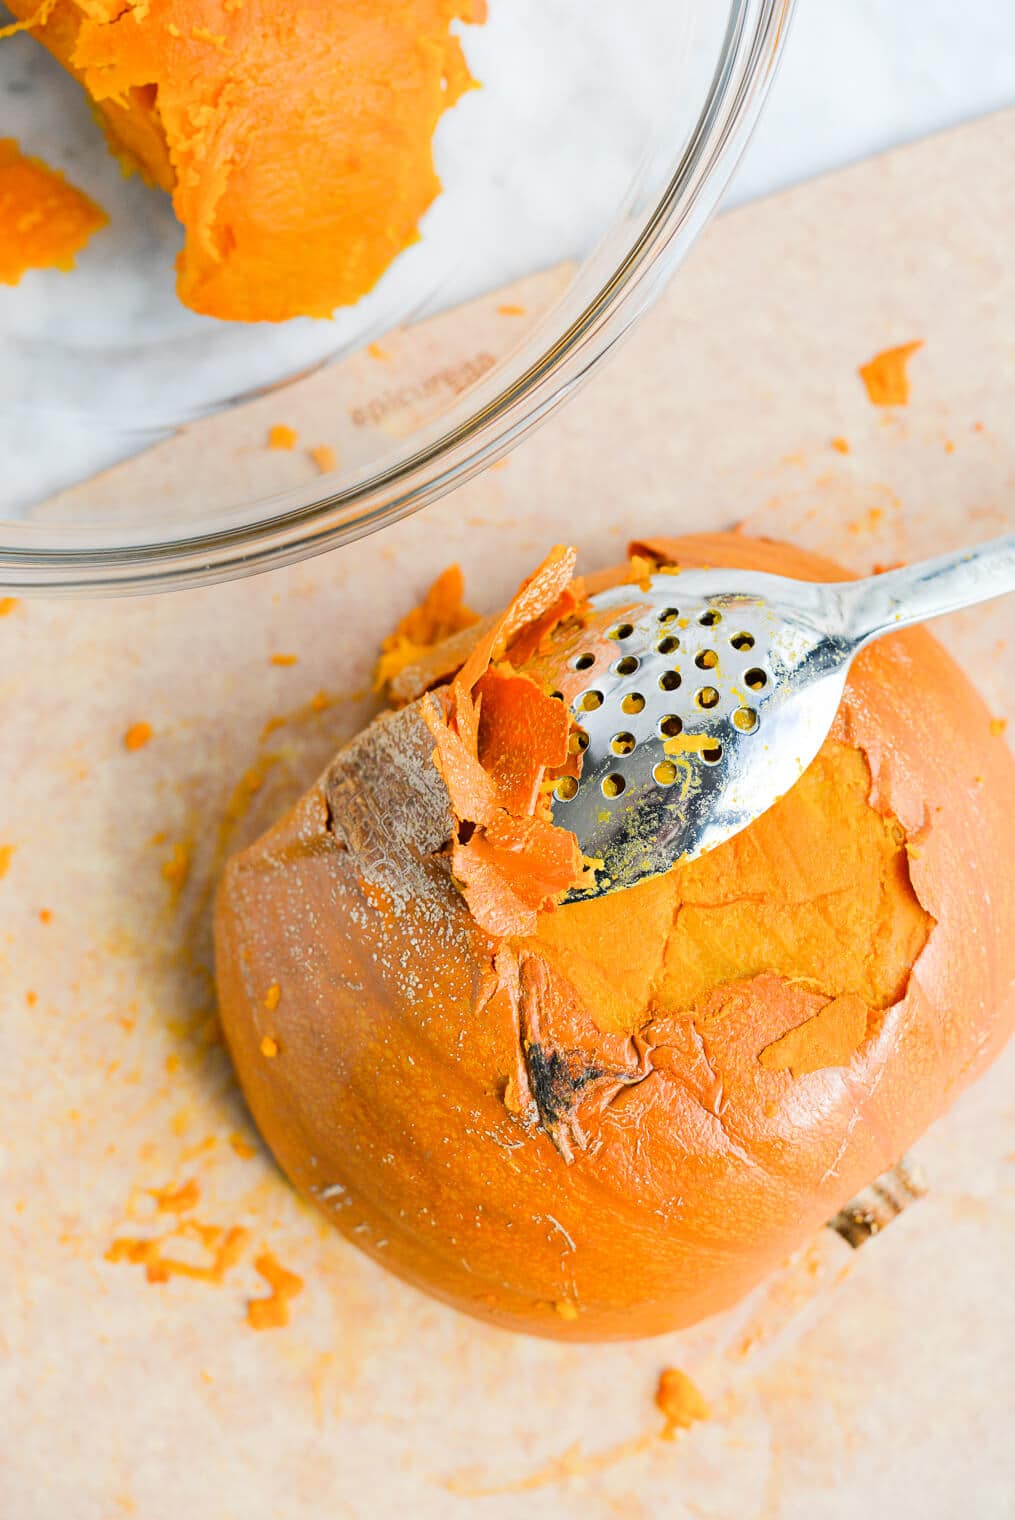
Step 4: Flip the pumpkin upside down, and, using a spoon, scrape the skin off of the pumpkin.
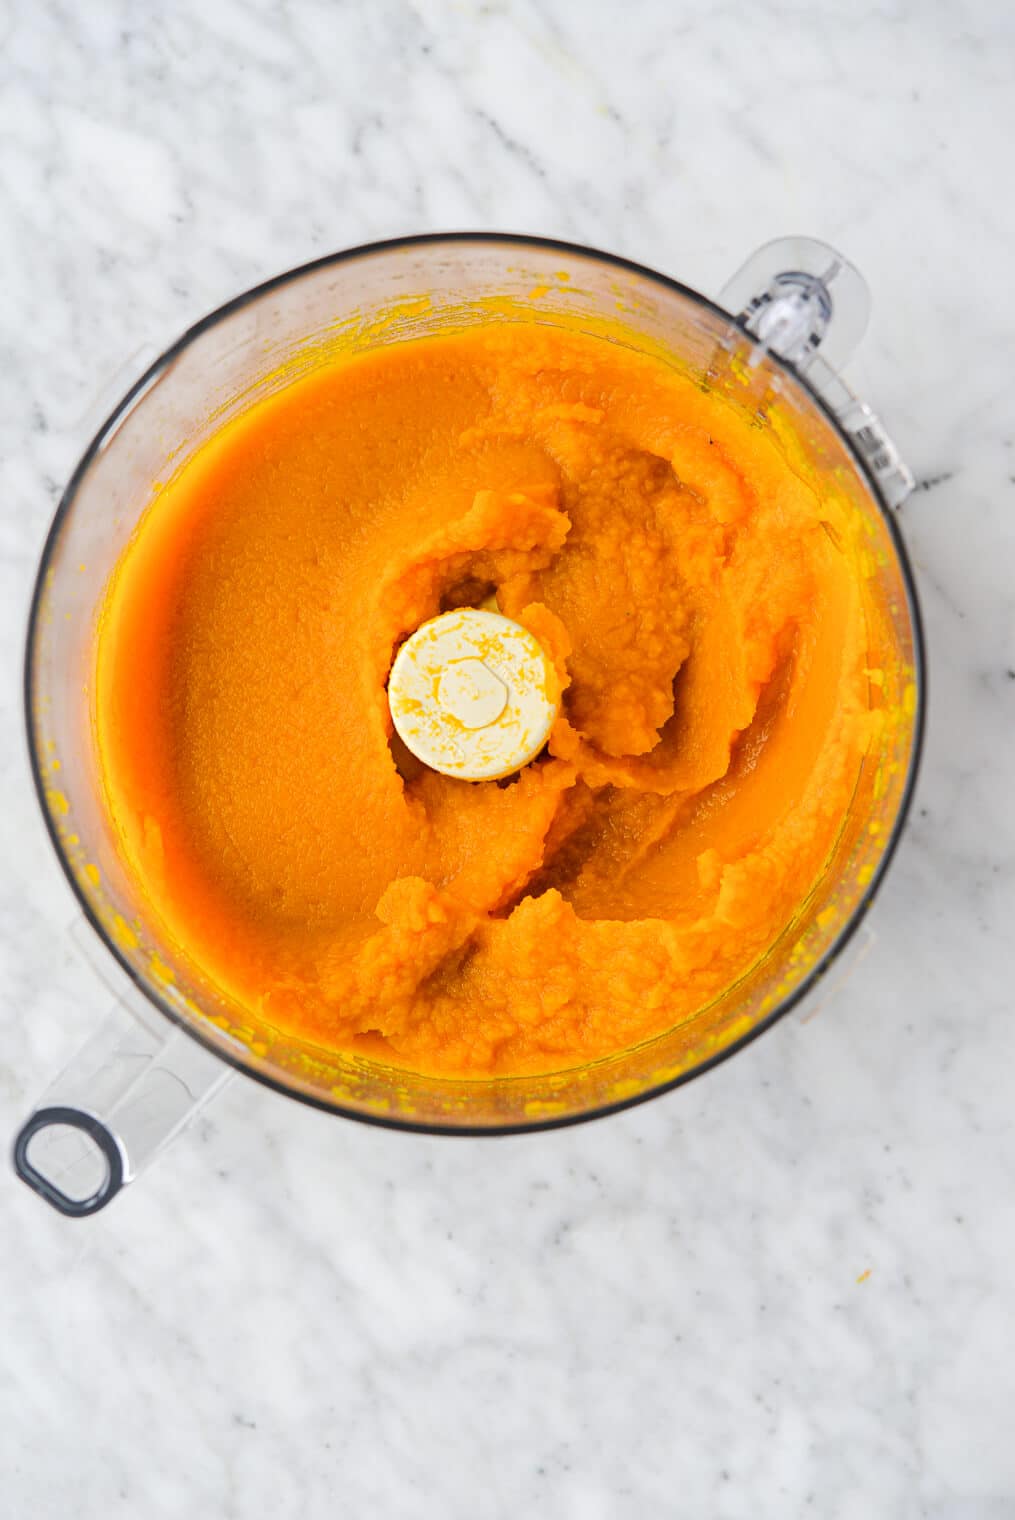
Step 5: Carefully scoop the pumpkin flesh from the skin, then transfer to a blender or food processor and blend for 3-5 minutes, until smooth. Do note that the flesh nearest the bottom of the pumpkin will be mushier than the flesh near the stem – don’t worry, though (this is normal), it’ll all blend up nicely in the food processor.
Step 6: Transfer the fresh puree from the food processor to airtight container(s) and store for a week in the fridge or up to 4-5 months in the freezer.
Tip for Straining Pumpkin Puree
Blending the flesh of your cooked pumpkin at high speed in the food processor for 3-5 minutes should create a super smooth, perfectly textured puree, but if you still have a few stringy or lumpy bits in your puree, straining it is a great way to get those out!
To strain, simply place a fine-mesh strainer over a large bowl and line it with cheesecloth, then pour in the pumpkin puree, and let sit for 5-10 minutes, until the excess liquid in the puree has strained out – easy peasy!
What to Make With Pumpkin Puree
SO MANY THINGS! I say that if it’s between September 1st and November 30th, it’s completely acceptable to add a dollop of pumpkin puree to EVERYTHING. Okay, maybe that’s a bit of an exaggeration, but there really are a ton of things that can be done with pumpkin puree. Here are a few of our very favorite pumpkin recipes:
Sweet Pumpkin Recipes
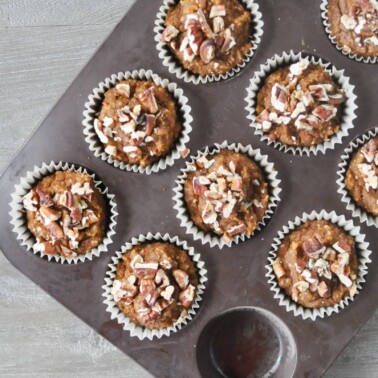
- Gluten Free Pumpkin Chocolate Chip Muffins
- Pumpkin Spice Overnight Oats
- Pumpkin Dump Cake
- Egg-Free Pumpkin Pie with Cinnamon Crumble Topping
- Pumpkin Spiced Icebox Cookies
- Pumpkin Pie Banana Nut Muffins
Savory Pumpkin Recipes
- Instant Pot Creamy Pumpkin Soup
- Pumpkin Lasagna Rolls
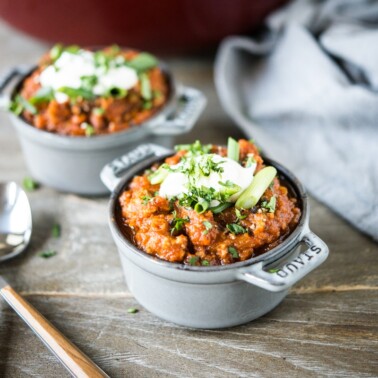
- Pumpkin Turkey Paleo Chili
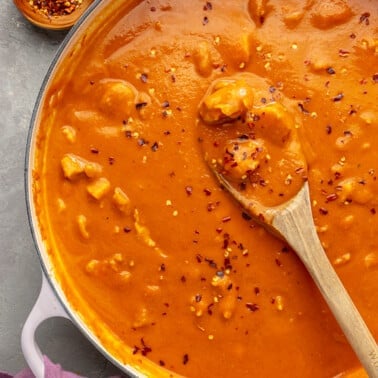
- Paleo Pumpkin Curry
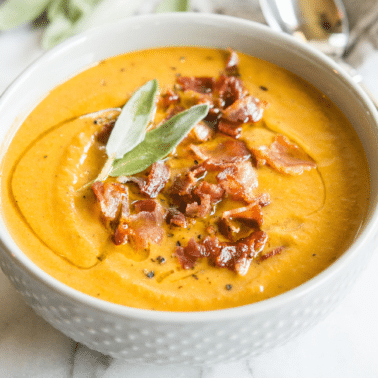
- Creamy Bacon Pumpkin Soup
More Pumpkin Uses
Frequently Asked Questions
If you don’t have an Instant Pot, don’t worry! You can still make homemade pumpkin puree, you’ll just need to roast your pumpkin rather than pressure cook it.
In order to do this, you’ll need to cut your pumpkin into 4 wedges (in half and then in half again) first, then scrape out the seeds, and give each wedge a good olive oil rub. Once your pumpkin is coated in olive oil, place on a rimmed baking sheet or baking dish and bake it at 375ºF for 45 minutes, or until the flesh is easily pierced with a fork.
Let your pumpkin cool to handling temperature, and then scoop out the roasted pumpkin flesh, blend it in a food processor for 3-5 minutes, and strain if needed!
If you’re using the Instant Pot method, there is no need to cut your pumpkin before cooking it (which is REALLY nice, because cutting through a raw pumpkin can get a little bit tricky!), but if you’re going the oven route, you’ll need to cut your pumpkin in half beforehand.
To do this, simply take a paring knife (trust us on this one!) and stick it straight into the pumpkin (starting at the top, near the stem) so that the pointed tip of the knife is piercing the pumpkin’s skin + flesh. Then, move the knife in and out of the pumpkin as you continue cutting down toward the bottom of the pumpkin.
Continue this until you’ve made it all the way around the pumpkin and have two separate pumpkin halves! Using this technique is a lot easier than trying to saw the pumpkin with a large knife…I promise!
When it comes to pumpkin puree, you don’t want to grab a huge orange pumpkin – the really big ones are fantastic for pumpkin patch photos, carving, and painting, but not for popping into your Instant Pot or baking (they tend to be stringy and bland).
Instead, you’ll stick with pie pumpkins, small baking pumpkins, or sugar pumpkins (all the same, just known by a few different names!) – this smaller variety is less fibrous than carving pumpkins, really flavorful, just a tad bit sweet, and has a super smooth, creamy flesh.
Glad you asked! Pumpkin puree (even the homemade variety) has a pretty lengthy shelf life! If you’re choosing to store your puree in the fridge, it’ll last for a week, but if you’re choosing to store it in the freezer, it’ll last for 4-5 months.
We say, grab a few baking pumpkins at the very end of pumpkin season, make + freeze some homemade puree, and then enjoy pumpkin-y goodness for the months to come (because EVERYTHING is better with pumpkin, right?!).
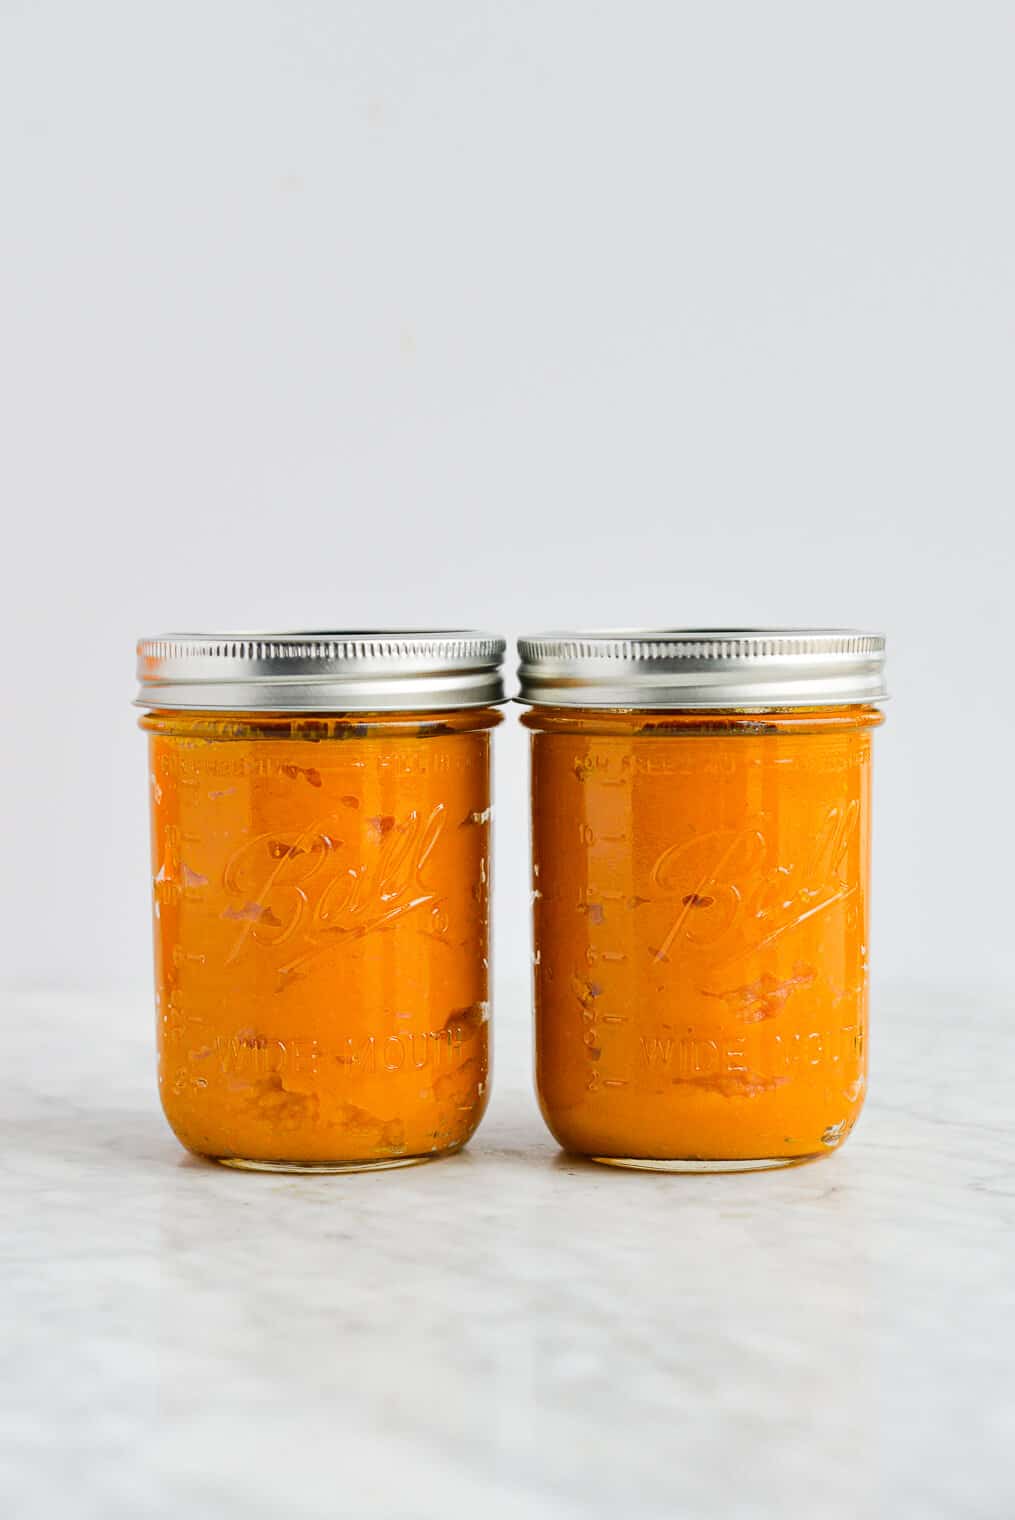
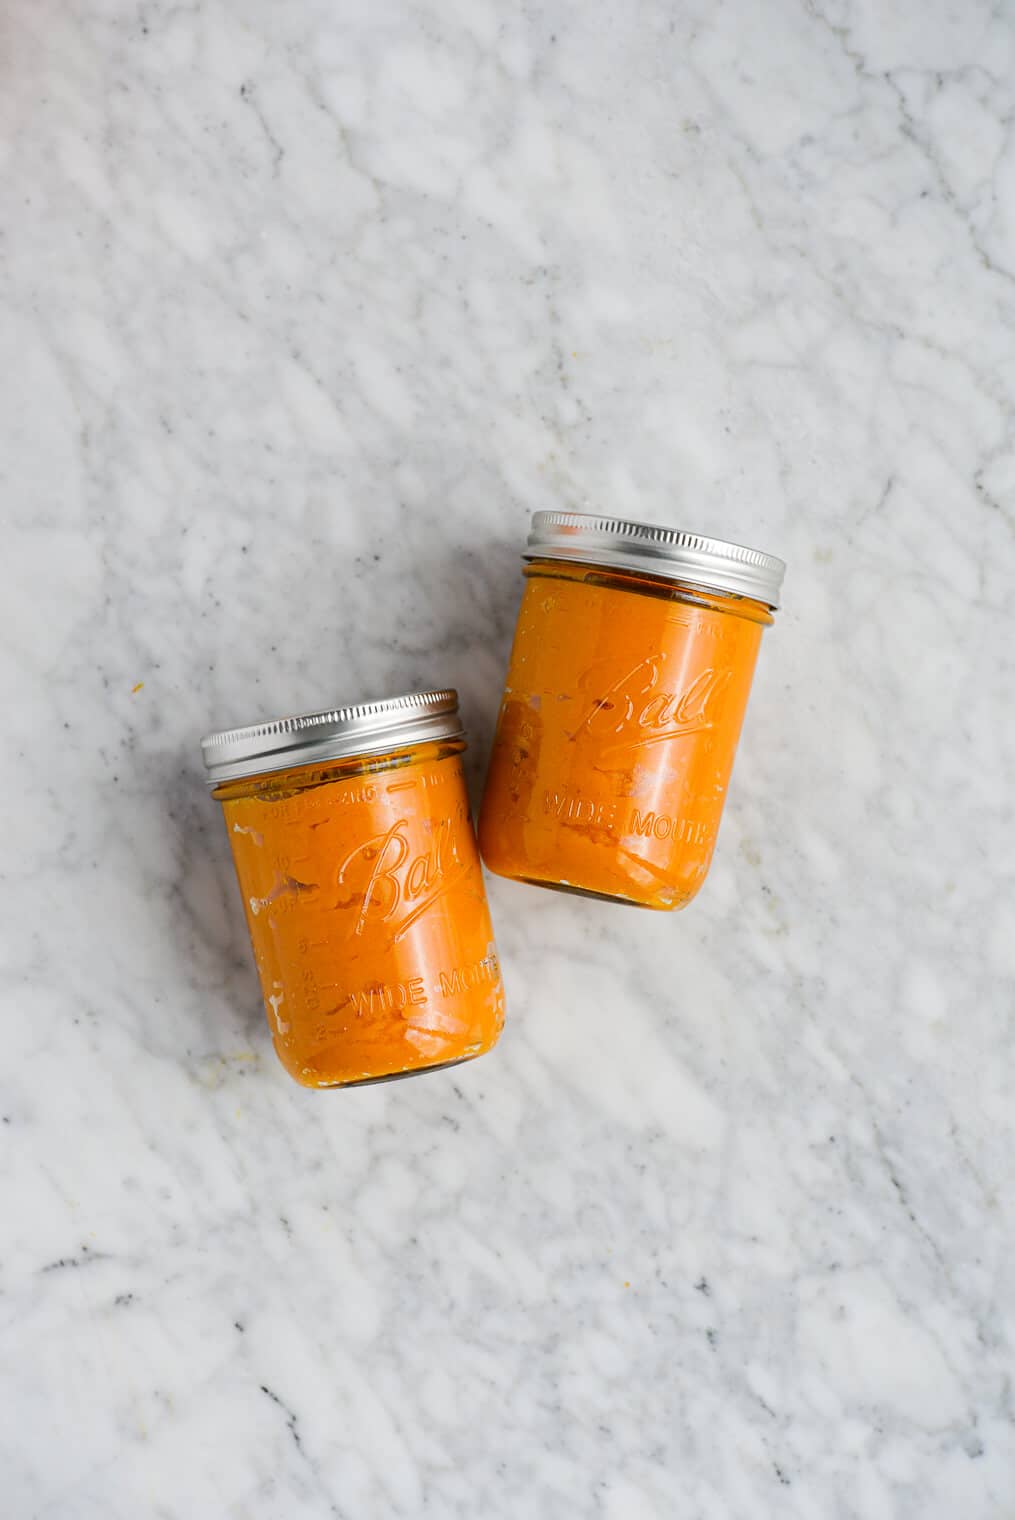
There are a few different ways to freeze pumpkin puree. If you’ll use ~12 ounces (1½ cups) at a time (or in a week’s time), we recommend freezing your puree in 12 ounce portions in THESE mason jars. If you know you won’t use 12 ounces at once, though, feel free to freeze your puree in smaller portions!
We love freezing purees in THESE reusable baggies, or portioning small amounts of puree in muffin tins lined with silicone baking cups for individual sized (about ½ cup per silicone liner) frozen puree. If you’re going the muffin tin route, simply pop the puree-filled silicone liners in a large Ziplock once frozen, and store in the freezer!
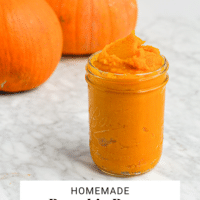
YES! That’s the beauty of this recipe! No more stocking up on canned pumpkin, because making it this way is cheaper and (dare I say) even yummier. Though every pumpkin is different, and some have more or less flesh or seeds than others, we’ve found that a 1½ – 2 pound pumpkin yields about 3 cups (24 ounces) of fresh pumpkin puree, which is a little bit more than a can and a half of the store-bought stuff.
Favorite Pumpkin Recipes
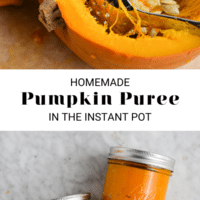
Homemade Pumpkin Puree in the Instant Pot
Ingredients
- 1, 1.5-2 pound pumpkin
Instructions
- Place the steamer rack trivet in your Instant Pot, then add 1 cup of water and place the whole baking pumpkin on the rack. Seal the lid, then cook on high pressure for 15 minutes.
- Once the timer goes off, release the pressure manually, then remove the pumpkin from the pot and let it cool for about 15 minutes, until it’s at handling temperature.
- Using a sharp knife, cut the pumpkin in half, starting near the stem and making your way through the pumpkin. Once split, use a spoon to scrape out the seeds.
- Flip the pumpkin halves over so that the shell side is up, then peel off the skin. If the skin isn’t breaking apart easily, you can scoop the flesh out instead.
- Transfer the pumpkin flesh to a food processor, then puree for 3-5 minutes, until smooth.
- Store the pumpkin puree in airtight containers for a week in the fridge or up to 4-5 months in the freezer.


So simple and easy! Love it! I made this purée for your pumpkin soup recipe, which was also delicious!
We’re so glad you found this helpful, Jenna! Thank you for sharing your success and how you used your puree! -Team FF
Hi I am using jack o lantern pumpkins. Does the time change much?
Hi Garnett! This recipe is for a 1.5-2 pound pumpkin, so depending on the size of the pumpkin, you may not have to adjust the time much (I would say keep the time the same up to 3 pounds and add 5 minutes per pound thereafter?). Similarly, you could cut the pumpkin into quarters and cook for the same amount of time. As a side note, carving pumpkins have a slightly different texture than baking pumpkins and may not be as sweet, but still make a delicious puree! ~Melissa
I’m really excited to try this out! I just bought an IP a couple of days ago. Question: do you need to remove the stem from the pumpkin before placing in the IP? Thank you!
You don’t need to remove it, Becca! Enjoy!
Could someone explain to me what a baking pumpkin is?
It’s a small pumpkin used in baking! Sometimes called a “sugar pumpkin” or “pie pumpkin”!