In this article, you’ll find the exact template I follow to stock my freezer for when I need the backup food support! Whether you’re recovering from childbirth, welcoming a new family member into your home, recovering from surgery, gearing up for a busy season, or wanting to build a safety net of meals for your family when you travel, this guide will hold your hand through every step.
In preparation for baby #3 to join our family (any day now!), I’m hard at work filling our freezer at home with all the meals, breakfasts, and snacks to keep us well-nourished in those first few weeks. Over the years, I’ve shared small peeks into what I do to prep for baby (or travel, or periods of intense work scheduels, etc.) and can barely believe I haven’t published my plan for you here before.
While our article on these 10 make-ahead crockpot freezer meals is a great place it start, it’s not totally inclusive of all I personally do to prep food before baby.
Whether you’re gearing up to welcome a new family member, are preparing food for when you’re home recovering from a surgery/other procedure, or have an especially busy season for work ahead, I hope this guide helps inspire ways you can take care of your future self now.
If you’re recently postpartum and looking to support your milk supply, these lactation cookies (developed by a Board Certified Lactation Consultant) are a delicious way to do that.
Table of Contents
- Why make freezer meals ahead?
- Labeling Your Food
- Categories of Meals to Prep
- How many freezer meals should I prep for postpartum?
- GOOD (as in, first order of prep business): 10 Slow Cooker Meals + 5 Casseroles
- How to Defrost and Cook Slow Cooker Meals
- 5 Casseroles + Modifications for Freezer Prep
- How to Store your Casserole for Freezing
- How to Bake
- BETTER (once you get your slow cooker meals done, work on these items): 24 Frozen Breakfast Servings + 24 Liters Bone Broth
- How to Prep Your Breakfast Servings for Freezing
- How to Store Your Breakfast Servings for Freezing
- How to Reheat Your Breakfast Servings
- Bone Broth
- BEST (you get the drill, but save this category for last): 24+ Servings Baked Goods
- How to Prep Your Baked Goods for Freezing
- How to Store Your Baked Goods for Freezing
- How to Defrost Your Baked Goods
- Scaling Up or Down
- Materials Needed for Freezer Meals
- Tips for Easy Freezer Meals
Why make freezer meals ahead?
Before we get to the “what” of a postpartum freezer meal guide, let’s briefly cover the “why.” WHY would you pre-make (or assemble) meals before baby’s arrival? If you’re new to the newborn world, you may not yet know just how FULL your hands are about to be. Though newborns do sleep quite a lot, you’ll want/need rest, too. Nutrient needs in the early postpartum period are higher than when you are pregnant, especially if you are breastfeeding. After our 1st and 2nd daughters were born, I was IMMENSELY grateful to past-me every time I just grabbed a frozen meal from our deep freezer, followed the instructions I’d written out, and plated my family (+ myself, of course) a hot, healthy, homemade meal with VERY little present-day effort.
Labeling Your Food
To make for the easiest use of your freezer meals when you are finally ready to eat them, make sure to label your meals before they go into the freezer. Key details to include are defrosting instructions, how to reheat, and most importantly, what the meal is! This is a sure way to help keep track of what you have in storage so there isn’t any guesswork that has to happen. Here are some ideas for easiest ways to label your food:
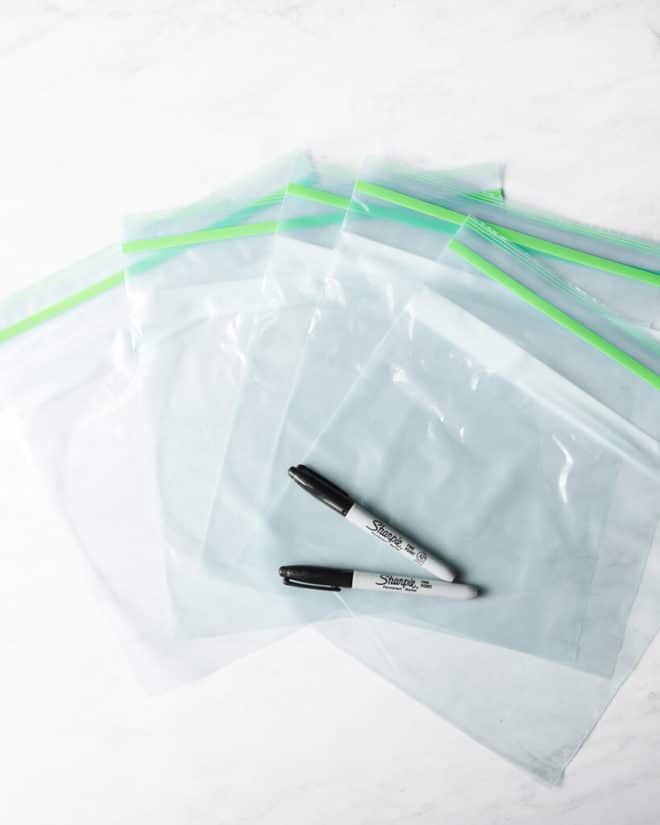
- Write the instructions directly on the bag or pan with a permanent marker.
- Use large sticky, shipping labels to stick on the finished product.
- Type out the instructions, print, and tape them to the outside of your meals.
Categories of Meals to Prep
I’m going to list these out in terms of priorities! Or a “good, better, best” list, if you will. Experience tells me that while the “best” list is just that, best, it’s not always possible. Sometimes babies make their arrival before you’ve been able to make it all the way through your freezer prep list and sometimes, you’re just too pooped to be on your feet in the kitchen. Storage space in your freezer for your meals is also going to be a big driver as to how much food you are able to stash away. Also, if you know that family or friends will be providing dinner for your family during the first couple of weeks post-delivery/surgery/etc., you may consider skipping dinner prep and focusing on breakfast and snack prep instead. If you’re unsure of where to start, I say start from the top of this list and work your way down as you have time and energy!
How many freezer meals should I prep for postpartum?
If you’re prioritizing based on my categories of meals to prep before baby, and you complete the prep in the “good” category, you will store away 15 full meals. The “better” category will add to your stockpile 24 breakfast servings, plus 24 liters of bone broth. If you have it in you to go for the “best” list, you’ll add 24+ servings of baked goods to your final count.
GOOD (as in, first order of prep business): 10 Slow Cooker Meals + 5 Casseroles
These slow cooker meals and casseroles are “warming” foods that are easy on your digestion and pack a nutritional punch. This is especially important postpartum as your body recovers and heals! Nutrient-dense, high protein meals loaded with healthy fats and served alongside a starch (like rice, potatoes, tortillas, or bread) are a great way to support your body and your milk supply if you are breastfeeding. You can find details and directions on how to prep and freeze these meals here: 10 Crock Pot Freezer Meals.
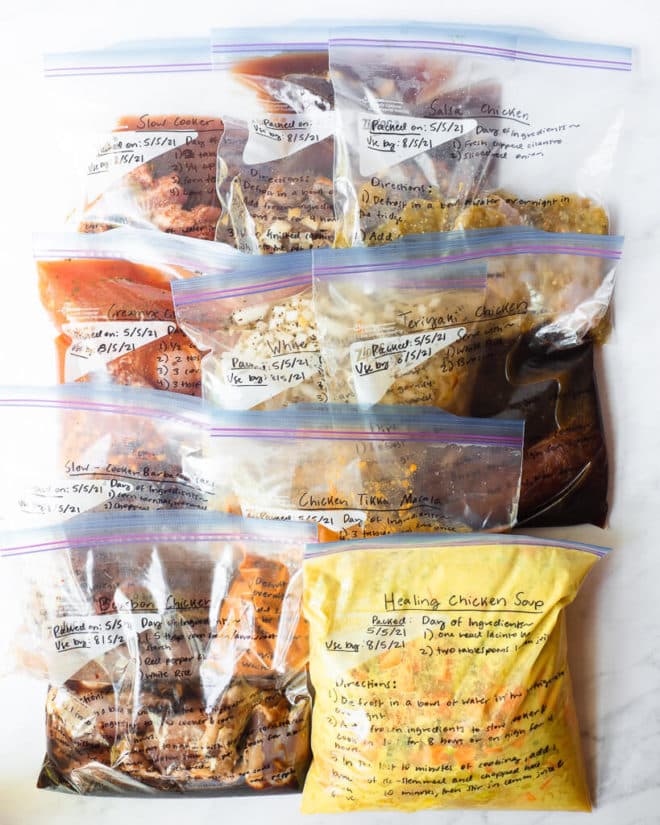
- Healing Chicken Soup with Ginger and Turmeric – this chicken soup is perfect for providing your body with extra nourishment in the early postpartum days. It is nutrient-packed, anti-inflammatory, and helps support digestion.
- Teriyaki Chicken – teriyaki chicken is a great meal to prep for postpartum because it comes together so quickly and makes for a really simple, delicious, and balanced meal.
- Creamy White Chicken Chili – this creamy white chicken chili puts a fun spin on traditional chili and freezes beautifully! The combination of chicken, beans, and vegetables is perfect for keeping your hunger at bay.
- Salsa Chicken – salsa chicken makes for a quick meal that can be served a variety of ways (alongside chips, in a burrito bowl, or on its own for a high protein meal). The prep for this dish is SO easy and only has 2 ingredients!
- Chicken Tikka Masala – if you love your chicken with some bold spices, you’ll want to have this one on hand. Chicken Tikka Masala is loaded with a ton of flavor and can be easily paired with some rice for a quick, complete meal.
- Creamy Chicken Tortilla Soup – another warm and tasty soup option that will help curb your hunger.
- Slow Cooker Barbacoa – this slow cooker barbacoa is so versatile and the perfect add to any side. The star of the show here (chuck roast) is rich in iron and a great source of protein.
- Beef and Broccoli – the slow-cooked stew meat used in this beef and broccoli recipe is easy to digest and rich in iron and protein.
- Slow Cooker Carnitas – these slow cooker carnitas are easy to put together and will provide you with a heap of healthy servings of super flavorful shredded pork.
- Bourbon Chicken – the dark meat from the chicken thighs in Bourbon Chicken provides iron, zinc, and vitamins B6 and B12 to help support your healing. Plus, the sweet, sticky sauce is so tasty! You’ll be glad to have this meal in your freezer.
How to Defrost and Cook Slow Cooker Meals
- Option 1 – Slow Cooker Method: defrost in a bowl of water in the refrigerator overnight. Once thawed, add the ingredients to the slow cooker and cook on low for 8 hours on low or 4 hours on high.
- Option 2 – Instant Pot Method: set the frozen ingredients out for about 30 minutes before making, then run under hot water to ensure you can get them out of their container. Place the ingredients in the Instant Pot, then seal to cook and set to high pressure for 18 minutes if thawed, or 25 minutes if still partially frozen.
5 Casseroles + Modifications for Freezer Prep
These delicious casseroles are so easy to store and reheat when you’re ready to enjoy!
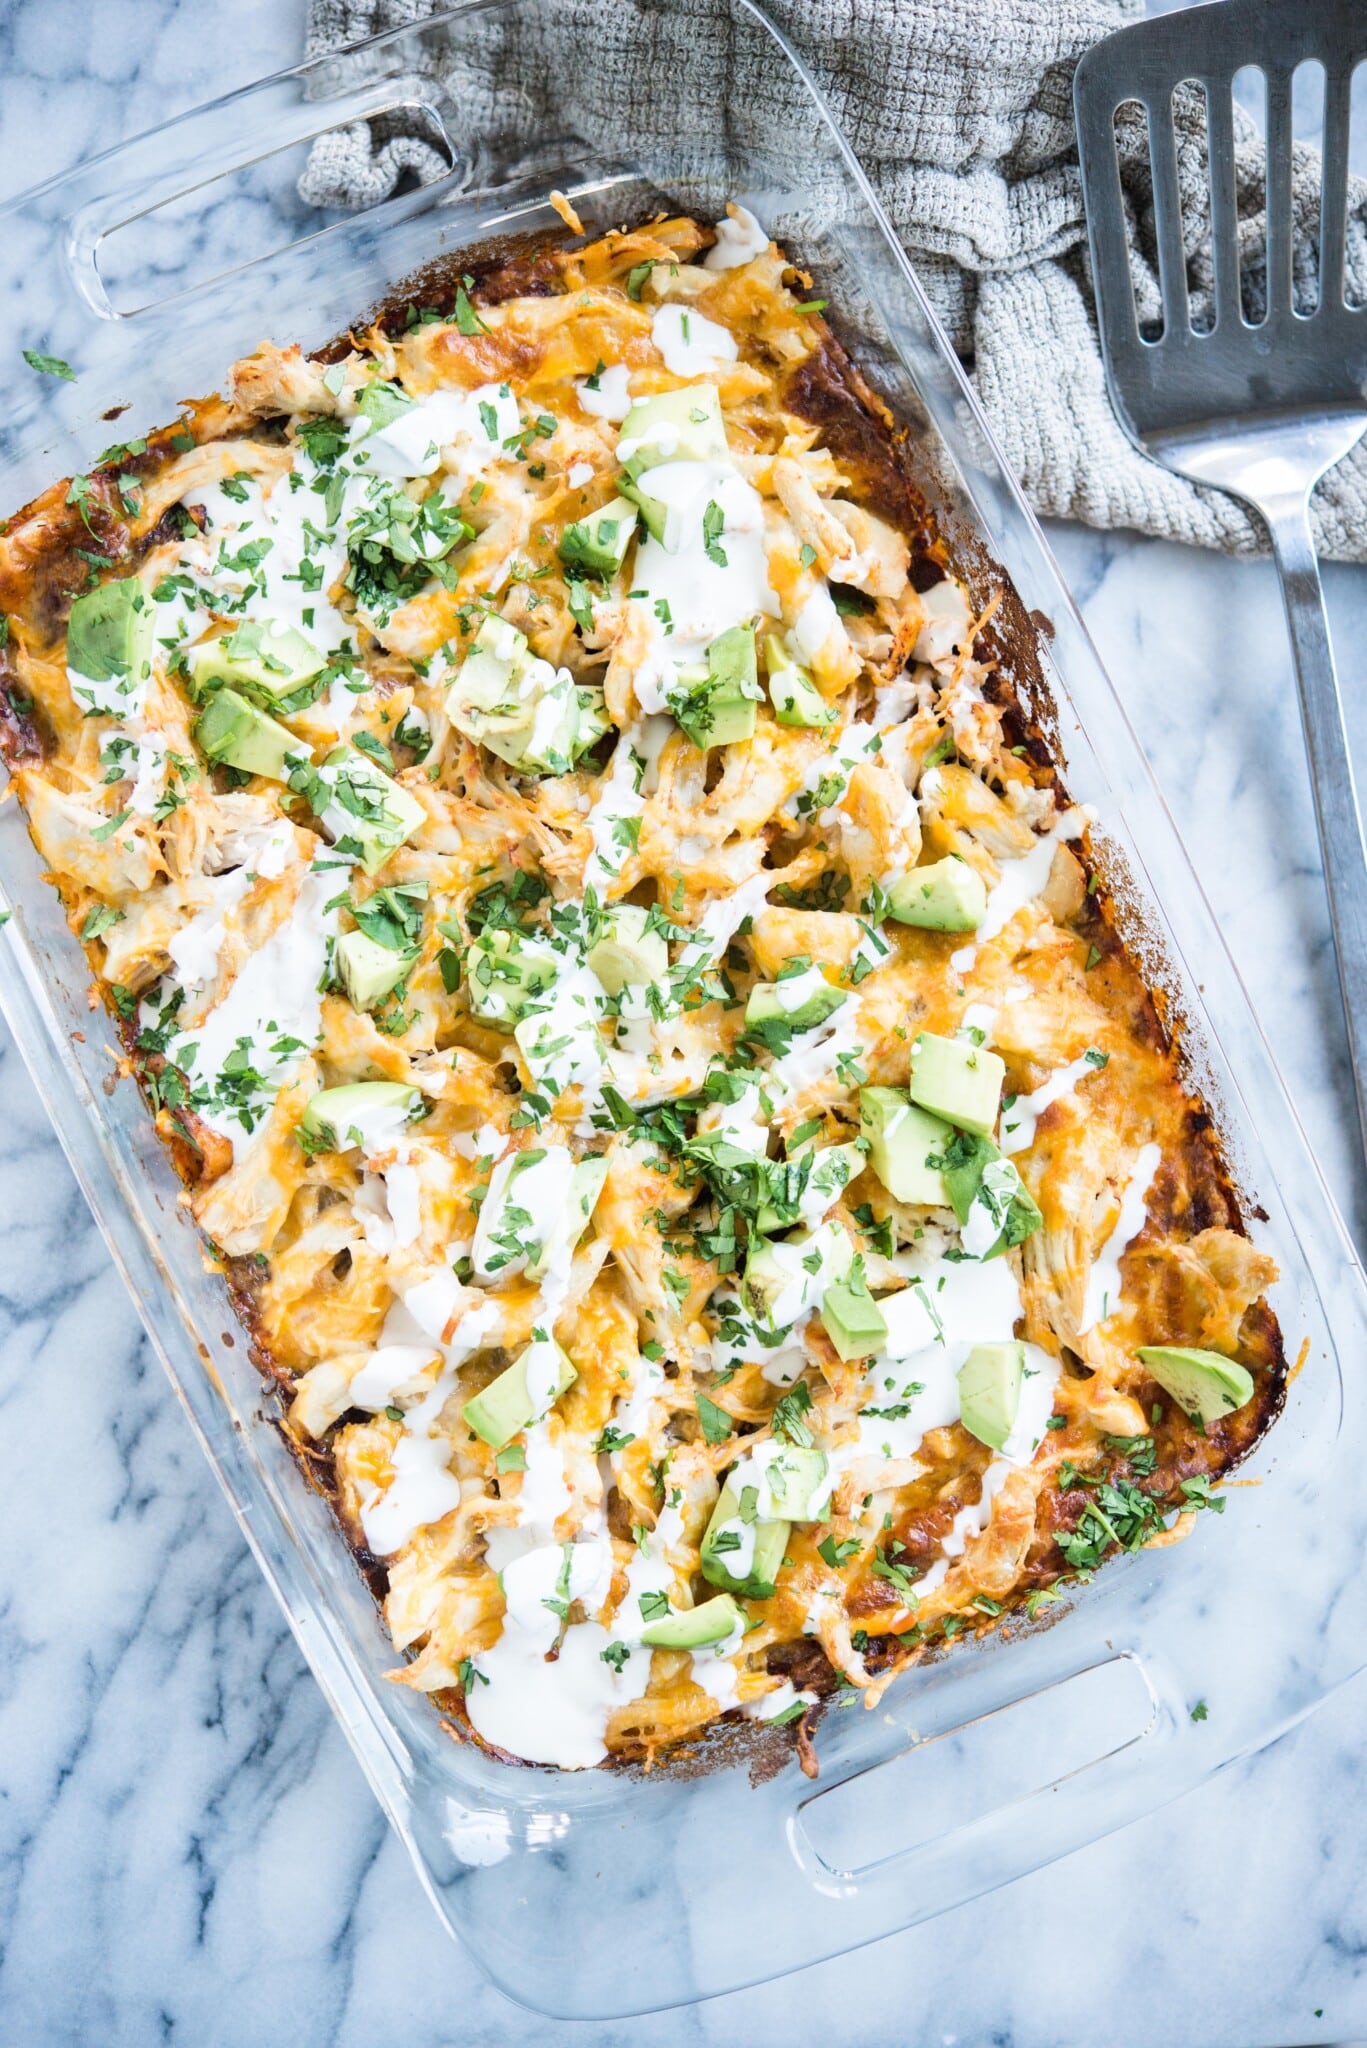
Chicken Enchilada Casserole
This easy Chicken Enchilada Casserole is such a flavorful meal that is high in protein and a family favorite!
To prep the casserole:
- Skip the preheat on the oven. Prep through step 3 and part of step 4 (to assemble all the layers), then cover, label, and freeze.
To bake the casserole:
Ingredients needed for serving:
- ½ cup sour cream
- 1 large avocado, diced, for garnish
- ¼ cup fresh cilantro, chopped, for garnish
- Preheat oven to 350°F.
- Bake for 30 minutes, until the top is browned and bubbling.
- In a small bowl, whisk together the lime juice and sour cream, then drizzle it over the casserole. Garnish with the avocado and cilantro, then serve!
Tamale Pie
This Tamale Pie recipe delivers all the comforting flavors of traditional tamales without all of the work and is a breeze to whip up!
To prep the casserole:
- Skip the preheat on the oven and the final bake. Assemble as directed, then cover, label, and freeze.
To bake the casserole:
Ingredients needed for serving:
- Sour cream, for garnish
- 1 large avocado, diced, for garnish
- ¼ cup fresh cilantro, chopped, for garnish
- 1 jalapeno, coined, for garnish (optional)
- Preheat oven to 350°F.
- Bake for 30 minutes covered, then bake uncovered for an additional 10 minutes.
- Garnish with the avocado, sour cream, jalapeno, and cilantro, then serve!
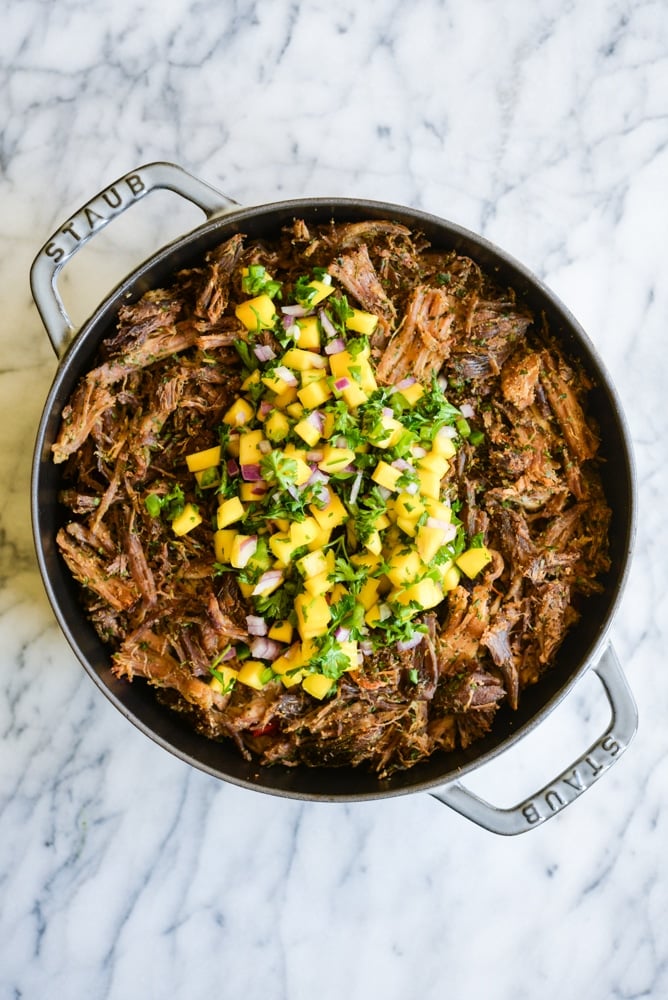
Cuban Pork Casserole
With plantains, roasted red bell pepper, and seasoned shredded pork, this Cuban Pork Casserole has powerful flavor that will tickle your tastebuds and keep your hunger satisfied!
To prep the casserole:
- Prep through step 6, with an exception of the final 30 minute bake, then cover, label, and freeze.
To bake the casserole:
Ingredients needed for serving:
- ¾ cup mango, medium dice
- 1 deseeded jalapeno, small dice
- ½ small red onion, finely diced
- 2 tablespoons lime juice, or juice of one lime
- ¼ teaspoon coarse sea salt
- ¼ cup chopped fresh parsley
Instructions:
- Preheat oven to 400°F.
- Bake for 30 minutes.
- While the casserole is baking, combine all ingredients for the mango salsa in a medium-sized bowl.
- To serve, spoon salsa on top of individual servings of casseroles.
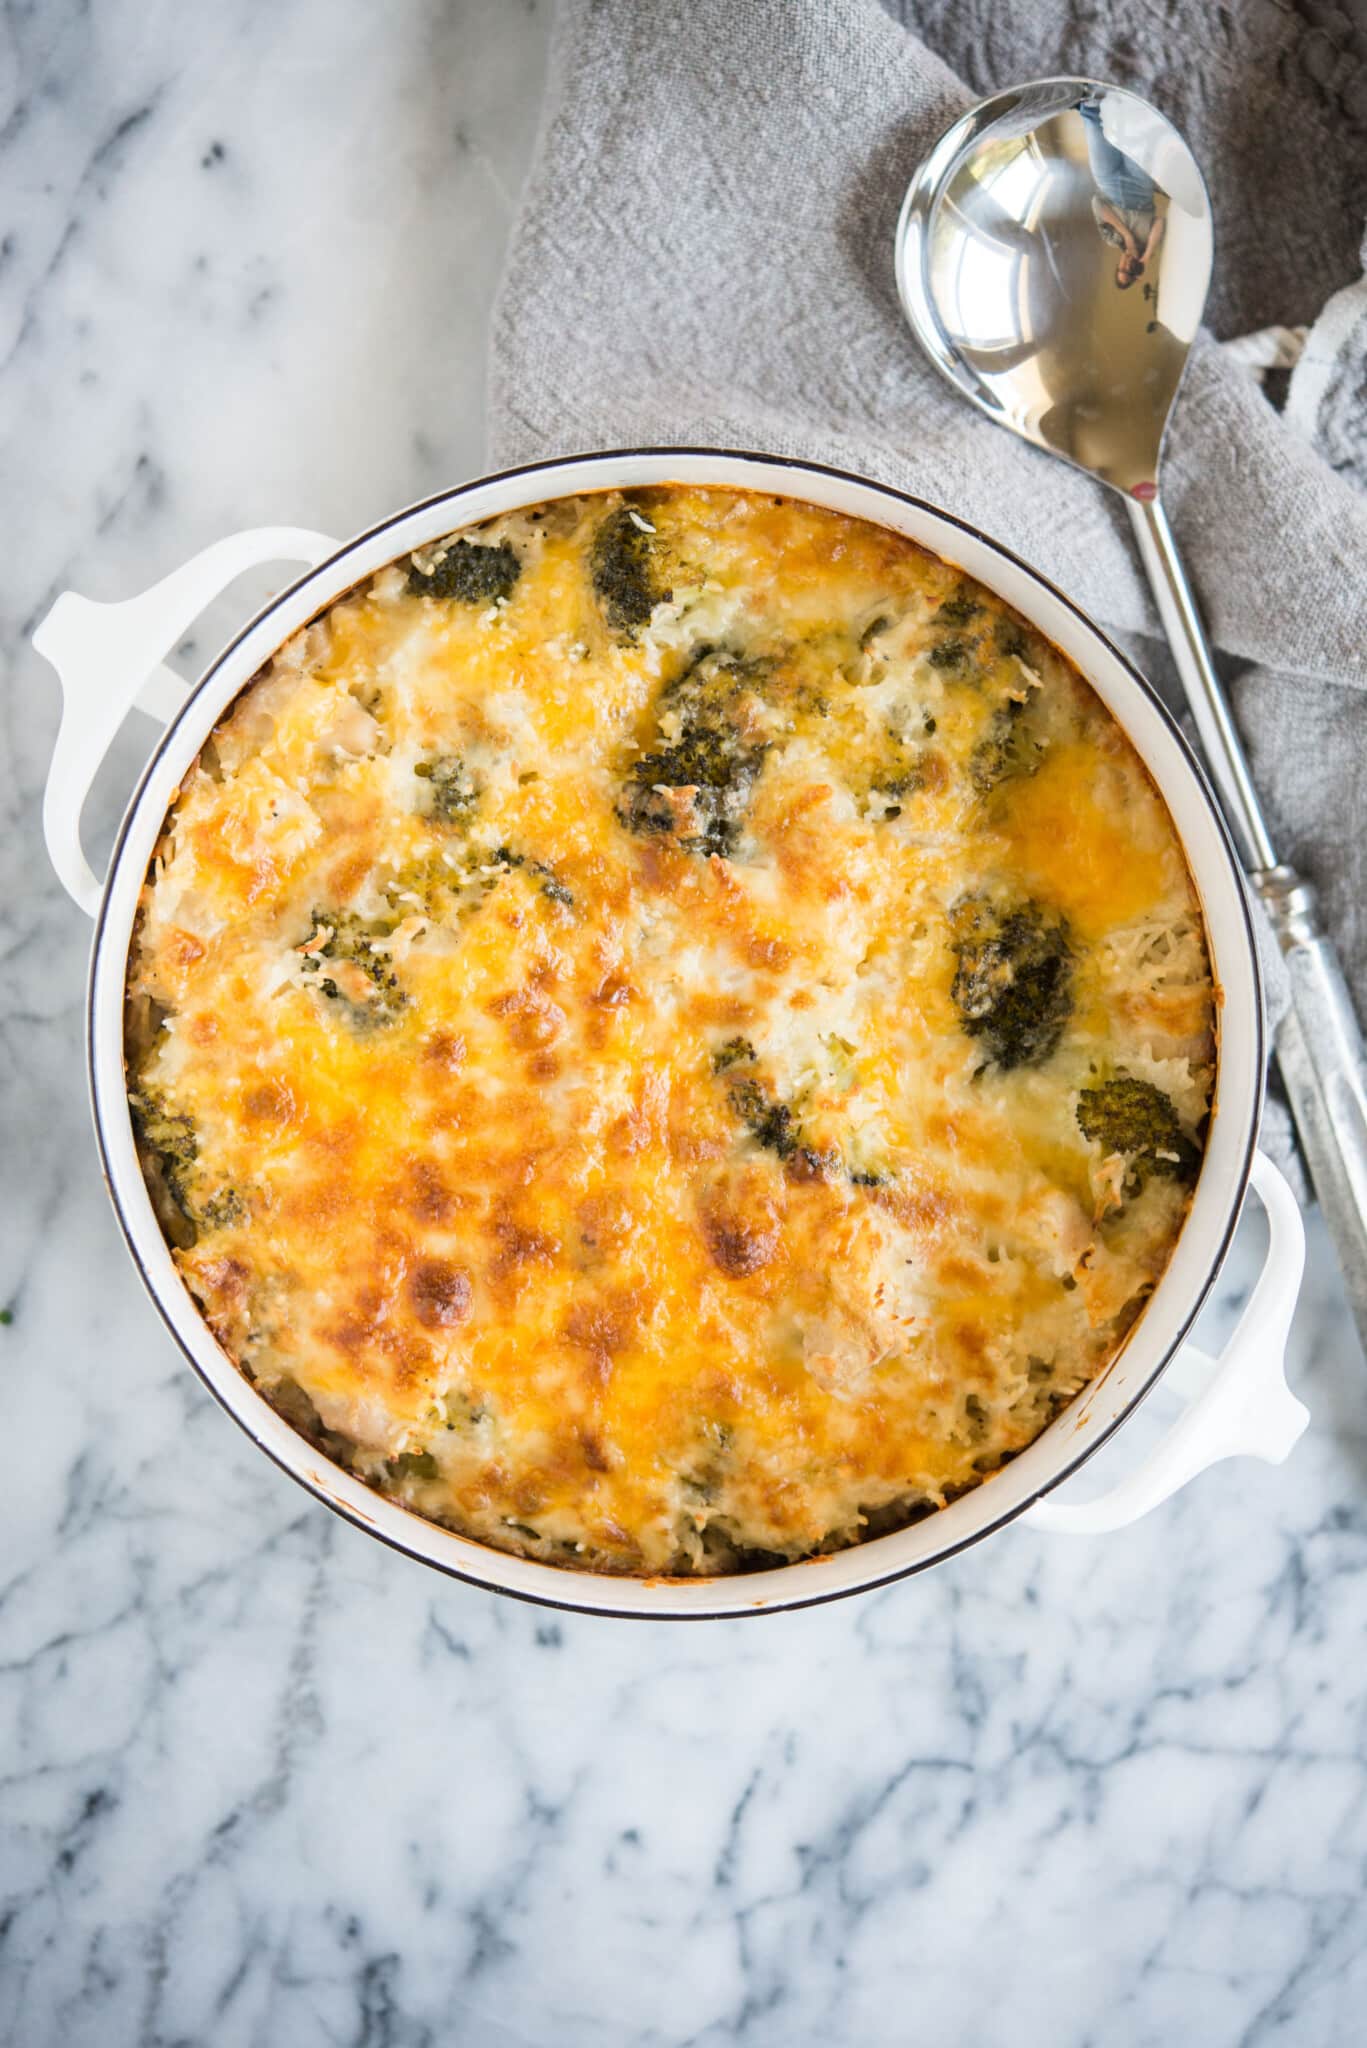
Chicken Broccoli and Rice Casserole
Chicken Broccoli and Rice Casserole is the epitome of a one-dish meal and SO easy to put together.
To prep the casserole:
- Skip the preheat on the oven. Prep through step 4, then cover, label, and freeze.
To bake the casserole:
Ingredients needed for serving:
- 1 cup shredded cheese
Instructions:
- Preheat oven to 375°F.
- Bake covered for 50 minutes, until the rice is cooked through and the liquid is absorbed, then remove the foil and sprinkle with cheese and bake for an additional 10-15 minutes, until cheese is melted.
Confetti Chicken Casserole
This Southwest Chicken Casserole is loaded with brightly colored veggies and brings a delicious southwestern flair to the table.
To prep the casserole:
- Skip the preheat on the oven and the final bake. Assemble as directed, then cover, label, and freeze.
To bake the casserole:
Ingredients needed for serving:
- Green onion, thinly sliced, for garnish
Instructions:
- Preheat oven to 350°F.
- Bake for 30 minutes until the cheese is brown and bubbly.
- Garnish with fresh green onion, then serve!
How to Store your Casserole for Freezing
- Option 1: wrap your casserole dish or aluminum pan in a double layer or foil.
- Option 2: wrap your casserole dish or aluminum pan in a layer of parchment paper, then wrap in a double layer of foil.
How to Bake
- Option 1: bake straight from freezer. Preheat the oven to 350°F, bake covered for 1 hour. After 1 hour, remove foil and stick a fork in the center of the casserole. If it is still frozen, re-cover and bake for an additional 30 minutes, then check again. Continue this process until the casserole has defrosted. Once defrosted, uncover and bake per the recipe instructions, adjusting the oven temperature if indicated.
- Option 2: defrost in the refrigerator for 2 days prior to baking. Follow baking instructions per the recipe.
BETTER (once you get your slow cooker meals done, work on these items): 24 Frozen Breakfast Servings + 24 Liters Bone Broth
Starting the day with a warm, nutritious meal help boost your energy levels and provide essential nutrients for the day. These breakfast recipes give you the most bang for your buck in a quick and convenient serving size!
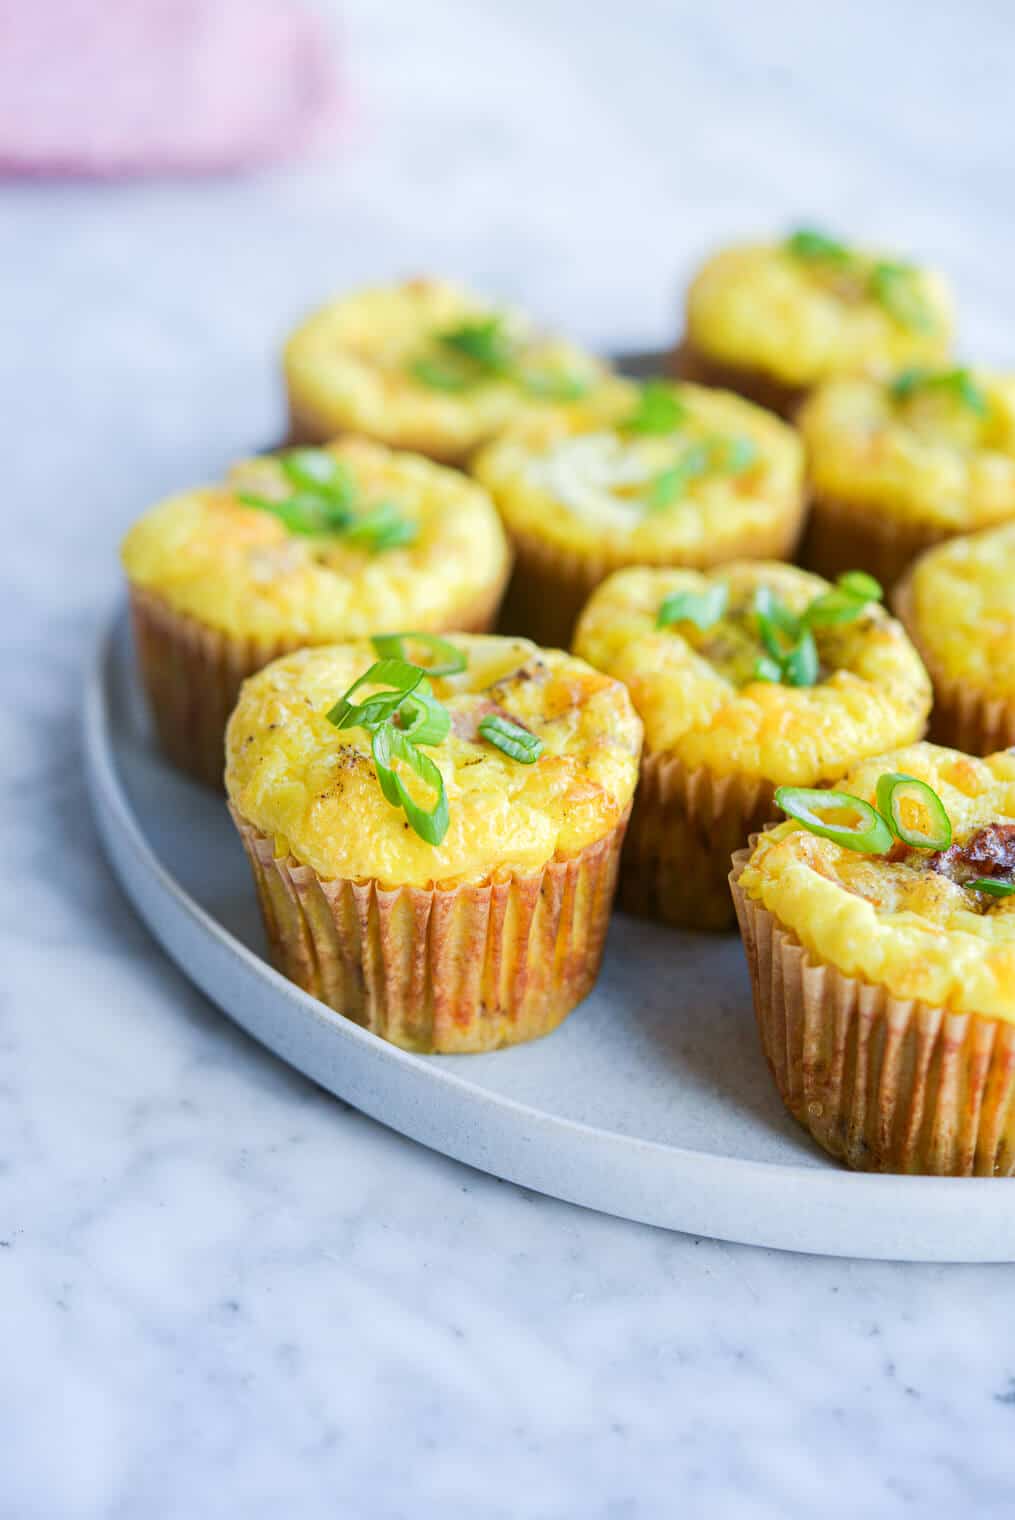
- Balanced Breakfast Egg Cups – these Balanced Breakfast Egg Cups have it all! Protein, veggies, carbohydrates, healthy fats, flavor, and ease. These are a sure-fire way to start your day with a balanced meal!
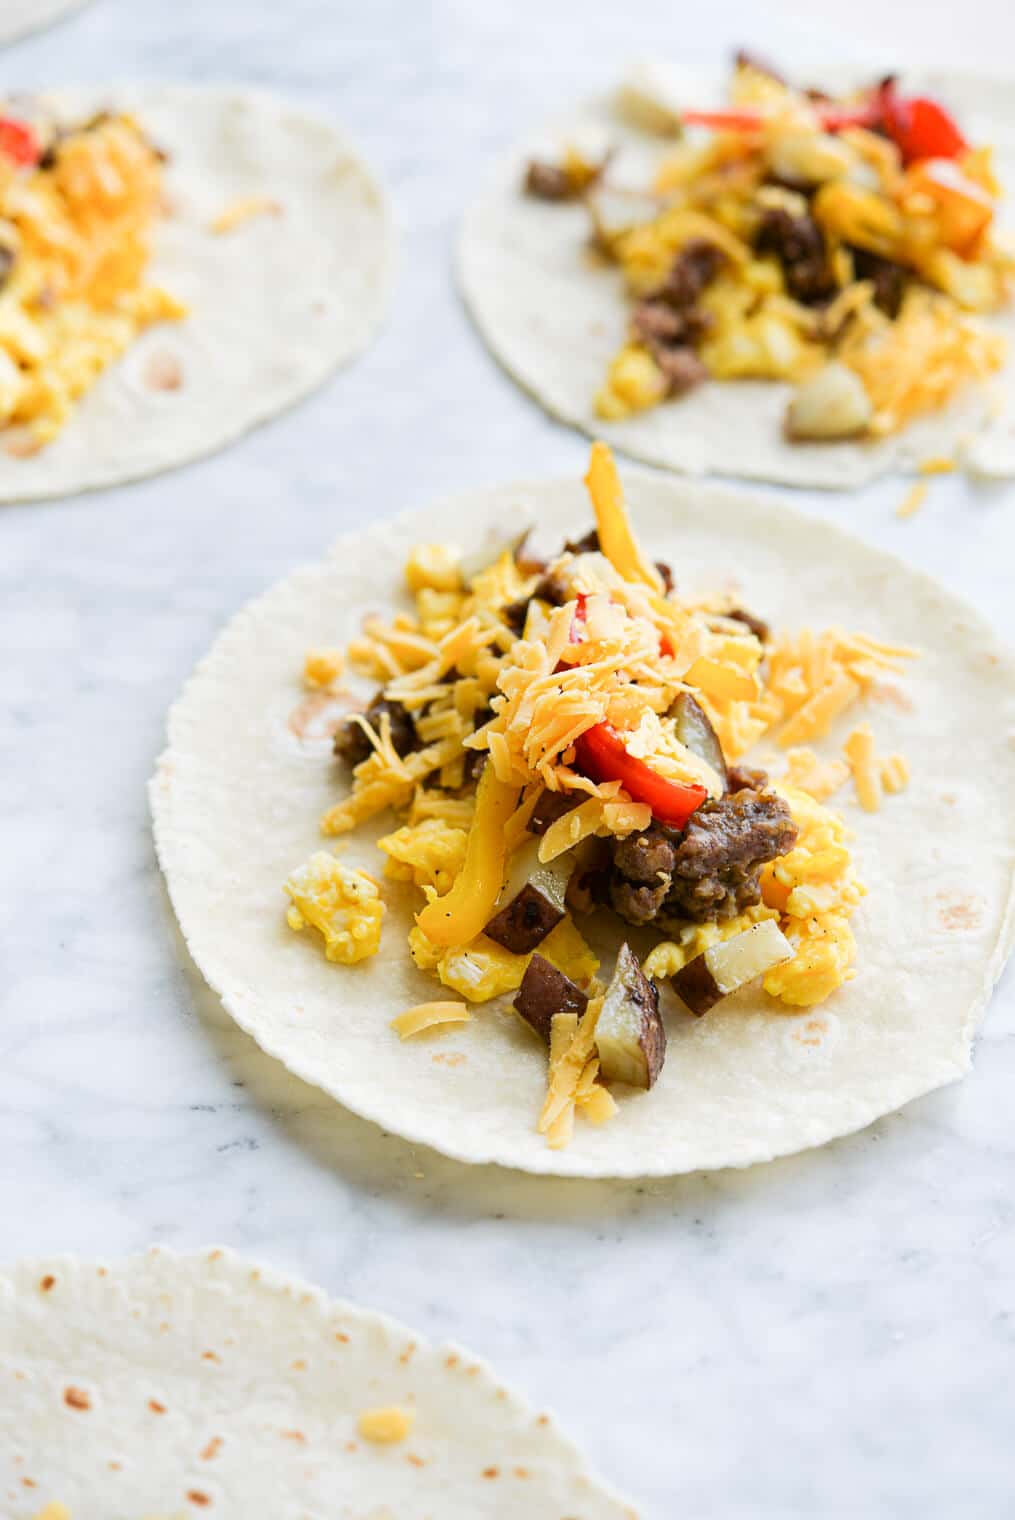
- Freezer Burritos – these freezer breakfast burritos are so versatile and can be loaded with an endless variety of options.
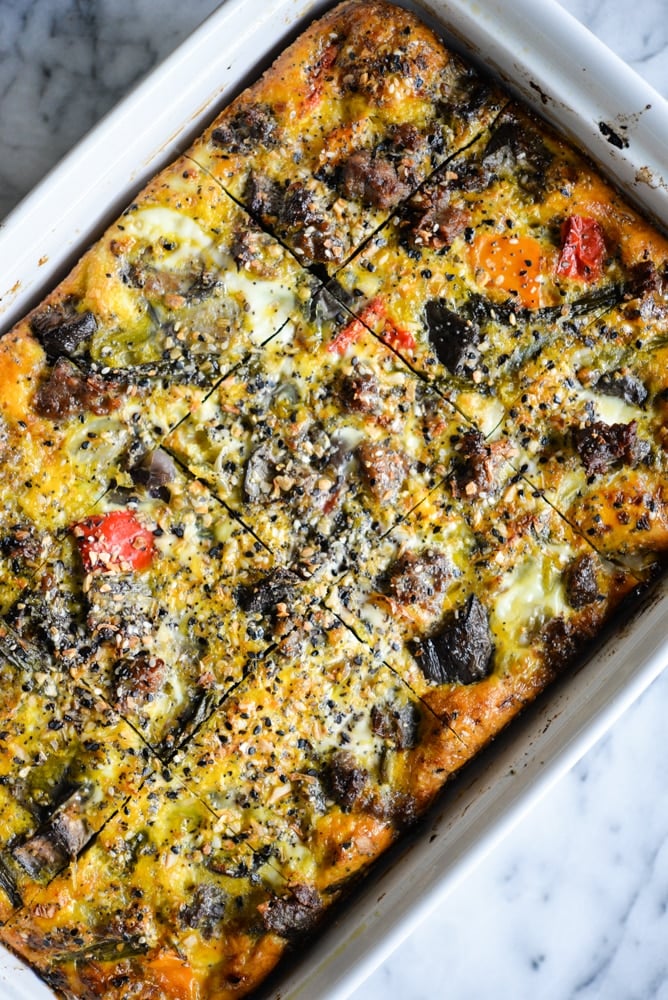
- Roasted Veggie Breakfast Casserole – this roasted veggie breakfast casserole is the easiest to prep, bake, and store to provide you a hearty breakfast option loaded with protein, healthy fats, and veggies! Simply prepare per the instructions and cut into individual serving sizes before wrapping and freezing.
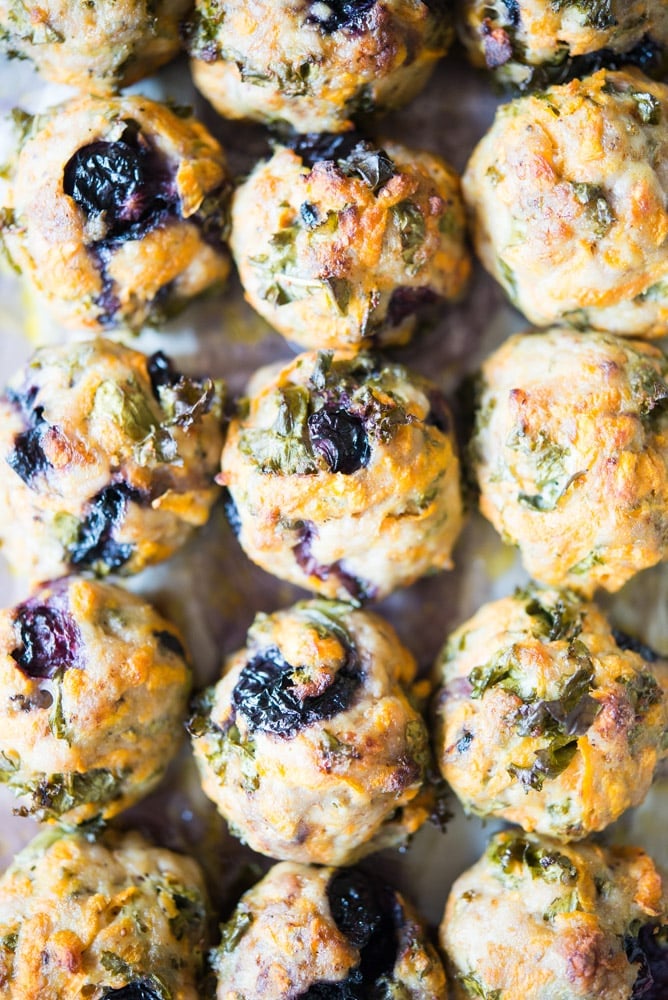
- Blueberry Sweet Potato Breakfast Meatballs – these blueberry sweet potato breakfast meatballs are the perfect combination of savory and sweet and are a breeze to whip together! With the combination of shredded sweet potatoes, ground pork, blueberries, and chopped kale, this egg-free option is sure to keep your hunger satisfied! I recommend wrapping 3-4 meatballs together for freezing for the perfect serving size.
For more egg-free options, check out these delicious breakfast bowls:
How to Prep Your Breakfast Servings for Freezing
Preparing these recipes for freezing is SUPER easy. Just follow the directions on the recipe and let them cool before preparing to store them in the freezer. No need for additional modifications!
How to Store Your Breakfast Servings for Freezing
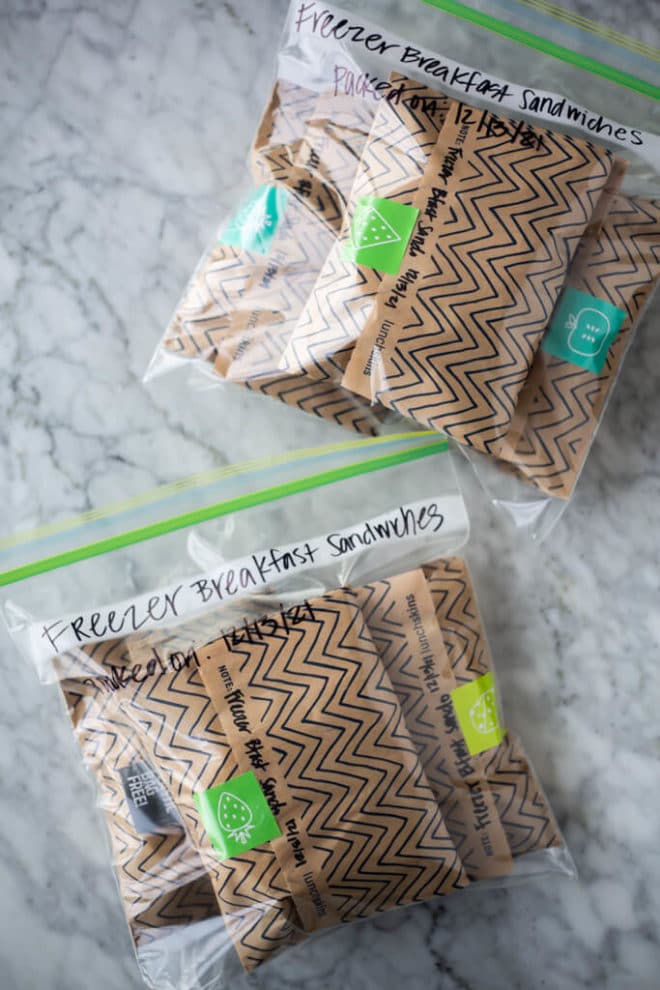
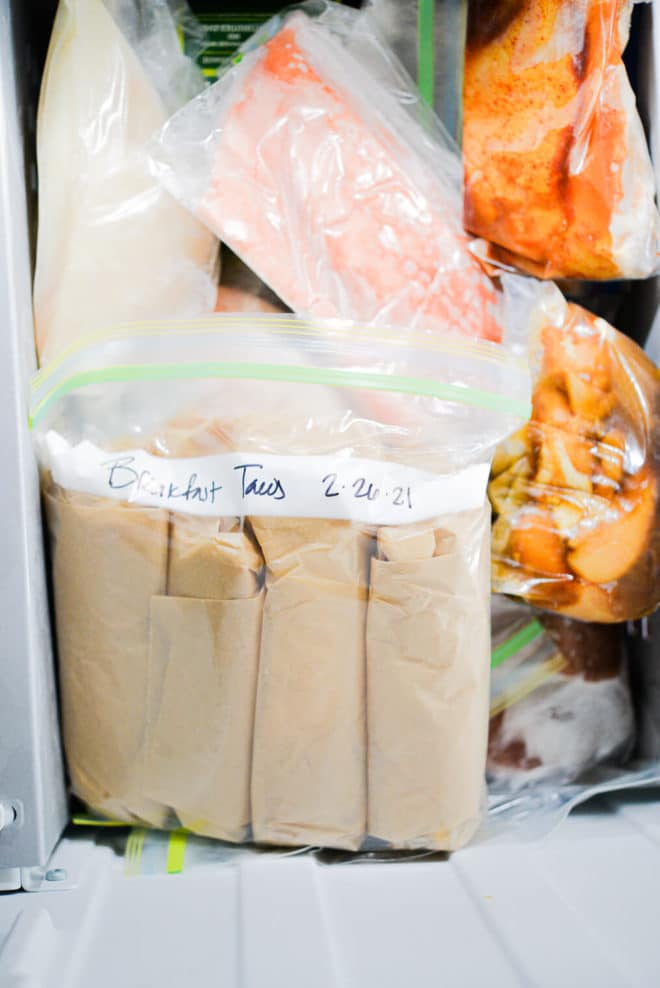
To freeze your breakfast foods, you’ll want to wrap each serving in parchment paper, then place into a freezer-safe bag. Don’t forget to label the bag so you know what’s inside!
- Prepare breakfast items according to directions in recipe, then cool.
- Label a freezer-safe bag with the name and reheating instructions for each meal.
- Once cooled, place one breakfast serving on a piece of cut parchment paper.
- Wrap in the parchment paper, then put into a freezer-safe bag. Repeat for each serving.
- Once full, seal the freezer-safe bag and place in the freezer!
How to Reheat Your Breakfast Servings
- Option 1: microwave on high for 60-90 seconds.
- Option 2: preheat oven to 350°F. Place breakfast serving on a sheet pan and bake until warmed through (about 20-25 minutes).
Bone Broth
Bone broth is rich in collagen, protein, vitamins, and minerals and is the ultimate powerhouse to help support tissue healing, offer joint support, replenish nutrients, and help restore the loss of bone density from pregnancy. Broth is easily digestible and deeply hydrating. I aim to drink 1 liter/day. Find the recipe here: How to Make Bone Broth.
Freezing Your Bone Broth
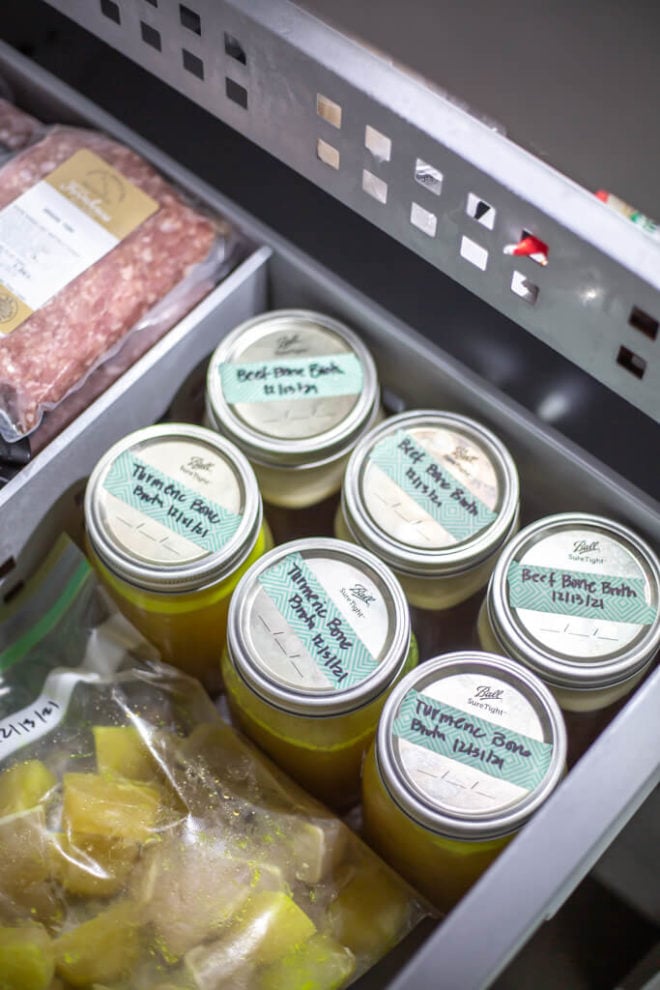
I like to store my bone broth in 1 liter mason jars. This makes it so convenient to pull out one jar at a time to defrost in the refrigerator and have ready to drink! Simply allow your broth to cool, then transfer to the mason jar, leaving about one inch of space at the top (from the top of the broth to the top of the jar), screw on the lid, and freeze!
Defrosting Your Bone Broth
- Option 1: move the jar to the refrigerator 1-3 days ahead of when you are ready to drink it.
- Option 2: place the jar in cool water (in a bowl or in the sink) and change the water every 30 minutes or so until the soup has thawed on the edges, then transfer into a pot and warm over medium low heat on the stove.
**Do NOT place frozen jars in hot water or the microwave, as this may cause them to crack!
BEST (you get the drill, but save this category for last): 24+ Servings Baked Goods
The reason this category is last is because snacks, the itch this category scratches, are important, but also flexible. While I 100% *prefer* a nice slice (or 3) of pumpkin bread and/or a banana oat muffin throughout the day, I could also easily snack on readily available cashews, pretzels, cheese (if you/your LO tolerate dairy), beef jerky, and fruits throughout the day. Of course, a mixture of fresh and pre-made baked goods is the most ideal.
- Oatmeal Lactation Cookies – easy to make, these homemade oatmeal lactation cookies were developed by a Board Certified Lactation Consultant and are SO delicious. They’re packed with milk-boosting nutrients and are a fabulous treat for recently postpartum moms who are working to build and maintain a milk supply for their newborn.
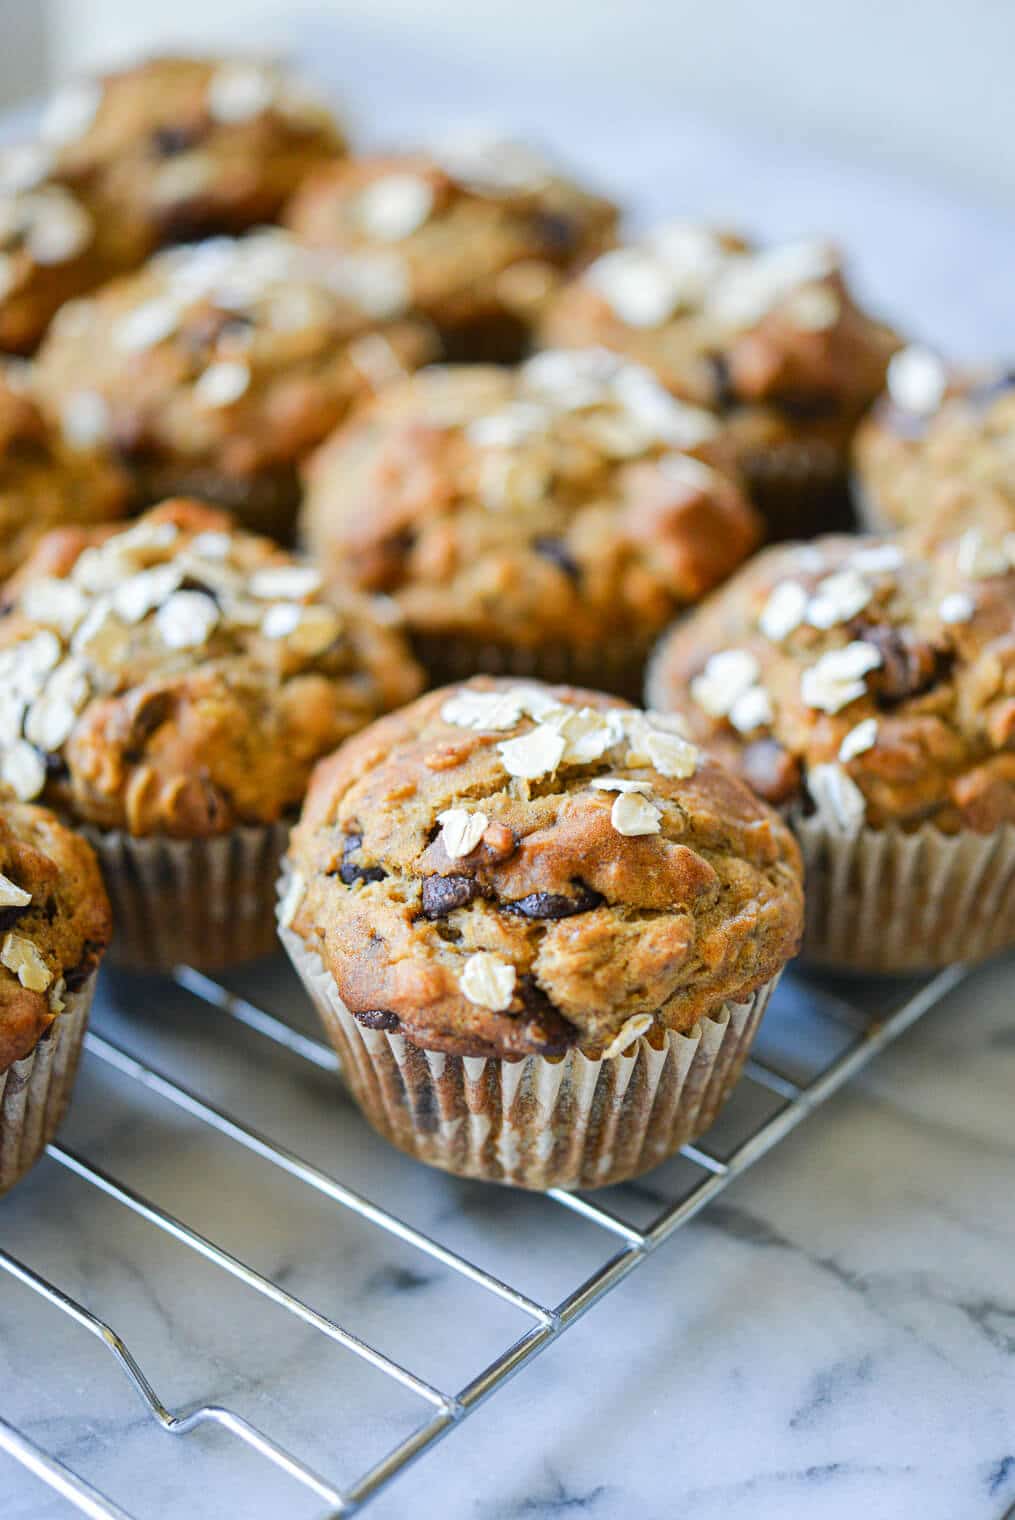
- Chocolate Chip Banana Oat Muffins – this recipe is EASY to pull together and makes for a hearty and heart-healthy snack (plus the benefits of oats if you’re planning on breastfeeding).
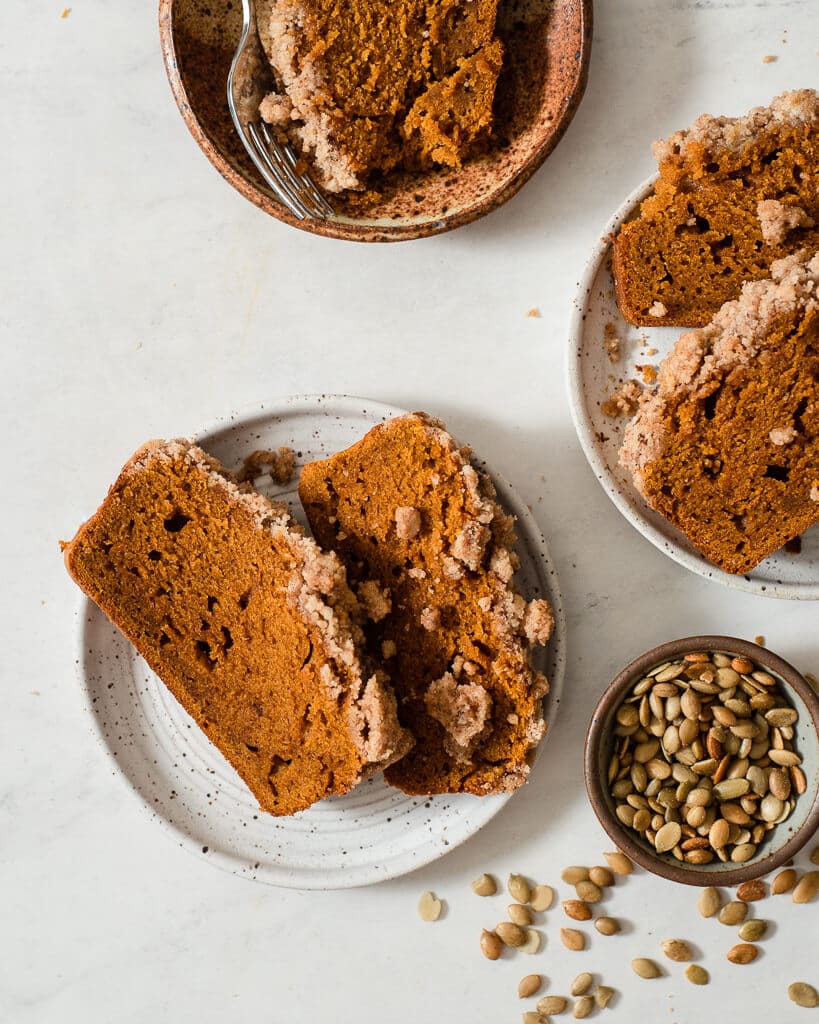
- Pumpkin Bread – pumpkin is rich in vitamins and nutrients that help support digestion and your immune health, and I can think of no better way to enjoy postpartum than with this tasty pumpkin bread! This recipe whips up really quickly. Freezer tip: slice your bread to allow storage of individual slices so that you can pull out one (or four) at a time.
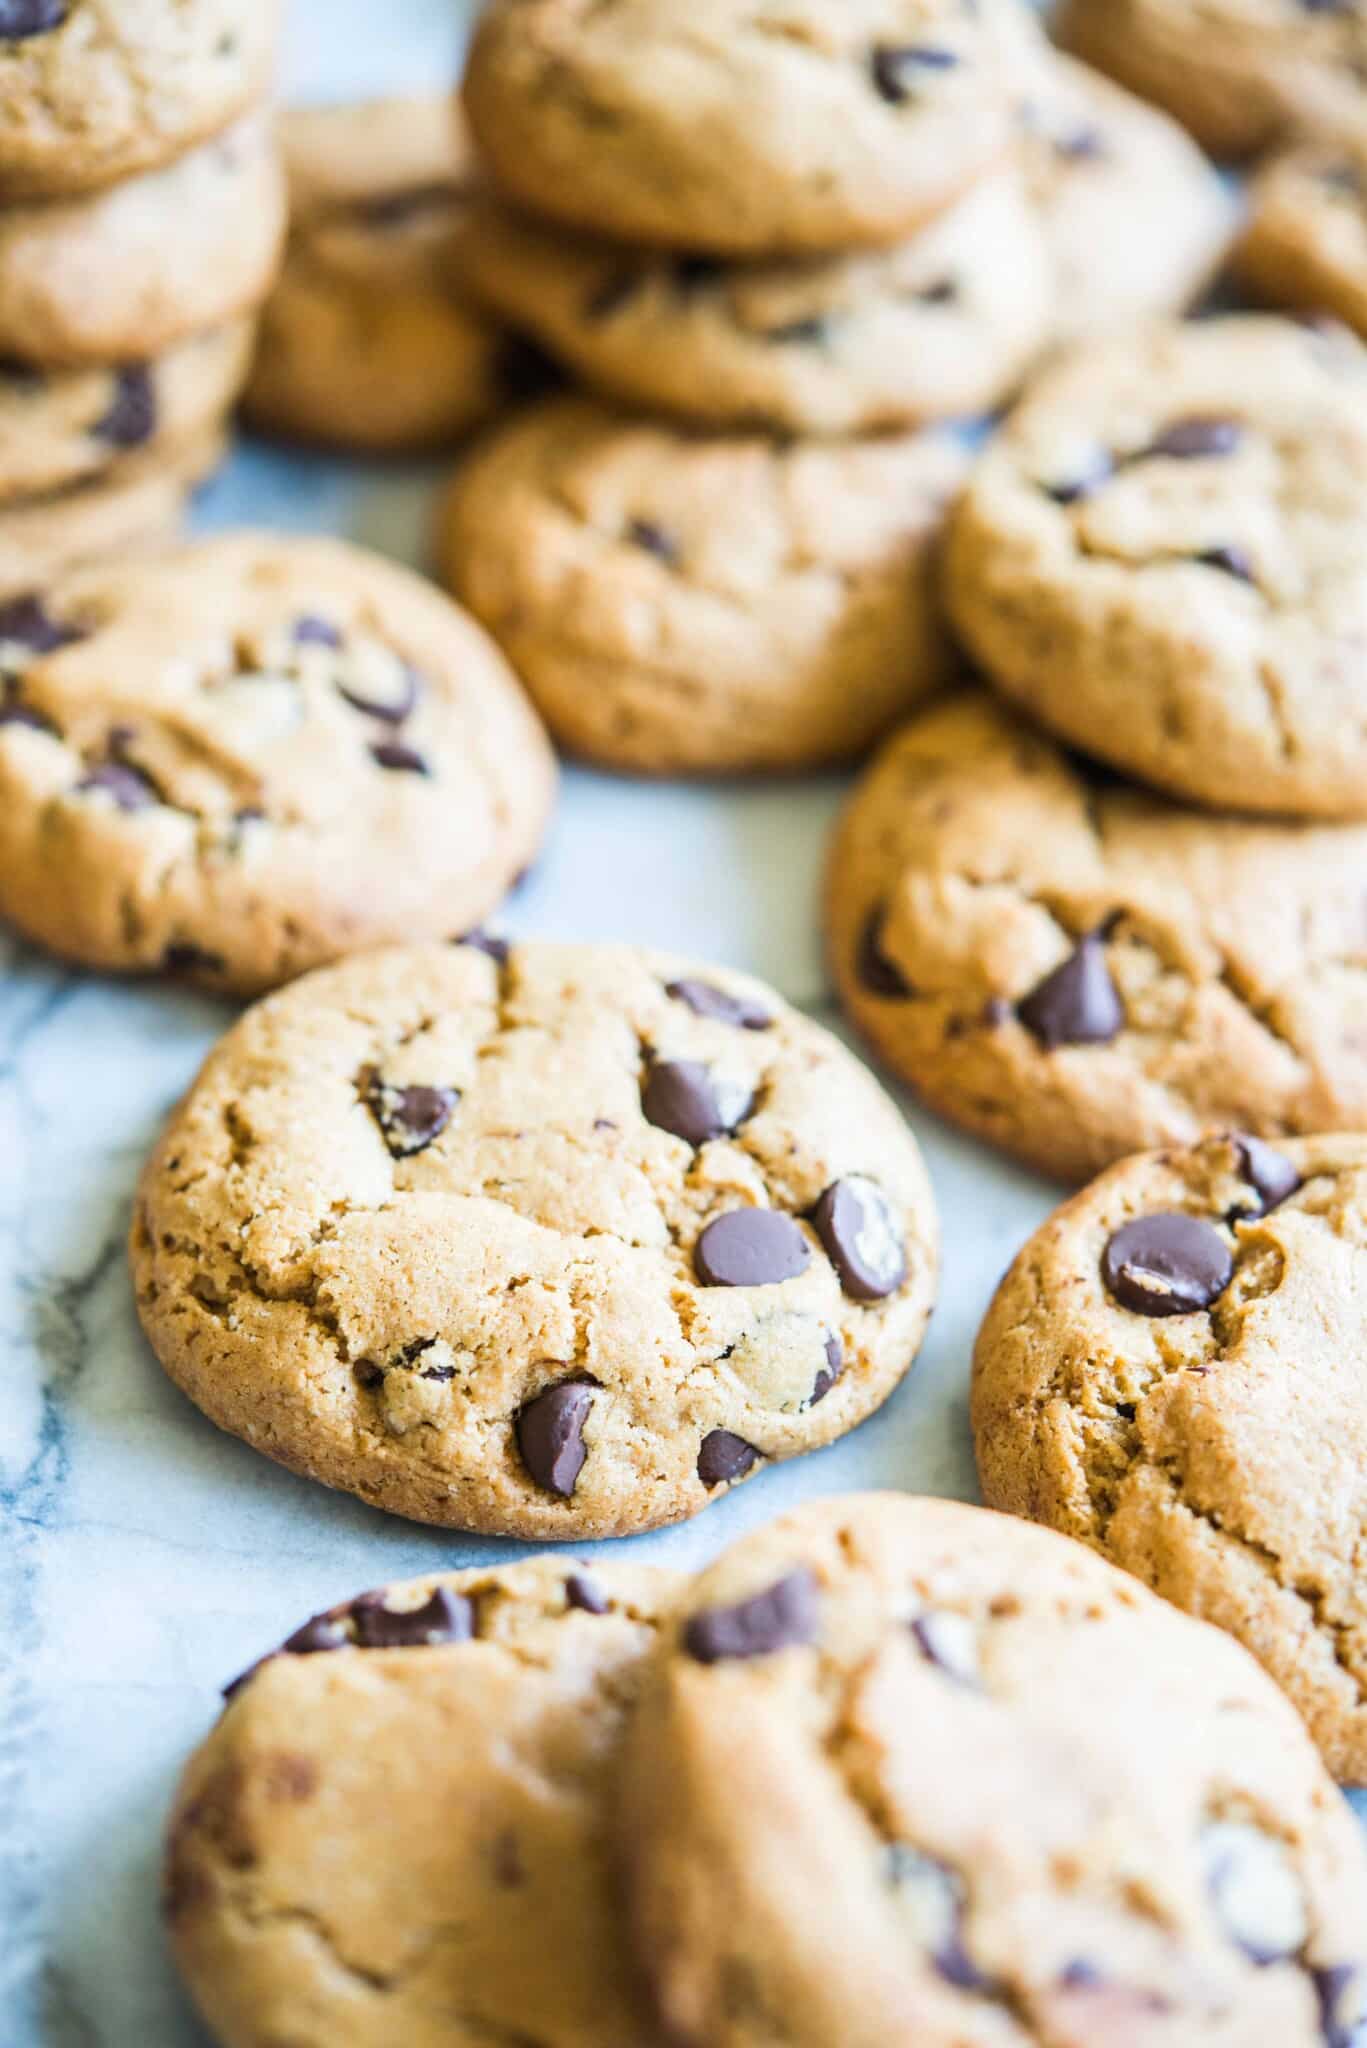
- GF Chocolate Chip Cookies – this classic gluten free chocolate chip cookie recipe has nostalgia written all over it and is such a comforting, sweet treat.
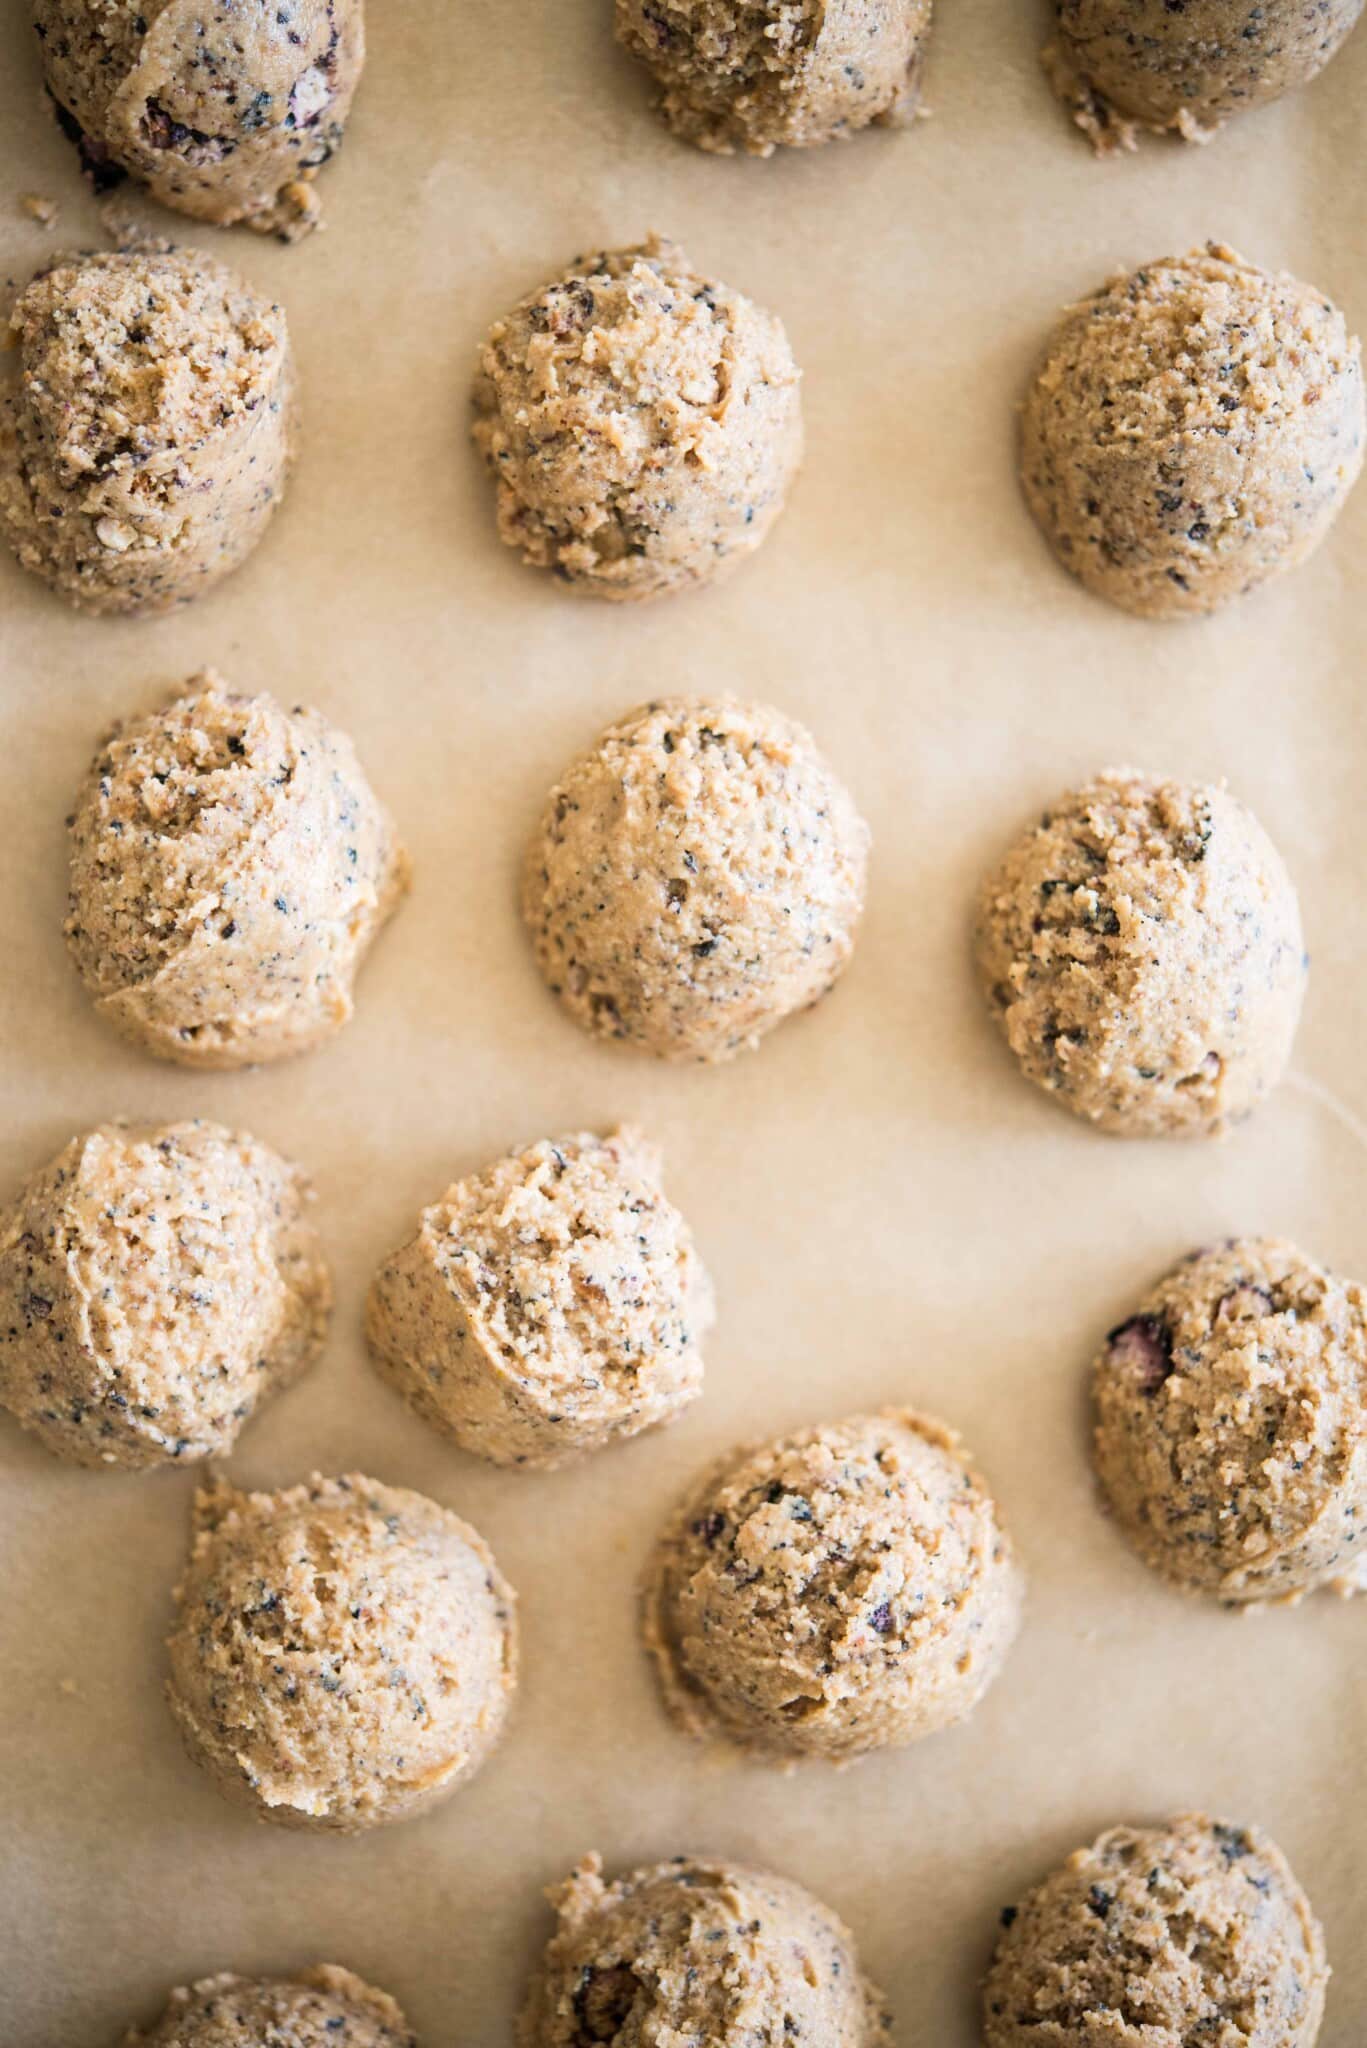
- Paleo Blueberry Muffin Energy Balls – these energy balls are sure to keep your hunger satisfied and give you an extra punch of energy to get you through the day (or night!). Love the ease of whipping up these energy balls? Check out these additional recipes: Brownie Batter Energy Balls + Salted Chocolate Peanut Butter Energy Balls
How to Prep Your Baked Goods for Freezing
Preparing these recipes for freezing is SUPER easy. Just follow the directions on the recipe and let them cool before preparing to store them in the freezer. No need for additional modifications!
How to Store Your Baked Goods for Freezing
- Option 1: place your cooled baked goods on a baking sheet and put the baking sheet in the freezer. Allow your baked goods to freeze through, then remove the baking sheet and transfer frozen goods to a freezer-safe bag. Freezing them individually before transferring to the freezer-safe bag helps ensure that the baked goods won’t stick to each other.
- Option 2: if you are worried about freezer burn, wrap each serving in parchment paper (the same way you wrapped your breakfast servings) and store in a freezer-safe bag.
How to Defrost Your Baked Goods
To reheat from frozen, simply microwave your baked good for 1-2 minutes (start with 1 minute and continue microwaving in 30-second increments until heated through if needed). If you prefer to go the non-microwave route, you can set your serving (or several) in the refrigerator the night before and allow them to defrost that way. Enjoy straight from the fridge or warmed in the microwave (about 30 seconds does just fine!).
Scaling Up or Down
Now the amount of food above may feel like a LOT (especially if you’ll be enjoying them by yourself) or also, it may feel like you’ll gobble it up in the blink of an eye, with the help of hungry family members. My recommendation is to consider this list/amount a starting point. It’s what personally works for me and usually gets me to around week 6 of our postpartum period when combined with fresh meals cooked (by visiting friends/family or myself) and ordering takeout. I honestly go through the breakfast and bone broth the fastest, followed closely by the baked goods. Once those are gone, I’ll usually have the energy to start making fresh breakfast + broth + treats again.
Materials Needed for Freezer Meals
Materials needed, especially if you’re going all-in:
- 24 Gallon Ziploc Freezer Bags
- 24, 1-Liter Mason Jars
- 2 Rolls Parchment Paper (pre-cut sheets are ideal)
- 5 Casserole Dishes (you can use your current dishes OR these aluminum foil ones)
Tips for Easy Freezer Meals
I know the sheer volume of meal prep here can feel daunting! Here are some tips for making this process as simple and smooth as possible:
- Schedule. I know it may feel silly, but schedule time to prep (and block it off on your calendar) so that you are sure to have dedicated time worked into your schedule from the get go.
- Make space. If you don’t already have a dedicated freezer space for meals, make sure you clear out as much space as you can in your kitchen freezer for all your food.
- Select and print your recipes. Printing out all of the recipes ahead of time (vs. having them open on your phone or computer) will help immensely not only in preparing your meals, but also in creating shopping lists.
- Make a grocery list. After selecting your recipes, you should be able to consolidate your grocery list, organize by category (think: protein, vegetables, starches, spices, etc.), and estimate how much of each ingredient you will need for your meals.
- Prepare and organize. Prepare what you can ahead of time. Chop your vegetables, and organize your produce, canned goods, and proteins. This will make the assembly process so much more efficient!
- Label. Be sure to include the name of the dish, the “best-by” date (3 months from the date it is frozen will give you the best flavor and texture), and cooking instructions. This makes pulling the meal together when you’re ready to use it a breeze.
- Consider portions. When freezing, consider the size of the portion you are freezing together and who will be eating the meal. Split the recipes up into smaller portions in your storage containers to minimize waste. This also gives you more flexibility and options for eating a variety of meals throughout the week instead of the same leftovers many days in a row.
- Take a deep breath! Or 5 (with a 5 second inhale, 5 second hold, and 5 second exhale). Now relax your jaw. I know it feels like a lot. You can do this! And you will be SO thankful that you did when you are able to quickly throw together your meals and snacks postpartum. Remember, you don’t have to do it all. Whatever you are able to give yourself is enough.


Hey! Wondering when you recommend starting this prep while pregnant. I’m nearing the end of my first trimester and was thinking I’d start in a few weeks when I *hopefully* have more energy. Is that too early? How long will the meals stay good in the freezer? Thanks for your help!
Hi Katie! We would recommend starting this prep around mid-7 to 8 months of pregnancy. This (hopefully) doesn’t push up too close to the estimated due date and doesn’t leave the food in the freezer for too long after delivery (to ensure the best taste and texture). Freezer meals do the best around the 3-6 month mark. This timeline above allows for you to have some meals stashed away for the tail-end of pregnancy and early postpartum!
Hi there! Wondering if the slow cooker recipes can actually be cooked and then frozen? Or can any of the proteins cook in their marinade and then be frozen? Thanks!
Sure! You can absolutely cook and then freeze any of the slow cooker meals!
Hey Cassie! What size freezer do you recommend ?